Looking for a simple way to add style and order to your entryway? Making a coat rack out of wood is a perfect project you can tackle yourself.
Not only will you create something useful, but you’ll also enjoy the satisfaction of building it with your own hands. Imagine having a unique piece that fits your space perfectly and keeps your coats, hats, and bags neatly organized. Ready to discover how easy and rewarding this can be?
Keep reading, and you’ll learn step-by-step how to turn basic wood into a beautiful, functional coat rack.

Credit: www.eatwinwin.com
Materials Needed
Gathering the right materials is the first step to build a wooden coat rack. Choosing quality wood and tools helps create a strong and attractive rack. This section lists all items needed for the project. Follow these guidelines to make the process smooth and efficient.
Types Of Wood
Pick wood that is sturdy and easy to work with. Pine is a good choice for beginners. Oak offers durability and a classic look. Cedar resists moisture and smells nice. Choose wood with smooth surfaces for easier finishing. Avoid wood with many knots or cracks. Proper wood will hold hooks and weight well.
Tools Required
You need basic tools to cut and assemble the wood. A saw helps to make straight cuts. Use a drill to make holes for screws and hooks. Sandpaper smooths rough edges and surfaces. A screwdriver or power driver tightens screws securely. A measuring tape ensures accurate cuts. A pencil helps mark measurements clearly.
Additional Supplies
Besides wood and tools, some extra items make the rack complete. Screws hold parts together firmly. Wood glue adds strength to joints. Coat hooks or pegs let you hang clothes easily. Wood finish or paint protects and beautifies the surface. Safety gear like gloves and goggles keeps you safe.
Choosing The Design
Choosing the design is the first step in making a wooden coat rack. It sets the style and function for your space. Think about where you want to place the rack and how much room you have. The design should fit your needs and look good in your home.
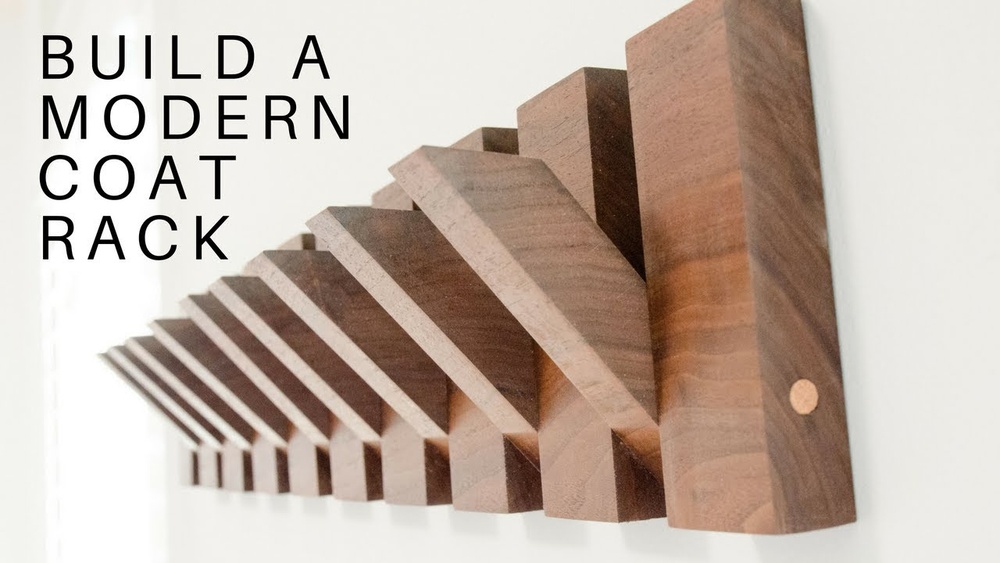
Wall-mounted Options
Wall-mounted coat racks save floor space. They are perfect for small rooms or hallways. You can use simple wooden boards with hooks or create a more decorative piece. These racks keep coats and bags off the floor and within easy reach. Installation is usually quick and needs only basic tools.
Freestanding Styles
Freestanding racks stand on their own and can be moved easily. They work well in larger rooms or entryways. You can build tall, slim racks or wide, sturdy ones with shelves. These racks often hold more items and add a strong visual statement. They require a stable base to prevent tipping.
Creative Variations
Creative designs add personality to your coat rack. Use branches, pallets, or reclaimed wood for a unique look. Mix hooks of different sizes or add shelves for shoes and hats. Paint or stain the wood to match your decor. These variations make your coat rack both useful and stylish.
Preparing The Wood
Preparing the wood is an important first step in making a coat rack. Proper preparation helps the wood look good and last longer. It also makes the building process easier and safer. Follow these steps to get your wood ready.
Measuring And Cutting
Start by measuring the wood pieces you need. Use a tape measure and mark the exact lengths. Double-check your marks before cutting. Use a saw to cut the wood along your marks. Cut straight and carefully to avoid mistakes. Clean cuts help the pieces fit well together.
Sanding For Smoothness
After cutting, sand the wood surfaces. Use medium-grit sandpaper first. This removes rough spots and splinters. Then, use fine-grit sandpaper to make the surface smooth. Sand edges and corners too. Smooth wood looks better and feels safe to touch.
Treating The Wood
Treat the wood to protect it from damage. Apply wood stain or paint for color. Use a brush to spread it evenly. Let the wood dry completely. Add a clear sealant or varnish for extra protection. This step keeps your coat rack strong and beautiful.
Assembling The Rack
Assembling the coat rack is an important step to make it strong and useful. This part brings all wooden pieces together. It also prepares the rack to hold coats safely. Careful assembly helps the rack last longer. Follow clear steps to avoid mistakes. Use simple tools and materials for best results.
Joining Techniques
Start by choosing the right joining method. Wood glue works well for light parts. For more strength, use screws or nails. Pre-drill holes to stop wood from splitting. Butt joints are easy but less strong. For better hold, try dowel joints or pocket holes. Clamp the pieces tight until glue dries.
Attaching Hooks Or Pegs
Select hooks or pegs that fit the rack size. Mark spots evenly along the wood. Drill small pilot holes to guide screws. Screw hooks or pegs firmly into place. Check each hook for stability. Space them enough to hang coats without crowding. Use metal hooks for durability and style.
Ensuring Stability
Stability keeps the rack from tipping over. Attach a wide base or wall mount for support. Use corner braces if needed for extra strength. Test the rack by hanging coats of different weights. Adjust screws or add supports if it wobbles. A stable rack stays safe and lasts longer.
Finishing Touches
Finishing touches give your wooden coat rack its final look and protect it. These steps make your project last longer and look great. Focus on painting, sealing, and adding small decorations for the best results.
Painting And Staining
Choose paint or stain that matches your room style. Paint offers bright colors and full coverage. Stain shows the wood grain and adds a natural look. Apply thin layers with a brush or cloth. Let each layer dry fully before adding another. This keeps the finish smooth and even.
Sealing For Durability
Seal your coat rack to protect it from moisture and dirt. Use clear sealants like polyurethane or varnish. These form a hard coat over the paint or stain. Apply two to three coats for strong protection. Wait for each coat to dry before the next. Sealing helps your rack resist scratches and wear.
Decorative Enhancements
Add hooks or knobs that fit your style. Use metal, wood, or ceramic options for variety. Small designs like stencils or decals can personalize your rack. Attach labels or small shelves for extra use. These details make your coat rack unique and useful.
Mounting And Placement
Mounting and placement are key steps in making a wooden coat rack practical and stylish. The right spot and secure installation keep your rack steady and useful. Consider the space and how you will use the rack every day.
Wall Installation Tips
Choose a strong wall to hold the coat rack. Use a stud finder to locate wood studs behind the wall. Secure the rack with screws into the studs for better support. Use a level to keep the rack straight. Mark holes before drilling to avoid mistakes. Use anchors if studs are not available. Check the rack’s height; it should be easy to reach for all users.
Positioning Freestanding Racks
Place the rack where it does not block walkways. Leave enough space around it for easy access. Put it near the door or entryway for convenience. Avoid placing it where it might tip over easily. Use rubber pads under legs to prevent slipping on smooth floors. Keep it away from heat sources to protect the wood.
Safety Considerations
Make sure all screws and nails are flush with the wood. Sand any rough edges to avoid splinters. Check the rack’s stability before use. Avoid overloading the rack with heavy items. Keep it away from small children’s reach to prevent accidents. Regularly inspect the rack for loose parts or damage. Fix any issues immediately to maintain safety.
Maintenance Tips
Keeping your wooden coat rack in good shape is key to its long life. Simple care steps help maintain its beauty and strength. Follow these easy maintenance tips to keep your rack looking fresh and sturdy.
Cleaning Methods
Dust your coat rack regularly with a soft cloth. Use a dry or slightly damp cloth to avoid water damage. For sticky spots, mix mild soap with water and gently wipe. Avoid harsh chemicals that can harm the wood finish. Dry the rack completely after cleaning to stop moisture buildup.
Repairing Minor Damage
Small scratches or dents can be fixed with wood filler or wax sticks. Match the color to your rack’s wood for a neat look. Sand lightly around the damaged spot before applying filler. After drying, smooth the area with fine sandpaper. Touch up with wood stain or paint if needed.
Extending Rack Lifespan
Place your coat rack away from direct sunlight to prevent fading. Keep it in a dry area to avoid wood warping. Tighten screws and hooks regularly to keep the rack stable. Apply a thin coat of wood polish or oil every few months. This nourishes the wood and protects against cracking.

Credit: theturquoisehome.com

Credit: www.homedit.com
Frequently Asked Questions
What Materials Are Needed To Make A Wooden Coat Rack?
You need wood planks, screws, hooks, sandpaper, and wood finish. Choose durable wood like pine or oak. Gather basic tools like a drill and saw for assembly. Quality materials ensure a sturdy, long-lasting coat rack.
How Do I Mount A Wooden Coat Rack Securely?
Use wall anchors or studs for mounting. Locate studs with a stud finder for strong support. Drill pilot holes before screwing the rack to the wall. This prevents damage and ensures the rack holds heavy coats safely.
Can I Customize The Design Of A Wooden Coat Rack?
Yes, customize by choosing different wood types, colors, and finishes. Add decorative hooks or shelves for extra functionality. Personalize size and shape to fit your space and style. This makes your coat rack unique and tailored to your needs.
How Long Does It Take To Build A Wooden Coat Rack?
Building a simple wooden coat rack typically takes 2 to 4 hours. Time varies based on design complexity and your woodworking skills. Preparation and finishing add to the total time. Planning ahead helps complete the project efficiently.
Conclusion
Building a wooden coat rack is simple and fun. You only need basic tools and wood pieces. This project adds style and function to your home. It saves money compared to buying one. Plus, you can customize it to fit your space.
Try different designs or paint colors. Enjoy making something useful with your own hands. Your home will look neat and organized. Give it a try today!