Are you ready to create a sturdy and stylish bunk bed using simple 2×4 wood? Building your own bunk bed might sound tricky, but with the right steps, you can make a safe and strong piece that fits perfectly in your space.
Imagine saving money, customizing the design, and gaining the satisfaction of building something with your own hands. In this guide, you’ll discover exactly how to turn basic 2x4s into a reliable bunk bed. Keep reading, and by the end, you’ll be equipped to start building confidently and impress everyone with your woodworking skills.
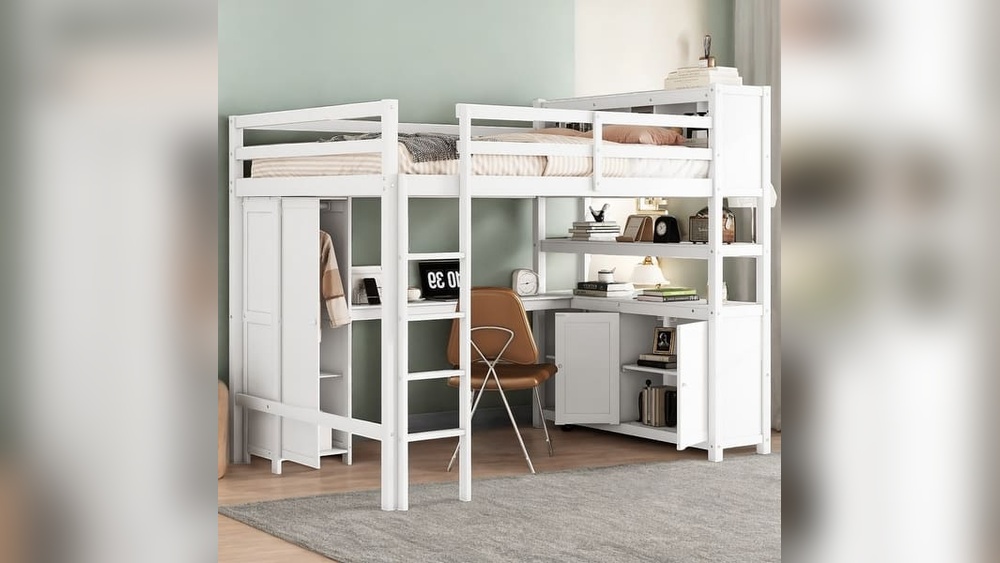
Credit: www.youtube.com
Materials And Tools Needed
Building a bunk bed with 2×4 lumber requires the right materials and tools. Gathering everything before starting saves time and effort. Proper materials ensure the bed is strong and safe. Tools help make precise cuts and secure joints. Let’s explore the key materials and tools needed for this project.
Selecting The Right 2×4 Lumber
Choose straight 2×4 boards without cracks or knots. Look for wood that feels smooth and solid. Pine and fir are common choices for bunk beds. Each board should be dry to avoid warping later. Buy enough lumber to cover all parts of the bed frame. Measure twice, buy a little extra for mistakes.
Essential Tools For The Project
Use a saw to cut the 2x4s to size. A power drill helps make holes and drive screws. A measuring tape ensures accurate lengths and spacing. Sandpaper or a sander smooths rough edges. Clamps hold pieces steady during assembly. A level checks that the bed is even and safe.
Additional Hardware And Supplies
Get wood screws to join the lumber securely. Use wood glue for stronger connections. Buy brackets or corner braces for extra support. Safety gear like goggles and gloves protect you. Finish with paint or varnish to protect the wood. Have a pencil to mark measurements clearly.

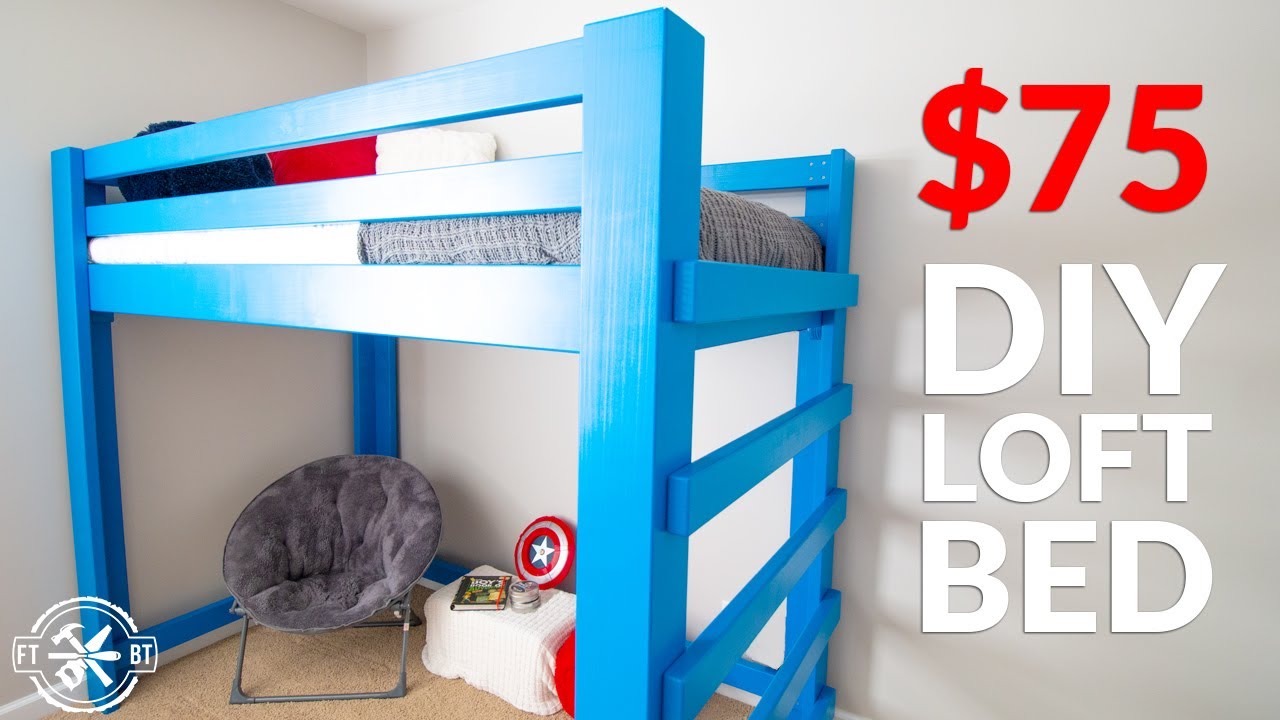
Credit: www.simplyhandmadestudios.com
Planning Your Bunk Bed Design
Planning your bunk bed design is the first step to a strong and safe build. A clear plan helps avoid mistakes and saves time. It also ensures the bed fits well in your space and meets your needs.
Think about size, safety, and style before cutting any wood. Careful planning makes the project easier and more fun.
Choosing The Bed Dimensions
Start by measuring the room where the bed will go. Decide on the bed length and width. Standard twin size is 39 inches wide and 75 inches long. Adjust if you want a bigger or smaller bed.
Think about the height between the top and bottom beds. Leave at least 30 inches for headroom. Also, check the total height to avoid low ceilings.
Safety Considerations
Safety is very important. Use strong 2×4 wood for the frame. Make sure the bed supports enough weight.
Add guardrails to the top bunk. They stop falls during sleep. Also, place a ladder that is easy and safe to climb.
Check that all edges are smooth. Sand rough spots to prevent splinters. Secure all joints tightly to avoid wobbling.
Drawing Your Blueprint
Draw a simple blueprint before building. Sketch the frame, bed size, and ladder position. Mark all measurements clearly.
Use graph paper or a drawing app. This helps visualize the project and find problems early.
Keep your drawing handy during the build. Follow the plan step by step for the best results.
Cutting The Lumber
Cutting the lumber is the first important step in building a bunk bed with 2x4s. It shapes the wood pieces to the right size for your project. Accurate cuts help the bed fit together well and stay strong. Taking time here saves problems later.
Use a good saw and sharp blades to make clean cuts. Always measure twice before cutting. Clear work space helps keep things safe and organized.
Measuring And Marking
Start by measuring each 2×4 carefully. Use a tape measure to get exact lengths. Mark the cut lines with a pencil. Draw straight lines across the wood. Use a square tool to make sure lines are even. Check your marks twice before cutting.
Safe Cutting Techniques
Wear safety glasses to protect your eyes. Use ear protection if the saw is loud. Hold the wood firmly on a stable surface. Cut slowly to keep control of the saw. Keep fingers away from the blade. Stop cutting if the saw gets stuck.
Organizing Cut Pieces
After cutting, sort pieces by size and purpose. Label each piece with its use, like “side rail” or “leg.” Stack wood neatly to avoid damage. Keep your workspace clean to find parts easily. Organized pieces speed up the building process.
Building The Bed Frame
Building the bed frame is the most important step in making a bunk bed with 2×4 lumber. The frame holds everything together and supports the weight. Strong joints and careful measuring create a safe and sturdy bed. Follow these steps to build a solid frame that lasts.
Assembling The Side Rails
Cut four 2×4 pieces to the desired length for the side rails. These rails run along the length of the bed. Lay them flat on a clean surface. Use wood glue on the ends and join the rails with screws. Make sure the rails are straight and even. Double-check the length before securing the screws.
Constructing The Head And Foot Boards
Cut four 2×4 pieces for the head and foot boards. These boards hold the side rails in place. Arrange the pieces in a rectangle shape. Use wood glue and screws to connect the boards. Drill pilot holes to prevent the wood from splitting. Check for square corners using a carpenter’s square.
Joining The Frame Components
Attach the side rails to the head and foot boards to form the frame. Apply wood glue on the ends of the rails. Use clamps to hold pieces tightly. Drive screws through the head and foot boards into the rails. Make sure the frame stays square during assembly. Tight joints create a strong foundation for the bunk bed.
Adding Support And Slats
Adding support and slats is a key step in building a strong bunk bed with 2x4s. Proper support prevents wobbling and ensures safety. Slats hold the mattress and give comfort. This part needs careful measuring and solid attachments.
Installing Center Supports
Start by cutting a center support beam from a 2×4. Place it under the middle of the bed frame. Attach it firmly to the side rails using wood screws. This beam stops the bed from sagging in the center. Make sure it is straight and tight.
Spacing And Attaching Slats
Cut several slats from 2×4 pieces for the mattress base. Space the slats evenly, about 3 inches apart. This allows air to flow and keeps the mattress fresh. Secure each slat to the side rails with screws. Check that all slats are level and strong.
Reinforcing For Stability
Add corner braces where the bed frame joints meet. Use metal brackets or extra wood blocks for this. Tighten all screws and bolts to avoid any movement. Test the bed by pressing and shaking gently. Reinforce any weak spots for lasting stability.
Constructing The Ladder
Constructing the ladder is a key step in building your bunk bed. It ensures safe and easy access to the top bunk. The ladder must be strong, stable, and comfortable to climb. Using 2×4 lumber makes this possible with simple tools and clear steps.
Designing A Safe Ladder
Start by planning the ladder size and shape. The ladder should be tall enough to reach the top bunk. Space the steps evenly, about 10 to 12 inches apart. Make sure the steps are wide enough for feet to rest securely. Avoid sharp edges by sanding all surfaces smooth. Think about adding side rails for extra support and safety.
Cutting And Assembling Steps
Cut the 2×4 pieces for the ladder sides and steps. Use a saw to ensure clean, straight cuts. Measure twice before cutting to avoid mistakes. Attach the steps perpendicular to the sides with wood screws. Drill pilot holes to prevent wood from splitting. Check each step for level and adjust if needed. Sand all edges to keep the ladder smooth and safe.
Securing The Ladder To The Bed
Attach the ladder firmly to the bunk bed frame. Use brackets or strong screws to fix the ladder in place. Position the ladder at a slight angle for easier climbing. Make sure it does not wobble or move. Test the ladder by applying weight gradually. Tighten all screws for a solid hold. Your ladder should feel steady and safe before use.
Finishing Touches
Finishing touches make your bunk bed safe and beautiful. These steps help protect the wood and prevent injuries. A smooth and well-painted bed looks great in any room. Safety rails keep sleepers secure, especially children. Follow these simple steps to complete your project with care.
Sanding And Smoothing Edges
Use medium-grit sandpaper to smooth rough surfaces. Sand all edges and corners carefully. Check for splinters or sharp points. Finish with fine-grit sandpaper for a soft touch. Wipe dust away with a damp cloth. This step prevents scratches and splinters.
Applying Paint Or Stain
Choose paint or stain that suits your room style. Use a brush or roller for even coverage. Apply thin coats and let each dry fully. Paint protects wood from moisture and wear. Stain shows natural wood grain and adds color. Finish with a clear sealant for extra protection.
Adding Safety Rails
Attach safety rails on the top bunk’s sides. Use strong screws and brackets for stability. Make sure rails are high enough to prevent falls. Check for any gaps where a child could slip. Test the rails by applying pressure. Safety rails give peace of mind and protect sleepers.
Maintenance Tips
Maintaining your bunk bed made from 2×4 lumber is important for safety and durability. Regular care keeps the bed sturdy and safe for use. Simple steps can prevent accidents and extend the bed’s life.
Regular Safety Checks
Check the bunk bed every few weeks. Look for cracks or splits in the wood. Make sure the bed frame is stable and not wobbly. Inspect the guardrails and ladder for secure attachment. Safety checks help spot problems early before they become serious.
Tightening Screws And Bolts
Screws and bolts can loosen over time. Use a screwdriver or wrench to tighten them regularly. Focus on joints and connection points. Tight hardware keeps the bed solid and prevents creaking or shifting. Check all fasteners for rust or damage and replace if needed.
Cleaning And Upkeep
Keep the wood clean to avoid dirt build-up. Dust the bed weekly with a soft cloth. Wipe spills immediately to prevent stains. Use mild soap and water for deeper cleaning. Avoid harsh chemicals that may damage the wood finish. Clean wood lasts longer and looks better.
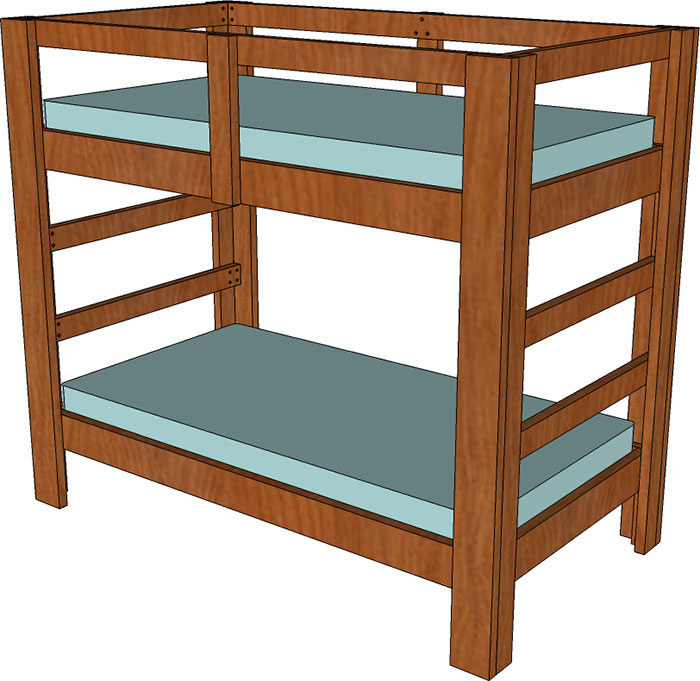
Credit: jayscustomcreations.com
Frequently Asked Questions
What Tools Are Needed To Build A Bunk Bed With 2x4s?
You need a saw, drill, screws, measuring tape, level, and clamps. These tools help cut, assemble, and secure the 2×4 wood accurately and safely.
How Long Does It Take To Build A Bunk Bed With 2x4s?
Building a bunk bed with 2x4s typically takes 6 to 10 hours. Time varies by skill level and design complexity.
Are 2x4s Strong Enough For Bunk Bed Construction?
Yes, 2x4s are strong and durable when used properly. Reinforce joints and use quality wood for safety.
How Much Does It Cost To Build A 2×4 Bunk Bed?
Materials usually cost between $100 and $200. Costs depend on wood quality, hardware, and additional features.
Conclusion
Building a bunk bed with 2×4 wood is a smart choice. It saves money and gives you a strong, sturdy bed. Follow each step carefully for safety and good results. Take your time cutting and assembling the pieces. Always check the bed for stability before use.
This project adds space and fun to any room. Enjoy your new bunk bed and the effort you put in. Simple tools and wood can create something useful and nice. Keep safety first, and your bed will last a long time.