Have you ever wanted a beautiful bookshelf but didn’t have power tools? Maybe you think building one is too hard or only for experts.
The good news is—you can build a sturdy, stylish bookshelf using just simple hand tools and a bit of patience. Imagine having a custom piece that fits perfectly in your space, made by your own hands. Keep reading, and I’ll show you exactly how to do it step-by-step, without any noisy or expensive equipment.
Your new bookshelf is closer than you think!
Credit: www.costco.com
Choosing The Right Materials
Choosing the right materials is key to building a strong bookshelf without power tools. Good materials make the project easier and the final product better. Focus on simple, sturdy wood and basic supplies. This approach keeps the process smooth and enjoyable.
Selecting Wood Types
Choose wood that is easy to work with by hand. Pine is soft and simple to cut and shape. It is also affordable and widely available. Avoid hardwoods like oak or maple, as they are hard to saw without power tools. Plywood can work well too, especially for shelves. Look for smooth, straight boards with few knots. This reduces splintering and makes sanding easier.
Gathering Basic Supplies
Gather a handsaw, hammer, nails, wood glue, and sandpaper. A tape measure and pencil are also important for accuracy. Clamps help hold pieces steady while you work. Choose nails that are not too thick to avoid splitting wood. Sandpaper with medium grit smooths edges and surfaces. Having the right tools and supplies simplifies the building process.
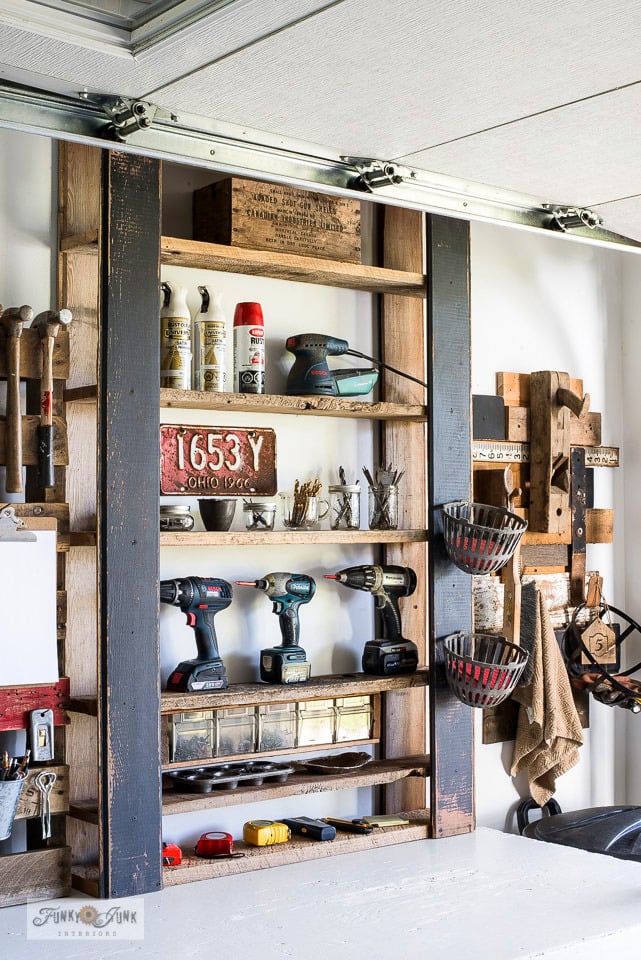
Credit: www.funkyjunkinteriors.net
Planning Your Bookshelf Design
Planning your bookshelf design is the first step in building a sturdy and functional shelf. It helps you use the available space well and match your style. Careful planning saves time and materials during the build. Focus on simple, clear ideas to keep the process smooth.
Measuring Space And Dimensions
Start by measuring the space where the bookshelf will go. Use a tape measure to get width, height, and depth. Write down these numbers to avoid mistakes later. Think about the books or items you want to store. Make sure the shelves will fit the tallest books or objects. Leave some extra room for easy access and future additions.
Sketching Simple Layouts
Draw a basic layout on paper or a notebook. Include the overall shape and shelf positions. Keep the design simple with straight lines and even spaces. Mark each shelf’s height to fit different book sizes. This sketch will guide you during cutting and assembling. It also helps check if the design fits your space well.
Cutting Wood Manually
Cutting wood without power tools requires patience and the right technique. This step is important when building a sturdy bookshelf. Manual cutting gives you control and safety. It also helps to work quietly and carefully.
Using simple tools like a handsaw can make the job easier. Preparing the wood before cutting ensures better results. Focus and steady hands will improve your cuts. Let’s explore how to cut wood manually for your bookshelf project.
Using A Handsaw Effectively
Choose a handsaw with sharp teeth for smooth cuts. Hold the saw handle firmly but not too tight. Start the cut slowly to make a small groove. Use long, even strokes to cut through the wood. Keep the saw straight to avoid angled edges. Rest your free hand on the wood for stability. Take breaks if your arm gets tired. Clean saw teeth help the blade move easier. Always cut on a safe surface or workbench. Practice on scrap wood to gain confidence.
Marking Accurate Lines
Use a pencil and a ruler to mark cut lines clearly. Measure twice to avoid mistakes that waste wood. Draw lines on the wood face you want to see. Use a square tool to make straight, right-angle lines. Mark both sides of thick wood for precision. Hold the ruler steady while drawing the line. Clear lines guide your saw and improve accuracy. Check marks again before starting the cut. Good marks reduce the chance of uneven cuts. Precision in marking saves time and effort later.

Credit: www.reddit.com
Joining Pieces Without Power Tools
Joining the wooden pieces is key when building a bookshelf without power tools. Strong joints keep the shelf sturdy and safe. You can connect the parts easily with simple tools and materials. This section covers two effective ways to join wood without power tools.
Using Nails And Hammer
Nails and a hammer are classic tools for wood joining. Choose nails that fit the wood thickness. Hold the pieces tightly together before nailing. Tap the nails gently to avoid splitting the wood. Drive nails straight for a firm hold. Use enough nails to keep the joint strong. Check the alignment after nailing to keep the shelf even.
Applying Wood Glue For Strength
Wood glue adds extra strength to your joints. Spread glue evenly on the surfaces to join. Press the pieces together firmly and wipe off excess glue. Clamp the parts or hold them tightly until dry. Glue works best on clean and smooth wood. It helps the shelf last longer and hold more weight. Use glue along with nails for a stronger bond.
Sanding And Finishing
After building your bookshelf, sanding and finishing bring out its best look. Sanding smooths rough edges and prepares wood for paint or stain. Finishing protects the wood from damage and makes it last longer. Both steps are important for a neat, polished result.
Sanding Techniques By Hand
Use sandpaper with different grit sizes. Start with a coarse grit, like 80 or 100, to remove rough spots. Then switch to medium grit, such as 150, for a smoother surface. Finish with fine grit, around 220, to make the wood soft to touch.
Always sand along the wood grain, not across it. This prevents scratches and keeps the wood looking natural. Use a sanding block or wrap sandpaper around a small piece of wood. This helps keep even pressure and avoid uneven spots.
Check your progress often by running your hand over the surface. Stop sanding when the wood feels smooth and looks even. Remove dust with a damp cloth before moving to finishing.
Choosing Paints And Stains
Pick paints or stains that suit your bookshelf style. Paint covers the wood and gives a solid color. Choose water-based paint for easy cleanup and less smell. Stains soak into the wood and highlight its natural patterns.
Test your color on a small, hidden spot first. This shows how it will look once dry. Use a brush or cloth to apply stain in thin, even coats. Let each coat dry fully before adding another.
For both paint and stain, apply a clear finish like varnish or polyurethane. This seals the surface and protects against scratches and spills. Use a soft brush and work in thin layers for the best finish.
Frequently Asked Questions
What Materials Do I Need To Build A Bookshelf Without Power Tools?
You need wood boards, nails or screws, hammer, measuring tape, pencil, sandpaper, wood glue, and clamps. Choose sturdy wood like pine or plywood for durability. These basic tools and materials help you build a strong bookshelf without using any power tools.
How Long Does It Take To Build A Bookshelf Manually?
Building a bookshelf without power tools typically takes 4 to 6 hours. Time depends on your skill level and project size. Careful measuring and assembly ensure a sturdy finished product. Patience is key for a clean, professional result without power tools.
Can I Make A Sturdy Bookshelf Without Screws Or Nails?
Yes, you can use wood glue and clamps for strong joints. Dowel joints and wooden pegs also provide stability. These methods avoid screws or nails while maintaining durability. Ensure tight fitting and sufficient drying time for the best results.
What Safety Tips Should I Follow When Building Without Power Tools?
Always wear safety goggles to protect your eyes from dust and splinters. Use gloves to avoid cuts and handle tools carefully. Work in a well-ventilated area and keep your workspace organized to prevent accidents. Safety ensures a smooth, injury-free project.
Conclusion
Building a bookshelf without power tools is simple and rewarding. Basic tools and patience bring great results. You can make a sturdy shelf with just hand tools. Take your time and follow each step carefully. This project helps you save money and learn new skills.
Enjoy the process and the shelf you create. Your room will look nicer with a handmade bookshelf. Try it yourself and feel proud of your work.