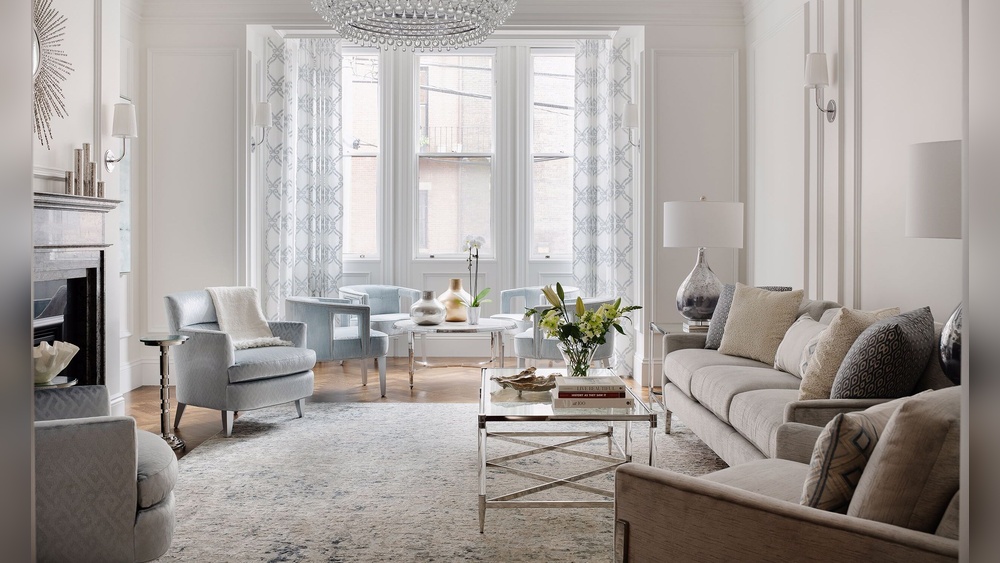
Are you looking to add a stylish and practical piece to your home? A long console table can be just what you need.
It fits perfectly in hallways, behind sofas, or along empty walls, giving you extra space for decor, storage, or everyday essentials. But buying one can be expensive, and finding the right size might be tricky. What if you could build one yourself, tailored exactly to your space and style?
In this guide, you’ll learn simple steps to create a long console table that looks great and lasts. By the end, you’ll have the confidence to bring your vision to life and transform your room with a unique, handmade piece. Ready to get started?
Choosing The Right Materials
Choosing the right materials is key to building a sturdy and beautiful long console table. The materials affect the table’s strength, look, and durability. Picking the best wood and hardware ensures the project goes smoothly. This step helps create a table that lasts and fits your style.
Selecting Wood Types
Choose wood that matches your budget and style. Pine is soft, easy to work with, and affordable. Oak is strong and has a nice grain but costs more. Maple offers a smooth finish and stands up well to wear. For a rustic look, consider reclaimed wood. Make sure the wood is dry and free from cracks. This prevents warping and damage over time.
Tools And Hardware Needed
Gather the right tools before starting your project. A saw helps cut the wood to size. Sandpaper smooths rough edges and surfaces. Wood glue strengthens joints. Screws and nails hold parts together firmly. A drill makes holes for screws. Clamps keep pieces steady while glue dries. Choose hardware that matches your wood and style. Using the right tools makes the build easier and safer.
Planning Your Console Table
Planning is the first step to build a long console table. It helps avoid mistakes and saves time. A good plan includes size and style decisions. These guide your work and make the table fit your space perfectly.
Determining Dimensions
Measure the area where the console table will go. Note the length, width, and height limits. Make sure the table does not block walkways or doors. Choose a length that balances the wall space.
Pick a width that fits narrow spaces but holds items well. The height should match other furniture or be easy to use. Write down these numbers before buying materials.
Designing The Style
Think about the room’s look before designing your table. Match the table style with your home’s decor. Choose a simple, modern, or classic design. Consider shapes, colors, and wood types.
Decide if you want extra features like shelves or drawers. These add function and style. Sketch your design to visualize the final product clearly.
Preparing The Wood
Preparing the wood is the first step to build a long console table. It ensures the wood is ready for assembly. Proper preparation helps the table look neat and last longer.
Good preparation means measuring and cutting the wood correctly. It also means making the wood surface smooth for a better finish. These tasks need care and attention.
Measuring And Cutting
Start by measuring the length and width of each table part. Use a tape measure for exact numbers. Mark the wood with a pencil to guide your cuts.
Cut the wood using a saw. Follow the marks carefully. Take your time to make straight and clean cuts. This step affects how well the pieces fit together.
Sanding For Smoothness
After cutting, sanding the wood is important. Use sandpaper to remove rough spots and splinters. Sand along the grain for a smooth surface.
Work on all edges and flat surfaces. This makes the wood safe to touch and ready for painting or staining. Smooth wood gives a better look and feel to your table.
Assembling The Frame
Assembling the frame is the first step in building a long console table. This part creates the base that supports the entire table. A strong frame ensures the table stays stable and lasts longer. Follow clear steps to join the wood pieces and attach the legs firmly. This will make your table sturdy and safe to use.
Joining Techniques
Start by cutting all wood pieces to the right size. Use wood glue on the edges to hold pieces together. Then, reinforce the joints with screws or nails. Choose screws for a stronger hold. Drill pilot holes before screwing to avoid splitting the wood. Check the corners with a square tool to keep them straight. Clamps help keep the frame tight while the glue dries. Let the glue set for at least one hour before moving on.
Securing The Legs
Attach the legs to the frame using metal brackets or wooden blocks. Place the legs at each corner for balance. Use screws to fasten the legs securely to the frame. Drill pilot holes to prevent cracks. Make sure all legs are the same height to avoid wobbling. Test the frame by placing it on a flat surface. Adjust or tighten screws if the frame feels loose or uneven.
Adding The Tabletop
Adding the tabletop is a key step in building your long console table. This part creates the main surface for use and display. Proper attachment and stability ensure the table lasts long and looks great.
Attaching The Surface
Place the tabletop carefully on the frame. Align edges for a neat fit. Use clamps to hold the surface steady. Drill pilot holes to avoid splitting the wood. Secure the tabletop with screws or brackets. Check that the screws are tight but not too tight.
Ensuring Stability
Stability keeps the table safe and strong. Add corner braces underneath for extra support. Use wood glue along joints to prevent movement. Test the table by pressing gently on the surface. Make adjustments if it wobbles or feels loose. Tighten all fasteners again after testing.

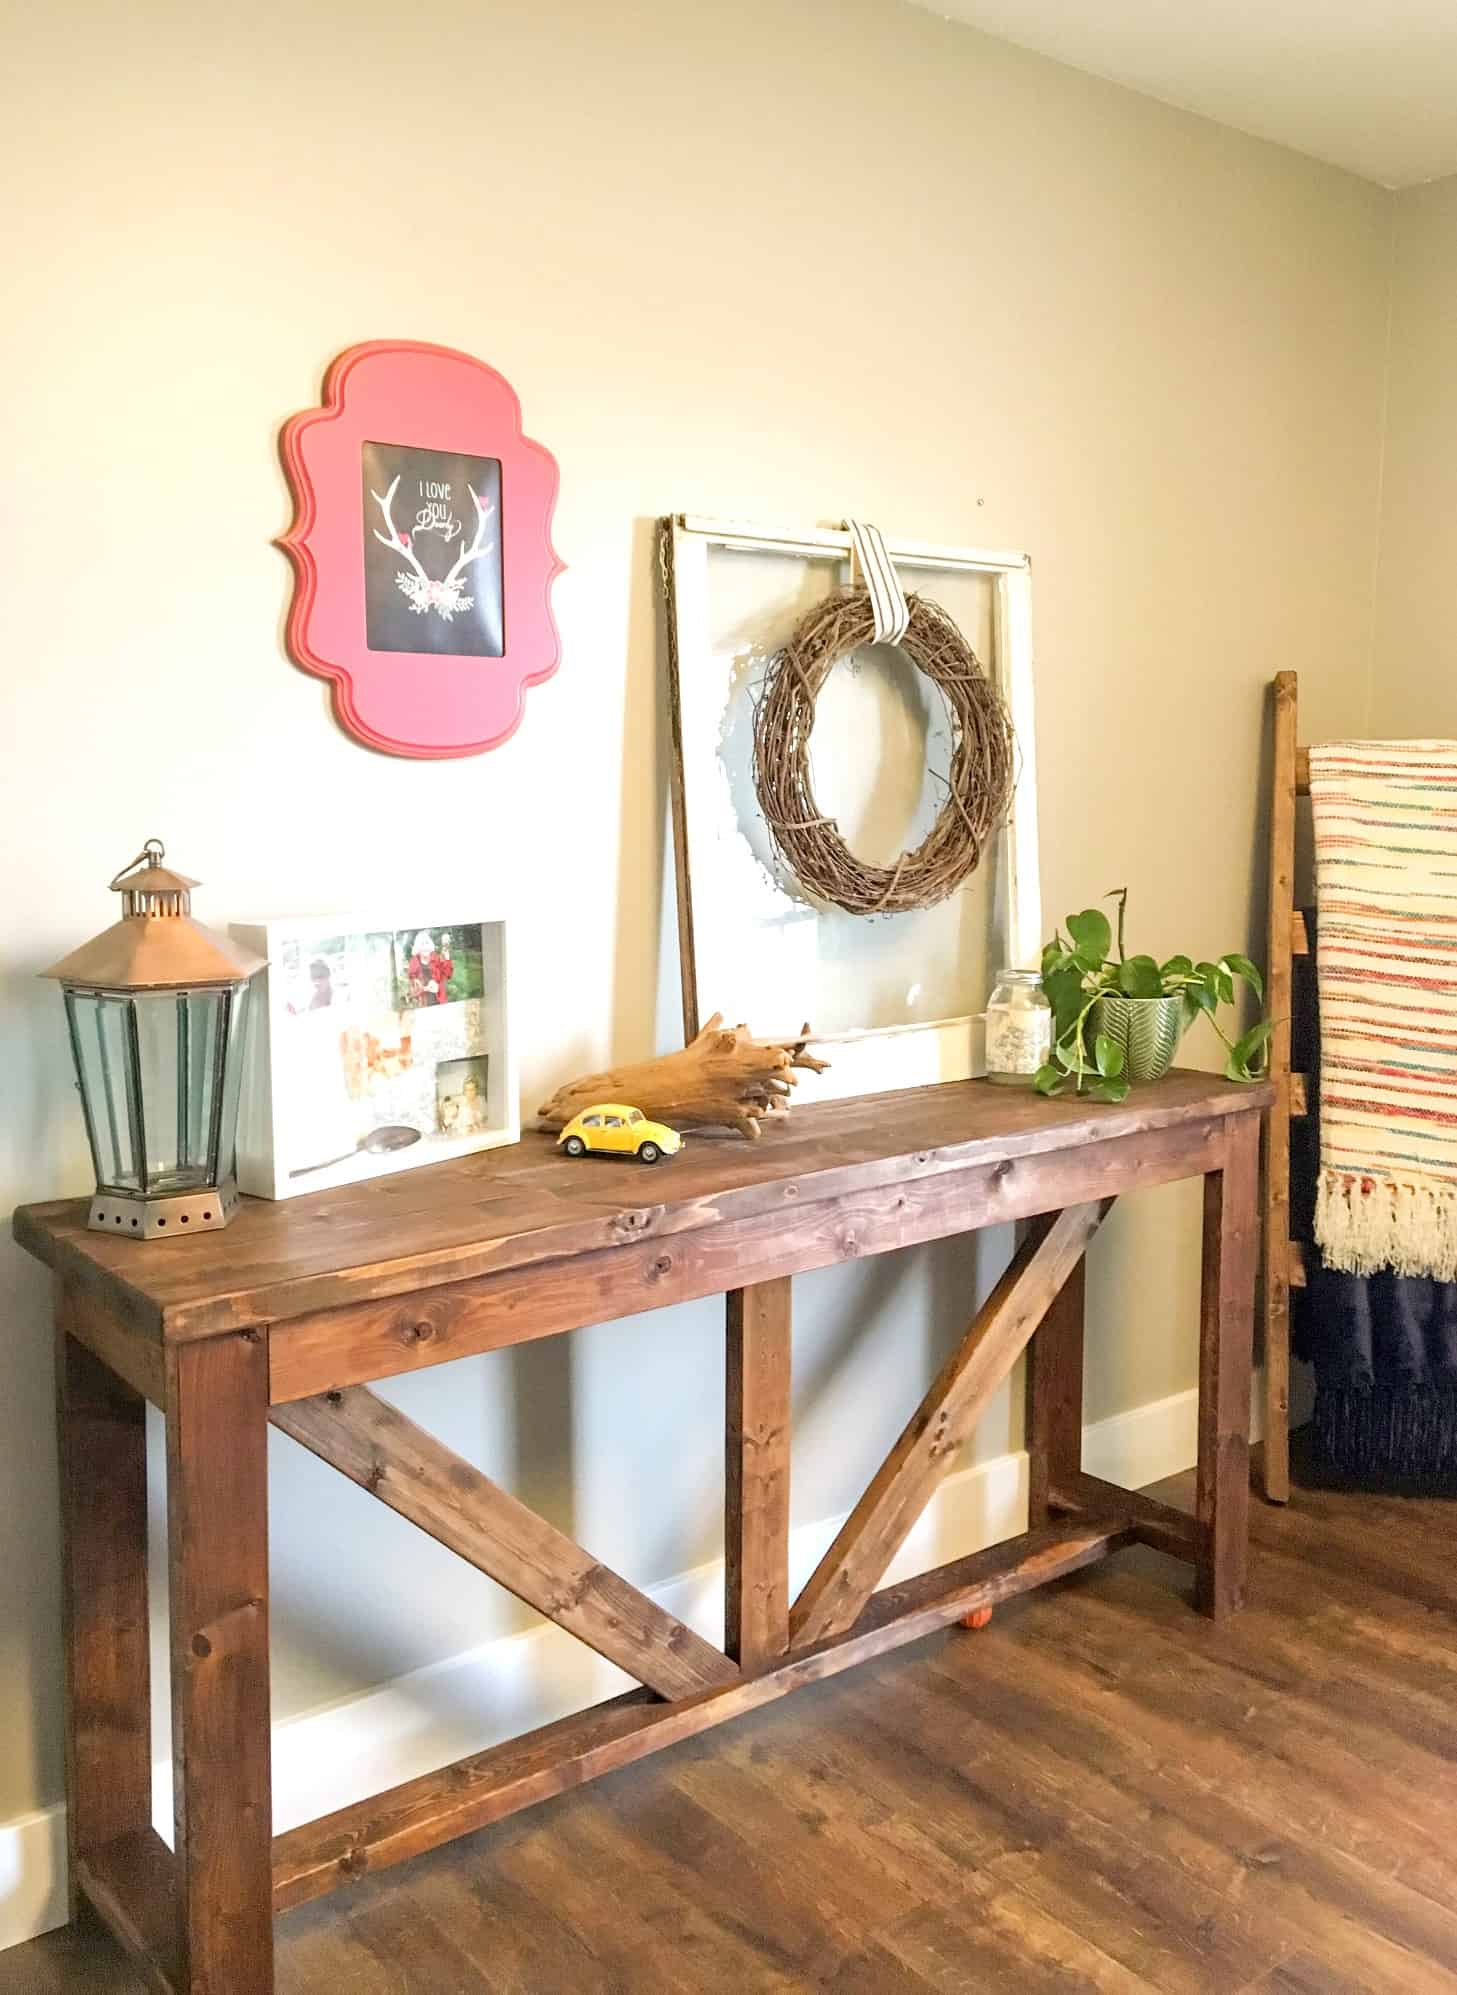
Credit: hambelsgetreal.com
Finishing Touches
Finishing touches give your long console table a polished look. These steps protect the wood and bring out its beauty. Taking time here makes a big difference in the final result.
Applying Stain Or Paint
Choose a stain or paint color that matches your room style. Stain highlights the wood grain and adds richness. Paint offers a smooth, colorful finish. Use a brush or cloth to apply evenly. Let each coat dry fully before adding another. Light sanding between coats helps the surface stay smooth.
Sealing For Durability
Sealing protects your table from scratches and spills. Use a clear polyurethane or varnish for best results. Apply thin coats with a clean brush. Allow drying time between coats for strong protection. Seal both the top and legs for full coverage. A sealed table lasts longer and stays beautiful.
Tips For Maintenance
Maintaining a long console table keeps it looking fresh and strong for years. Simple care helps avoid wear and damage. Follow these easy tips to protect your table’s beauty and function.
Cleaning Advice
Dust your console table often with a soft cloth. Use a dry microfiber cloth to avoid scratching. For sticky spots, dampen the cloth slightly with water. Avoid harsh cleaners that can strip the finish. Always wipe in the direction of the wood grain.
Preventing Damage
Use coasters under drinks to stop water rings. Place felt pads under decorative items to prevent scratches. Keep the table out of direct sunlight to avoid fading. Avoid placing heavy objects that can cause dents. Check and tighten screws regularly to keep the table stable.
Credit: aturtleslifeforme.com
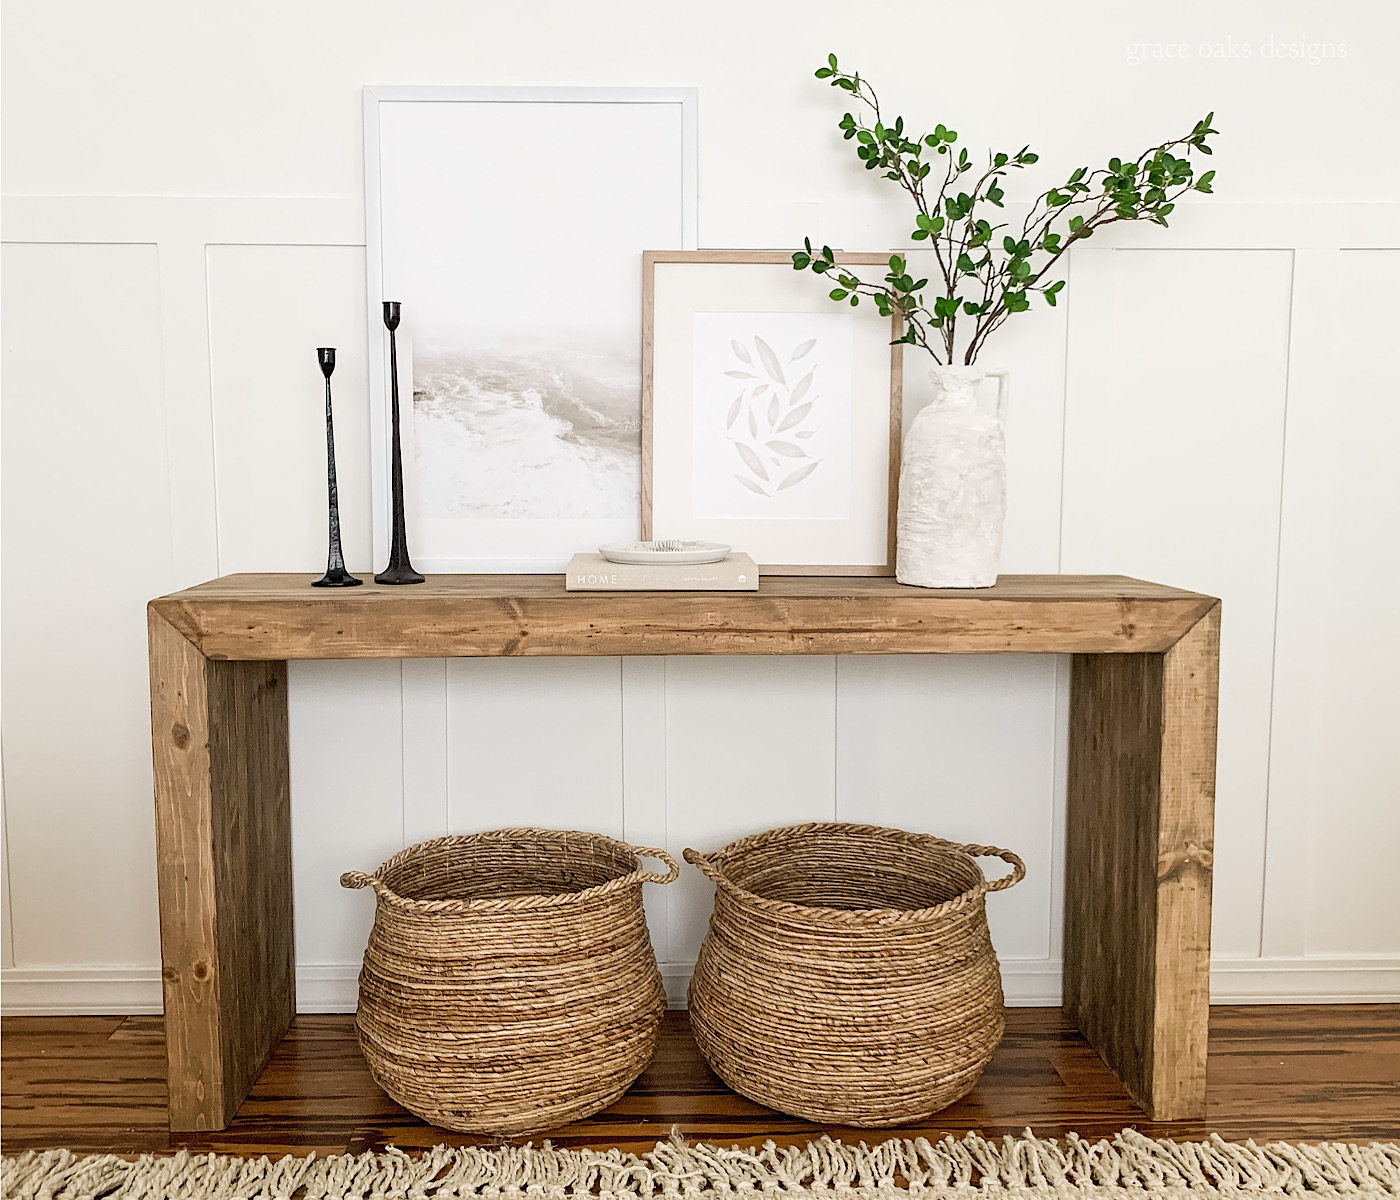
Credit: graceoaksdesigns.com
Frequently Asked Questions
What Materials Are Best For Building A Long Console Table?
Wood like pine, oak, and plywood are ideal for console tables. They offer durability and a smooth finish. Choose quality wood for stability and aesthetics. Metal legs or accents can add modern flair and extra support.
How Do I Measure Space For A Long Console Table?
Measure the wall length where you plan to place the table. Leave at least 4-6 inches clearance on each side. Consider the table height in relation to nearby furniture for balance. Accurate measurements ensure a perfect fit.
What Tools Do I Need To Build A Console Table?
Basic tools include a saw, drill, screwdriver, measuring tape, and sander. Clamps help hold pieces while assembling. Safety gear like goggles and gloves is essential. Proper tools make the process efficient and safe.
How Can I Ensure Stability In A Long Console Table?
Use sturdy legs or supports spaced evenly under the table. Attach cross braces or a stretcher bar for added strength. Secure all joints tightly with screws or wood glue. Stability prevents wobbling and increases table lifespan.
Conclusion
Building a long console table can be simple and fun. Follow the steps carefully and use the right materials. Take your time to measure and cut with care. A good finish makes your table look great and last longer. This project adds style and function to any room.
Enjoy the process and the new piece you create. Keep practicing to improve your woodworking skills. Your space will feel more personal and inviting with a handmade table.