Are you looking for a smart way to save space and add style to your child’s room? A half story bunk bed might be just what you need.
It’s perfect for creating extra sleeping space without crowding the room. Imagine having a cozy bed on top and a fun, open area below for play or study. In this guide, you’ll discover simple steps to build your own half story bunk bed, even if you’re new to DIY projects.
By the end, you’ll have a unique, functional piece that your child will love—and you’ll feel proud of what you created. Ready to get started? Let’s dive in!
Materials And Tools Needed
Building a half story bunk bed needs the right materials and tools. This step is important to make sure the bed is strong and safe. Choosing good wood, the right hardware, and proper tools will help the project go smoothly. Prepare everything before you start cutting or assembling.
Essential Wood Types
Use solid wood like pine or oak for the frame. Pine is light and easy to work with. Oak is stronger but a bit heavier. Avoid soft or weak wood like plywood for main parts. Use smooth, straight boards without knots or cracks. The bed needs sturdy wood for safety and durability.
Hardware And Fasteners
Get screws, bolts, and brackets made for furniture. Use wood screws that are long enough to hold pieces firmly. Metal corner brackets add extra support at joints. Include washers and nuts for bolts to keep them tight. Sandpaper and wood glue help with smooth finishes and stronger joints.
Required Tools
Have a drill with different bits for screws and holes. A saw is needed to cut wood to size. Use a screwdriver or power driver for fasteners. A tape measure and square ensure accurate measurements and angles. Sanding blocks or electric sanders smooth rough edges. A pencil helps mark cuts and drill spots.
Design And Measurements
Design and measurements are the first steps to build a half story bunk bed. A good plan helps create a safe and comfortable bed. It saves time and materials. Careful measurement keeps everything fitting perfectly.
Think about who will use the bed. Children need different sizes than adults. The bed must fit the room well. Space under the bed is useful for play or storage.
Choosing The Right Dimensions
Start by measuring the room size. Allow space around the bed for moving. Decide the mattress size: twin, full, or custom. The height should be enough to sit up on the lower bed.
Consider the height of the top bunk. Make sure there is enough headroom. Safety is key. Include guardrails and a sturdy ladder. Keep the bed low enough for easy climbing.
Sketching Your Plan
Draw a simple sketch of the bed. Include all parts: frame, mattress, ladder, and rails. Mark the measurements clearly on your drawing. Use a ruler for straight lines and accuracy.
Check the sketch for balance and stability. Think about how pieces will fit together. Plan where to place screws and supports. A clear plan helps avoid mistakes during building.
Cutting The Wood Pieces
Cutting the wood pieces is a key step in building a half story bunk bed. This stage shapes the parts that will fit together to create a strong frame. Accurate cutting ensures the bed is safe and stable. Take your time and prepare before starting.
Use the right tools and clear measurements. Precise cuts help avoid gaps or weak spots. Safety is important while handling saws and sharp tools.
Safety Tips For Cutting
Always wear safety goggles and gloves. Protect your eyes from wood chips. Use ear protection if the saw is loud. Keep your fingers away from the blade. Work on a stable surface to avoid slips. Turn off tools when not in use. Keep the workspace clean and free of clutter.
Accurate Measurements For Cuts
Measure twice, cut once. Use a tape measure and a pencil to mark wood. Double-check all measurements before cutting. Use a square tool to mark straight lines. Cut slowly and follow the marked lines carefully. Smooth edges with sandpaper after cutting. Accurate cuts help the bed fit together well.
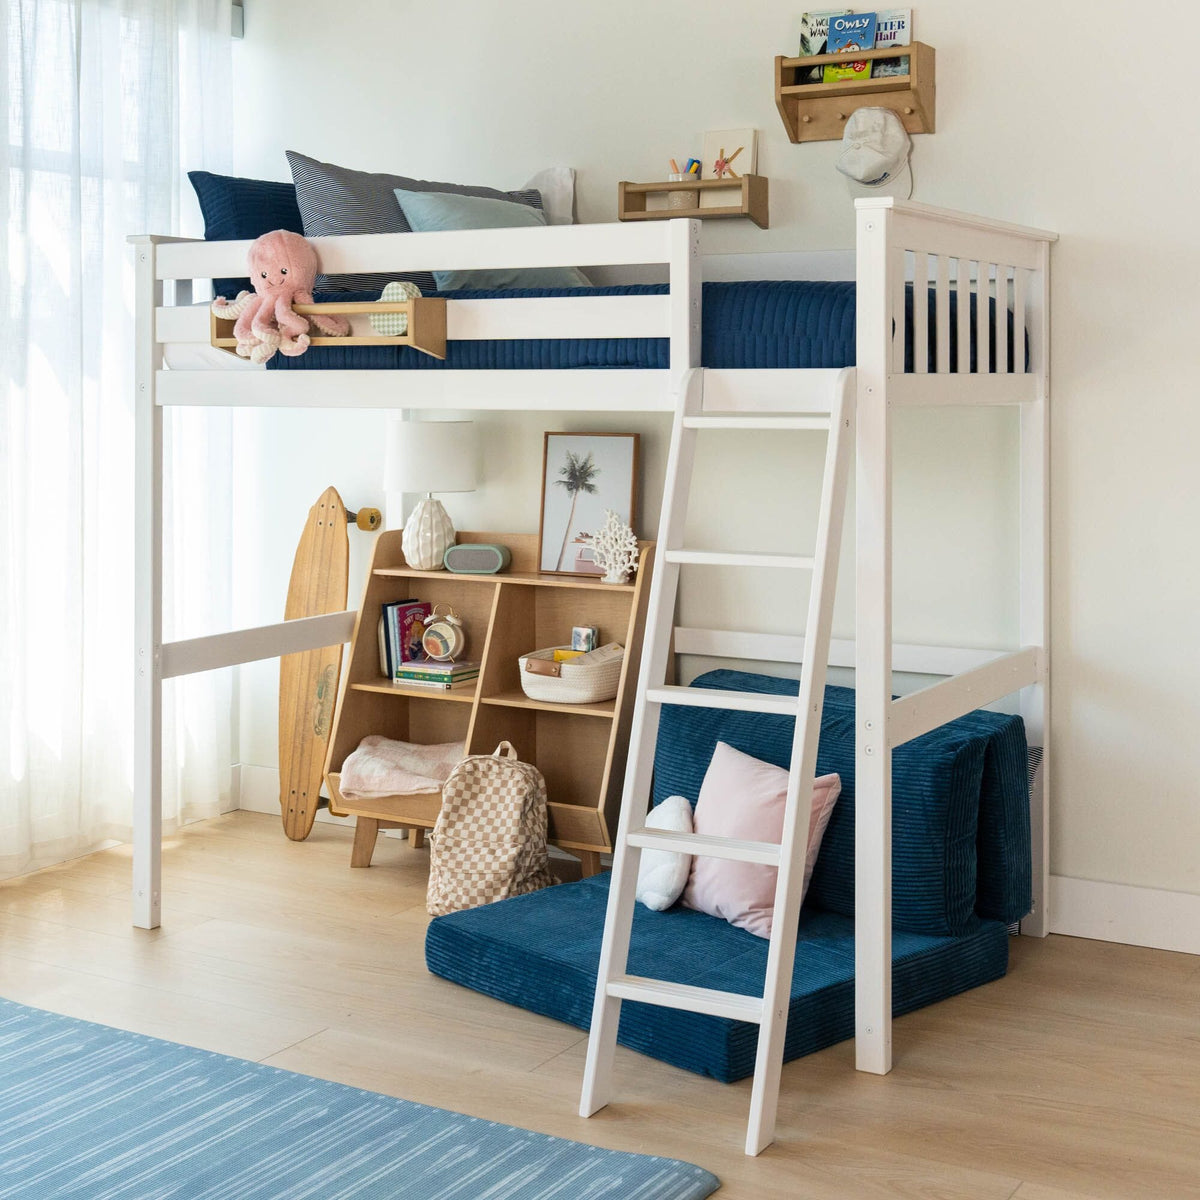
Credit: maxandlily.com
Assembling The Frame
Assembling the frame is the key step in making your half story bunk bed sturdy and safe. This part involves putting together the base, guardrails, and ladder. Each piece must fit perfectly. It gives the bed its shape and strength. Follow the steps carefully to avoid mistakes. Take your time and check each part as you go.
Building The Base
Start by laying out all base parts on a flat surface. Join the side rails with the end pieces using screws. Make sure corners are square and tight. Add support slats evenly across the frame. These hold the mattress and keep it firm. Double-check all screws are secure before moving on.
Constructing The Guardrails
Next, assemble the guardrails to protect the sleeper. Attach vertical posts to the bed frame corners first. Then fix horizontal rails between these posts. Space the rails closely for safety. Use strong screws and bolts to hold everything in place. The guardrails should feel solid and stable.
Adding The Ladder
The ladder allows easy access to the top bunk. Attach its side rails to the bed frame securely. Fix the steps evenly between these side rails. Each step must be level and firmly fastened. Check the ladder’s angle for comfortable climbing. Tighten all screws for safety before use.
Sanding And Finishing
Sanding and finishing are key steps in building a half story bunk bed. These steps make the wood smooth and safe. They also improve the bed’s look and protect the wood from damage. Take time to do this part well. It helps the bed last longer and look better in your home.
Smoothing Rough Edges
Start by sanding all the wood surfaces with sandpaper. Use medium grit first to remove big rough spots. Then, switch to fine grit sandpaper for a smooth finish. Focus on edges and corners to avoid splinters. Sand in the direction of the wood grain. Check the wood by running your hand over it. Keep sanding until it feels soft and even.
Applying Paint Or Stain
Choose paint or stain that fits your room’s style. Paint gives bright colors and covers the wood fully. Stain shows the wood’s natural grain and adds a warm tone. Use a brush or cloth to apply the paint or stain evenly. Let the first coat dry completely before adding a second. Apply a clear sealer to protect the finish. This step helps the bed resist scratches and spills.
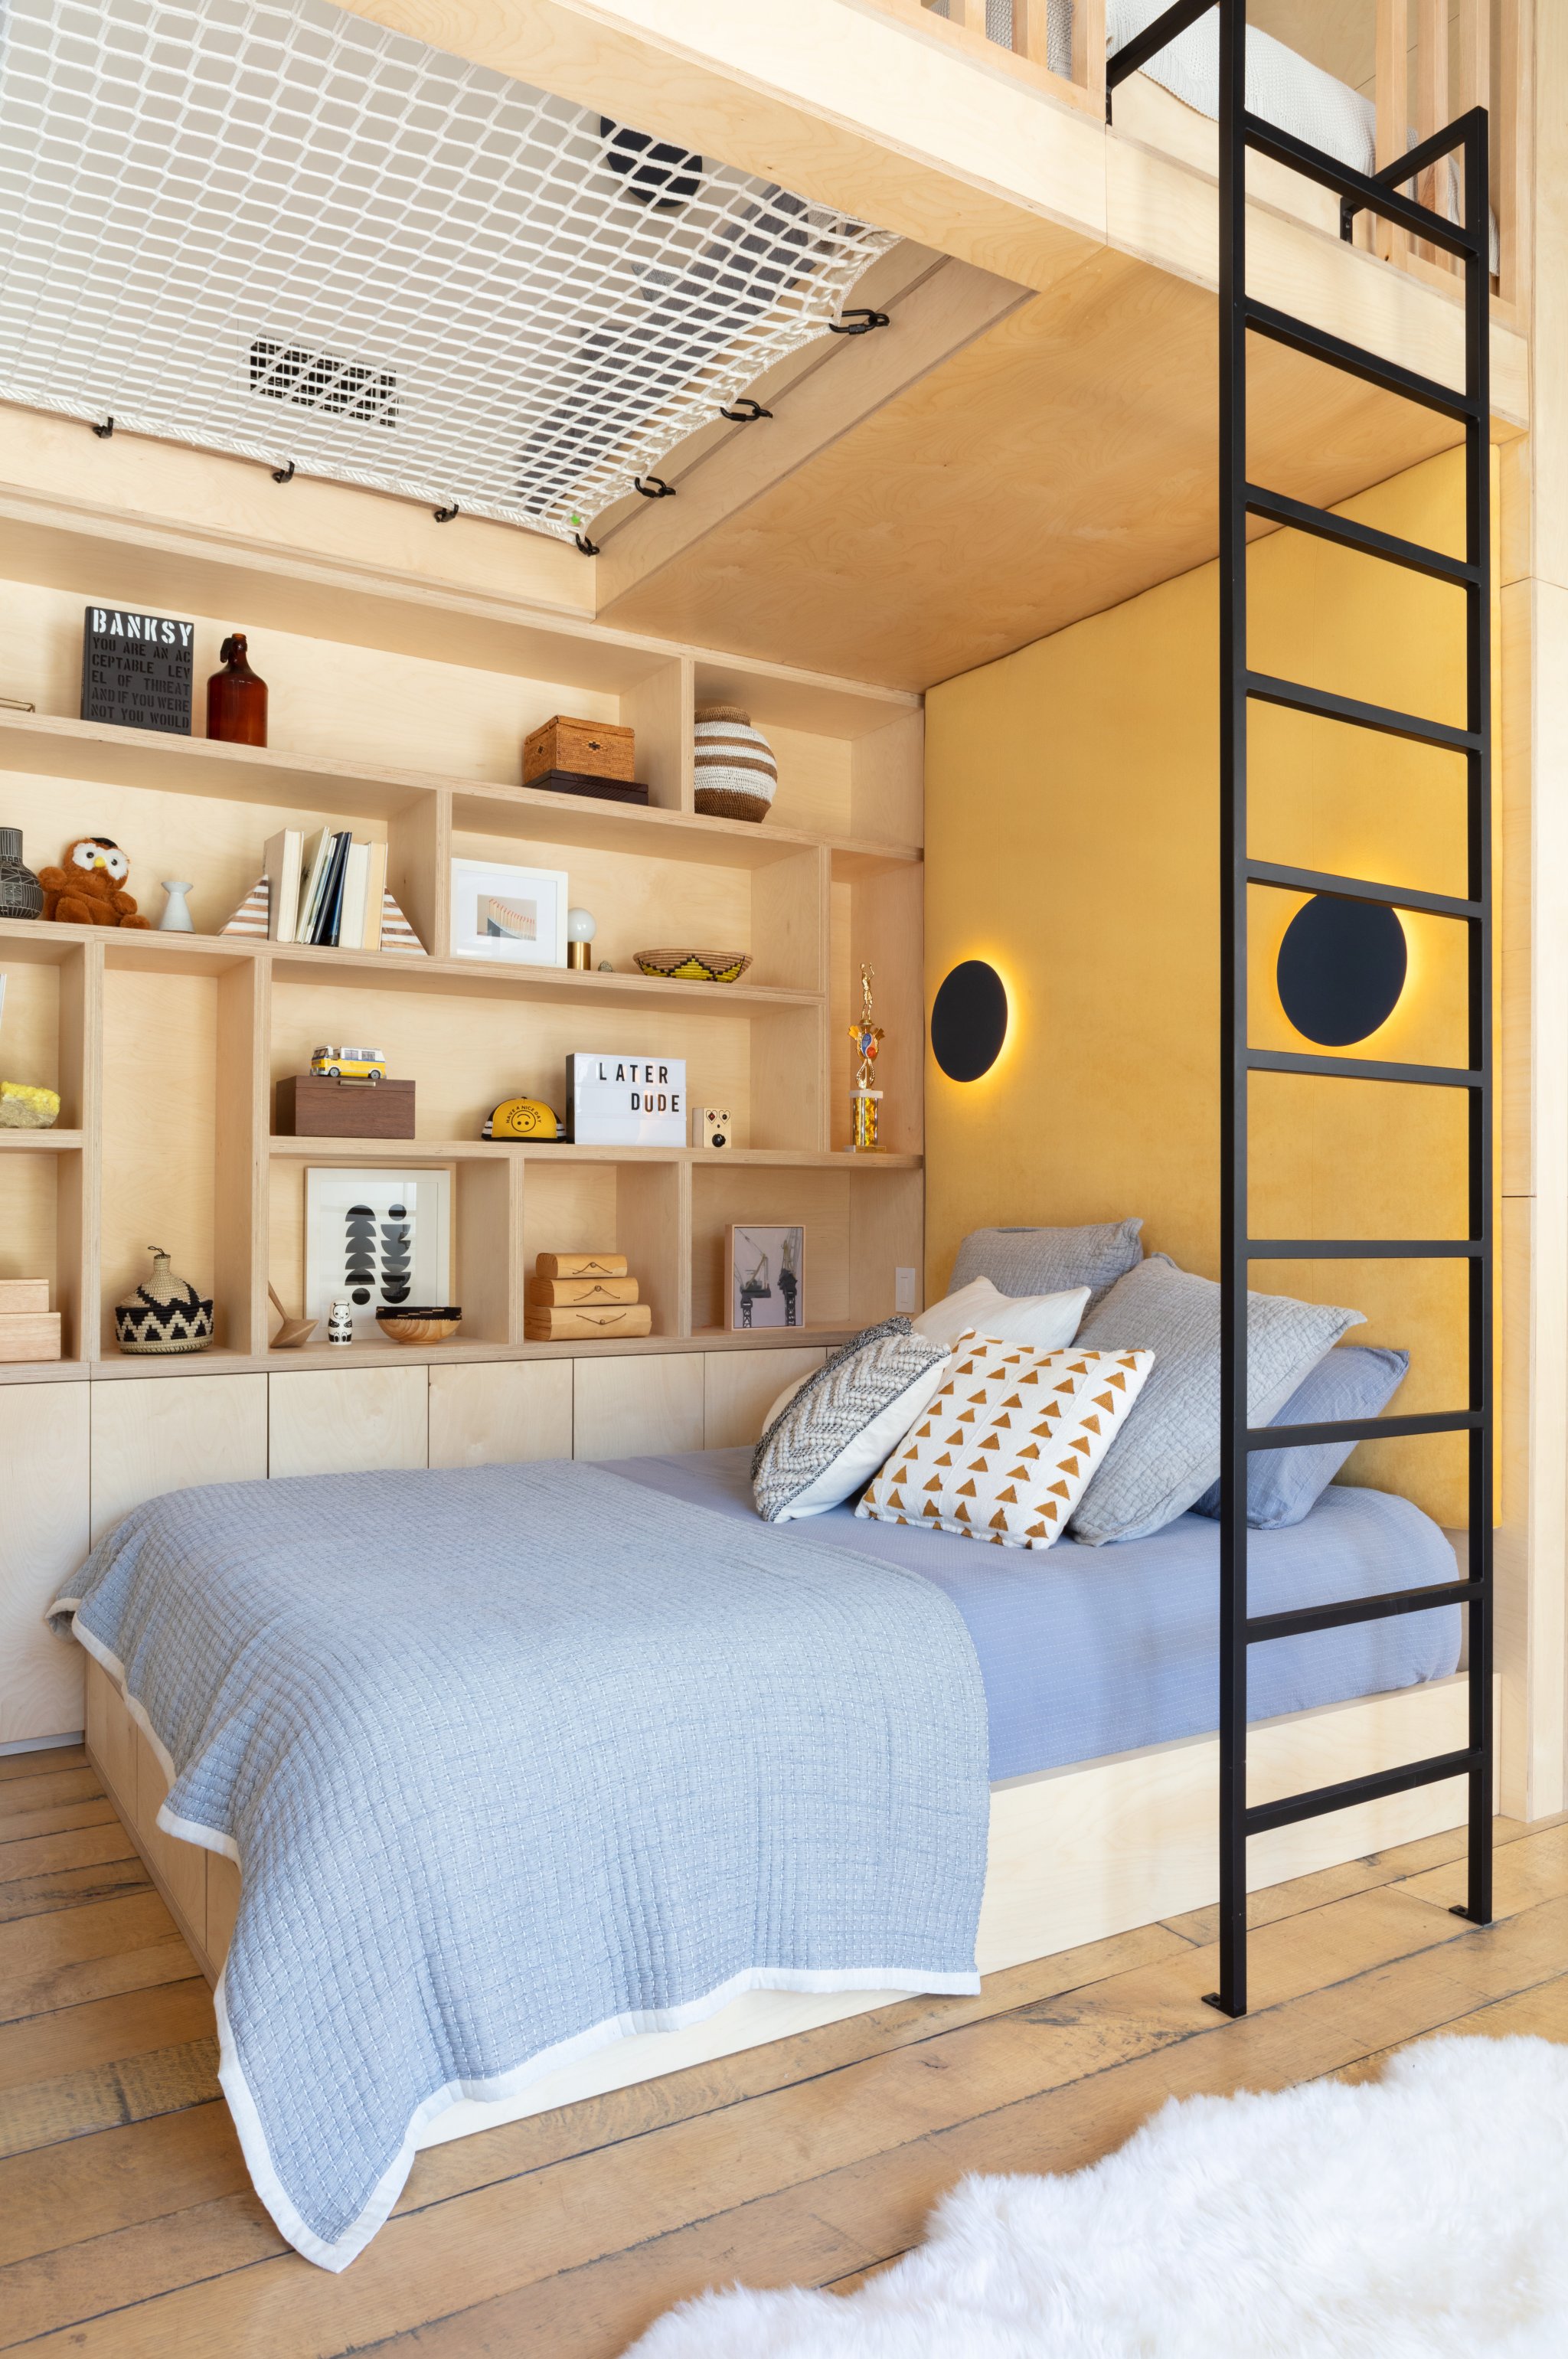
Credit: www.domino.com
Safety Checks And Final Touches
Safety checks and final touches are important before using your half story bunk bed. These steps make sure the bed is strong and safe. They also help the bed look nice and feel comfortable. Take your time to do these carefully. It will keep everyone safe and happy.
Securing Joints And Screws
Check all joints for tightness. Use a screwdriver to tighten screws firmly. Loose screws can cause the bed to wobble. Make sure all bolts are secure and flush. Look for any cracks or weak spots in the wood. Reinforce those areas with extra screws or brackets. This prevents accidents and keeps the bed stable.
Adding Mattress And Bedding
Choose a mattress that fits the bed frame well. It should not be too thick or too thin. Add soft bedding for comfort. Use fitted sheets to keep the mattress in place. Pillows and blankets make the bed cozy and inviting. Check that bedding does not block safety rails or edges. This keeps the sleeping area safe for children.
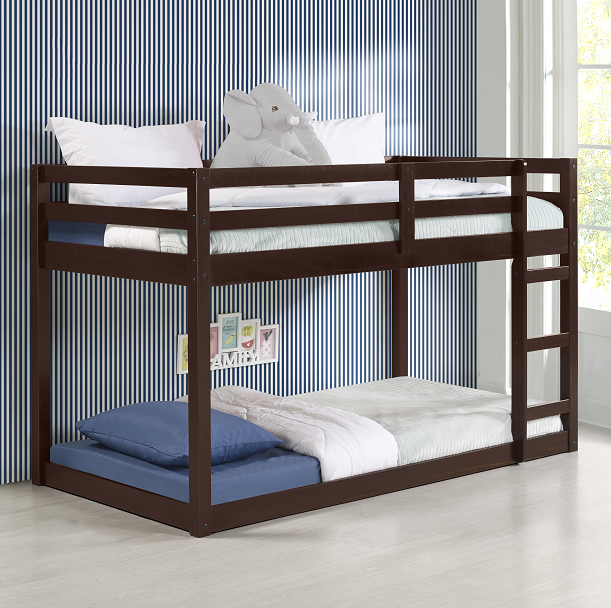
Credit: www.halfpricefurniturestore.com
Frequently Asked Questions
What Materials Are Needed For A Half Story Bunk Bed?
You need plywood or solid wood, screws, bolts, wood glue, sandpaper, paint, and a mattress. Safety rails and a ladder are also essential.
How Long Does It Take To Build A Half Story Bunk Bed?
It typically takes 1 to 2 days depending on your skill level and the complexity of the design. Proper planning speeds up the process.
Is A Half Story Bunk Bed Safe For Children?
Yes, if built with sturdy materials, secure rails, and a stable ladder. Always follow safety guidelines and check weight limits.
Can I Customize The Size Of The Half Story Bunk Bed?
Absolutely, you can adjust height, length, and width to fit your room and mattress size. Custom designs are common.
Conclusion
Building a half story bunk bed can save space and add fun. Follow the steps carefully to ensure safety and strength. Use good materials and check all connections well. Take your time and enjoy the process. This project can bring joy and comfort to any room.
Try it yourself and see how rewarding it feels. Simple tools and patience make a big difference. Your children will love their new bed and space. Keep safety first and have fun building.