Are you looking for a way to add style and function to your space? Imagine having a chair that not only gives you a comfy spot to sit but also holds your favorite books within arm’s reach.
Making your own bookshelf chair is easier than you think, and it’s a project you’ll be proud of. This guide will show you simple steps to create a unique piece that fits your taste and needs. Ready to transform your room and enjoy reading like never before?
Let’s get started!
Materials And Tools Needed
Building a bookshelf chair is a fun project. It needs the right materials and tools. Having these ready makes the process smooth.
Choose strong materials to ensure your chair is safe and sturdy. The right tools help you work faster and better.
Wood Types For The Bookshelf Chair
Use solid wood like pine or oak for strength. Plywood can work for some parts. Avoid soft or thin wood that may break easily.
Fasteners And Hardware
Get wood screws and nails to hold pieces together. Use wood glue for extra strength. Hinges or brackets may be needed for support.
Tools Required
A saw is essential to cut wood to size. A drill helps with screws and holes. Sandpaper smooths rough edges. A screwdriver tightens screws.
Measuring And Marking Supplies
A tape measure ensures precise cuts. Use a pencil to mark wood before cutting. A square helps keep lines straight and angles correct.
Finishing Materials
Choose paint, stain, or varnish to protect wood. Brushes or rags apply finishes evenly. Finishing makes your chair look good and last longer.
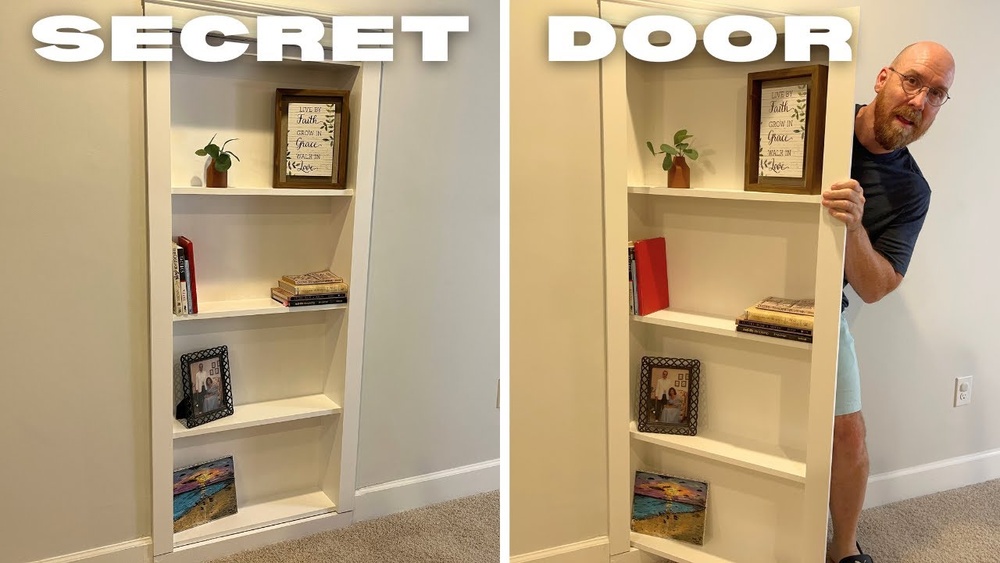
Credit: www.instructables.com
Choosing The Right Design
Choosing the right design for your bookshelf chair is the first step to a perfect project. The design affects comfort, style, and how well it fits your space. Think about how you will use it and where it will go. This helps you pick a design that works best.
Compact Vs Spacious
Decide if you want a compact or spacious bookshelf chair. Compact designs save space and fit small rooms. They often combine tight shelves with a cozy seat. Spacious designs offer more room to sit and store books. These need more space but give extra comfort and storage.
Style Options
Choose a style that matches your room and taste. Modern designs use clean lines and simple shapes. Rustic styles have a warm look with natural wood. Classic designs include curved edges and detailed woodwork. Pick a style that feels right for your home.
Measuring Your Space
Measure the area where you want the bookshelf chair. Note the width, height, and depth available. Check for nearby furniture or doors to avoid blocking them. Accurate measurements keep your chair fitting perfectly. This saves time and effort in building.
Preparing The Wood
Preparing the wood is a key step in building your bookshelf chair. Good preparation makes the wood strong and beautiful. It helps the chair last longer and look better. Follow these steps carefully for the best results.
Selecting Wood Types
Choose wood that is strong and easy to work with. Pine is soft and affordable. Oak is harder and lasts longer. Birch offers a smooth finish and looks nice. Avoid wood with many knots or cracks. These can weaken the chair.
Cutting To Size
Measure the pieces carefully before cutting. Use a saw that fits your skill level. Cut slowly and follow the lines exactly. Keep your cuts straight for a clean fit. Label each piece to avoid confusion later.
Sanding And Finishing
Sand all wood surfaces with fine-grit sandpaper. Smooth edges and corners to prevent splinters. Wipe off dust with a damp cloth. Apply a wood finish or paint to protect the wood. Let it dry fully before assembly.
Building The Frame
Building the frame is the first step to create a strong bookshelf chair. It gives shape and support to the entire piece. A solid frame keeps the chair safe and comfortable. Take your time to measure and cut accurately. Use good quality wood for the best results.
Assembling The Base
Start by cutting the wood pieces for the base. The base holds the weight of the chair and books. Join the pieces with screws or nails. Check that the corners are square. A flat and sturdy base is very important. Use clamps to hold the parts while you work.
Constructing The Backrest
The backrest supports your back and holds the shelves. Cut vertical and horizontal pieces to make the frame. Attach them securely to the base. Make sure the backrest is tall enough for comfort. Keep the shelves spaced evenly for books. Sand the edges to avoid splinters.
Adding Support Beams
Support beams add strength to the frame. Place them under the shelves and seat area. Attach beams tightly with screws. They prevent the frame from wobbling or bending. Check for any weak spots and reinforce them. Strong beams help the chair last longer.
Creating The Shelves
Creating the shelves is a key step in building your bookshelf chair. Shelves hold books and other items. They also give the chair its shape and style.
Careful planning helps ensure the shelves fit well and support weight safely. This part will guide you through placing and securing shelves. It also explains the difference between adjustable and fixed shelves.
Shelf Placement
Decide where each shelf will go before cutting wood. Think about what you want to store. Space for tall books needs taller gaps. Smaller items need shorter spaces. Mark the spots clearly on the frame. Keep shelves evenly spaced for a neat look.
Securing The Shelves
Use strong screws or nails to fix shelves in place. Drill holes first to avoid splitting the wood. Use wood glue for extra hold. Check each shelf is level before tightening. This stops books from sliding off. Reinforce corners with brackets if needed.
Adjustable Vs Fixed Shelves
Fixed shelves are solid and stable. They do not move but hold heavy items well. Adjustable shelves offer flexibility. You can change their height as needed. Use shelf pins or brackets for easy adjustments. Choose based on your storage needs and style.

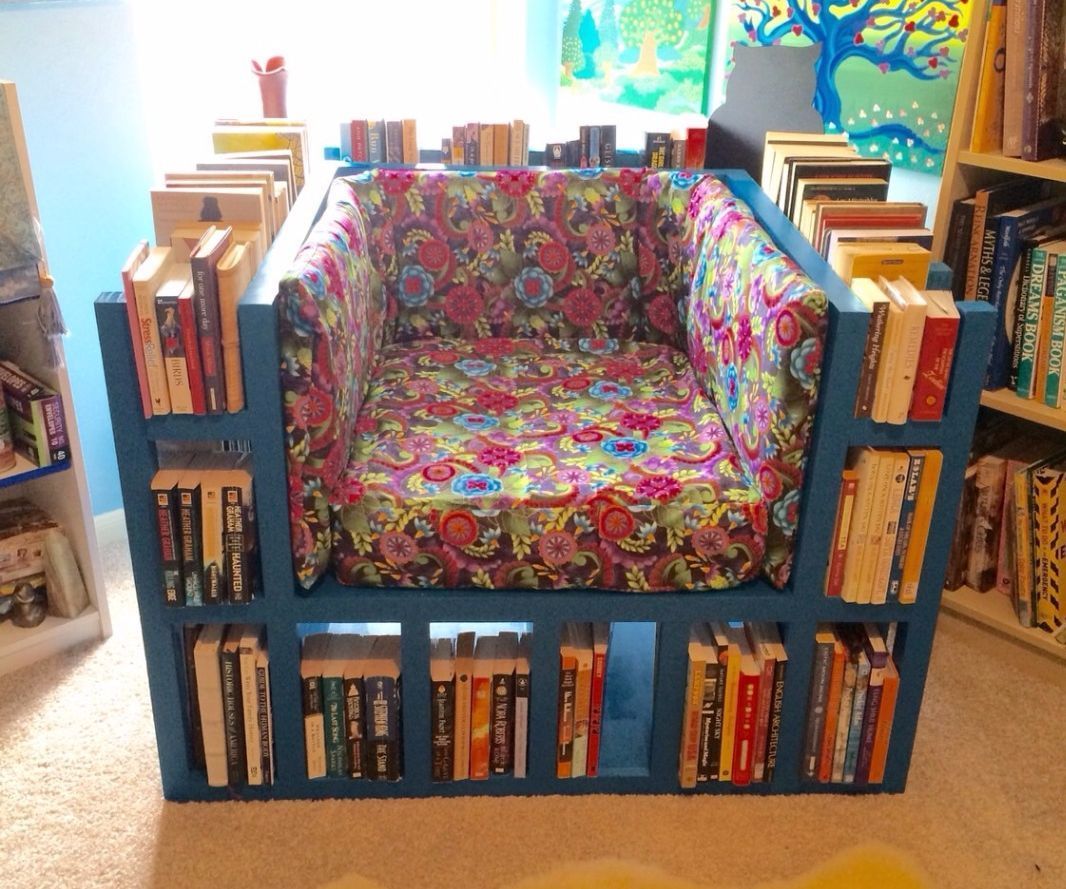
Credit: www.youtube.com
Adding The Seat
Adding the seat to your bookshelf chair is a key step. It makes the chair usable and comfortable. The seat needs to be sturdy and fit well on the frame. Choose the right cushion and attach it properly. Small touches can make your chair cozy and inviting.
Choosing Cushion Materials
Select a cushion that feels soft but supports your weight. Foam is a popular choice for comfort and firmness. Look for fabric that is strong and easy to clean. Cotton or polyester blends work well. Pick a color or pattern that matches your room.
Attaching The Seat
Place the cushion on the chair frame carefully. Use screws or strong glue to fix it in place. Make sure it does not move when you sit. Check that the edges align with the chair’s shape. Secure the cushion tightly for safety and comfort.
Comfort Enhancements
Add a backrest cushion for extra support. Use soft padding on armrests if your chair has them. A removable cover can help keep the seat clean. Small additions improve how the chair feels. They make your bookshelf chair a pleasant place to sit.
Finishing Touches
Finishing touches bring your bookshelf chair to life. These final steps protect the wood and add personality. A well-finished chair looks great and lasts longer. Focus on painting, sealing, and decorating to complete the project beautifully.
Painting And Staining
Choose paint or stain based on your style. Paint offers bright colors and hides imperfections. Stain shows the wood grain and feels natural. Apply thin, even coats for the best results. Let each layer dry fully before the next. Light sanding between coats ensures a smooth finish.
Sealing For Protection
Seal your chair to protect it from damage. Use clear polyurethane or varnish for durability. This layer guards against scratches and spills. Apply with a brush or spray in a well-ventilated area. Allow the sealant to dry completely before using the chair. Multiple coats increase strength and longevity.
Decorative Elements
Add personal touches to make your chair unique. Use stencils to paint patterns or shapes. Attach small hooks or knobs for extra function. Consider cushions or fabric for comfort and style. These details make your bookshelf chair both useful and attractive. Keep decorations simple to maintain a clean look.
Safety Tips
Building a bookshelf chair is a fun project. Safety must be a top priority throughout the process. Taking the right safety steps protects you from injuries and ensures a strong, durable chair. Below are important safety tips to follow.
Wear Protective Gear
Always wear safety glasses to protect your eyes from dust and wood chips. Use gloves to avoid splinters and cuts. A dust mask helps prevent breathing in sawdust during sanding or cutting.
Use Tools Correctly
Read the instructions before using any tool. Keep hands away from blades and moving parts. Use clamps to hold wood steady while cutting or drilling. Turn off tools when not in use.
Work In A Clean Space
Keep your work area tidy. Remove scraps and sawdust regularly to avoid slipping. A clean space helps you focus and reduces accidents.
Check Wood Quality
Inspect wood for nails, knots, or cracks before starting. Poor-quality wood can break and cause injury. Choose smooth, strong boards for safety and durability.
Secure The Chair Properly
Make sure all screws and nails are tight. Loose parts can cause the chair to collapse. Test the chair carefully before regular use.
Maintenance And Care
Keeping your bookshelf chair in great shape takes simple care and regular checks. Proper maintenance makes it last longer and look better. A clean, sturdy chair stays safe and comfortable to use.
Small efforts can stop bigger problems later. Protect the wood and tighten loose parts often. A little attention keeps your project strong and neat.
Cleaning Your Bookshelf Chair
Dust the chair often with a soft cloth. Wipe spills quickly to stop stains. Avoid using harsh chemicals that can damage wood or finish.
Use a mild soap and water mix for tough spots. Dry the chair well after cleaning to avoid moisture damage.
Checking And Tightening Screws
Inspect screws and bolts once a month. Tighten any loose ones to keep the chair steady. Loose screws can cause wobbles or accidents.
Use the right screwdriver to avoid stripping screws. Replace any rusted or damaged hardware immediately.
Protecting The Wood Surface
Apply wood polish or wax every few months. This keeps the wood shiny and helps prevent cracks. Avoid placing the chair in direct sunlight to stop fading.
Use felt pads under the legs to protect floors and reduce wear. Avoid dragging the chair to keep joints tight and strong.
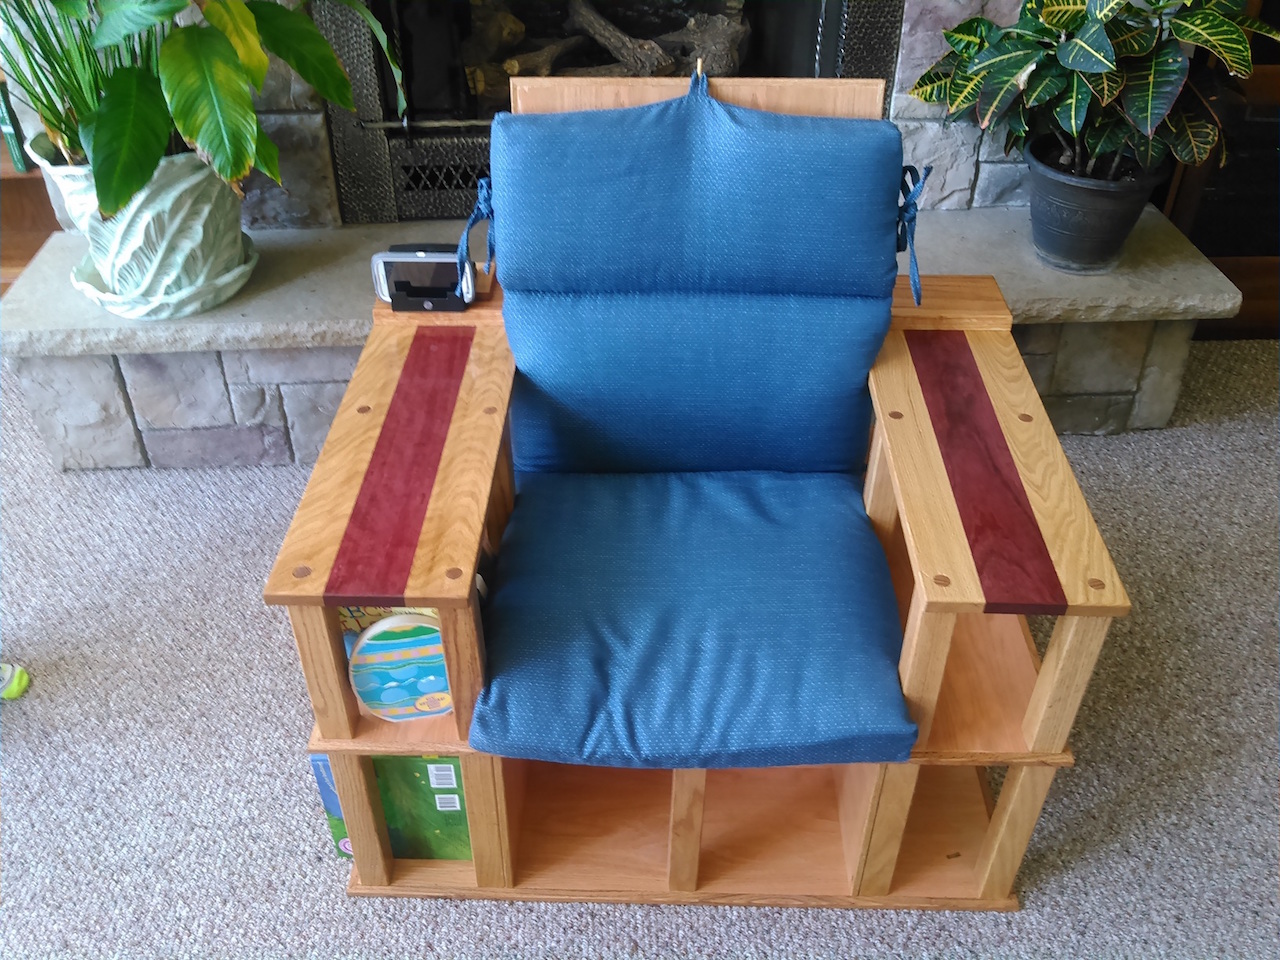
Credit: thewoodwhisperer.com
Frequently Asked Questions
What Materials Are Needed To Build A Bookshelf Chair?
To build a bookshelf chair, you need wood panels, screws, wood glue, sandpaper, paint or stain, hinges, and basic tools like a saw and drill. Quality materials ensure durability and a neat finish for your DIY project.
How Long Does It Take To Make A Bookshelf Chair?
Making a bookshelf chair typically takes 4 to 6 hours. This depends on your skill level and complexity of the design. Proper planning and preparation can speed up the process and improve the final result.
Can Beginners Build A Bookshelf Chair Easily?
Yes, beginners can build a bookshelf chair with clear instructions and basic tools. Start with simple designs and follow step-by-step guides. Patience and attention to detail help achieve a sturdy, functional chair.
How Much Does It Cost To Make A Bookshelf Chair?
The cost varies but usually ranges between $50 and $150. Expenses depend on wood type, hardware quality, and finishing materials. DIY projects save money compared to buying ready-made furniture.
Conclusion
Building your own bookshelf chair is fun and rewarding. You save money and get a unique piece. It fits your space and style perfectly. You learn new skills and enjoy the process. Try different designs and materials to make it yours.
This project brings comfort and storage together. Start small, take your time, and enjoy each step. Your home will feel cozier with this creative touch.