Putting together a single bunk bed might seem tricky at first, but with the right steps, you can do it smoothly and safely. If you want to create more space in your room or give your child a fun place to sleep, this guide is made just for you.
By the time you finish reading, you’ll have the confidence and know-how to assemble your bunk bed quickly, without stress or confusion. Ready to get started? Let’s make your space smarter and cozier—one step at a time.
Tools And Materials Needed
Gathering the right tools and materials makes building a single bunk bed easier. It helps you stay organized and work faster. Prepare everything before starting the assembly to avoid interruptions.
This section lists all the essential tools and materials. Each item plays a key role in the process. Knowing these will give you confidence to build the bed safely and correctly.
Basic Tools For Assembly
Start with simple tools. You will need a screwdriver, preferably both flathead and Phillips. A hammer will help secure nails or taps. A wrench or adjustable spanner is useful for tightening bolts. Keep a tape measure handy to check dimensions.
Materials Included In The Kit
The bunk bed kit usually contains wooden panels, side rails, guardrails, and slats. It also includes screws, bolts, and washers. Check the package to confirm all parts are present before building.
Safety Gear To Use
Wear safety glasses to protect your eyes. Gloves help prevent splinters and cuts. Use a dust mask if sanding wood to avoid breathing in dust. Safety first ensures a smooth build.

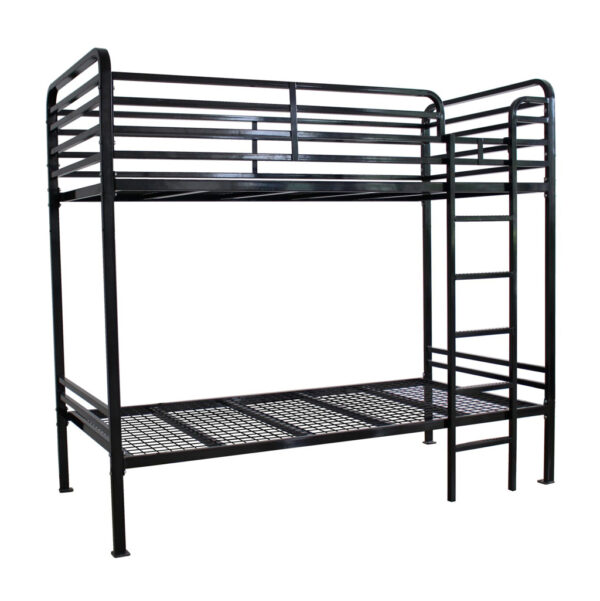
Credit: funkybunkbeds.com
Preparing The Workspace
Preparing the workspace is the first step to putting a single bunk bed together. A clean and organized area helps you work safely and faster. It also reduces the chance of losing small parts or tools.
Choose a spacious room or an open area. Enough space lets you move around the bed pieces easily. It also prevents damage to walls or furniture during assembly.
Clear The Area
Remove any objects that might get in the way. Clear floor space ensures you have room to lay out parts. It also avoids tripping hazards and accidents.
Gather Necessary Tools
Collect all tools before starting. Common tools include a screwdriver, hammer, and Allen wrench. Having everything ready saves time and keeps you focused.
Check The Parts List
Verify all bed parts are present. Compare them to the instruction manual’s list. Missing pieces can delay assembly and cause frustration.
Protect The Floor
Place a soft cloth or cardboard on the floor. This protects both the floor and bed parts from scratches. It also creates a comfortable surface to work on.
Unpacking And Organizing Parts
Starting with unpacking and organizing parts makes building a single bunk bed easier. This step helps you see everything you need. It reduces mistakes and saves time later. Take your time to get this right. A clean, clear workspace helps the process.
Unpack All Boxes Carefully
Open all boxes with care. Remove packing materials slowly. Check for any damaged or missing parts. Keep small pieces like screws in a container. This stops them from getting lost.
Sort Parts By Type And Size
Group similar parts together. Put all wooden panels in one pile. Place screws, bolts, and tools in separate containers. Sorting parts makes it easier to find them later. It speeds up the assembly process.
Read The Instructions Before Starting
Look at the instruction manual carefully. Understand the order of steps. Check the parts list in the manual. Confirm you have every part before you begin. This helps avoid confusion during assembly.
Assembling The Bed Frame
Assembling the bed frame is the first key step in building your single bunk bed. It creates the base that supports the mattress and the entire structure. Taking time to do this properly ensures the bed is safe and sturdy. Follow each step carefully and use the right tools for the best results.
Connecting Side Rails
Start by laying out the side rails on a flat surface. These rails form the long sides of the bed frame. Align the metal or wooden brackets on the ends of each rail with the slots on the headboard and footboard. Use screws or bolts provided to secure the rails tightly. Check that the rails are level and stable. Tight connections prevent shaking and increase safety.
Attaching Headboard And Footboard
Next, position the headboard and footboard upright. Attach them to the side rails by fitting the brackets together. Insert screws or bolts into the pre-drilled holes. Use a screwdriver or wrench to tighten each fastener firmly. Make sure the headboard and footboard stand straight. Secure attachments keep the frame strong and balanced.
Installing The Slats
Place the slats evenly across the bed frame to support the mattress. Secure each slat firmly to prevent movement. This step ensures the bed stays strong and safe for use.
Preparing The Slats For Installation
Slats support the mattress and keep it firm. Handle them carefully to avoid damage. Lay out all slats in one place. Check for any cracks or splinters. Sand rough edges if needed. Make sure you have the right number of slats before starting.
Positioning The Slats On The Bed Frame
Place the slats evenly across the bed frame. Keep small gaps between each slat for air flow. Align the slats with the grooves or brackets on the frame. This helps them stay in place. Avoid overlapping or crowding the slats. Proper spacing ensures mattress support and comfort.
Securing The Slats Properly
Use screws or nails if the frame requires it. Check the instructions for your bunk bed model. Tighten each screw firmly but avoid over-tightening. Loose slats can shift, while too tight can crack wood. Test the slats by pressing gently to confirm stability. Properly secured slats prevent mattress sagging and noise.
Securing The Ladder
Securing the ladder on a single bunk bed is important for safety and ease of use. A loose ladder can cause accidents or make climbing difficult. Follow simple steps to fix the ladder firmly to the bed frame.
Check Ladder Position And Fit
Place the ladder in the correct spot on the bunk bed. Make sure it fits snugly against the bed frame. The ladder should not wobble or move side to side.
Use The Right Tools And Parts
Gather screws, bolts, and brackets included in the bed kit. Use a screwdriver or wrench to tighten them securely. Avoid using parts that do not come with the bed.
Attach Ladder To Bed Frame
Align ladder holes with the bed frame holes. Insert screws or bolts through the holes. Tighten all fasteners firmly but do not over-tighten to avoid damage.
Test Ladder Stability
After securing, gently shake the ladder to check its stability. Climb the ladder slowly to ensure it holds your weight. Make adjustments if there is any movement.
Final Checks And Safety Tips
After assembling your single bunk bed, final checks and safety tips are essential. These steps ensure the bed is strong and safe to use. A secure bunk bed prevents accidents and offers peace of mind.
Careful inspection of every part helps find loose screws or weak spots. Tightening and testing stability keeps the bed solid. Safety should never be rushed or skipped.
Check All Screws And Bolts
Go through each screw and bolt. Use a screwdriver or wrench to tighten them. Loose parts can cause the bed to wobble or break. Make sure nothing feels loose or moves.
Test The Bed’s Stability
Push and shake the bed gently from different sides. It should not rock or shift. Stability is key to avoid falls or injuries. If it moves, recheck the connections.
Inspect Ladder And Guardrails
Ensure the ladder is firmly attached and safe to climb. Guardrails must be secure and high enough to prevent falls. These parts protect the sleeper from accidents.
Clear The Area Around The Bed
Remove any sharp or hard objects near the bed. Keep the floor free from toys or clutter. A clean area reduces the chance of injury if someone falls.
Follow Weight Limits
Check the manufacturer’s weight limit for the bunk bed. Do not exceed this limit to keep the bed safe. Overloading can cause damage or collapse.
Credit: heavydutybunkbeds.com
Maintaining Your Bunk Bed
Maintaining your bunk bed keeps it safe and strong for years. Regular care helps avoid accidents and wear. Small checks and fixes save money and time later.
Checking Bolts And Screws
Look at all bolts and screws often. Tighten loose parts with a screwdriver or wrench. Loose bolts make the bed shaky and unsafe.
Inspecting The Frame
Examine the bed frame for cracks or damage. Wooden frames may crack or splinter over time. Metal frames can bend or rust. Replace parts that show wear or damage.
Cleaning The Bed
Dust and clean the bed regularly to keep it fresh. Use a soft cloth for wooden parts. Wipe metal parts with a damp cloth. Avoid harsh cleaners that can damage surfaces.
Checking The Ladder And Guardrails
Make sure the ladder is secure and stable. Guardrails must be tight and strong. These parts protect from falls and injuries. Replace any broken or loose parts immediately.
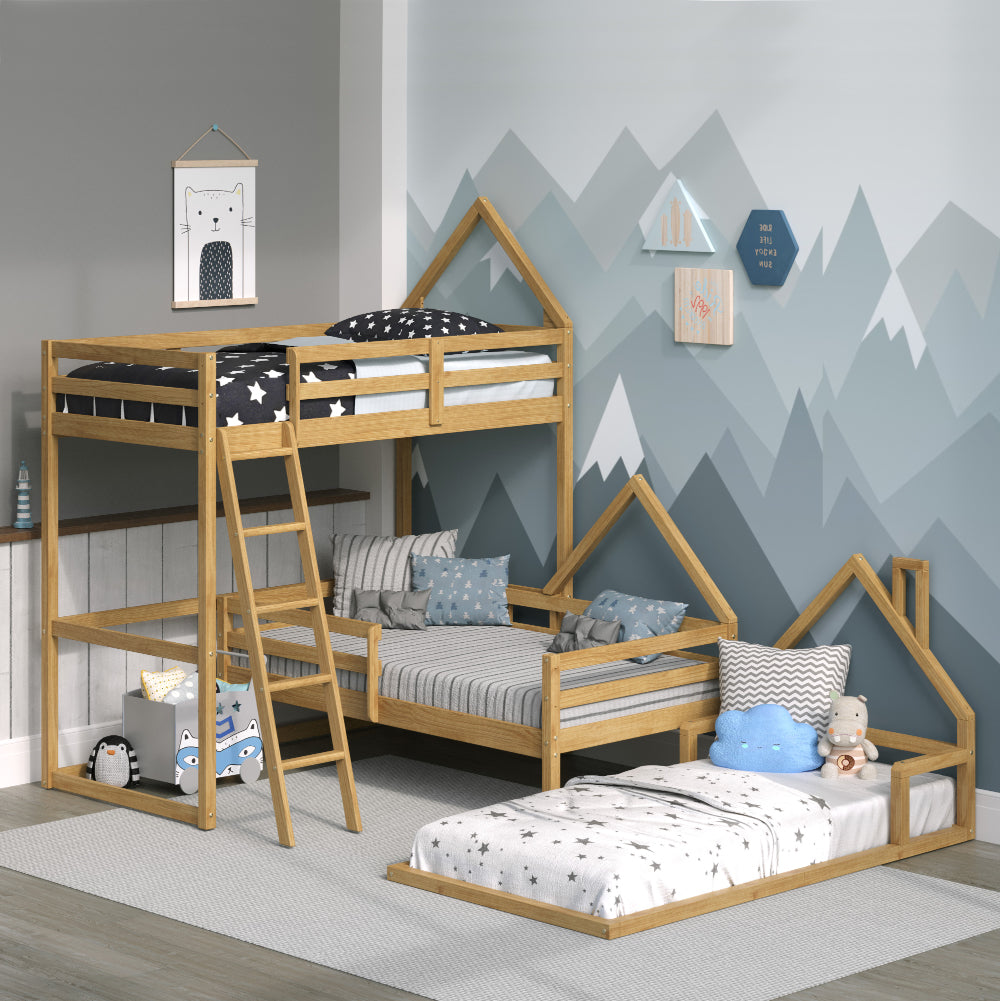
Credit: www.pkolino.com
Frequently Asked Questions
How Do I Start Assembling A Single Bunk Bed?
Begin by unpacking all parts and checking the instruction manual. Identify and organize all screws, bolts, and tools. Lay out the bed frame components on a flat surface before starting assembly.
What Tools Are Needed For Bunk Bed Assembly?
Typically, you’ll need a screwdriver, Allen wrench, and possibly a hammer. Some bunk beds include the necessary tools in the package. Always check the instruction manual for specific tool requirements.
How Long Does It Take To Assemble A Single Bunk Bed?
Assembly usually takes between 1 to 2 hours depending on experience. Following instructions carefully can reduce time. Having a second person helps speed up the process and ensures safety.
How Can I Ensure The Bunk Bed Is Safe?
Tighten all bolts and screws firmly but avoid over-tightening. Check for stability by gently rocking the bed. Use guardrails on the top bunk to prevent falls.
Conclusion
Building a single bunk bed can be simple and quick. Follow each step carefully for the best results. Use the right tools and keep all parts organized. Take your time to ensure the bed is safe and sturdy. A well-made bunk bed saves space and adds comfort.
Enjoy the satisfaction of finishing the project yourself. Remember, patience and attention make the job easier. Now, your new bunk bed is ready for use.