Are you looking to give your small bookshelf a fresh, stylish upgrade? Adding a wood butcher block can transform your plain shelves into a warm, eye-catching feature.
It’s easier than you might think, and the result will make your space feel cozier and more organized. You’ll discover simple steps to add a beautiful butcher block to your bookshelf, even if you’re short on time or tools. Keep reading to unlock the secret to turning your bookshelf into a stunning, functional piece you’ll love every day.
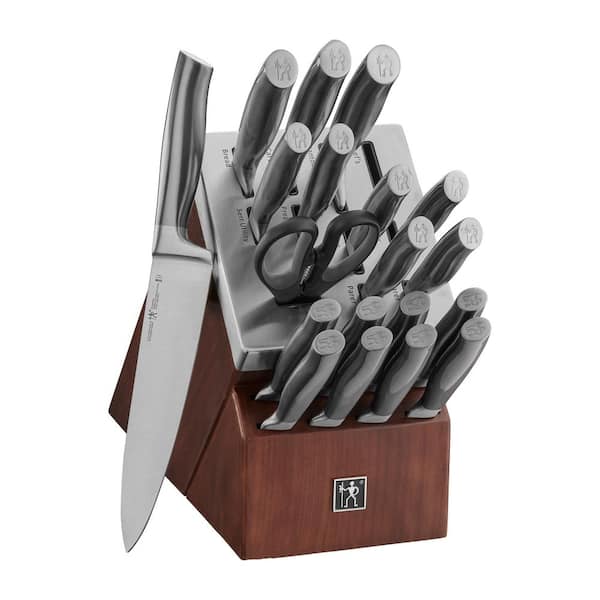
Credit: www.homedepot.com
Choosing The Right Butcher Block
Choosing the right butcher block is important for a small bookshelf. It affects the look, fit, and durability of the shelf. The right butcher block can make your bookshelf stronger and more attractive.
Focus on wood type, size, thickness, and finish. These factors help you pick a block that works well with your bookshelf space.
Types Of Wood For Butcher Blocks
Butcher blocks come in different wood types. Maple is hard and light-colored. Oak is strong and has a distinct grain. Walnut is dark and rich in color. Cherry wood ages well and turns reddish. Choose wood that matches your room’s style and your budget.
Measuring Your Bookshelf Space
Measure your bookshelf carefully before buying. Use a tape measure to get the width, depth, and height. Check for any obstacles like brackets or wires. Write down the exact numbers. This helps avoid mistakes and extra cuts later.
Selecting Thickness And Finish
Butcher blocks come in various thicknesses. Thicker blocks are stronger but heavier. Thin blocks fit better in small spaces. Finish protects the wood from scratches and stains. Choose a finish that is easy to clean and matches your style.
Preparing Your Bookshelf
Preparing your bookshelf is the first step before adding a wood butcher block. A clean and stable surface ensures the block fits well and lasts long. Taking time now saves effort later.
Cleaning And Sanding The Surface
Start by wiping the bookshelf with a damp cloth. Remove dust, dirt, and grease completely. Use fine sandpaper to smooth the surface. Sanding helps the butcher block stick better. Dust off the surface after sanding.
Removing Old Shelves Or Panels
Check if the bookshelf has old shelves or panels. Remove them carefully to avoid damage. Use a screwdriver or hammer if needed. Clear the area so the butcher block fits perfectly. Make sure the space is flat and even.
Checking For Structural Stability
Examine the bookshelf’s frame and joints. Look for loose screws or cracks. Tighten screws or add wood glue if needed. A strong structure holds the butcher block safely. Test by pressing gently on the shelf area.
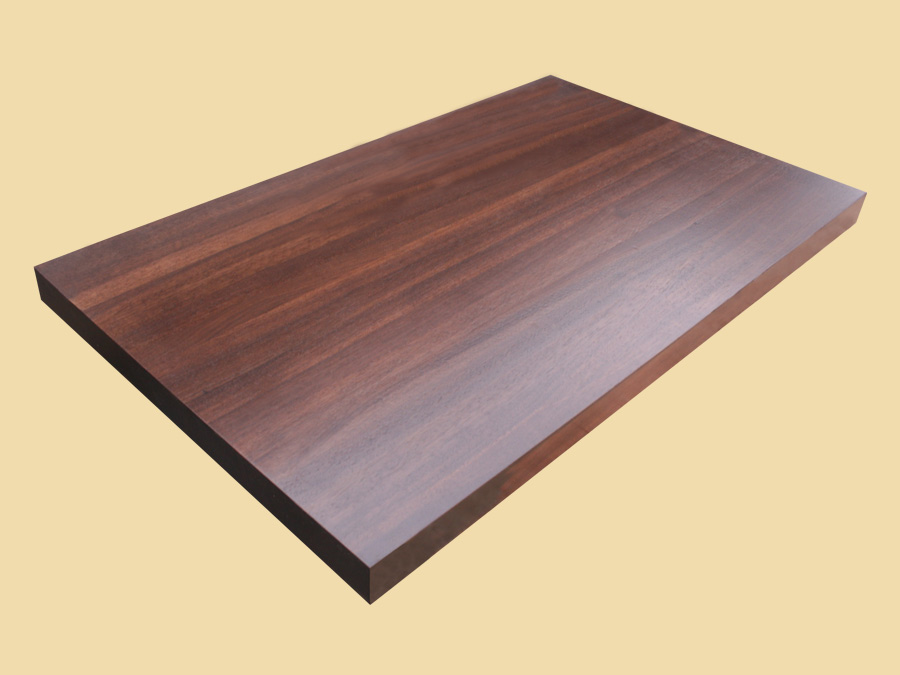
Cutting The Butcher Block To Size
Cutting the butcher block to the right size is a key step for your small bookshelf project. It ensures the wood fits perfectly and looks neat. Take your time and be precise. This way, your butcher block will add beauty and function to your shelf.
Marking Measurements Accurately
Start by measuring the space where the butcher block will go. Use a tape measure for exact numbers. Mark these measurements clearly on the wood with a pencil. Double-check the marks before cutting. Clear and accurate lines help make straight cuts.
Using The Right Cutting Tools
Choose tools that suit the butcher block’s thickness. A circular saw or handsaw works well. Use clamps to hold the wood steady. Cut slowly along the marked lines. This prevents splintering and keeps edges clean.
Sanding Edges For A Smooth Finish
After cutting, the edges might feel rough. Sand them with fine-grit sandpaper until smooth. Sanding removes splinters and sharp corners. This step makes the butcher block safe and pleasant to touch. It also improves the overall look of your shelf.

Credit: wisconsinwatch.org
Attaching The Butcher Block Shelf
Attaching the butcher block shelf to a small bookshelf is a key step. It needs to be stable and safe. Proper attachment keeps the shelf strong. This section explains how to do it well. Follow these clear steps to get a perfect fit and firm hold.
Choosing The Best Mounting Method
Select a mounting method that suits your shelf and wall type. Brackets offer strong support and are easy to find. Floating shelf mounts create a clean look without visible hardware. Cleats can hold heavy butcher blocks firmly. Consider weight, style, and your tools when choosing. This choice ensures your shelf stays put for years.
Drilling And Securing Supports
Mark the spots for drilling carefully. Use a level to ensure straight placement. Choose screws and anchors that match your wall type. Drill pilot holes to avoid splitting the wood. Attach brackets or cleats tightly with screws. Double-check each support’s hold before placing the butcher block. Secure supports prevent wobbling and accidents.
Ensuring Level Placement
Place the butcher block on the supports gently. Use a level on top to check alignment. Adjust supports if the shelf tilts in any direction. Tighten all screws once the shelf is perfectly level. A level shelf keeps items safe and looks neat. Regularly check the level over time for safety.
Finishing Touches
Finishing touches make your wood butcher block shelf look complete and last longer. These steps protect the wood and add style to your small bookshelf. Take time to finish carefully for a polished look.
Applying Wood Sealant Or Oil
Apply a wood sealant or oil to protect the butcher block. Sealants guard against water and stains. Oils bring out the natural color and grain. Use a clean cloth to spread a thin, even layer. Let it dry fully before use. Repeat every few months to keep the wood healthy.
Maintaining Your New Shelf
Keep your shelf clean by wiping it regularly with a damp cloth. Avoid harsh chemicals that can damage the wood. Use coasters or mats under heavy or wet items. Check for scratches or dents and sand lightly if needed. Proper care extends the life of your butcher block shelf.
Decorating Ideas For Style And Function
Add small plants to bring freshness and color. Use baskets or boxes to organize books and supplies. Display favorite items like photos or artwork for a personal touch. Mix function and beauty to make your shelf both useful and attractive. Change decorations seasonally to keep the look fresh.
Credit: www.countrymouldings.com
Frequently Asked Questions
How Do I Choose The Right Butcher Block Size?
Measure your bookshelf surface accurately before buying. Choose a block that fits snugly and leaves room for edge trimming. Consider thickness based on shelf usage to ensure durability and stability.
What Tools Are Needed To Install Butcher Block?
You’ll need a saw, drill, screws, sandpaper, wood glue, and clamps. These tools help cut, smooth, and secure the butcher block to your shelf.
How To Prepare The Bookshelf Before Installation?
Clean the surface thoroughly and sand it lightly. Remove dust and debris to ensure proper adhesion and a smooth finish for the butcher block.
Can I Finish The Butcher Block For Durability?
Yes, apply food-safe mineral oil or polyurethane finish. This protects the wood from moisture and stains, extending the lifespan of your butcher block shelf.
Conclusion
Adding a wood butcher block to a small bookshelf is simple and effective. It gives your shelf a fresh, sturdy look. You can customize the size to fit your space perfectly. This upgrade also adds extra strength to hold your items safely.
With basic tools and a little effort, you can do it yourself. Enjoy the new style and function your bookshelf offers. Try this easy project to improve your space today.