Are you tired of bulky, fixed bookshelves that limit your space and style? Imagine having a bookshelf that moves with you—easy to shift, rearrange, and customize whenever you want.
Creating a moving bookshelf isn’t as hard as you might think. In this guide, you’ll discover simple steps to build your own, saving money and adding a clever, functional piece to your home. Ready to transform your reading nook and make your space work smarter?
Let’s dive in and get started!
Materials And Tools Needed
Building a moving bookshelf requires the right materials and tools. Choosing the correct wood, hardware, and tools makes the process easier and the final product strong. This section explains what you need before starting your project.
Wood Types And Sizes
Pick wood that is strong and easy to work with. Pine and plywood are good options. Pine is affordable and easy to cut. Plywood gives a smooth surface and resists warping. Use 3/4 inch thick boards for shelves and sides. This thickness supports weight without bending. Measure your space carefully to decide the size of each piece.
Hardware Essentials
Hardware holds your bookshelf together and lets it move. Use wood screws to join the boards firmly. Buy screws that fit the wood thickness. For mobility, get sturdy caster wheels. Choose wheels with locks to keep the shelf steady. Hinges help if you want foldable parts. Sandpaper smooths rough edges to avoid splinters.
Tools Required
Have the right tools ready. A drill makes holes and drives screws quickly. A saw cuts wood to size. A measuring tape helps with precise cuts. A screwdriver is needed for screws if you don’t have a drill. Use a level to keep shelves even. Clamps hold pieces in place while you work. Safety gear like gloves and goggles protects you.
Designing Your Bookshelf
Designing your moving bookshelf starts with clear planning. The design must fit your space and needs. Think about size, style, and how it will move easily. A good design makes your bookshelf both useful and attractive.
Consider each detail carefully. This helps create a shelf you will enjoy for years.
Choosing Dimensions
Measure the space where you want the bookshelf. Decide how tall and wide it should be. Make sure it fits through doors and hallways if you plan to move it often. Think about the books and items you want to store. Leave some extra space for future additions. Balanced size makes the shelf stable and practical.
Selecting Style And Finish
Pick a style that matches your room decor. Simple and clean lines work well in most spaces. Choose a finish that protects the wood and looks good. Light colors make rooms feel bigger. Dark finishes add warmth and character. Smooth finishes are easy to clean and maintain.
Planning Mobility Features
Add wheels or casters for easy movement. Make sure they lock to keep the shelf steady. Consider handles or grips for better control. Use lightweight but strong materials to reduce weight. Plan the shelf’s shape to avoid tipping when moved. Good mobility features keep your books safe and your shelf stable.
Cutting And Preparing Wood
Cutting and preparing wood is the first step in building a moving bookshelf. This stage sets the foundation for a strong and smooth bookshelf. Taking time to measure and cut carefully ensures all pieces fit well together. Proper preparation also makes the assembly easier and the final product look professional.
Measuring And Marking
Start by measuring the wood pieces you need. Use a tape measure for accuracy. Mark each cut line clearly with a pencil. Double-check all measurements before cutting. Marking helps avoid mistakes and wasted wood.
Cutting Techniques
Use a saw that suits your wood type and thickness. A handsaw or circular saw works well for most pieces. Cut slowly and follow the marked lines closely. Keep the blade steady to get straight cuts. Safety is important—wear goggles and keep fingers away from the blade.
Sanding And Smoothing
After cutting, sand each wood piece to smooth edges. Use medium-grit sandpaper first, then fine-grit for a soft finish. Sanding removes splinters and rough spots. It also helps paint or stain stick better. Take your time to make each piece nice and smooth.
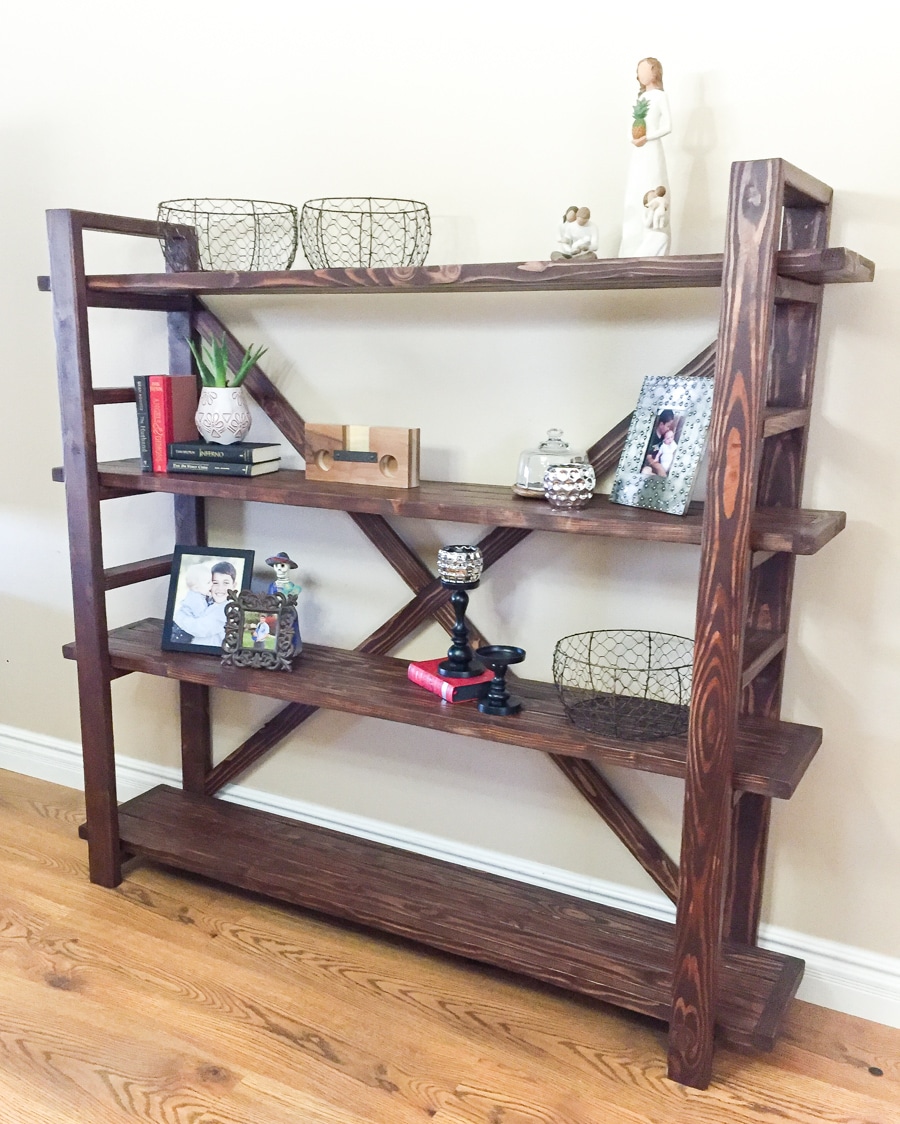
Credit: jenwoodhouse.com
Assembling The Frame
Assembling the frame is the first step in making a moving bookshelf. This part builds the basic shape and strength of the bookshelf. A strong frame keeps the shelves steady and supports the weight of your books. Follow each step carefully to create a solid base for your project.
Joining Side Panels
Start by preparing the side panels. These panels form the vertical sides of the bookshelf. Use screws or wood glue to join them with the top and bottom pieces. Make sure the edges line up perfectly. Check for right angles using a carpenter’s square. Tighten all screws firmly but avoid splitting the wood.
Installing Shelves
Next, add the shelves inside the frame. Measure the space to place shelves evenly. Mark the spots on the side panels. Fix small wooden supports or brackets at the marks. Place the shelves on these supports. Secure shelves with screws for extra strength. Double-check that shelves are level before final tightening.
Securing The Base
The base holds the entire bookshelf stable. Attach a sturdy bottom panel or platform to the frame. Use long screws to fix it tightly. Add small feet or wheels if you want the bookshelf to move easily. Test the frame by pressing down gently to check for wobble. Fix any loose parts to ensure safety.
Adding Mobility
Adding mobility to your bookshelf makes it easier to move and clean around. Wheels help you change the shelf’s place without heavy lifting. A moving bookshelf is practical and adds style to your room.
Choosing The Right Casters
Select casters that fit your shelf’s size and weight. Look for wheels with a good load capacity to hold your books safely. Soft rubber wheels protect floors and roll smoothly on different surfaces. Swivel casters give better control and easy turning.
Attaching Wheels Safely
Secure the casters tightly to the bottom of the shelf. Use screws that fit well and hold the wheels firmly. Check the shelf base is strong enough to hold the screws. Place the wheels evenly to keep balance and avoid tipping.
Testing Movement
Push the bookshelf gently to check the wheels roll well. Make sure it moves in all directions without sticking. Test on different floors to see how smoothly it goes. Adjust or tighten wheels if the movement feels unstable.
Credit: www.youtube.com
Finishing Touches
Finishing touches give your moving bookshelf a polished look. These steps protect the wood and add style. Small details make a big difference in the final product. Follow these tips to complete your project with care.
Painting Or Staining
Choose paint or stain to enhance the wood’s appearance. Paint offers bright colors and full coverage. Stain shows the natural wood grain and adds warmth. Apply thin, even coats for best results. Let each coat dry completely before adding the next.
Applying Sealant
Sealants protect the bookshelf from scratches and spills. Use a clear polyurethane or varnish for durability. Apply with a clean brush in smooth strokes. Allow the sealant to dry fully before using the bookshelf. This step helps your project last longer and look new.
Adding Decorative Elements
Decorative touches personalize your moving bookshelf. Add knobs, handles, or small decals for extra charm. Use stencils to paint patterns or designs. Keep decorations simple to match your room’s style. These details make your bookshelf unique and inviting.
Tips For Maintenance
Keeping your moving bookshelf in good shape takes some care. Regular maintenance helps it last longer and work smoothly. Simple steps can protect your bookshelf from damage and keep it looking nice.
Cleaning Techniques
Dust your bookshelf often using a soft cloth. Avoid wet wipes or harsh cleaners. A dry cloth stops dust from scratching the surface. Clean small wheels or moving parts carefully. Use a small brush to remove dirt from tight spots. This keeps the bookshelf moving without trouble.
Tightening Hardware
Check screws and bolts regularly. Moving shelves can loosen fasteners over time. Use a screwdriver to tighten any loose parts. Keep the wheels secure to avoid wobbling. Tight hardware makes your bookshelf safe and stable.
Preventing Wear And Tear
Place your bookshelf on a flat surface to reduce strain. Avoid overloading shelves with heavy items. Use felt pads under the feet to prevent scratches on the floor. Move the bookshelf gently to protect wheels and joints. These steps help your bookshelf stay strong and last longer.

Credit: www.wikihow.com
Frequently Asked Questions
What Materials Are Needed For A Moving Bookshelf?
You need wood panels, caster wheels, screws, wood glue, a drill, measuring tape, and sandpaper. Quality materials ensure durability and smooth mobility.
How Do I Ensure Stability In A Moving Bookshelf?
Attach sturdy caster wheels and reinforce shelves with screws and glue. Balance weight evenly to prevent tipping and improve safety.
Can I Customize The Size Of My Moving Bookshelf?
Yes, measure your space and adjust wood panel dimensions accordingly. Custom sizes fit different rooms and storage needs perfectly.
What Type Of Wheels Is Best For Moving Bookshelves?
Choose heavy-duty swivel caster wheels with locks. They provide smooth movement and stability when stationary, ideal for bookshelves.
Conclusion
Building a moving bookshelf is a fun and useful project. It saves space and adds style to your room. You only need a few tools and some patience. Follow the steps carefully, and you will have a sturdy shelf in no time.
Enjoy organizing your books and moving the shelf easily. Try this simple project and see how it fits your space well. Making your own furniture feels great and saves money too. Give it a try!