Are you looking to give your old bookshelf a fresh, unique look without spending a fortune? Decoupage is a simple and creative way to transform your furniture using paper, glue, and a little bit of patience.
Imagine turning your plain shelf into a stunning piece that reflects your style and personality. In this guide, you’ll discover easy steps to decoupage your bookshelf like a pro, even if you’ve never tried it before. Ready to make your bookshelf the highlight of your room?
Let’s dive in and bring your vision to life!
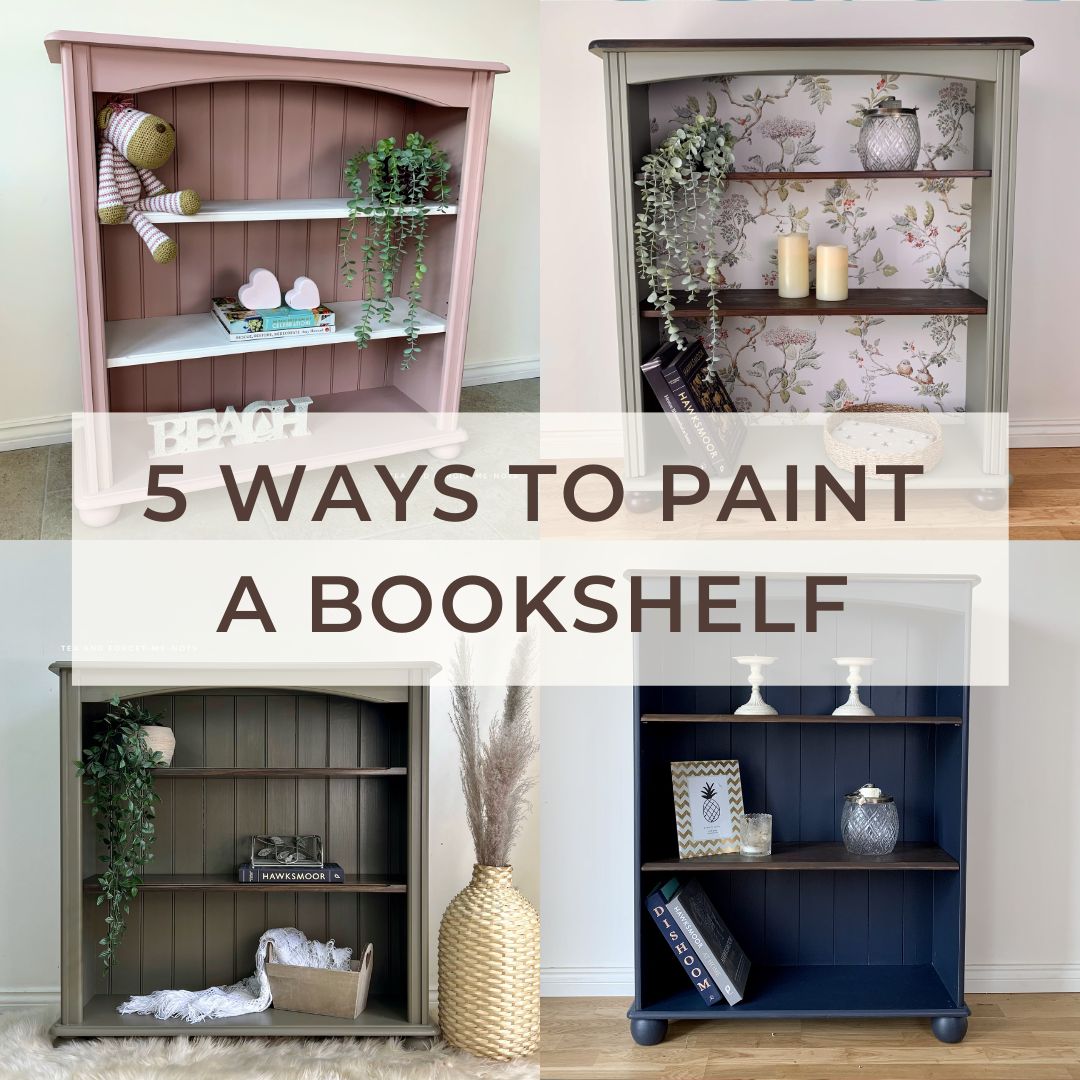
Credit: www.teaandforgetmenots.com
Materials Needed
Decoupage transforms a plain bookshelf into a unique piece. Gathering the right materials makes the project smooth and fun. This section lists everything needed to start with confidence.
Choosing The Right Bookshelf
Select a bookshelf with a smooth surface for easy application. Wood or MDF shelves work best. Avoid glossy or heavily textured surfaces. Size matters too; smaller shelves are easier for beginners.
Essential Supplies
You need decoupage glue, a brush, and scissors. A foam brush helps spread glue evenly. Sandpaper smooths rough areas before starting. A ruler and pencil assist with paper placement. Keep a clean cloth handy for wiping spills.
Selecting Decoupage Paper
Pick paper with designs you like. Napkins, wrapping paper, or magazine pages work well. Thin paper adheres better and dries flat. Match paper size to your shelf for less cutting. Choose colors that fit your room style.
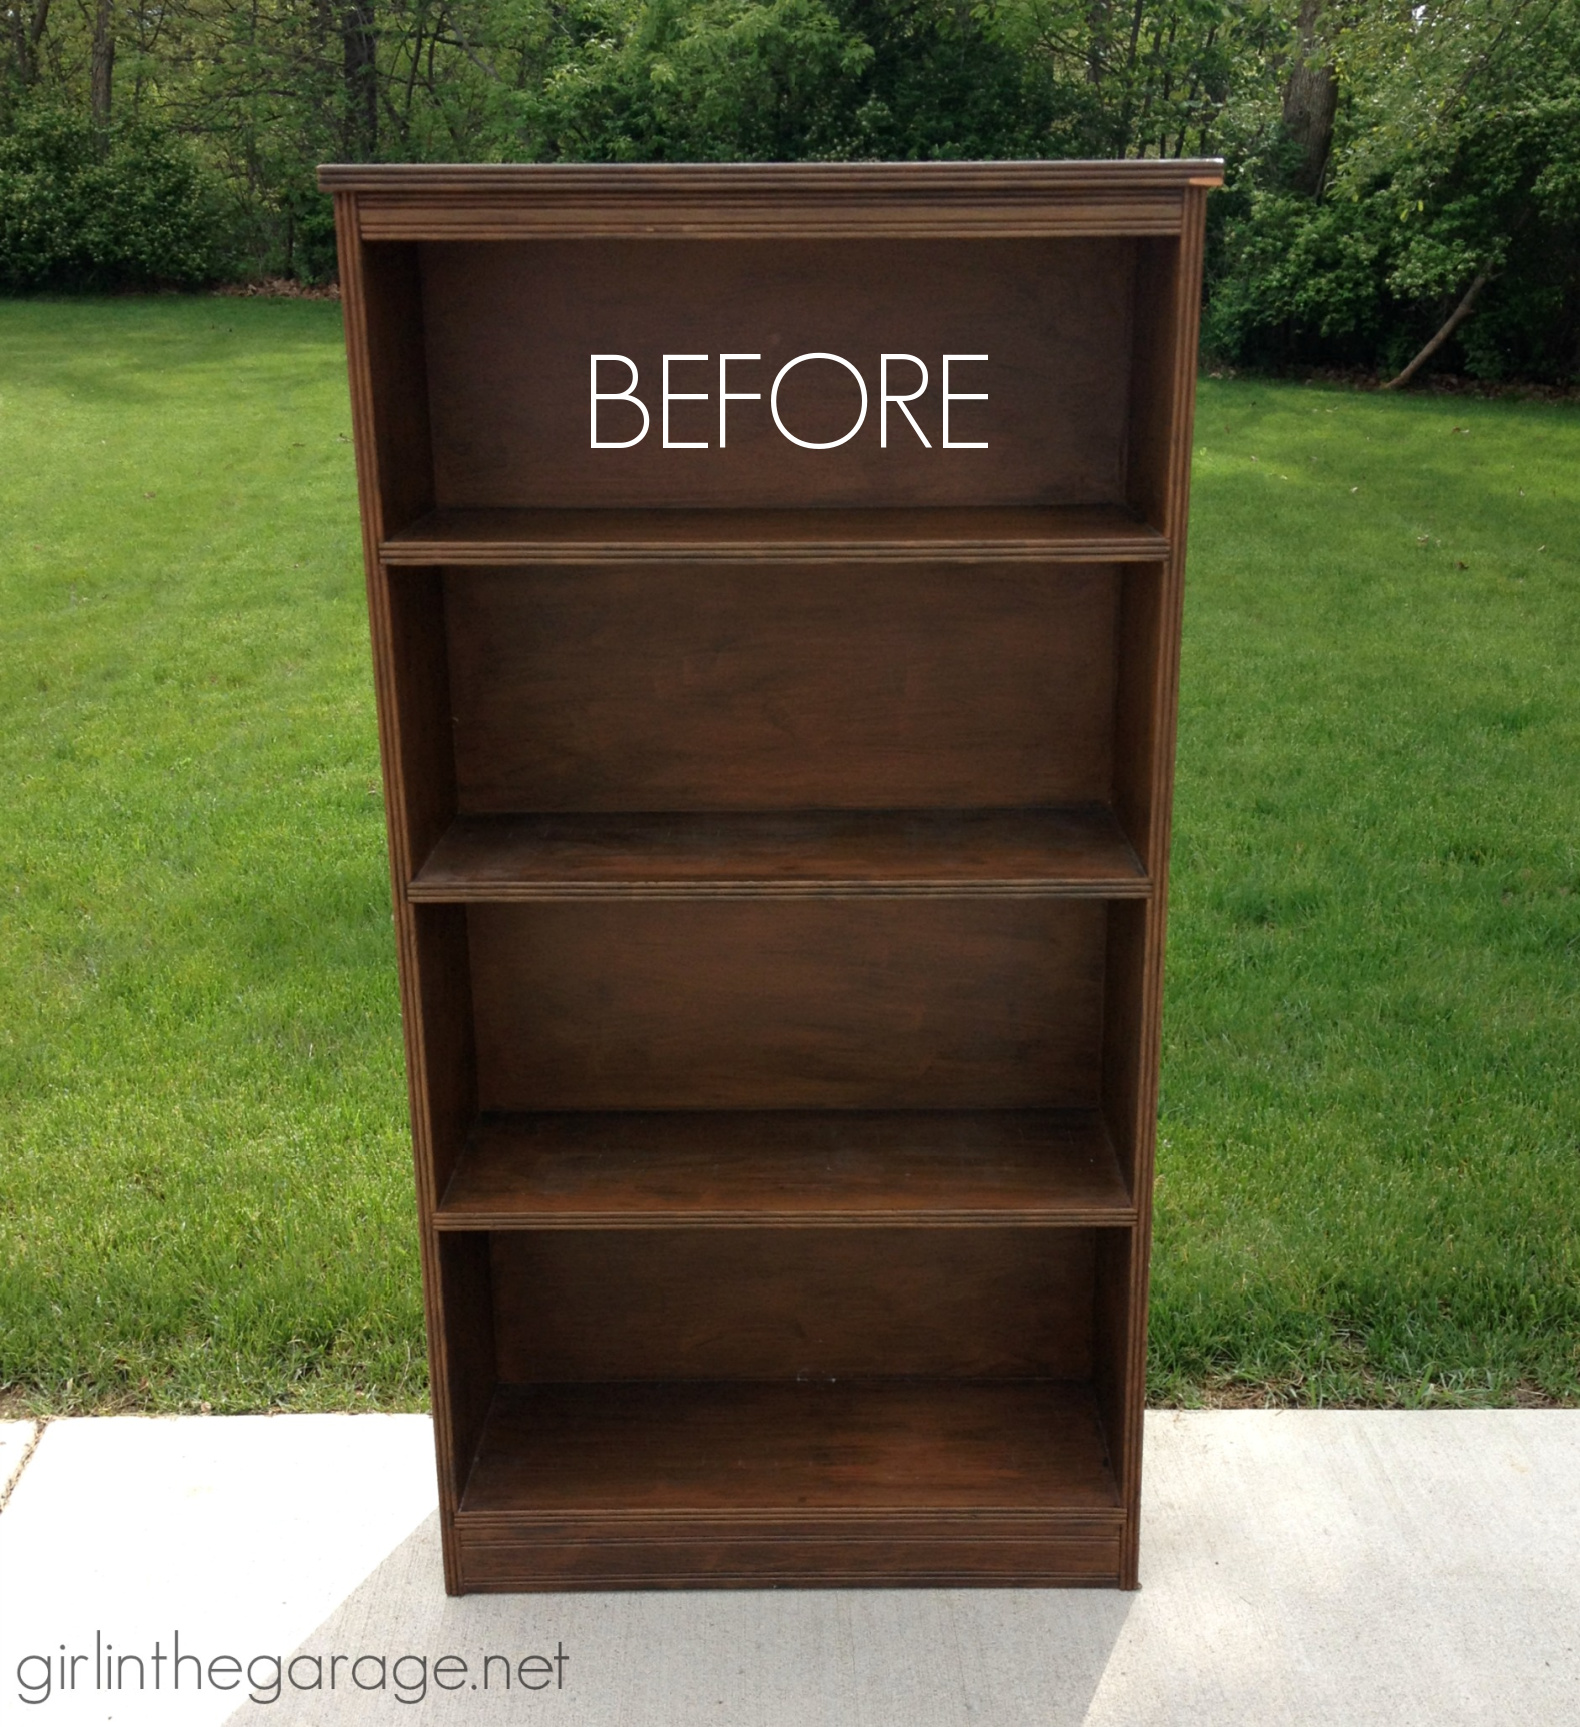
Preparing The Bookshelf
Preparing the bookshelf is the first step in a successful decoupage project. It sets the base for smooth and lasting results. Taking time to prepare the surface helps the glue and paper stick well. It also prevents bubbles and peeling later on. Two main tasks are cleaning and sanding, followed by priming the surface.
Cleaning And Sanding
Start by wiping the bookshelf with a damp cloth. Remove all dust, dirt, and grease. This step ensures the surface is clean and ready. After cleaning, let it dry completely. Use fine-grit sandpaper to gently sand the entire surface. Sanding smooths out rough spots and old paint. It also helps the paper adhere better. Wipe away dust after sanding with a dry cloth. This creates a clean, even base for your project.
Priming The Surface
Apply a coat of primer to the bookshelf. Primer seals the wood and creates a uniform surface. It improves the glue’s hold and prevents stains from showing through. Choose a primer suitable for wood furniture. Use a brush or roller to apply it evenly. Let the primer dry fully before starting the decoupage. This step makes your project look neat and last longer.
Cutting And Arranging Paper
Cutting and arranging paper is a key step in decoupaging a bookshelf. It shapes the look and feel of your project. You prepare the paper pieces carefully. Then, you place them on the shelf to create a unique design. This part needs patience and a steady hand. It also allows you to add your own style.
Choosing the right paper and cutting it well makes a big difference. Neat edges and fitting shapes help the paper stick better. Planning the layout before gluing saves time and avoids mistakes. It gives you a clear idea of how the final piece will appear.
Measuring And Cutting Shapes
Start by measuring the bookshelf sections to cover. Use a ruler or measuring tape for accuracy. Mark the paper with a pencil to guide your cuts. Cut slowly with scissors or a craft knife. Follow the lines carefully for clean edges. Cut shapes that fit the shelf size and design. Small or large pieces work, depending on your style.
Planning Your Design Layout
Lay your cut paper pieces on the shelf without glue first. Move them around to find the best arrangement. Think about balance and color harmony in your design. Use patterns or mix different papers for variety. Take a photo to save your layout plan. This helps you remember before fixing the pieces. Good planning reduces errors and creates a polished look.
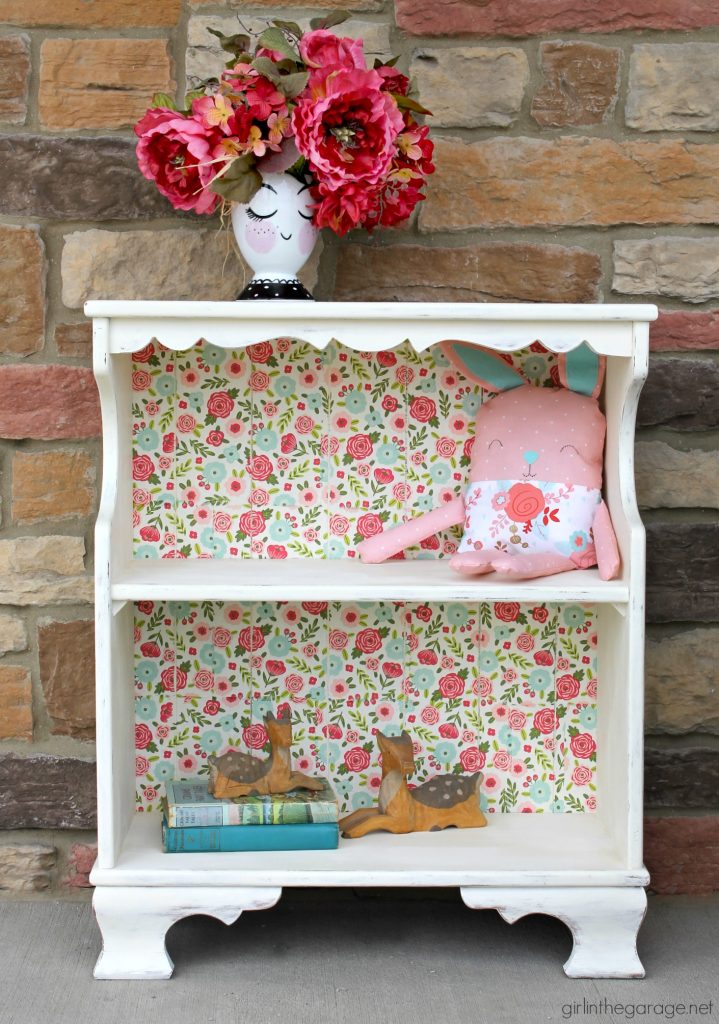
Credit: girlinthegarage.net
Applying Decoupage Glue
Applying decoupage glue is a key step in decorating your bookshelf. It helps paper stick well and stay smooth. The glue also protects the paper, making your design last longer. Take your time and work carefully for the best results.
Coating The Surface
Start by cleaning the bookshelf surface. Use a dry cloth to remove dust. Apply a thin layer of decoupage glue with a brush. Spread the glue evenly to avoid lumps. Cover the whole area where you want to place paper. Let the glue get a little sticky before adding the paper. This step helps the paper stick better.
Placing Paper Without Wrinkles
Place the paper gently on the glued surface. Start from one edge and smooth it down slowly. Use your fingers or a soft cloth to press out air bubbles. Work from the center to the edges. Take your time to avoid wrinkles or folds. If you find a bubble, lift the paper carefully and smooth it again. Let the glue dry fully before adding another layer or finishing.
Sealing And Finishing
Sealing and finishing are key steps to protect your decoupaged bookshelf. These steps make the surface strong and water-resistant. They also give a smooth, shiny look that lasts long. Without sealing, your paper designs can peel or get damaged easily. Finishing adds a professional touch to your project.
Applying Protective Coats
Start by choosing a clear sealer like Mod Podge or acrylic varnish. Use a soft brush or foam brush for even coverage. Apply thin coats to avoid bubbles or streaks. Cover every corner and edge carefully. Let each coat dry before adding the next one. Usually, two or three coats are enough for good protection.
Drying Time And Tips
Allow each coat to dry for at least 20 to 30 minutes. Keep the bookshelf in a dust-free, well-ventilated room. Avoid touching the surface while it dries. Wait 24 hours after the last coat before using the shelf. This ensures the finish is fully hardened. Patience here leads to a better, longer-lasting result.
Creative Design Ideas
Creative design ideas bring life to a plain bookshelf. They make your piece unique and eye-catching. Decoupage lets you play with colors, patterns, and textures. This section shares simple ways to decorate your bookshelf with style.
Using Patterns And Textures
Choose patterns that match your room’s style. Floral, geometric, or vintage prints work well. Mix different textures for a richer look. Use napkins, wrapping paper, or fabric for variety. Layering patterns adds depth and interest. Keep colors balanced to avoid overwhelming the space.
Adding Embellishments
Embellishments give your bookshelf a special touch. Think about adding lace, ribbons, or small beads. Stick on buttons or tiny shells for a natural feel. Use stencils to create shapes or words. Glue small wooden shapes for a rustic look. These details make your bookshelf one of a kind.
Common Mistakes To Avoid
Decoupaging a bookshelf can be fun and rewarding. Mistakes can ruin the look and waste your materials. Avoiding common errors makes your project smoother and your results better. Focus on key areas to keep your work neat and lasting.
Preventing Bubbles And Wrinkles
Bubbles and wrinkles appear when glue is uneven or paper is not smooth. Use a soft brush or roller to spread glue evenly. Press the paper gently from the center outwards. Work slowly to push air out. Avoid using too much glue; it can cause wrinkles. Let each layer dry before adding more glue or layers.
Ensuring Long-lasting Results
Choose the right glue and finish for your bookshelf material. Water-based glue works well for most papers and wood. Seal your work with a clear varnish or sealer to protect it. Apply several thin coats, letting each dry fully. Avoid placing the bookshelf in direct sunlight or damp areas. Proper care keeps your decoupage looking fresh for years.
Maintaining Your Decoupaged Bookshelf
Maintaining your decoupaged bookshelf keeps it looking fresh and beautiful for years. Regular care protects the paper designs and the wood underneath. Small steps help prevent damage and make cleaning easy. This section shares simple tips to keep your bookshelf in great shape.
Cleaning Tips
Use a soft, dry cloth to dust your bookshelf. Avoid wet cloths or harsh cleaners that can damage the paper. For sticky spots, gently wipe with a damp cloth and dry immediately. Keep the shelf away from direct sunlight to stop colors from fading. Clean regularly to prevent dirt buildup.
Repairing Minor Damage
Small tears or chips can be fixed easily. Apply clear glue carefully under the torn paper and press it down. Use a small brush to spread glue evenly and avoid lumps. For scratches on wood, use a matching wood marker or crayon. Touch up the damaged area to keep the shelf looking neat.
Credit: girlinthegarage.net
Frequently Asked Questions
What Materials Do I Need To Decoupage A Bookshelf?
You need decoupage glue, a brush, decorative paper, scissors, and a sealant. Sandpaper and a clean cloth help prep the surface. These materials ensure a smooth, lasting finish on your bookshelf.
How Do I Prepare A Bookshelf For Decoupage?
Clean the bookshelf thoroughly and sand the surface lightly. Remove dust with a cloth. Proper prep helps the glue stick better and prevents bubbles under the paper.
Can I Use Any Type Of Paper For Decoupage?
You can use tissue paper, scrapbook paper, or magazine clippings. Avoid thick paper as it may not adhere well. Choose designs that match your décor for the best results.
How Long Does Decoupage Glue Take To Dry?
Decoupage glue typically dries in 15 to 20 minutes. For best results, let it cure for 24 hours before applying a sealant or using the bookshelf.
Conclusion
Decoupage a bookshelf brings new life to old furniture. It is a fun and creative way to add style. Choose papers and designs that match your space. Take your time applying glue and smoothing surfaces. Let each layer dry well before the next step.
The result is a unique, personalized bookshelf you will enjoy. Try this simple craft for a fresh look at home. Creativity and patience make all the difference. Give your bookshelf a charming new look today!