Are you tired of cluttered dorm desks and searching for a smart way to organize your books and study materials? Building your own dorm desk bookshelf might be the perfect solution for you.
Imagine having a neat, personalized space where everything you need is within reach. In this guide, you’ll discover simple steps to create a sturdy, stylish bookshelf that fits right on your desk. Whether you’re short on space or just want to add a touch of creativity to your dorm room, this project will help you take control of your study environment.
Keep reading, and by the end, you’ll have a bookshelf that makes studying easier and your space feel truly yours.
Choosing The Right Materials
Choosing the right materials is key to building a strong dorm desk bookshelf. It affects the look, durability, and ease of assembly. Picking the proper wood and tools helps you finish the project faster. It also makes the shelf last longer.
Selecting Wood Types
Choose wood that is sturdy and light enough to carry. Pine is a good option. It is affordable and easy to cut. Plywood works well for shelves because it is stable. Avoid wood that bends or cracks easily. Smooth wood with few knots looks better and is safer to handle.
Gathering Tools And Supplies
Prepare all tools before starting. A saw, drill, screwdriver, and measuring tape are essential. Sandpaper helps smooth rough edges. Wood glue and screws hold pieces tightly. Safety gear like goggles and gloves protects you. Having everything ready saves time and stress.
Measuring And Planning
Measuring and planning are the first steps in building a dorm desk bookshelf. This process helps create a piece that fits perfectly and looks great. Taking accurate measurements saves time and avoids mistakes. Planning the layout ensures enough space for books and study materials. It also helps balance style and function.
Determining Desk Dimensions
Start by measuring the desk where the bookshelf will sit. Use a tape measure and note the width, depth, and height. Check the desk’s height from the floor to the top surface. Measure the available wall space if the bookshelf will extend upward. Leave extra space for comfort and movement. Write down all measurements clearly for easy reference.
Designing The Bookshelf Layout
Sketch a simple plan of the bookshelf on paper. Divide the space into shelves of different heights for books and supplies. Consider placing taller shelves on one side for large books. Add smaller compartments for stationery or decorations. Think about leaving open spaces to keep the design light. Make sure the layout matches your needs and style.
Cutting And Preparing Wood
Cutting and preparing wood is a key step in building your dorm desk bookshelf. This stage shapes the wood into the right sizes and forms. It ensures each piece fits perfectly and looks neat. Take your time to do this part carefully. Good preparation makes assembly easier and the final product stronger.
Marking Cut Lines
Start by measuring each wood piece carefully. Use a pencil and ruler to mark the cut lines clearly. Mark lines on both sides of the wood. This helps guide your saw and keeps cuts straight. Double-check all measurements before cutting. Accurate marks prevent mistakes and wasted wood.
Sanding And Smoothing
After cutting, the edges may be rough or splintered. Use sandpaper to smooth all surfaces and edges. Sand in the direction of the wood grain. This avoids scratches and keeps the wood smooth. Smooth wood looks better and is safer to handle. Wipe away dust after sanding to keep the wood clean.
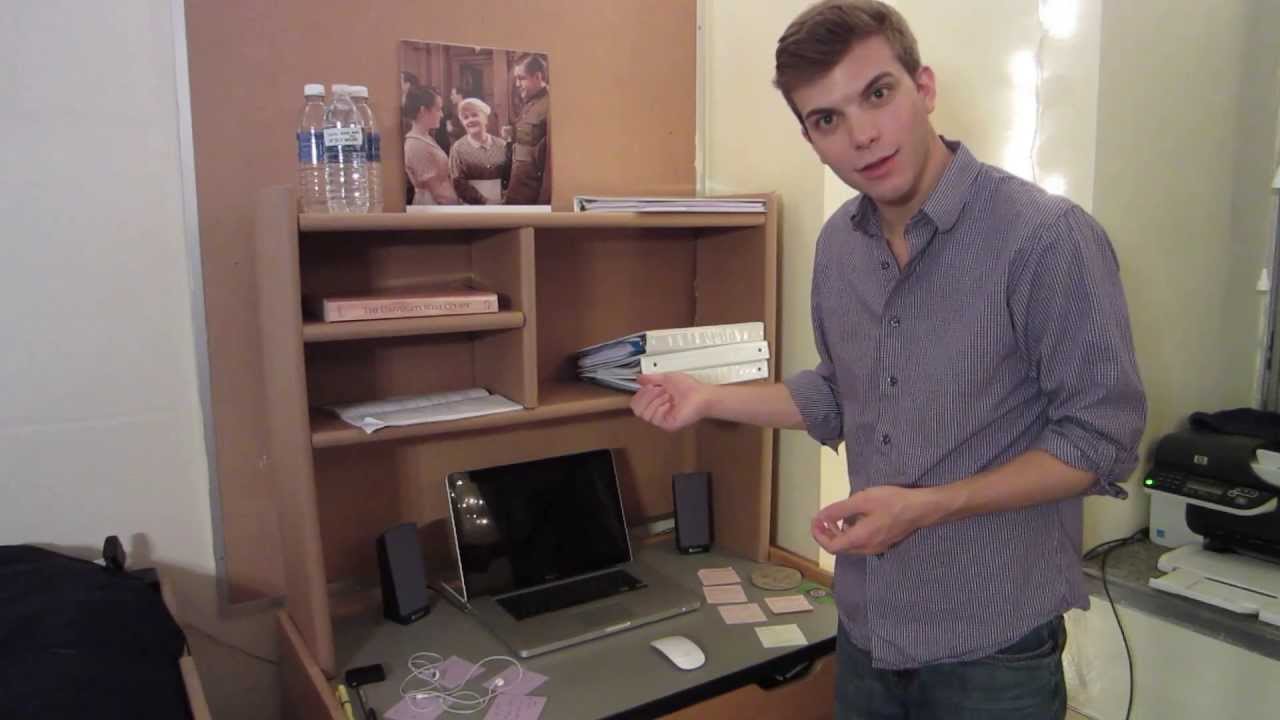
Credit: www.dormco.com
Assembling The Desk Frame
Assembling the desk frame is the key step in building your dorm desk bookshelf. This part creates the main structure that supports your workspace and shelves. A strong frame ensures your desk is durable and ready for daily use.
Take your time with each piece. Clear space and organize all parts before starting. Follow the instructions carefully to avoid mistakes. A well-built frame makes the rest of the project easier and more stable.
Joining Desk Components
Start by identifying the main desk parts: legs, side panels, and support beams. Use screws and brackets to connect these pieces securely. Align the edges so everything fits perfectly. Tighten screws evenly to hold the frame firmly.
Check each connection before moving on. Loose joints weaken the frame and cause wobbling. Use a screwdriver or drill to ensure all fasteners are tight. Double-check measurements to keep the desk square and balanced.
Ensuring Stability
After joining parts, test the frame’s stability. Gently shake the desk to spot any movement. Add extra support brackets if needed. Use corner braces to strengthen weak spots.
Place the frame on a flat surface to check balance. Adjust the leg height if the desk rocks. Stability keeps your desk safe for books, laptop, and study materials. A solid frame lasts longer and feels sturdy.
Building Bookshelf Sections
Building bookshelf sections is a key step in creating a functional dorm desk bookshelf. This part shapes the storage space for your books and supplies. Each section needs to be sturdy and fit well with the desk frame. Careful measuring and cutting ensure a neat look and strong shelves.
Start by planning the size and number of shelves based on your needs. This helps keep your desk organized and makes the best use of space. The shelves should hold textbooks, notebooks, and other study materials without sagging.
Constructing Shelves
Cut wood pieces to the right size using a saw. Sand edges smooth to avoid splinters. Use wood glue on joints for extra strength. Secure the shelves with screws or nails. Check each shelf for level and stability before moving on.
Attaching To Desk Frame
Align the bookshelf sections with the desk frame carefully. Use brackets or screws to fasten shelves to the frame. Make sure the shelves are flush with the desk edges. Tighten all screws firmly to prevent wobbling. Test the structure by placing some books on it.
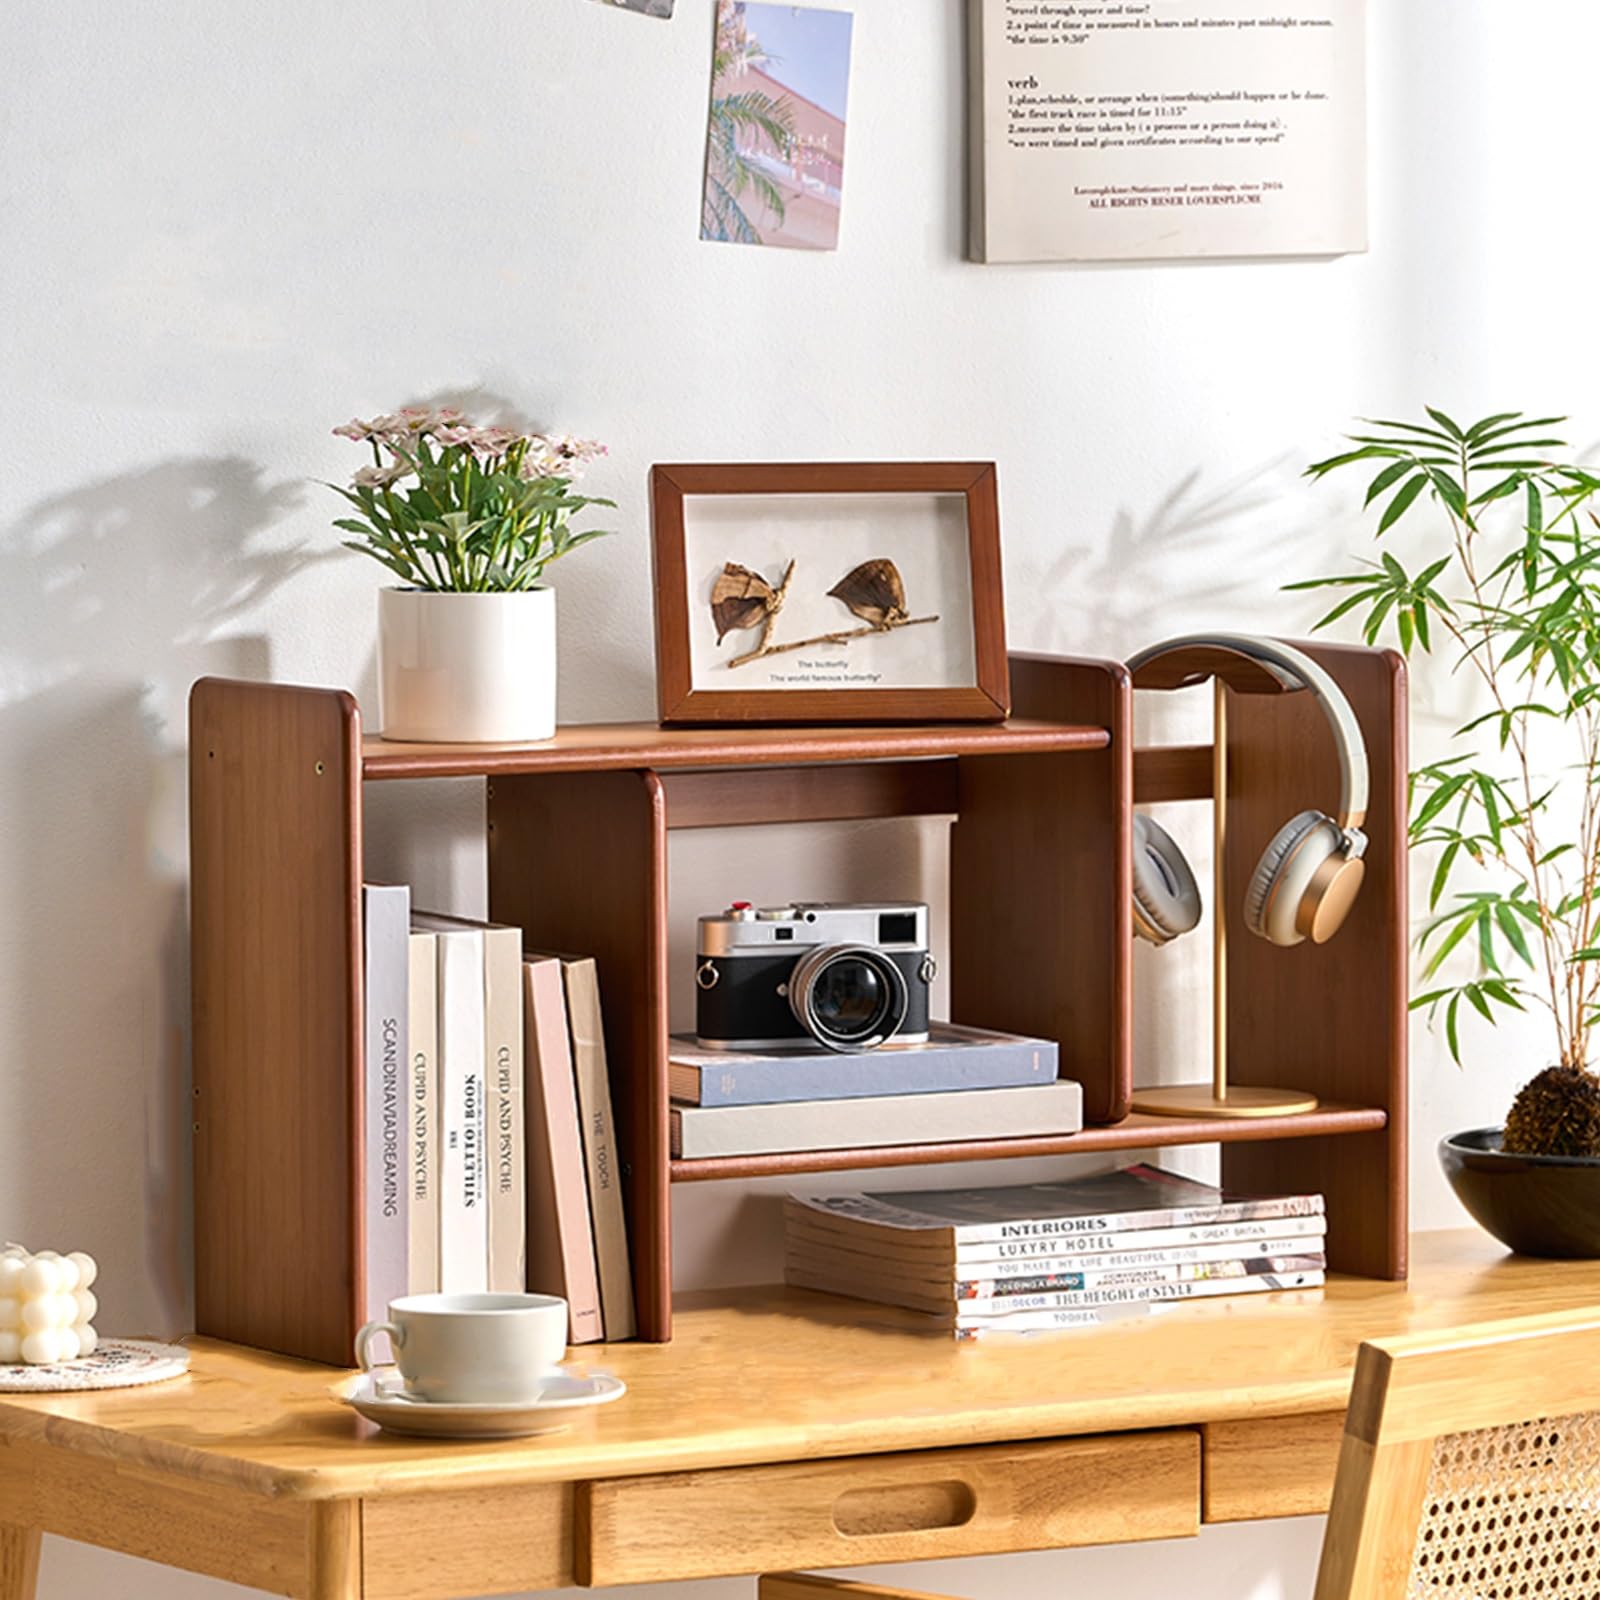
Credit: www.amazon.com
Finishing Touches
Finishing touches bring your dorm desk bookshelf to life. They protect the wood and add personality. Taking time here makes your project look neat and complete.
Painting Or Staining
Choose paint or stain to match your style. Paint gives bright, solid colors. Stain highlights the wood grain and adds warmth.
Use smooth, even strokes for a clean finish. Let each coat dry fully before applying the next. Sand lightly between coats to keep the surface smooth.
Adding Decorative Elements
Small details make your bookshelf unique. Try washi tape or stickers for a quick update. Attach small hooks for keys or headphones.
Consider using stencils to add patterns or quotes. Place plants or lights to create a cozy feel. These touches make your desk space inviting and personal.
Organizing Your Space
Organizing your space is key to making your dorm desk bookshelf useful. A neat area helps you find things quickly. It also keeps your mind clear and focused. Small spaces need smart organization to avoid clutter and stress.
Use your bookshelf not just for books but for all your study supplies. Keep everything within reach to save time and effort. A well-organized desk boosts productivity and makes studying more enjoyable.
Arranging Books And Supplies
Place your books by size or subject for easy access. Put frequently used books on the middle shelves. Store notebooks and papers in vertical stacks or file holders. Use small containers for pens, pencils, and other tools. Group similar items together to keep things tidy.
Maximizing Storage Efficiency
Use every inch of your bookshelf wisely. Add small baskets or bins to hold loose items. Use shelf dividers to keep stacks from falling over. Store rarely used items on the top shelves. Label containers to find things faster. Keep the desk surface clear for working space.

Credit: www.amazon.com
Frequently Asked Questions
What Materials Do I Need To Build A Dorm Desk Bookshelf?
You need plywood or MDF, screws, wood glue, brackets, sandpaper, paint, and a drill. Choose lightweight, durable materials for easy assembly and durability.
How Much Time Does It Take To Build A Dorm Desk Bookshelf?
Building a dorm desk bookshelf usually takes 2 to 4 hours. Time varies based on skill level and design complexity.
Can I Customize The Bookshelf Size For My Dorm Desk?
Yes, you can customize the size to fit your desk and space. Measure carefully before cutting materials.
What Tools Are Essential For Constructing The Bookshelf?
Essential tools include a drill, screwdriver, measuring tape, saw, and sandpaper. These ensure precise cuts and secure assembly.
Conclusion
Building a dorm desk bookshelf can save space and keep things neat. It helps you stay organized with easy access to your books. You only need simple tools and materials to start. Take your time and follow each step carefully.
This project adds a personal touch to your dorm room. Enjoy the satisfaction of creating something useful yourself. A tidy space can boost your focus and study time. Try this project to make your dorm feel more like home.