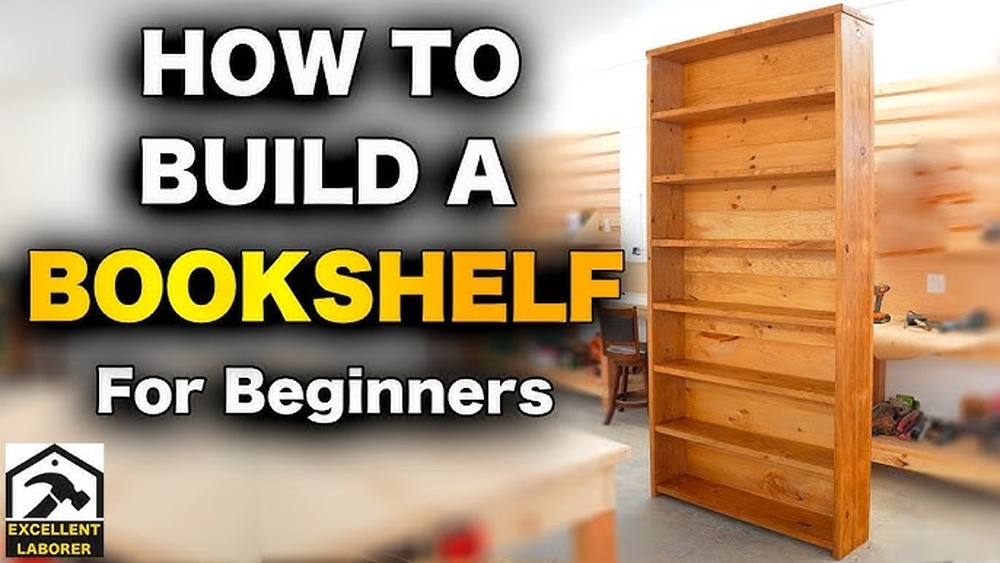
Are you ready to create your own beautiful bookshelf but don’t know where to start? Building a bookshelf might seem tricky, but with the right steps, you can make one that fits perfectly in your space and holds all your favorite books.
Imagine having a sturdy, custom shelf that shows off your style and keeps your room organized. In this guide, you’ll discover simple, clear instructions that anyone can follow—even if you’ve never built furniture before. By the end, you’ll not only have a great bookshelf but also the confidence to take on more DIY projects.
Let’s get started and bring your bookshelf idea to life!
Choosing The Right Bookshelf Design
Choosing the right bookshelf design is the first step to a successful build. The design affects how your bookshelf looks and fits your space. It also influences how much storage you get. Consider your needs and style before starting. This helps you create a bookshelf that works well and looks great.
Types Of Bookshelves
Bookshelves come in many shapes and sizes. Wall-mounted shelves save floor space. Freestanding shelves offer more storage and flexibility. Corner bookshelves fit into tight spots. Ladder-style shelves add a modern touch. Choose a style that matches your room and storage needs.
Selecting Materials
Wood is the most common material for bookshelves. Pine is affordable and easy to work with. Oak and maple are strong and long-lasting. Plywood is budget-friendly and smooth. Metal shelves offer a sleek, industrial look. Pick materials based on durability, price, and style.
Measuring Your Space
Measure the area where the bookshelf will go. Note the width, height, and depth available. Leave extra room for air circulation and access. Check for obstacles like outlets or vents. Accurate measurements ensure your bookshelf fits perfectly and looks neat.

Credit: thediyplaybook.com
Gathering Tools And Supplies
Before starting to build a bookshelf, gather all necessary tools and supplies. This step helps avoid delays and makes the project smooth. Having the right items ready improves safety and efficiency. Prepare your workspace and organize materials for easy access.
Essential Tools
Basic tools include a measuring tape, saw, and drill. A screwdriver and hammer are also needed. Sandpaper smooths rough edges. Clamps hold pieces steady while working. A level ensures shelves are straight. These tools help create a sturdy bookshelf.
Recommended Materials
Choose wood boards that suit your style and size needs. Plywood or pine are good options. Wood screws or nails fasten the parts together. Wood glue adds extra strength. Paint or stain finishes the bookshelf. Select materials that fit your budget and design.
Safety Equipment
Protect your eyes with safety goggles. Wear gloves to avoid splinters. Use ear protection if power tools make loud noise. A dust mask keeps you safe from sawdust. Dress in close-fitting clothes to prevent accidents. Safety gear keeps the project risk-free.
Preparing The Workspace
Preparing your workspace is a key step before building a bookshelf. A clean, organized area helps you work faster and safer. It reduces mistakes and keeps tools within reach. This section covers how to clear space, set up your workbench, and arrange your tools properly.
Clearing The Area
Start by removing all clutter from the workspace. Move furniture, boxes, and other items out of the way. Sweep or vacuum the floor to clear dust and debris. A tidy space helps prevent accidents and gives you room to move.
Setting Up Workbench
Find a sturdy workbench to support your materials. Place it in a well-lit spot near power outlets. Make sure it is stable and at a comfortable height. This will make cutting and assembling easier and more precise.
Organizing Tools
Gather all the tools needed for the project. Arrange them by type and size on the workbench or in a toolbox. Keep frequently used tools within arm’s reach. Organized tools save time and reduce frustration during work.
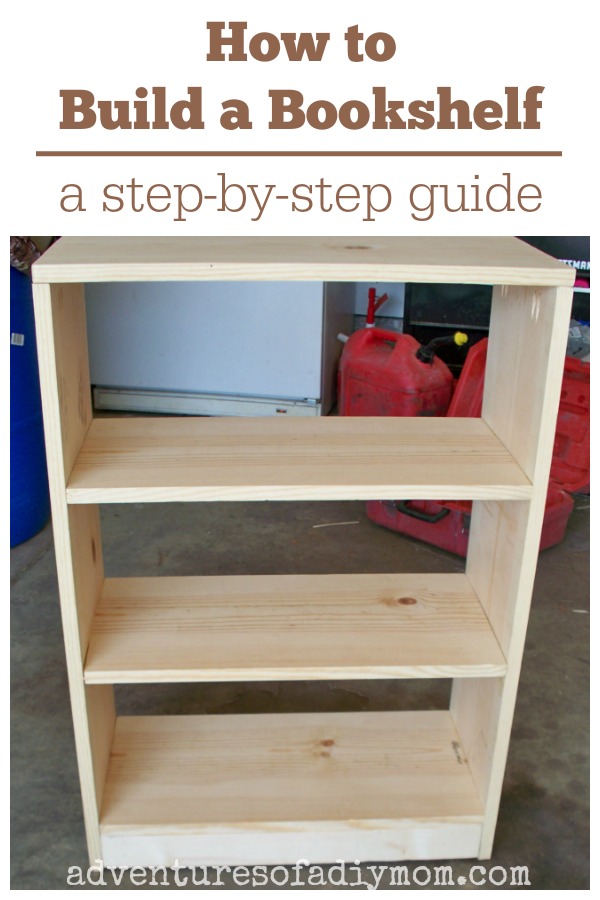
Credit: www.adventuresofadiymom.com
Cutting And Preparing Wood
Cutting and preparing wood is a key step in building a sturdy bookshelf. It shapes the wood pieces to fit perfectly. Taking time here saves effort later. Neat and accurate cuts make assembly easier. Smooth surfaces help the finish look great. Let’s break down the process into simple parts.
Measuring And Marking
Measure the wood pieces carefully. Use a tape measure for exact lengths. Mark each piece with a pencil. Draw straight lines where you will cut. Double-check all marks before cutting. Correct measurements prevent waste and mistakes.
Cutting Techniques
Choose the right saw for your cuts. A handsaw or circular saw works well. Follow the pencil lines slowly and steadily. Keep the saw straight to avoid crooked edges. Cut outside the marked lines for safety. Trim any excess wood after the first cut.
Sanding And Smoothing
Sand the cut edges to remove rough spots. Use medium-grit sandpaper first, then fine grit. Sand along the wood grain for a smooth finish. Check for splinters and uneven surfaces. Smooth wood looks better and is safer to handle.
Assembling The Frame
Assembling the frame is the key step in building a sturdy bookshelf. This part forms the skeleton that will support your shelves and books. You need to focus on precise measurements and strong connections. Taking time here ensures your bookshelf stands firm and lasts long.
Joining Techniques
Start by choosing the right joining technique for your frame. Common options include butt joints, lap joints, and pocket holes. Butt joints are simple but need reinforcement. Lap joints add strength by overlapping wood pieces. Pocket holes hide screws for a clean look. Pick a method that matches your tools and skill level.
Using Screws And Nails
Screws hold the frame tightly and resist pulling apart. They work better than nails for heavy shelves. Use wood screws that fit your wood thickness. Pre-drill holes to avoid splitting the wood. Nails are faster but less strong. Use nails only for temporary holds or light parts. Drive screws straight for the best grip.
Ensuring Stability
Check the frame for square angles using a carpenter’s square. Adjust corners until they form perfect 90-degree angles. Add corner braces or metal brackets for extra support. Tighten all screws and nails securely. Place the frame on a flat surface to spot any wobble. Reinforce weak spots before adding shelves.

Credit: www.younghouselove.com
Adding Shelves
Adding shelves is a key step in building a strong and useful bookshelf. Shelves hold your books and other items, so they must be spaced and secured properly. This part guides you through spacing shelves evenly, securing supports, and choosing between adjustable or fixed shelves.
Spacing Shelves Evenly
Measure the height of your bookshelf’s inside space. Divide this space by the number of shelves you want. Mark the spots where each shelf will go. Use a level to make sure marks are straight. Even spacing makes the bookshelf look neat. It also helps hold books of different sizes.
Securing Shelf Supports
Shelf supports keep shelves steady and safe. Use brackets or pins made for shelves. Attach supports firmly to the sides of the bookshelf. Use screws and a drill for strong fixing. Check that supports are level before tightening. Strong supports prevent shelves from sagging.
Adjustable Vs Fixed Shelves
Adjustable shelves can move up or down. They give flexibility for different book heights. Fixed shelves stay in one place. They make the bookshelf stronger and stable. Choose adjustable shelves for variety. Pick fixed shelves for heavy loads and long use.
Finishing Touches
Finishing touches bring your bookshelf to life. They protect the wood and make it look great. Proper finishing also helps your shelf last longer. Take your time to apply each step carefully for the best results.
Applying Paint Or Stain
Choose paint or stain to match your room’s style. Paint covers the wood fully and offers many color choices. Stain shows the wood grain and gives a natural look. Use a brush or cloth to apply evenly. Let each coat dry well before adding another.
Sealing And Protecting Wood
Sealing keeps moisture and dust away from the wood. Use clear varnish, polyurethane, or wax for protection. Apply thin coats and let each dry completely. Sand lightly between coats for a smooth finish. This step helps your bookshelf stay strong and clean.
Adding Decorative Elements
Decorations add personality to your bookshelf. Attach trim, molding, or corner brackets for style. Use stencils or decals for creative designs. Add small hooks or baskets for extra function. Keep decorations simple for a neat, clean look.
Installing And Securing Bookshelf
Installing and securing your bookshelf is an important step. It keeps the shelf stable and safe. Proper installation prevents accidents and damage. Follow these steps carefully for best results.
Positioning In The Room
Choose a spot with enough space around the shelf. Avoid placing it where it blocks doors or windows. Make sure it fits well against the wall. Consider lighting to show off your books and decor. Leave room to move comfortably around it.
Anchoring To Walls
Secure the bookshelf to the wall using brackets or straps. Find wall studs with a stud finder for strong support. Use screws that match the bracket size. Attach brackets to the top or sides of the shelf. This stops the shelf from tipping forward or falling.
Final Safety Checks
Check all screws and brackets are tight and secure. Gently shake the shelf to test stability. Make sure no parts wobble or feel loose. Confirm the shelf stands straight and level. Safety comes first; a stable shelf protects your books and home.
Maintaining Your Bookshelf
Maintaining your bookshelf keeps it strong and looking fresh. Regular care helps avoid big repairs and saves money. A well-kept shelf lasts longer and holds your books safely. Follow simple steps to keep it in good shape every day.
Cleaning Tips
Dust your bookshelf often with a soft cloth. Use a dry or slightly damp cloth for wood surfaces. Avoid too much water to prevent damage. Clean spills quickly to stop stains. Use gentle cleaners made for furniture. Keep books and shelves free from dirt and grime.
Repairing Minor Damages
Small scratches can be fixed with a wood marker or wax stick. Tighten loose screws or bolts to keep shelves stable. Use wood glue for small cracks or joints. Sand rough areas gently to smooth the surface. Check for signs of wear and fix problems early.
Extending Shelf Life
Keep your bookshelf away from direct sunlight and moisture. Use coasters or mats under plants to protect wood. Avoid placing very heavy items on one shelf. Rotate books and objects to balance weight. Apply furniture polish or oil occasionally for wood care. These steps help your shelf stay strong for years.
Frequently Asked Questions
What Tools Do I Need To Build A Bookshelf?
You need a saw, drill, measuring tape, level, screwdriver, clamps, and sandpaper. These tools help ensure accurate cuts and secure assembly.
How Do I Choose The Right Wood For My Bookshelf?
Select hardwood like oak or maple for durability. Pine is budget-friendly but less sturdy. Choose wood based on weight capacity and finish preference.
What Are The Basic Steps To Build A Bookshelf?
Measure and cut wood, assemble the frame, attach shelves, sand surfaces, and finish with paint or stain. Follow step-by-step for best results.
How Can I Ensure My Bookshelf Is Stable?
Use strong joints like screws and wood glue. Add a back panel or braces for extra support. Level the bookshelf after assembly.
Conclusion
Building a bookshelf can be simple and rewarding. Follow each step carefully for the best results. Use the right tools and take your time. Measure twice, cut once. Enjoy the process and learn as you go. Soon, you will have a sturdy shelf to hold your books.
This project adds both function and style to any room. Keep practicing to improve your skills. Now, you can create more furniture with confidence. Happy building!