Are you ready to transform your space with a stunning built-in bookshelf? Imagine having a custom shelf that fits perfectly in your room, showcasing your favorite books and decor while adding charm and value to your home.
Building your own built-in bookshelf might sound tricky, but with the right steps, you can create a beautiful, sturdy piece that suits your style and needs. In this guide, you’ll discover simple, clear instructions to help you bring your vision to life—no fancy tools or expert skills required.
Keep reading, and you’ll be surprised at how achievable this project can be!

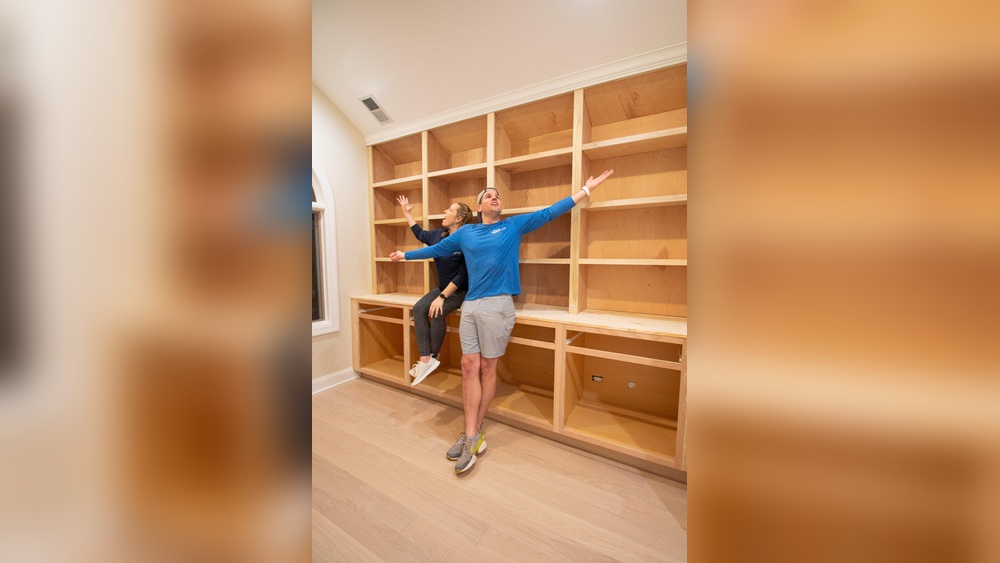
Credit: southernyankeediy.com
Planning Your Bookshelf
Planning your built-in bookshelf is the first step to a successful project. This stage sets the foundation. Careful planning saves time and ensures a perfect fit. It helps avoid mistakes and extra costs. Consider your space and needs before starting.
Choosing The Right Location
Pick a spot that fits your room well. Look for a wall with enough space. Avoid areas with doors or windows in the way. A quiet corner or empty wall works best. The location should also be easy to reach.
Measuring Space Accurately
Measure the height, width, and depth of the area. Use a tape measure for precise numbers. Write down each measurement carefully. Check for any obstacles like baseboards or vents. Accurate measurements help build a perfect shelf.
Selecting Materials And Tools
Choose strong wood or plywood for durability. Consider the style you want to match your room. Get paint or stain for finishing touches. Gather tools like a saw, drill, level, and screws. Good materials and tools make building easier and better.
Designing The Bookshelf
Designing a built-in bookshelf requires careful planning to fit your space and needs. This step shapes how your bookshelf looks and holds your items. Focus on practical details and style to make it both useful and attractive.
Deciding On Shelf Dimensions
Start by measuring the wall space where the bookshelf will go. Think about the height, width, and depth. Shelves should fit your books and other items comfortably. Standard shelf depth is usually 10 to 12 inches. Adjust shelf height for different book sizes or decorations. Keep space for easy access and good airflow around your items.
Incorporating Style Elements
Choose a design that matches your room’s look. Simple, clean lines fit modern spaces well. Add molding or trim for a classic feel. Consider the color and finish of the wood or paint. Open shelves create a light, airy feel. Closed cabinets below can hide clutter. Style choices give your bookshelf personality and charm.
Considering Weight And Support
Books can be heavy. Make sure shelves have strong support. Use thick boards or sturdy materials. Add brackets or wall anchors for extra strength. Even spacing between supports prevents sagging. Think about how many books or items you will place. A well-built shelf stays safe and lasts longer.
Preparing The Space
Preparing the space is the first step in building a built-in bookshelf. This stage ensures the area is ready for construction. Careful preparation helps the project go smoothly. It also ensures the bookshelf fits perfectly and looks great.
Start by clearing the area completely. Remove furniture, decorations, and any obstacles. A clean space makes it easier to work and keeps tools safe. It also prevents damage to your belongings.
Clearing And Cleaning The Area
Clear all items from the wall and floor space. Sweep or vacuum the floor to remove dust and dirt. Wipe down the wall surface to ensure it is clean. A clean area helps paint or primer stick better. It also keeps your tools free from dust.
Locating Wall Studs
Use a stud finder to locate the wall studs. Mark each stud lightly with a pencil. Studs provide the support needed for heavy shelves. Knowing their position helps you screw the shelves securely. Avoid drilling into empty drywall alone.
Marking Shelf Placement
Measure and mark where each shelf will go. Use a level to draw straight lines across the wall. Mark the height and width of the entire bookshelf. Clear marks guide you during cutting and assembly. Accurate placement ensures the shelves look balanced and hold weight safely.
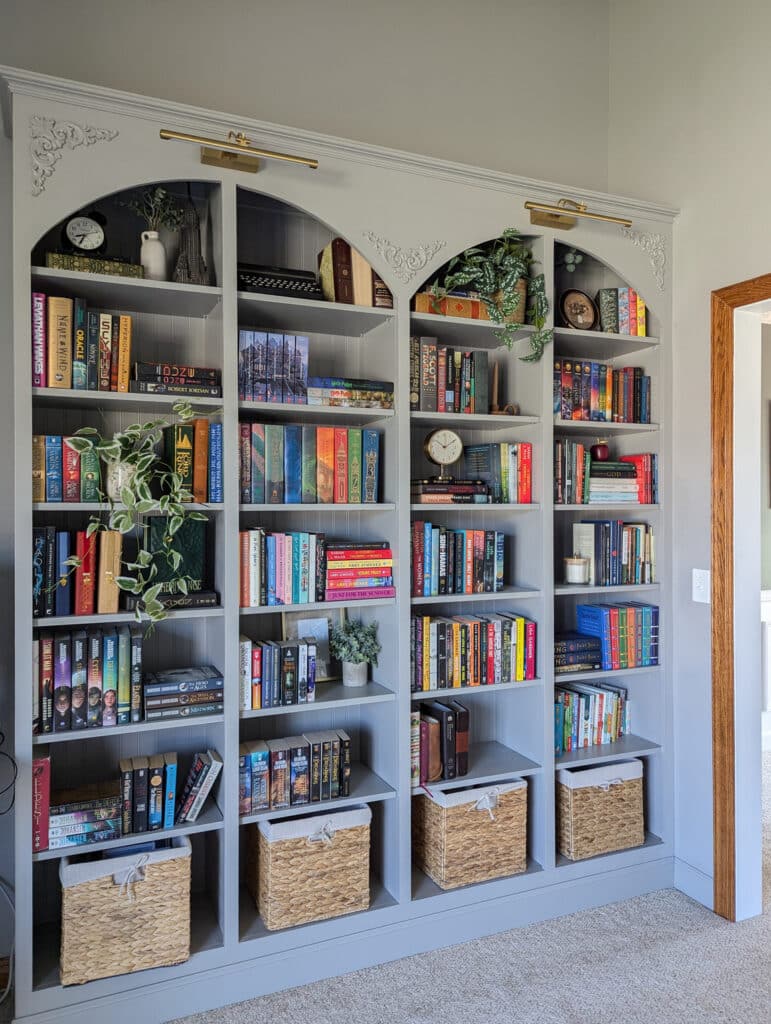
Credit: gagemadehome.com
Building The Frame
Building the frame is the first step to create a strong, built-in bookshelf. This frame acts like the skeleton. It holds the shelves and supports the books. Take your time to measure and cut the wood carefully. A sturdy frame makes the entire bookshelf last longer and look better.
Follow clear steps to cut, assemble, and secure the frame. Each part must fit well for stability. Use the right tools and safety gear to keep the work safe and smooth.
Cutting Wood Pieces
Start by measuring the space for your bookshelf. Mark the wood pieces with a pencil. Cut the sides, top, bottom, and shelves using a saw. Cut slowly to get clean edges. Use the same wood type for all parts to match the look. Sand rough edges for safety and a neat finish.
Assembling The Frame
Place the cut pieces on a flat surface. Join the sides with the top and bottom boards. Use wood glue and screws for strong joints. Check if the frame is square with a carpenter’s square. Add the shelf supports inside the frame. Let the glue dry before moving to the next step.
Securing To The Wall
Find the wall studs behind the drywall using a stud finder. Align the frame with the wall and mark the stud locations. Drill pilot holes through the frame. Use long screws to attach the frame to the studs. This keeps the bookshelf from tipping over. Double-check that the frame is level before tightening screws fully.
Adding Shelves And Details
Adding shelves and details brings your built-in bookshelf to life. Shelves hold your books and decor. Details like trim add style and polish. This section guides you through installing shelf supports, attaching shelves, and adding trim and molding.
Installing Shelf Supports
Start by measuring the inside width of your bookshelf. Mark where each shelf will sit. Use a level to keep marks straight. Attach sturdy shelf supports to the side panels. Use screws that fit your supports. Make sure supports are secure and even. This step keeps shelves stable and safe.
Attaching Shelves
Cut shelves to fit the measured width. Sand edges to avoid splinters. Place each shelf on the installed supports. Check the shelf is level before fixing it. Use screws or nails to attach shelves firmly. Countersink screws for a clean look. This ensures shelves hold weight without sagging.
Adding Trim And Molding
Trim adds a finished look to your bookshelf. Choose molding that matches your room style. Measure and cut molding to fit edges. Attach molding with small finishing nails or wood glue. Fill holes with wood filler for smoothness. Sand and paint or stain trim to match shelves. This step gives your bookshelf a professional touch.
Finishing Touches
Finishing touches bring your built-in bookshelf to life. These steps improve the look and protect the wood. Take time here to get a smooth, lasting finish. The right finish makes your bookshelf stand out in any room.
Sanding And Smoothing Surfaces
Start by sanding all surfaces with fine-grit sandpaper. This removes rough spots and splinters. Sand edges and corners carefully to avoid sharpness. Use a sanding block for flat areas. Wipe dust off with a dry cloth before moving on.
Painting Or Staining
Choose paint or stain based on your room’s style. Paint adds color and hides wood grain. Stain shows the natural beauty of the wood. Apply thin, even coats with a brush or cloth. Let each coat dry fully before the next. Light sanding between coats helps smooth the finish.
Sealing For Durability
Seal the bookshelf with a clear finish to protect it. Polyurethane is strong and water-resistant. Apply it in thin layers with a brush. Allow each layer to dry before adding another. This step guards against scratches and spills. Your bookshelf will stay beautiful for years.
Tips For Maintenance
Maintaining a built-in bookshelf keeps it looking good and working well for years. Simple care steps prevent damage and ensure safety. Regular attention helps your shelves stay strong and organized.
Regular Cleaning
Dust your bookshelf often to avoid buildup. Use a soft cloth or duster for gentle cleaning. Avoid wet cloths that can damage wood. Clean shelves before placing books back to keep them fresh.
Checking For Stability
Look for loose screws or nails every few months. Tighten them to keep shelves sturdy and safe. Watch for cracks or warping in the wood. Fix small issues early to avoid bigger problems later.
Updating Shelf Layout
Change the shelf arrangement to suit new books or decor. Move heavy items to lower shelves for safety. Keep space between books for easy access and airflow. Refreshing the layout keeps your bookshelf functional and neat.

Credit: southernyankeediy.com
Frequently Asked Questions
What Materials Are Needed To Build A Built-in Bookshelf?
To build a built-in bookshelf, you need plywood, wood screws, wood glue, paint, drywall, and trim. Additional tools like a saw, drill, level, and measuring tape are essential for precise construction and assembly.
How Long Does It Take To Build A Built-in Bookshelf?
Building a built-in bookshelf typically takes 1 to 3 days. The duration depends on design complexity, skill level, and drying time for paint or finish.
Can I Build A Built-in Bookshelf Without Professional Help?
Yes, with basic carpentry skills and proper tools, you can build a built-in bookshelf. Follow detailed plans and safety guidelines to ensure success.
How Do I Ensure My Built-in Bookshelf Is Sturdy?
Use quality wood, secure shelves with screws, and anchor the bookshelf to wall studs. Proper bracing and support prevent sagging and increase stability.
Conclusion
Building a built-in bookshelf adds style and storage to any room. It takes some planning, measuring, and careful cutting. You can choose the wood and paint that match your space. Step by step, the project becomes easier to handle. This project saves money compared to buying ready-made shelves.
Plus, it gives your home a personal touch. Start with simple designs and grow your skills. Enjoy the process and the final result. Your new bookshelf will hold books and memories alike.