
Are you tired of cluttered rooms and looking for a smart way to organize your books and decor? Building an in-wall bookshelf could be the perfect solution for you.
Imagine having a sleek, space-saving shelf that blends seamlessly with your walls, making your room look bigger and more stylish. In this guide, you’ll discover simple steps to create your own in-wall bookshelf—even if you’ve never done any woodworking before.
Keep reading, and you’ll learn how to transform your space and add value to your home with a project you can be proud of.
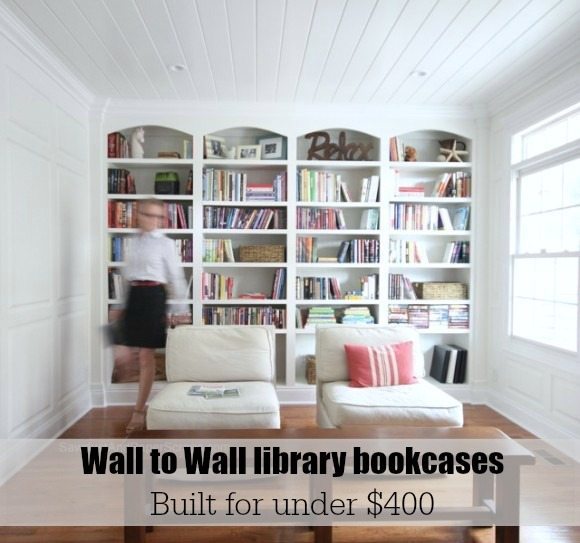
Credit: sawdustgirl.com
Planning Your Bookshelf
Planning your in-wall bookshelf is an important step before you start building. It helps you avoid mistakes and ensures the shelf fits perfectly. Good planning saves time and money. It also makes the project smoother and more enjoyable.
Choosing The Right Wall
Pick a wall that can hold the shelf’s weight. Avoid walls with plumbing or electrical wires. Use a stud finder to locate studs in the wall. Studs provide strong support for your bookshelf. Choose a wall that fits your room’s style and space.
Measuring Space Accurately
Measure the wall space carefully before cutting. Use a tape measure to get exact width, height, and depth. Double-check your numbers to avoid errors. Consider the size of books and items you want to store. Leave some extra space for easy access and air circulation.
Selecting Materials
Choose sturdy materials for strength and durability. Plywood is a common choice for in-wall bookshelves. It is strong and easy to cut. Pick wood with a smooth finish for a clean look. Don’t forget screws, brackets, and paint or stain for finishing touches.

Credit: www.youtube.com
Gathering Tools And Supplies
Before you start building your in-wall bookshelf, gather all the necessary tools and supplies. This step saves time and prevents interruptions. Having the right equipment makes the job easier and safer. Prepare everything in one place to stay organized. Let’s look at what you need to get started.
Essential Tools List
Start with a tape measure for precise measurements. A level ensures your shelf will be straight and balanced. Use a stud finder to locate wall studs for secure installation. A drill with different drill bits helps make holes and drive screws. A saw, either hand or power, cuts wood to size. Sandpaper smooths rough edges for a clean finish. A screwdriver is necessary for tightening screws. A pencil marks measurements and cutting lines.
Recommended Materials
Choose sturdy wood like plywood or MDF for the shelves and frame. Wood screws provide strong support. Wood glue adds extra strength to joints. Primer and paint protect the wood and give a nice look. Drywall patching compound fixes any wall damage after installation. Use wood filler to cover nail holes and imperfections. Shelf brackets add support if needed.
Safety Gear
Protect your eyes with safety goggles. Wear gloves to avoid splinters and cuts. A dust mask stops inhaling sawdust. Use ear protection if using loud power tools. Wear closed-toe shoes to protect your feet. Keep a first aid kit nearby for any minor injuries.
Preparing The Wall
Preparing the wall is the first step to build an in-wall bookshelf. This step ensures safety and accuracy. It also helps the bookshelf fit perfectly in the space.
Proper preparation makes the building process easier and cleaner. Take time to understand the wall structure before cutting.
Locating Studs And Wiring
Use a stud finder to locate the wall studs. Mark the edges of each stud clearly. Avoid cutting into these to keep the wall strong.
Check for electrical wiring inside the wall. A wire detector can help find hidden wires. Turn off power to the area to stay safe.
Marking The Cut Area
Measure the size of your bookshelf carefully. Use a pencil to mark the exact cut area on the wall. Double-check all measurements before cutting.
Draw straight lines using a level tool. This keeps your cuts clean and even. Clear marks guide you during the cutting process.
Protecting Surrounding Surfaces
Cover the floor and nearby furniture with a drop cloth. Use painter’s tape to protect baseboards and trim. This prevents damage from dust and tools.
Wear safety goggles and a dust mask. Keep the work area well-ventilated. These steps keep you safe and keep the space clean.
Cutting The Wall Opening
Cutting the wall opening is the first major step in building your in-wall bookshelf. It sets the space where your shelf will fit perfectly. Take your time and work carefully. A clean, precise cut makes the whole project easier and safer.
Using The Right Saw
Choose a saw made for cutting drywall and wood. A drywall saw or a small handsaw works best. Avoid saws that are too big or heavy. They can damage the wall or make the cut uneven. Always wear safety goggles to protect your eyes.
Making Precise Cuts
Mark the wall with a pencil using a level for straight lines. Measure twice, cut once. Start the cut slowly to keep control. Follow your lines exactly. A smooth cut means less sanding and patching later.
Removing Drywall Safely
After cutting, gently push out the drywall piece. Avoid pulling hard to prevent damage to wires or pipes inside. Use a utility knife to score edges if needed. Dispose of drywall pieces carefully to keep your work area clean.
Building The Frame
Building the frame is the first step in making an in-wall bookshelf. It creates a strong base that holds the shelves and books. A solid frame keeps everything steady and safe. Focus on accuracy and strength during this stage.
Constructing Support Structure
Start by cutting wood pieces to fit the opening in your wall. Use sturdy wood like pine or oak. Build a rectangular box that fits inside the wall space. Add vertical supports inside for extra strength. Make sure all joints are tight and secure with screws.
Securing The Frame To Studs
Find the wall studs using a stud finder. Align the frame so it sits flush with the studs. Screw the frame directly into the studs for strong support. Use long screws to hold the frame firmly. Avoid gaps between the frame and wall.
Ensuring Level And Square
Check the frame with a carpenter’s level. Adjust as needed to keep it perfectly horizontal and vertical. Use a carpenter’s square to confirm corners are right angles. This step prevents crooked shelves later. Tighten all screws after confirming the frame is level and square.
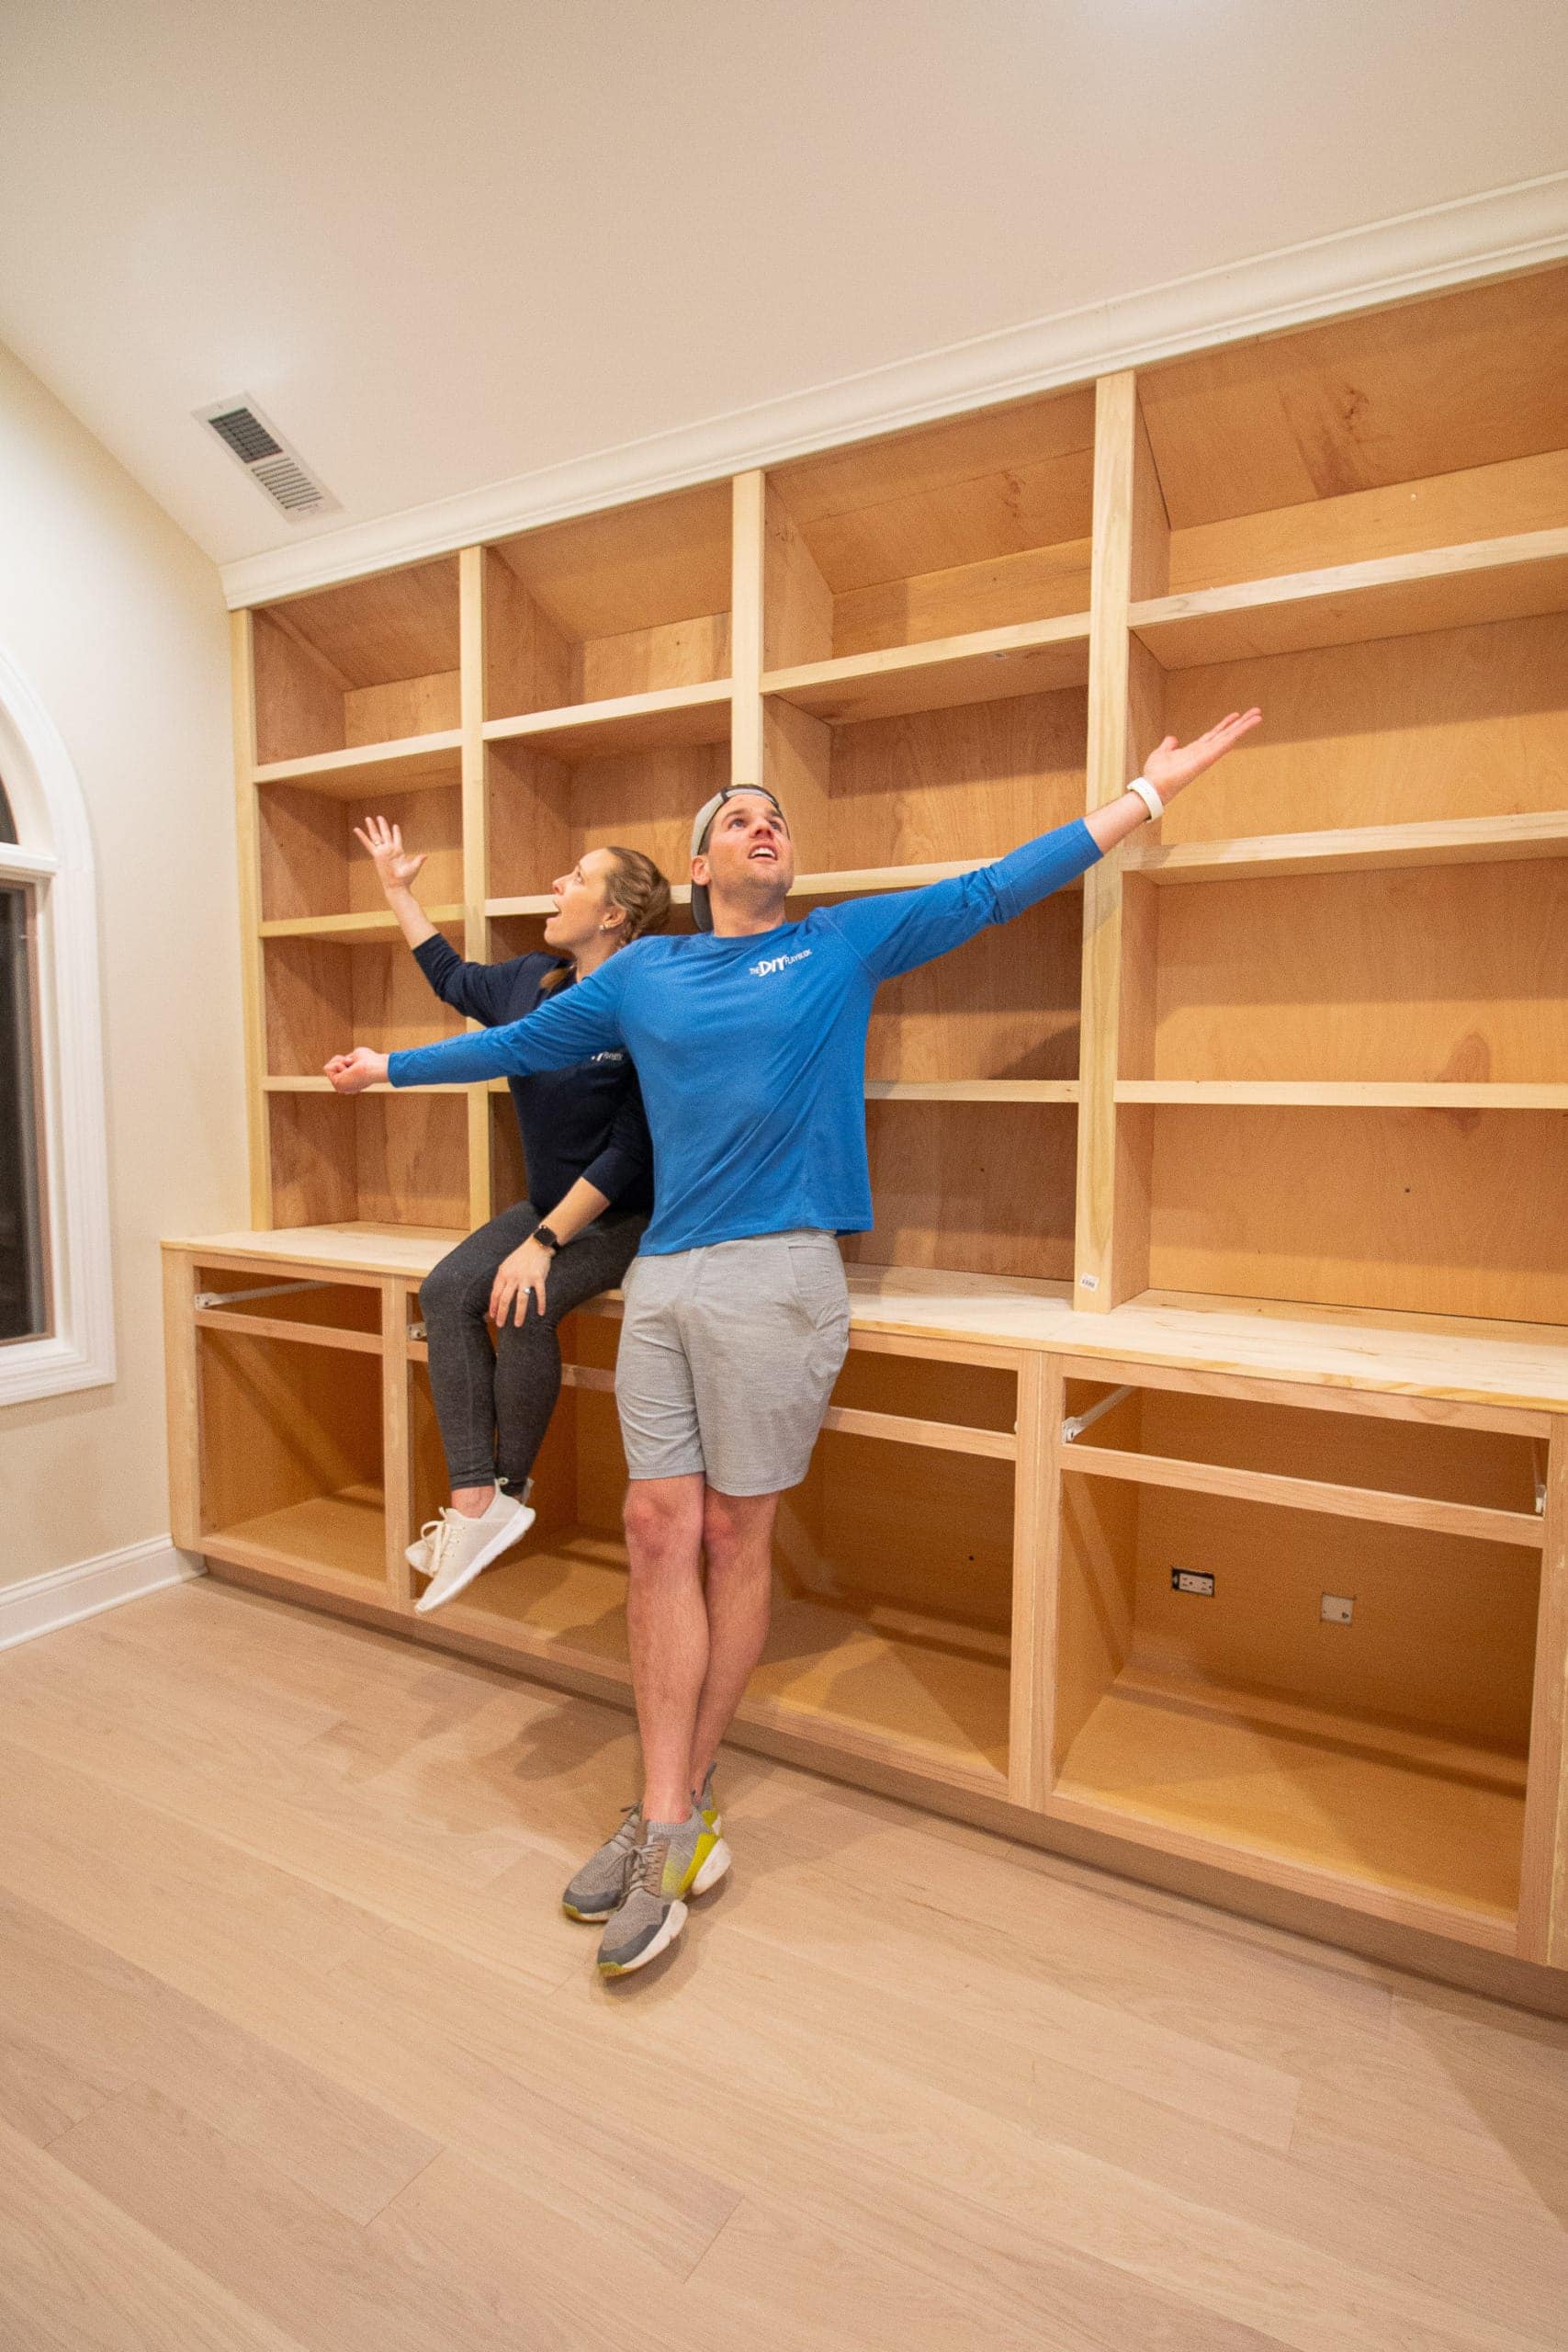
Credit: thediyplaybook.com
Installing Shelves
Installing shelves in your in-wall bookshelf is a key step to create sturdy storage. Precise cutting and secure attachment make shelves safe and reliable. Proper adjustment helps shelves hold heavy books without bending.
Cutting Shelf Boards
Measure the width and depth of your bookshelf frame. Use a saw to cut the boards to these exact sizes. Smooth the edges with sandpaper to prevent splinters. Accurate cuts ensure the shelves fit perfectly inside the wall frame.
Attaching Shelves To Frame
Place each shelf board inside the frame at the desired height. Use a drill and screws to attach the shelves to the side studs. Make sure the shelves are level before tightening screws. Secure shelves firmly for strong support.
Adjusting For Weight Support
Reinforce shelves by adding brackets under heavy-load areas. Space brackets evenly along the underside of the shelf. Check that shelves do not sag under pressure. Adjust or add supports to keep shelves straight and stable.
Finishing Touches
Finishing touches give your in-wall bookshelf a clean, polished look. These final steps make it both beautiful and safe. Smooth edges prevent splinters. A fresh coat of paint or stain adds style. Trim or molding hides gaps and adds charm. Focus on each detail to complete your project well.
Sanding And Smoothing Edges
Use fine-grit sandpaper to smooth all wood surfaces. Pay close attention to corners and edges. Sand until the wood feels soft and even. This step removes rough spots and splinters. Clean dust away with a dry cloth before painting.
Painting Or Staining
Choose paint or stain that matches your room’s style. Apply thin, even coats for a smooth finish. Let each coat dry fully before adding another. Paint brightens the shelf, while stain shows wood grain. Seal with a clear topcoat for extra protection.
Adding Trim Or Molding
Cut trim pieces to fit around the bookshelf edges. Attach them with small nails or wood glue. Trim hides gaps between the shelf and wall. It also adds a finished, built-in look. Paint or stain the trim to match the shelf color.
Maintaining Your Bookshelf
Maintaining your in-wall bookshelf keeps it looking good and lasting long. Regular care prevents damage and keeps the shelf strong. Small checks can catch problems early and save time.
Regular Cleaning Tips
Dust your bookshelf often to avoid buildup. Use a soft cloth or duster for gentle cleaning. Wipe shelves with a damp cloth to remove stains. Avoid harsh chemicals that can damage the finish. Clean books and items on the shelf regularly too.
Checking For Stability
Check screws and brackets to ensure they are tight. Gently shake the shelf to test its steadiness. Look for cracks or loose panels that may need repair. Fix small issues before they become bigger problems. Proper stability keeps your books safe and the shelf secure.
Updating Style Over Time
Refresh your bookshelf’s look by changing paint or stain. Add new decorative items to match your room’s style. Rearrange books and objects to create a fresh feel. Update lighting around the shelf for a modern touch. Small changes keep your space inviting and lively.
Frequently Asked Questions
What Tools Are Needed To Build An In-wall Bookshelf?
You need a stud finder, drywall saw, drill, level, measuring tape, screws, wood panels, and paint. These tools help you create a sturdy and well-aligned bookshelf inside your wall safely.
How Do I Find The Best Wall Space For Installation?
Choose a wall section free of electrical wires and plumbing. Use a stud finder to locate studs and ensure enough depth for shelves. Select a visible, accessible area for optimal display and functionality.
What Materials Are Best For In-wall Bookshelf Construction?
Use plywood or MDF for shelves, 2×4 lumber for framing, drywall for wall repairs, and high-quality paint or stain. These materials ensure durability, smooth finishes, and a professional look for your built-in bookshelf.
How Long Does It Take To Build An In-wall Bookshelf?
Building an in-wall bookshelf typically takes 1 to 3 days. Time varies by skill level, wall preparation, and drying time for paint or finishes. Proper planning speeds up the process.
Conclusion
Building an in-wall bookshelf adds style and space to any room. You save floor space and create a neat look. The steps are easy to follow with basic tools. Measuring well and using the right materials ensures strong shelves. Personalize your shelf with paint or decorations.
Enjoy organizing your books and items neatly. This project gives a satisfying sense of accomplishment. Try it out and see how it changes your room’s feel. Simple, smart, and practical.