Imagine having a beautiful, sturdy bookshelf made just for your space and style. You don’t have to buy one or settle for something that doesn’t fit.
You can make your own bookshelf, and it’s easier than you think. Whether you want to organize your favorite books, display your treasures, or add a personal touch to your room, building a bookshelf lets you create exactly what you need.
Keep reading, and you’ll discover simple steps and tips that anyone can follow to bring your perfect bookshelf to life.
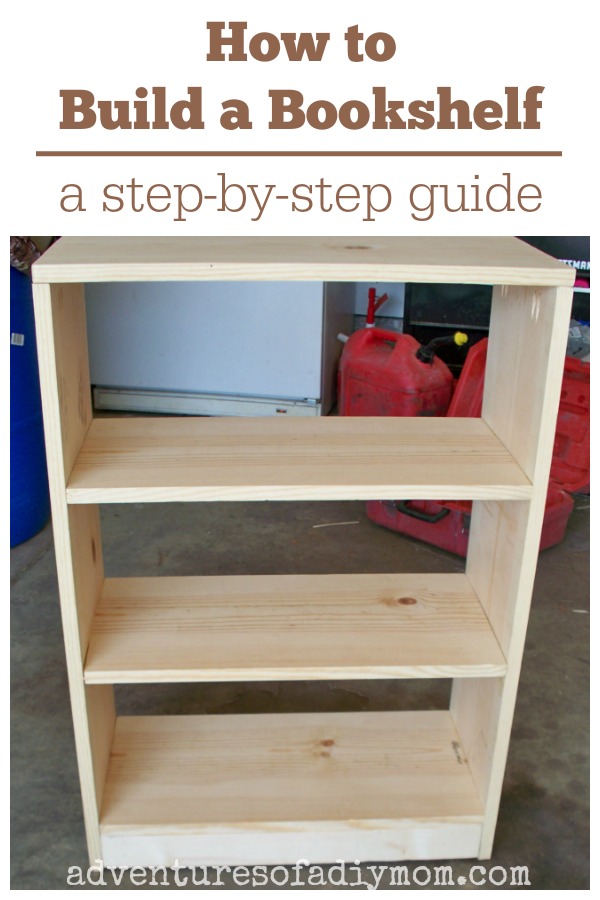
Credit: www.adventuresofadiymom.com
Choosing Materials
Choosing the right materials is key to building a sturdy bookshelf. The materials affect the look, strength, and cost. Knowing what to pick helps the project go smoothly. This section covers wood types, tools, and safety gear. These basics prepare you to start your bookshelf with confidence.
Types Of Wood
Wood choice affects the bookshelf’s durability and style. Pine is soft, easy to cut, and affordable. Oak is strong and has a beautiful grain but costs more. Plywood offers strength and resists warping. MDF is smooth and cheap but less durable. Choose wood based on your budget and desired look.
Tools You’ll Need
Basic tools make building easier and faster. A saw cuts wood to size. A drill helps join pieces with screws. Sandpaper smooths rough edges. Measuring tape ensures accurate cuts. Clamps hold wood steady while working. Prepare these tools before starting your project.
Safety Gear Essentials
Safety gear protects you during woodworking. Safety glasses shield your eyes from dust and debris. Ear protection guards against loud tool noises. Gloves protect your hands from splinters and cuts. Wear a dust mask to avoid breathing sawdust. Always use safety gear to prevent accidents.
Planning Your Bookshelf
Planning your bookshelf is the first step to a successful project. Careful preparation saves time and avoids mistakes. It helps you create a shelf that fits perfectly and looks great. Follow these simple steps to plan your bookshelf well.
Measuring Space
Start by measuring the space where the bookshelf will go. Use a tape measure for accuracy. Note the width, height, and depth of the area. Check for obstacles like power outlets or baseboards. Write down all measurements clearly. This ensures your shelf fits without problems.
Design Ideas
Think about the style and purpose of your bookshelf. Should it hold heavy books or display decor? Choose between open shelves or ones with doors. Decide on the number of shelves and their spacing. Pick a design that matches your room’s look. Simple designs are easier to build and use.
Sketching Your Plan
Draw a rough sketch of your bookshelf on paper. Include all measurements and shelf positions. Mark where each piece of wood will go. Use your sketch to check if the design fits your space. It helps visualize the final product and guides your building process.
Cutting And Preparing Wood
Cutting and preparing wood is the first big step in making your own bookshelf. It shapes the wood to the right size and smooths it out for easy assembly. This process needs careful attention to detail. Accurate cuts and smooth surfaces help your bookshelf look great and last long.
Marking Measurements
Start by measuring your wood pieces carefully. Use a tape measure and pencil to mark the cut lines clearly. Double-check each measurement to avoid mistakes. Mark both the length and width for each shelf and side panel. Clear marks guide your saw and ensure straight cuts.
Cutting Techniques
Choose the right saw for clean cuts. A handsaw works well for small projects. For faster cutting, a circular saw is a good choice. Cut slowly and follow your marked lines closely. Keep your hands steady and wear safety goggles. Smooth, straight cuts make assembly easier.
Sanding For Smoothness
After cutting, sand every piece to remove rough edges. Use medium-grit sandpaper first to smooth large rough areas. Then switch to fine-grit sandpaper for a soft finish. Sand along the grain of the wood to avoid scratches. Clean the dust off before moving to the next step.
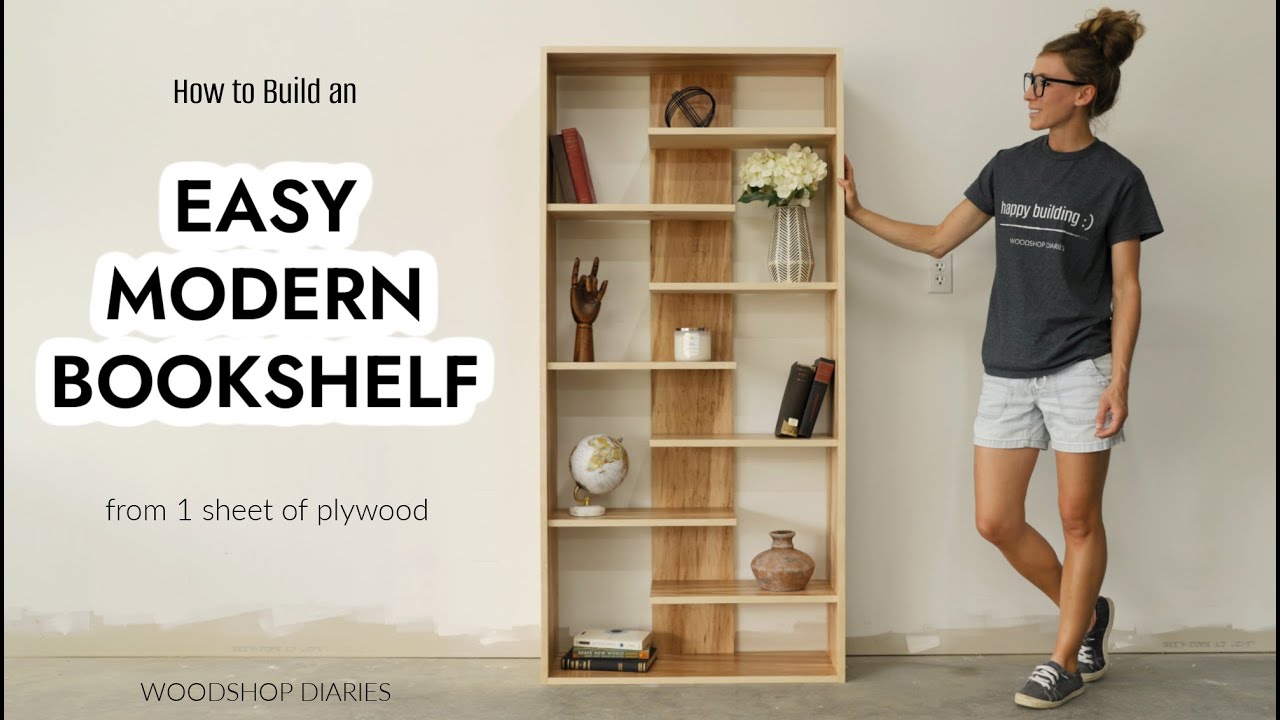
Credit: www.youtube.com
Assembling The Frame
Assembling the frame is the key step in building your own bookshelf. It creates the basic shape and holds everything together. A strong frame means a sturdy bookshelf that lasts long. Follow simple steps to make the frame solid and neat.
Joining Methods
There are different ways to join the parts of the frame. You can use glue, dowels, or brackets. Glue works well for wood and keeps joints tight. Dowels fit into holes and add strength. Brackets hold corners firmly and are easy to install. Choose the method that fits your tools and skills.
Using Screws And Nails
Screws and nails are common for frame assembly. Screws hold pieces tightly and allow for adjustments. Use a drill for easier screwing. Nails work faster but hold less than screws. Pre-drill holes to avoid splitting wood. Use screws for main joints and nails for extra support.
Ensuring Stability
Check the frame for wobbling before moving forward. Use a level to keep shelves straight. Tighten all screws and add extra supports if needed. Corner braces add more strength to the frame. A stable frame means your bookshelf will hold heavy books safely.
Adding Shelves
Adding shelves is a key step in building your own bookshelf. Shelves hold your books and other items. They must be strong and well placed. Proper shelf placement makes your bookshelf useful and attractive.
Spacing And Placement
Think about what you will store on each shelf. Taller books need more space. Smaller items need less space. Leave extra room so books fit easily. Measure the height of your tallest items. Mark the shelf positions on the side panels. Keep shelves evenly spaced for a balanced look.
Securing Shelves
Strong shelves need secure fixing. Use screws or shelf pins to hold shelves. Drill pilot holes for screws to avoid wood splitting. Check that each shelf is level before fixing it. Tighten screws firmly but do not over-tighten. Well-secured shelves can hold heavy books safely.
Adjustable Vs Fixed Shelves
Adjustable shelves let you change spacing later. Use shelf pins or brackets for adjustability. Fixed shelves are glued or screwed permanently. Fixed shelves add more strength. Choose adjustable shelves for flexibility. Pick fixed shelves for a sturdy, solid bookshelf.
Finishing Touches
Finishing touches give your bookshelf a polished look. They protect the wood and enhance its style. This step lets you personalize your creation. Small details can make a big difference in the final appearance.
Painting And Staining
Choose paint or stain based on the wood type and your style. Paint covers the wood and adds color. Stain soaks into the wood to show the grain. Use a brush or cloth for smooth application. Let each coat dry fully before adding another.
Applying Sealant
Sealant protects the wood from moisture and wear. It makes the surface smooth and durable. Use clear sealants to keep the natural look. For painted shelves, use a sealant that matches the finish. Apply with a brush in thin, even layers.
Decorative Elements
Decorate with knobs, decals, or molding for a unique touch. Attach small hooks for hanging items. Use wallpaper or fabric on the back panel for color. Add trim to edges for a clean finish. These details make your bookshelf stand out.
Maintaining Your Bookshelf
Maintaining your bookshelf helps it stay strong and looking good for years. Regular care prevents damage and keeps your books safe. Small efforts can save you time and money later.
Follow simple steps to clean, repair, and upgrade your bookshelf. This will ensure it stays useful and stylish in your home.
Cleaning Tips
Dust your bookshelf often using a soft cloth. Avoid using water on wooden shelves to prevent swelling. Use a vacuum with a brush attachment for tight corners. Clean spills immediately to stop stains. Polish wood shelves once in a while for a fresh look.
Repairing Damages
Check your bookshelf regularly for cracks or loose screws. Tighten screws with a screwdriver to keep shelves stable. Fill small cracks with wood filler and let it dry. Sand the area gently before painting or staining. Replace broken boards if needed to keep the shelf safe.
Upgrading Over Time
Change the shelf height to fit different book sizes. Add decorative knobs or trims for a new look. Paint or stain your bookshelf to match room colors. Attach LED lights to highlight your collection. Use baskets or bins on lower shelves to organize items.
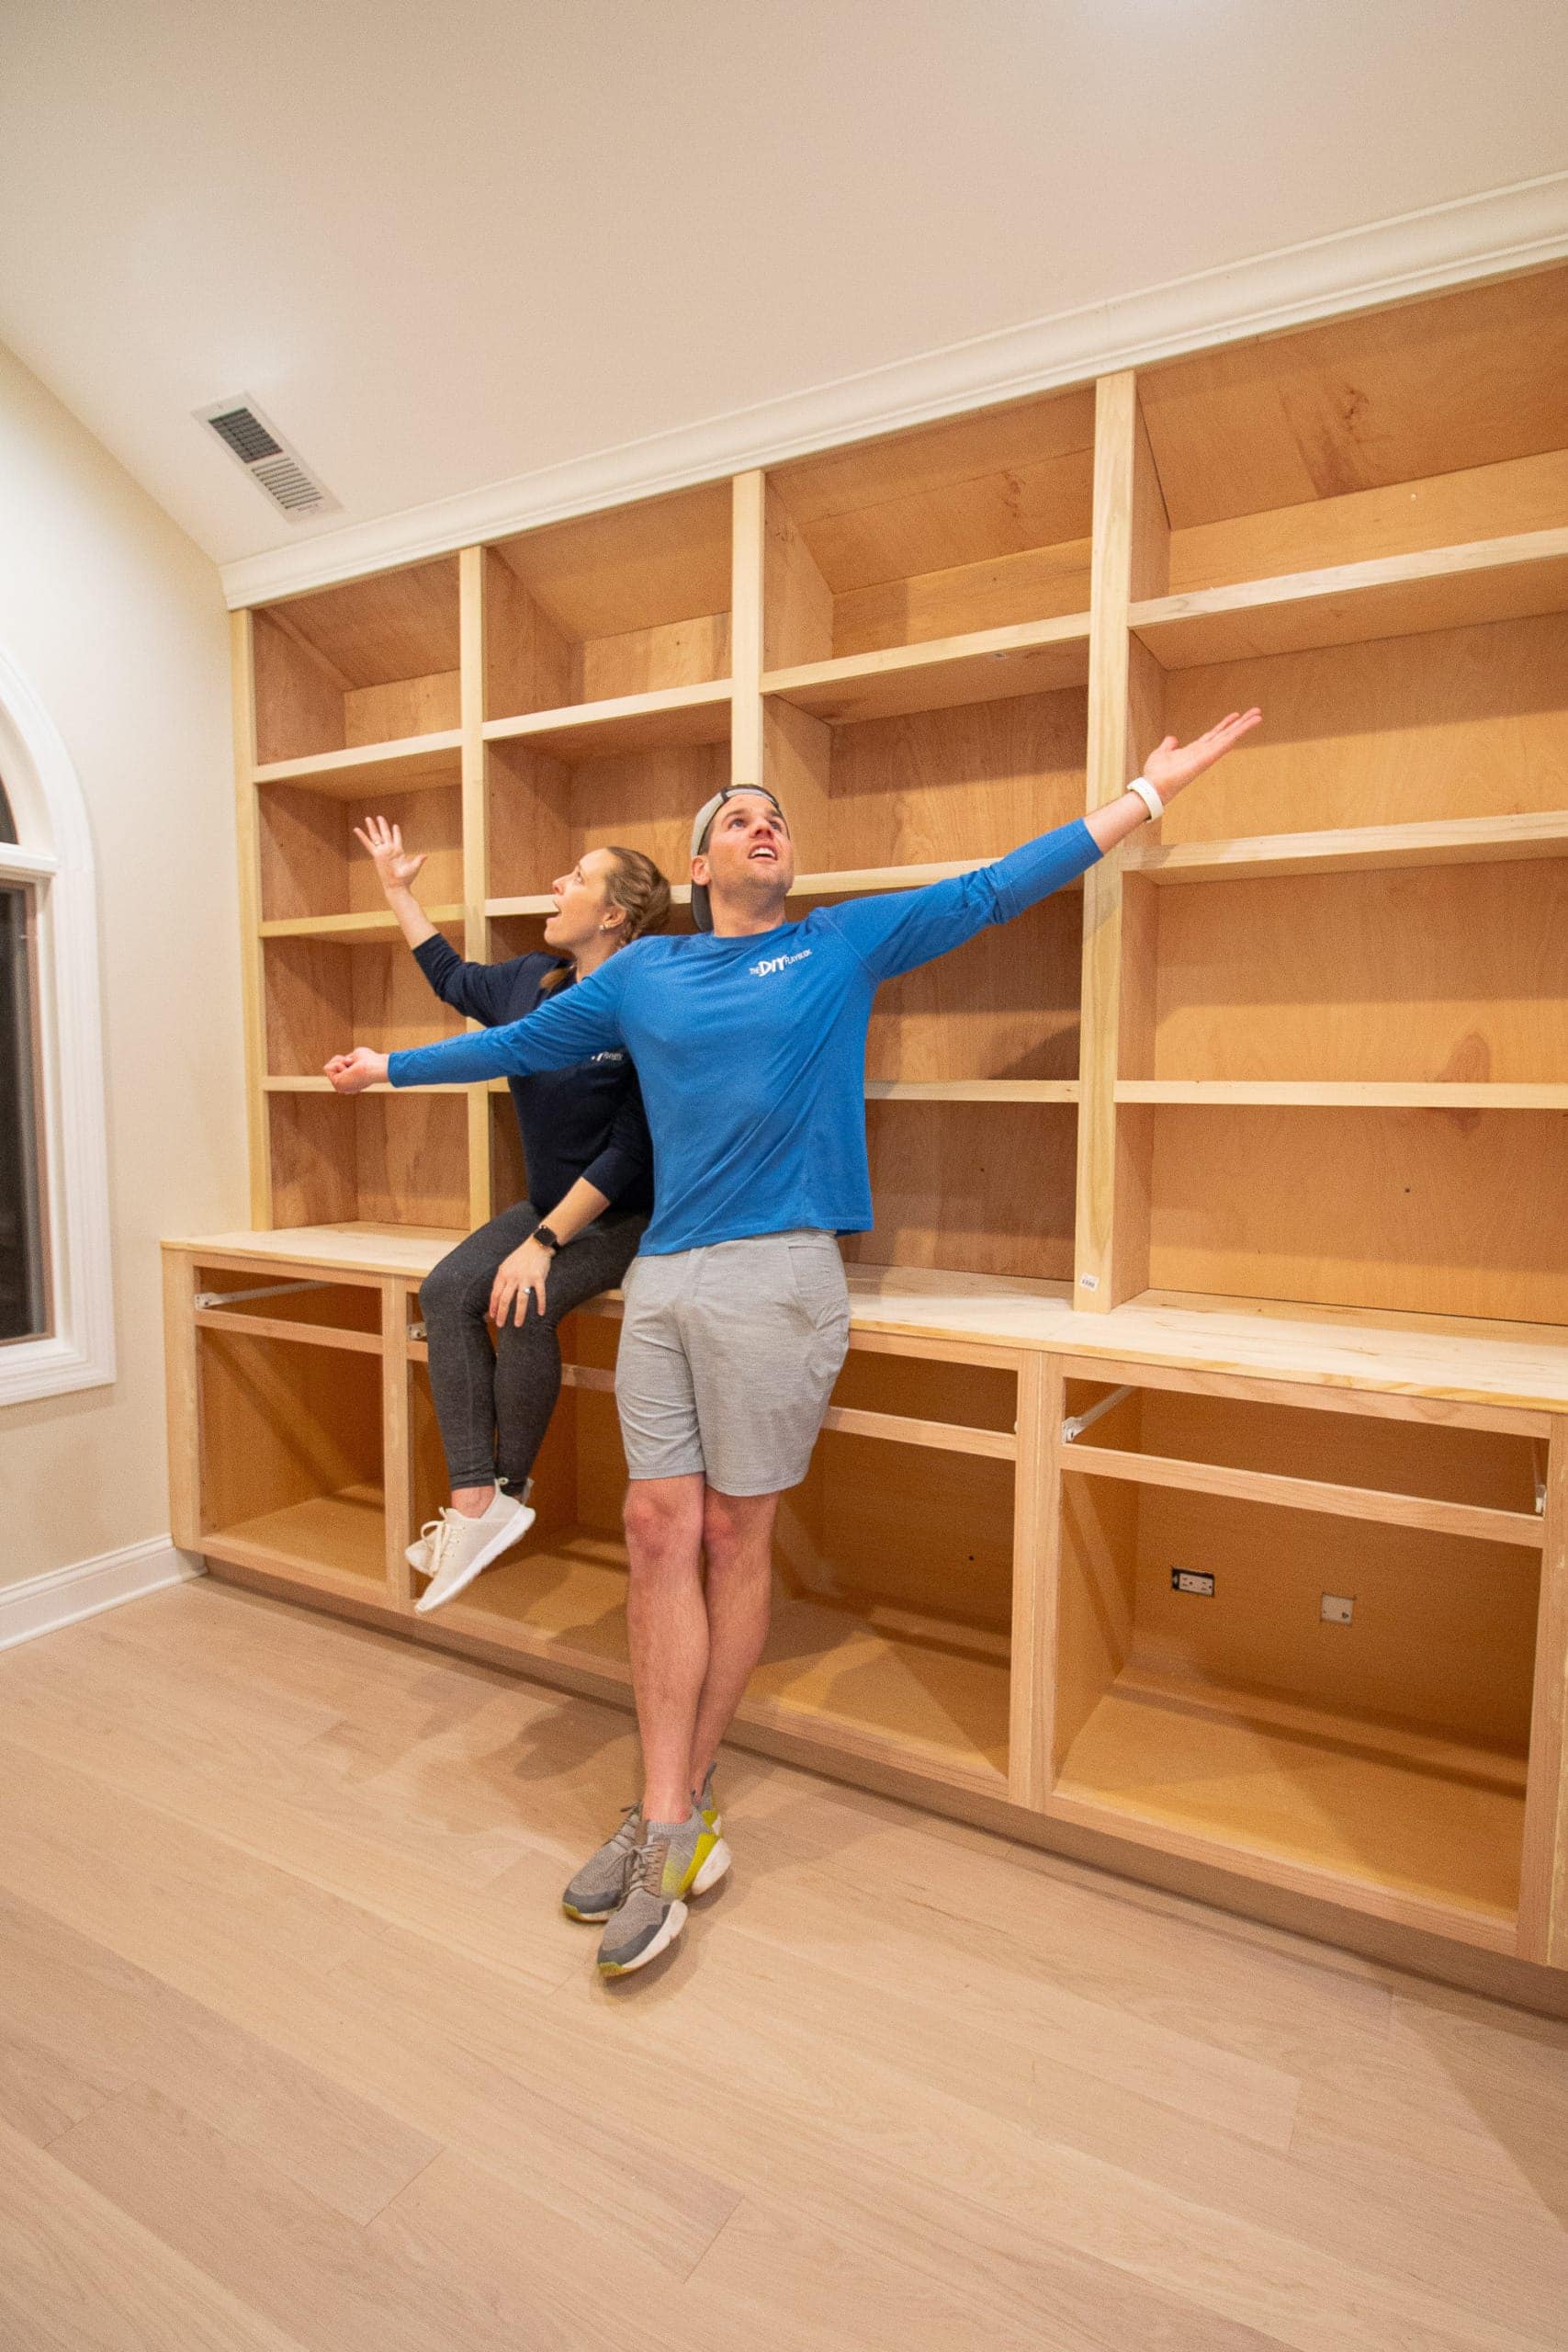
Credit: thediyplaybook.com
Frequently Asked Questions
What Materials Do I Need To Make A Bookshelf?
You need wood boards, screws, nails, wood glue, sandpaper, paint or stain, and basic tools like a saw and drill. Choose materials based on your preferred size and style for a sturdy, attractive bookshelf.
How Long Does It Take To Build A Bookshelf?
Building a bookshelf typically takes 2 to 6 hours, depending on complexity and your experience. Simple designs require less time, while detailed projects need more precision and patience.
What Is The Best Wood For Diy Bookshelves?
Pine, oak, and plywood are popular choices for DIY bookshelves. Pine is affordable and easy to work with, oak offers durability, and plywood provides a smooth surface for painting or staining.
How Do I Ensure My Bookshelf Is Stable?
Use strong joints like screws and wood glue for stability. Add a back panel and secure the bookshelf to the wall to prevent tipping, especially for taller units.
Conclusion
Building your own bookshelf is easier than you might think. You only need simple tools and some patience. Take your time and follow each step carefully. Enjoy the process of creating something useful and personal. A handmade bookshelf adds charm to any room.
It saves money and gives you pride in your work. Try different designs to fit your space and style. Start small and improve with each project. Crafting your own furniture feels rewarding and fun. Give it a go—you might surprise yourself!

