Are you struggling to attach your vanity top to the cabinet securely? Getting it right is crucial to avoid leaks, wobbling, or costly repairs later.
But don’t worry—fastening your vanity top doesn’t have to be confusing or time-consuming. In this guide, you’ll discover simple, step-by-step tips that anyone can follow to make sure your vanity looks great and stays firmly in place. Keep reading, and you’ll have your bathroom looking perfect in no time.
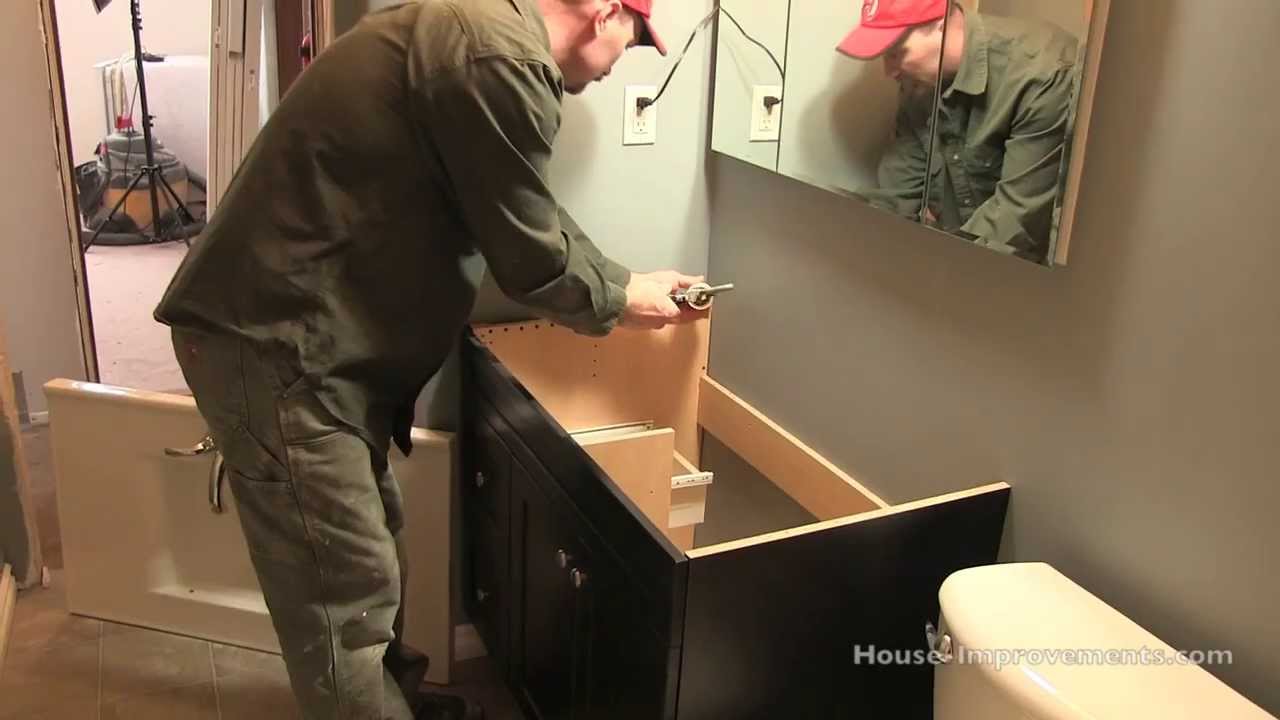
Credit: www.youtube.com
Tools And Materials Needed
Before fastening a vanity top to a cabinet, gather all tools and materials. Having everything ready makes the work easier and faster.
This section lists essential items needed for a secure and neat installation. Use quality tools to avoid damage and ensure safety.
Measuring Tape
Measure the vanity top and cabinet accurately with a measuring tape. Precise measurements prevent gaps and misalignment.
Screwdriver Or Drill
A screwdriver or drill helps attach the vanity top firmly. Choose the right bit size for screws to avoid stripping.
Silicone Caulk
Apply silicone caulk to seal edges and prevent water leaks. Use a smooth, waterproof caulk designed for bathrooms.
Clamps
Clamps hold the vanity top in place during installation. They keep the top steady for screwing and sealing.
Mounting Clips Or Brackets
Mounting clips or brackets secure the vanity top to the cabinet. Select clips that fit your vanity model for a tight fit.
Level
Use a level to check that the vanity top sits flat. A level surface avoids water pooling and uneven wear.
Cleaning Cloth
Keep a clean cloth handy to wipe excess caulk and dirt. Clean surfaces help adhesives stick better and look nicer.

Credit: www.reddit.com
Prepare The Vanity Top
Preparing the vanity top is an important step before attaching it to the cabinet. This ensures a strong and lasting fit. Taking time to prepare the surface helps avoid future issues like leaks or loosening. Two key tasks include cleaning the surface and checking for any damage.
Clean The Surface
Start by wiping the vanity top with a damp cloth. Remove all dust, dirt, and grease. Use a mild soap if needed. A clean surface helps adhesives and sealants stick better. Avoid harsh chemicals that might damage the finish. Let the vanity top dry completely before moving to the next step.
Check For Damage
Look closely for cracks, chips, or scratches on the vanity top. Even small damage can cause problems later. Repair minor chips with a repair kit made for your vanity material. Replace the vanity top if you find major cracks or deep damage. Ensuring the vanity top is in good condition prevents leaks and instability.
Align The Vanity Top
Aligning the vanity top to the cabinet is a key step in installation. This ensures a smooth look and avoids leaks or damage. Take time to adjust the top carefully. Small shifts make a big difference.
Position On The Cabinet
Place the vanity top gently on the cabinet. Center it to cover edges evenly. Check that it does not hang over or sit too far back. The top should rest flat without rocking. Use your hands to move it slowly. Adjust until it sits perfectly straight.
Ensure Proper Fit
Measure the gaps around the vanity top. These should be small and even. Look for any spaces that might cause water to leak. The sink area should line up with the cutout in the cabinet. Check the front edge matches the cabinet front. The fit must feel secure but not forced. Tight fits prevent wobbling and protect the vanity.

Credit: www.youtube.com
Apply Adhesive Or Sealant
Applying adhesive or sealant is a key step in attaching a vanity top to a cabinet. This step helps create a strong bond and prevents water from leaking into the cabinet. Taking time to apply the right product evenly ensures the vanity top stays secure and looks neat.
Choose The Right Product
Select an adhesive or sealant made for bathroom use. Silicone sealants are popular because they resist water and mold. Some adhesives are designed to bond stone or laminate surfaces. Check product labels for compatibility with your vanity top material. Using the correct product prevents damage and ensures a lasting hold.
Apply Evenly
Cut the tip of the sealant tube at a 45-degree angle for smooth application. Apply a continuous bead of sealant along the top edges of the cabinet. Avoid gaps or breaks in the line to stop water leaks. Press the vanity top down firmly to spread the adhesive evenly. Wipe away any extra sealant quickly before it dries.
Secure With Fasteners
Securing the vanity top to the cabinet is key to a strong and lasting installation. Fasteners hold the top tightly in place. This stops any movement or damage from daily use.
Choosing the right fasteners and placing them correctly ensures stability. It also helps keep the vanity looking neat and aligned.
Locate Fastening Points
Find the spots where the vanity top meets the cabinet frame. These are the best places to add fasteners. Look for pre-drilled holes or marked areas on the underside of the top. Check inside the cabinet for solid wood parts to screw into.
Mark these points clearly. Avoid placing fasteners where plumbing pipes or wires run. Secure points evenly spaced along the edges provide strong support.
Use Screws Or Clips
Use screws made for wood or metal, depending on your cabinet type. Screws offer a tight and durable hold. Drive screws carefully to avoid cracking the vanity top.
Some vanities come with special clips. These clips snap the top firmly onto the cabinet. They are easy to install and remove for repairs. Choose clips that fit your vanity model.
Fasten all points with screws or clips. Check each one to ensure it is tight but not overdone. This prevents damage and keeps the vanity top secure for years.
Check Stability And Finish
After fastening the vanity top to the cabinet, it is important to check its stability and finish. This step ensures the vanity is secure and looks neat. A stable vanity top prevents damage and keeps your bathroom safe. A clean finish improves the overall appearance and protects the materials.
Test For Movement
Gently press down on different spots of the vanity top. Try to wiggle it side to side. There should be no rocking or shifting. If the top moves, tighten the fasteners or add more sealant. A firm vanity top feels solid and steady.
Clean Excess Sealant
Remove any extra sealant that squeezed out during installation. Use a damp cloth or a plastic scraper for this task. Clean edges give a smooth, professional look. Leftover sealant can harden and look messy. Wiping it away now saves time later.
Frequently Asked Questions
How Do You Secure A Vanity Top To A Cabinet?
To secure a vanity top, apply a bead of silicone caulk on the cabinet edge. Then, carefully place the vanity top and press it firmly. Use clamps if necessary and wipe away excess caulk immediately. Let it cure for 24 hours before use.
What Tools Are Needed To Fasten A Vanity Top?
You need silicone caulk, a caulking gun, clamps, and a clean cloth. Optional tools include a drill and screws if additional fastening is required. These tools help ensure a secure and leak-proof installation.
Can I Use Screws To Attach A Vanity Top?
Yes, screws can be used for extra support. Pre-drill holes in the cabinet and vanity top edges. Use screws that won’t crack the vanity material. Be careful to avoid damaging the surface or misaligning the vanity top.
How Long Does Silicone Take To Dry When Fastening Vanity Tops?
Silicone typically takes 24 hours to fully cure. Avoid moving or using the vanity during this time. Proper curing ensures a strong bond and prevents water leaks under the vanity top.
Conclusion
Securing your vanity top to the cabinet is simple with the right steps. Use the right tools and take your time. Make sure the surface is clean and dry before you start. Tighten screws evenly to avoid damage. Check for stability once finished.
This small effort keeps your vanity strong and safe. Enjoy your improved bathroom space with confidence.