Are you tired of cluttered spaces and looking for a simple way to organize your books and treasures? Building your own bookshelf can be easier than you think.
Imagine having a sturdy, stylish piece crafted just the way you want it—perfect for your room, office, or living area. In this guide, you’ll discover clear, step-by-step instructions that anyone can follow, even if you’ve never built furniture before. Keep reading, and by the end, you’ll have the confidence and know-how to create a bookshelf that’s both functional and uniquely yours.
Choosing The Right Materials
Choosing the right materials is the first step to build a sturdy bookshelf. The materials affect the shelf’s strength and look. Picking good materials saves time and money. It also helps the shelf last longer. Understanding basic options makes the process easier.
Selecting Wood Types
Wood is the most common material for bookshelves. Different types of wood offer various benefits. Pine is soft and easy to cut. It is also affordable, perfect for beginners. Oak is strong and durable. It has a nice grain but costs more. Birch is smooth and holds paint well. It works well for painted shelves. Plywood is made of layers glued together. It is stable and resists warping. Choose wood based on budget and style. Also, consider how much weight the shelf will hold.
Essential Tools And Supplies
Good tools make building easier and safer. A saw is necessary to cut wood pieces. A drill helps to make holes and fix screws. Sandpaper smooths rough edges. Wood glue strengthens joints and holds parts together. Screws or nails keep the shelf stable. A measuring tape ensures precise cuts. A level checks if the shelf is even. Gather these tools before starting to avoid delays. Quality tools help create a neat, solid bookshelf.
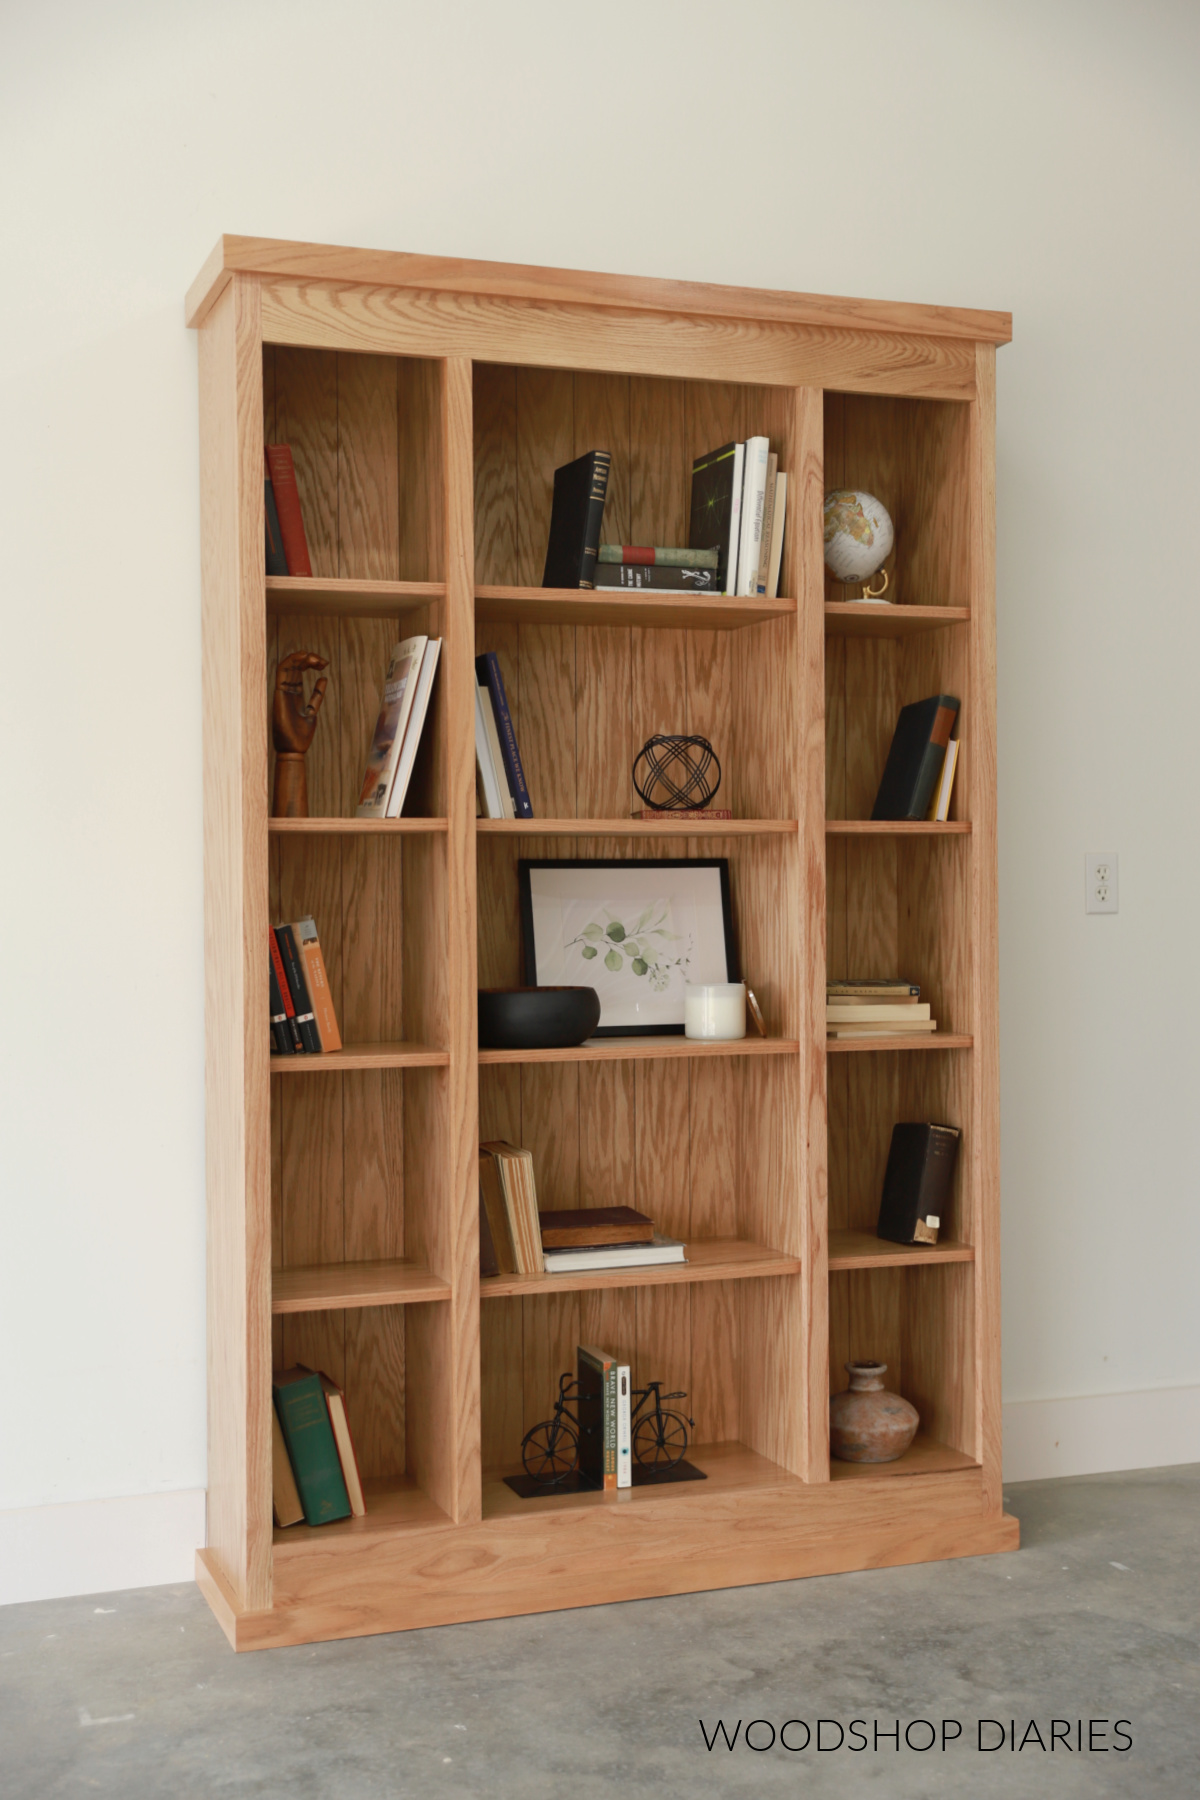
Credit: www.woodshopdiaries.com
Planning Your Bookshelf Design
Planning your bookshelf design is the first step to building a useful and attractive piece. Good planning saves time and materials. It helps you avoid mistakes and ensures the bookshelf fits perfectly in your space. Take time to think about size, shape, and style before starting.
Measuring Space And Dimensions
Measure the wall or area where you want your bookshelf. Use a tape measure for accuracy. Write down the height, width, and depth available. Consider any obstacles like doors or windows nearby. Think about how much space you want between shelves. This decides how many books or items you can store.
Sketching The Layout
Draw a simple sketch of your bookshelf on paper. Mark the overall size from your measurements. Divide the space into shelves with equal or varied heights. Add details like side panels and back support. Sketching helps you see the design clearly. It also guides you during the building process.
Cutting And Preparing Wood
Cutting and preparing wood is a key step in building a strong bookshelf. It sets the base for the whole project. Careful measuring and cutting ensure your pieces fit perfectly. Taking time here saves problems later.
Marking Measurements
Start by measuring each piece of wood with a tape measure. Use a pencil to mark exact points. Double-check each measurement for accuracy. Draw clear, straight lines with a square or ruler. Precise marks guide your cuts and keep pieces uniform.
Safe Cutting Techniques
Wear safety glasses and gloves before cutting wood. Secure the wood firmly with clamps or a workbench. Use the right saw for the job, such as a handsaw or circular saw. Cut slowly along marked lines to avoid mistakes. Keep fingers away from the blade at all times. Smooth rough edges with sandpaper after cutting.
Assembling The Frame
Assembling the frame is the first major step in building a sturdy bookshelf. The frame creates the basic shape and holds all parts together. A strong frame ensures the bookshelf stands steady and supports the weight of books. Focus on precise measuring and secure connections. This section covers joining the side panels and securing shelves for a reliable frame.
Joining The Side Panels
Start by aligning the two side panels upright. Use clamps to hold them steady. Mark where you want to attach the top and bottom pieces. Drill pilot holes to prevent wood splitting. Apply wood glue on the edges for extra strength. Secure the panels with screws or nails. Check that the frame forms a right angle. Tight joints keep the frame solid and balanced.
Securing Shelves
Measure the distance between the side panels for each shelf. Mark shelf positions clearly on the inside of panels. Attach small wooden cleats or metal brackets at the marks. Place the shelves on the supports carefully. Fix shelves in place with screws from the side panels. Make sure shelves are level and stable. Proper shelf fixing prevents wobbling and sagging over time.
Sanding And Finishing
Sanding and finishing are key steps in building a strong, beautiful bookshelf. These steps protect the wood and bring out its natural charm. Taking time here ensures your bookshelf lasts long and looks great in any room.
Smoothing Surfaces
Start by sanding the wood with medium-grit sandpaper. This removes rough spots and splinters. Sand along the grain to keep the wood smooth. Use fine-grit sandpaper next for a softer finish. Wipe off dust with a clean cloth before moving on.
Applying Paint Or Stain
Choose paint or stain based on the style you want. Stain shows the wood’s natural patterns. Paint adds color and covers imperfections. Use a brush or cloth to apply evenly. Allow each coat to dry fully before adding another. Finish with a clear sealant for extra protection.

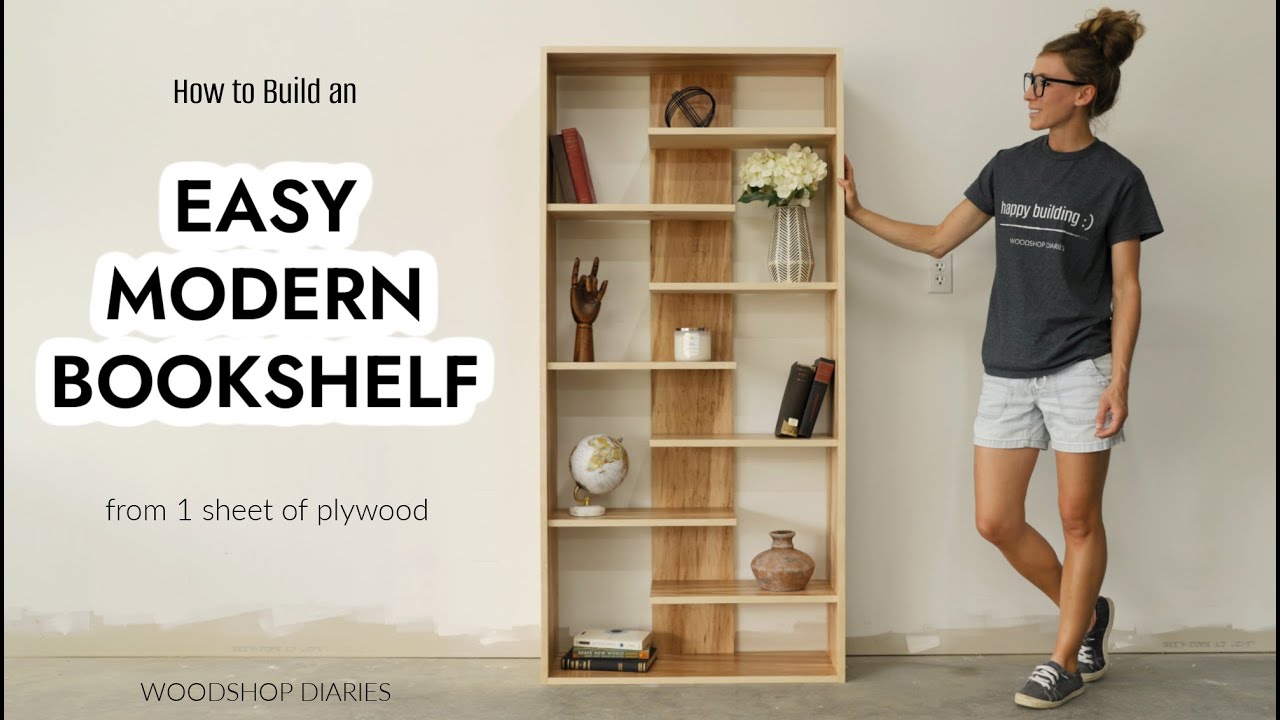
Credit: www.youtube.com
Installing And Securing The Bookshelf
Installing and securing your bookshelf is a crucial step. It ensures the shelf stays steady and safe. Proper installation prevents accidents and protects your books.
Follow clear steps to place and fix your bookshelf correctly. Safety and stability should be your top priorities.
Positioning In The Room
Choose a flat wall to place the bookshelf. Avoid walls with uneven surfaces or obstacles. Leave enough space around the shelf for easy access. Position the shelf away from direct sunlight to protect books. Consider the room layout to keep the shelf balanced and neat.
Anchoring For Safety
Use wall anchors or brackets to secure the bookshelf. Find wall studs with a stud finder for strong support. Attach brackets to both the shelf and the wall. Tighten screws firmly to avoid any movement. Anchoring stops the shelf from tipping over, especially in homes with children or pets.
Personalizing Your Bookshelf
Personalizing your bookshelf makes it truly yours. It reflects your style and interests. This step adds charm and character to a simple shelf. A personalized bookshelf feels welcoming and unique. Small touches can change the whole look. Think about what colors and items suit your space. This part is fun and creative. It brings life to your bookshelf beyond just storing books.
Adding Decorative Elements
Decorative items make your bookshelf stand out. Use plants to add fresh green color. Small sculptures or figurines bring personality. Picture frames with favorite photos create warmth. Candles or fairy lights add soft lighting. Choose pieces that match your room’s style. Balance decorations with books for a neat look. Avoid clutter by limiting the number of items.
Organizing Books Creatively
Books can be arranged in many creative ways. Sort by color to create a rainbow effect. Stack some books horizontally for variety. Mix tall and short books to add interest. Group books by genre or author for easy finding. Use bookends that show your style. Leave space to display decorative items. Creative organizing makes your shelf both useful and beautiful.
Credit: www.youtube.com
Frequently Asked Questions
What Materials Do I Need To Build A Sturdy Bookshelf?
You need wood boards, screws, wood glue, sandpaper, and paint or stain. Choose quality hardwood for durability and smooth finishes.
How Do I Measure Space For A Custom Bookshelf?
Measure the height, width, and depth of your available wall area. Ensure space allows for shelf thickness and clearance.
What Is The Best Wood Type For Bookshelves?
Pine is affordable and easy to work with. Oak and maple offer durability and a classic look.
How Do I Ensure My Bookshelf Is Level And Stable?
Use a level tool during assembly. Secure shelves with screws and brackets to prevent wobbling and ensure stability.
Conclusion
Building a bookshelf is easier than it seems. Follow each step with care and patience. Use the right tools and materials for best results. Take your time to measure and cut precisely. Enjoy seeing your bookshelf come to life. A handmade shelf adds charm to any room.
Keep practicing to improve your skills. Soon, you can build shelves for friends or gifts. Start your project today and create something useful.
