Are you looking for a simple way to organize your favorite books without taking up too much space? Making a mini bookshelf could be the perfect solution for you.
It’s not just practical—it’s also a fun project that lets you add a personal touch to your room. Imagine having a neat, stylish spot for your books, right where you want them. Keep reading, and you’ll discover easy steps to create your own mini bookshelf, even if you’ve never built anything before.
Ready to turn clutter into charm? Let’s get started!
Materials And Tools Needed
Before starting your mini bookshelf project, gather all materials and tools. This step saves time and keeps your work organized. Having the right supplies also ensures a smooth building process. Prepare carefully for better results and less frustration.
Choosing The Right Wood
Select wood that is easy to cut and shape. Pine, plywood, or MDF boards work well for beginners. Choose a smooth surface to avoid extra sanding later. Make sure the wood is free from cracks and knots. Thickness around 1/2 inch to 3/4 inch suits mini bookshelves perfectly.
Essential Tools For The Project
You need a few basic tools to build your bookshelf. A handsaw or jigsaw cuts the wood pieces precisely. Use a measuring tape to mark the wood accurately. A drill helps make holes for screws. Sandpaper smooths rough edges and surfaces. A screwdriver or power driver tightens screws securely.
Additional Supplies
Besides wood and tools, some other supplies are important. Wood glue adds extra strength to joints. Screws hold the pieces firmly together. Paint or wood stain improves the final look. Use brushes or rags to apply finishes evenly. Safety gear like gloves and goggles protects your hands and eyes during work.
Planning Your Mini Bookshelf
Planning your mini bookshelf is the first step to a successful project. Careful planning saves time and materials. It helps you create a shelf that fits your space and needs. Think about where you want to place the bookshelf. Also, consider what you want to store on it. This stage shapes the whole project.
Determining Size And Dimensions
Measure the space where the bookshelf will go. Write down the height, width, and depth available. Think about the size of books or items you want to store. Make sure the shelf is not too big or too small. Leave some extra space for air and easy access. Precise measurements avoid mistakes later.
Sketching The Design
Draw a simple sketch of your mini bookshelf. Start with the basic shape and size. Add shelves and dividers as needed. Use a ruler to keep lines straight. Sketching helps visualize the final product. It also guides you during building. A clear design reduces errors and speeds up work.
Selecting The Style
Choose a style that matches your room decor. Options include modern, rustic, or classic looks. Think about colors and materials. Wood, metal, or painted finishes can change the feel. The style should fit the room and your taste. A good style makes the bookshelf a nice decoration too.
Cutting And Preparing Wood
Cutting and preparing wood is the first step to build a mini bookshelf. It shapes your wood pieces and makes them ready for assembly. Careful work here affects the shelf’s strength and look.
Choose the right wood type and thickness before starting. Measure twice to avoid mistakes. Use sharp tools for clean cuts. Smooth edges prevent splinters and give a neat finish.
Measuring And Marking
Measure the wood pieces with a tape measure or ruler. Mark the exact cutting points with a pencil. Use a square tool to keep lines straight and angles right. Accurate marking saves time and wood.
Cutting Techniques
Use a handsaw or power saw to cut along the marks. Cut slowly to keep lines clean. Support the wood firmly to stop it from moving. Check cuts with a square before moving on.
Sanding For Smooth Edges
Sand the edges with medium-grit sandpaper. This removes rough spots and splinters. Follow with fine-grit sandpaper for a smooth finish. Wipe dust off after sanding to keep surfaces clean.
Credit: community.glowforge.com
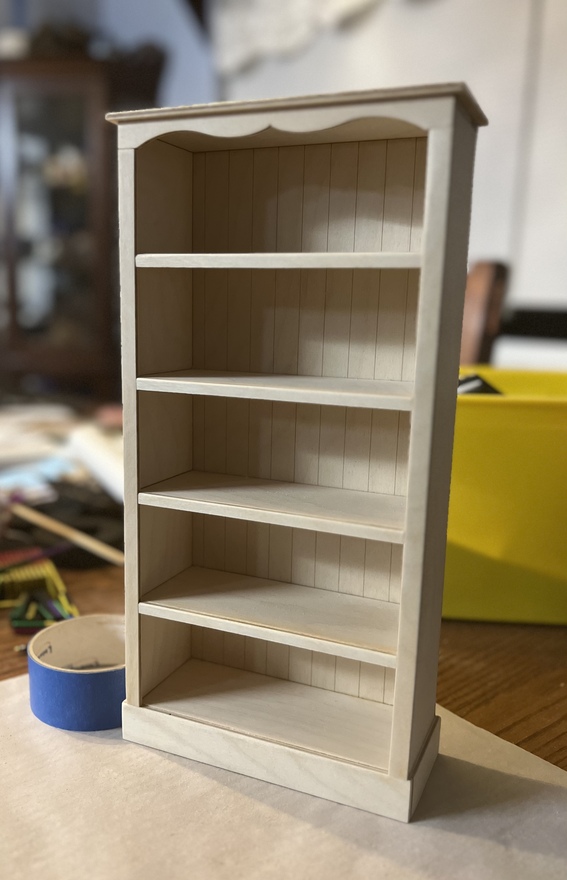
Assembling The Bookshelf
Assembling the mini bookshelf is an exciting step. It brings all your cut pieces together. This part needs care and patience. A well-assembled shelf lasts longer and looks better.
Follow each step carefully. Prepare a clean workspace. Lay out all parts and tools before starting.
Joining The Pieces
Start by aligning the shelves with the side panels. Make sure edges are flush and corners meet well. Use clamps or hands to hold parts steady. Check that everything fits without gaps. Adjust pieces if needed. Proper joining keeps the shelf strong.
Using Nails And Glue
Apply wood glue to edges that touch. Spread glue evenly for better hold. Press pieces together after applying glue. Use small nails to secure the joints. Nail slowly to avoid splitting the wood. Wipe off extra glue before it dries. This method creates a firm bond.
Ensuring Stability
Check the shelf for wobbling or unevenness. Adjust by tightening nails or adding more glue. Use a level tool to keep shelves straight. Let glue dry completely before using the shelf. Stability ensures safety and keeps books secure.
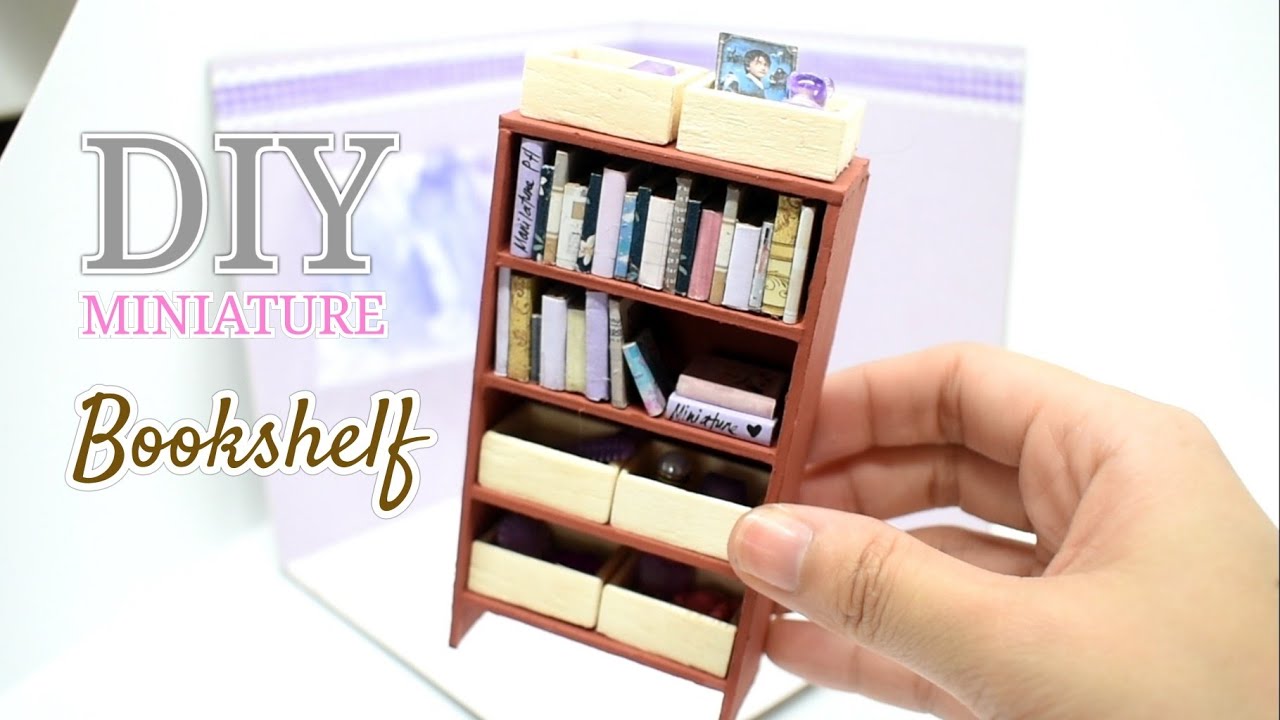
Finishing Touches
Finishing touches bring life to your mini bookshelf. They protect the wood and make it look great. These final steps make your project stand out and last longer. Take your time to choose the best options for your style and needs.
Painting Or Staining
Choose paint or stain to change the shelf’s color. Paint covers the wood completely and offers many color choices. Stain shows the wood grain and gives a natural look. Use smooth, even strokes for a neat finish. Let each coat dry well before adding another.
Adding Decorative Elements
Decorate with small touches to make it unique. Try stickers, stencils, or hand-painted designs. Attach small knobs or trim to add charm. Keep decorations simple to avoid clutter. Personal touches make your bookshelf special and fun.
Protective Coating
Apply a clear coat to protect your work. Use varnish, polyurethane, or wax for durability. This layer guards against scratches and spills. Choose a finish that suits your style—matte, satin, or glossy. Allow the coating to dry fully for best results.

Credit: www.optimisticscholar.com
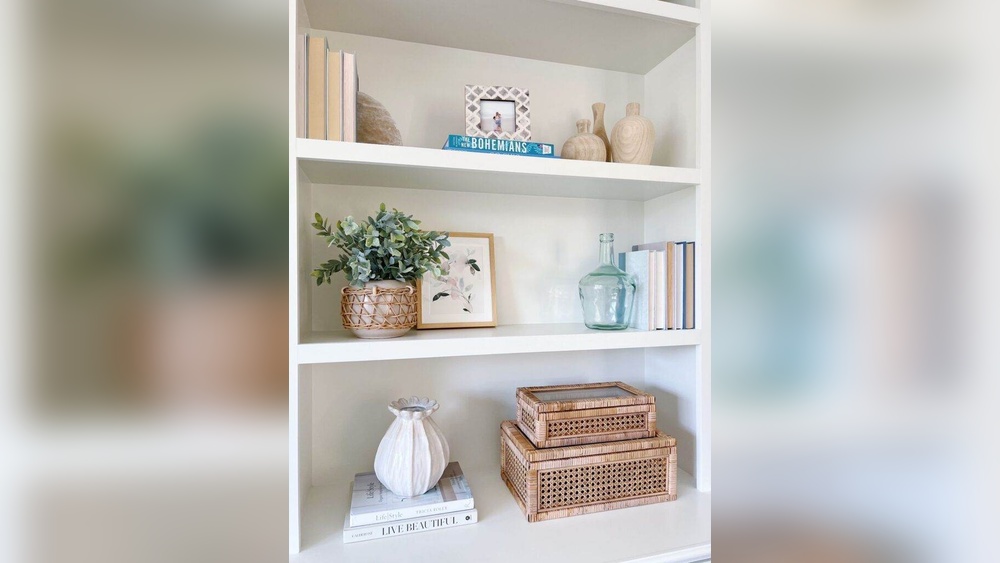
Placement And Styling Tips
Placement and styling can make your mini bookshelf stand out. A well-placed shelf adds charm and function to any room. Simple tips help create a cozy and organized space. Think about how your shelf fits with the room’s style and purpose.
Choosing The Perfect Spot
Pick a spot where the shelf gets enough light. Natural light brightens books and decor. Avoid places that block walking paths or feel crowded. Corners often work well for small shelves. Near a reading chair or desk is also smart. Keep the shelf at eye level for easy reach.
Organizing Your Books
Sort books by size, color, or subject. This makes the shelf look neat and inviting. Stand some books upright and lay others flat. Use bookends to keep books tidy. Leave space for a few items to avoid clutter. Change the order sometimes to refresh the look.
Incorporating Decorative Items
Add small plants or candles for a warm feel. Place a photo frame or a small sculpture nearby. Mix textures like wood, metal, and fabric for interest. Keep decorations balanced with the books. Too many items can make the shelf look messy. Let each piece have its own space.
Troubleshooting Common Issues
Building a mini bookshelf is fun but sometimes problems appear. These issues can stop your project from looking great or working well. Knowing how to fix common problems helps you finish your bookshelf with pride.
Fixing Wobbly Shelves
Wobbly shelves make your mini bookshelf weak and unsafe. Tighten all screws and nails first. Add small corner brackets for extra support. Use wood glue on joints to keep them firm. Check if the shelf is level. A level shelf will not wobble.
Dealing With Uneven Surfaces
Uneven surfaces cause the bookshelf to rock or tilt. Place small felt pads or rubber feet under the legs. Sand down rough or high spots on the bottom. Use a level tool to find the lowest point. Fixing uneven surfaces keeps your bookshelf steady on any floor.
Maintaining Durability
Durability means your mini bookshelf lasts long and stays strong. Use quality wood and materials to build it. Apply a wood finish or paint to protect the surface. Avoid placing heavy items on weak shelves. Regularly check for loose parts and tighten them. This care keeps your bookshelf solid and looking good.
Credit: www.youtube.com
Frequently Asked Questions
What Materials Are Needed To Make A Mini Bookshelf?
You need wood panels, screws, wood glue, sandpaper, and paint or stain. Optional tools include a saw, drill, and screwdriver. Choose lightweight wood like pine for easy handling and durability.
How Much Time Does It Take To Build A Mini Bookshelf?
Building a mini bookshelf typically takes 2 to 4 hours. This includes measuring, cutting, assembling, sanding, and finishing. Time varies based on skill level and tools available.
Can I Customize The Size Of My Mini Bookshelf?
Yes, you can easily customize the mini bookshelf size. Adjust the height, width, and depth to fit your space or book collection. Just measure carefully and cut accordingly.
Is It Necessary To Paint Or Stain The Mini Bookshelf?
Painting or staining is optional but recommended. It protects the wood and enhances appearance. Choose finishes that match your room décor for a polished look.
Conclusion
Creating a mini bookshelf can be a fun and simple project. You only need a few materials and some basic tools. This small shelf helps keep your books neat and easy to find. It also adds charm to any room.
Try different designs to fit your style and space. Enjoy building and using your mini bookshelf every day. It’s a great way to stay organized and show creativity. Give it a go and see how much you like it!