Are you tired of cluttered spaces and piles of books scattered everywhere? Imagine having a beautiful, sturdy bookshelf made by your own hands—tailored exactly to fit your space and style.
Building a homemade bookshelf isn’t as hard as you might think. With just a few simple tools and easy steps, you can create a piece that not only organizes your books but also adds charm to your room. Keep reading, and you’ll discover how to turn plain wood into a stunning bookshelf that’s all yours.
Choosing The Right Materials
Choosing the right materials is key to building a strong and beautiful bookshelf. The materials affect how the shelf looks, feels, and holds weight. Picking good wood and tools makes the project easier and the final product better.
Types Of Wood For Bookshelves
Hardwoods like oak and maple offer great strength and durability. They resist dents and scratches well. Softwoods like pine are lighter and easier to cut but may dent more easily. Plywood is a popular choice for budget-friendly shelves. It is stable and less likely to warp. Choose wood that fits your style and budget.
Essential Tools Needed
Basic tools include a saw, drill, screwdriver, measuring tape, and clamps. A sander helps smooth the wood surface. Safety gear like goggles and gloves protect you during work. These tools make cutting, assembling, and finishing easier and safer.
Selecting The Perfect Finish
Finishes protect wood from damage and enhance its look. Options include paint, stain, and clear varnish. Paint adds color and hides imperfections. Stain shows wood grain and adds warmth. Clear varnish keeps the natural look while sealing the wood. Choose a finish that suits your room and wood type.
:max_bytes(150000):strip_icc()/dominiquegebruinsta-35b11dd4f037417980649e06e17c4027.jpg)
Credit: www.thespruce.com
Designing Your Bookshelf
Designing your bookshelf is the first step to a successful project. It helps you create a shelf that fits your space and needs perfectly. Careful design saves time and avoids mistakes during building.
Consider the room where the bookshelf will go. Think about the size, shape, and style that matches your decor. Planning these details makes the process smoother.
Determining Size And Dimensions
Measure the wall space where the bookshelf will stand. Note the height, width, and depth limits. Choose dimensions that fit well without crowding the room.
Decide the overall size based on the number of books and items you want to store. A bigger shelf holds more but takes more space. Balance storage and room size carefully.
Planning Shelf Spacing
Think about the types of items you will place on the shelves. Books come in many sizes, from small paperbacks to large textbooks. Leave enough space between shelves for tall items.
Use adjustable shelves if you want flexibility. This allows you to change shelf height later. A fixed shelf is stronger but less flexible.
Incorporating Style Elements
Choose a style that fits your home’s look. Modern, rustic, or classic styles each have unique features. Simple lines work well for modern rooms. Wood grain adds warmth to rustic spaces.
Add design touches like trim, paint, or stain. These details make the bookshelf more attractive. Think about matching the shelf to other furniture in the room.
Preparing The Workspace
Preparing the workspace is an important first step in making a homemade bookshelf. A clean and organized area helps you work faster and safer. It also keeps your tools and materials easy to find. Getting ready before you start saves time and frustration later.
Setting Up A Safe Area
Choose a well-lit place with plenty of space to move around. Remove any clutter or obstacles. Clear the floor to avoid tripping hazards. Use a sturdy workbench or table to hold your wood. Keep children and pets away from the workspace. Safety glasses and gloves are a good idea. Make sure you have proper ventilation if you use glue or paint.
Organizing Tools And Materials
Gather all the tools you will need. These may include a saw, drill, measuring tape, and screwdriver. Place them within easy reach on your workbench. Sort your wood pieces by size and type. Keep screws, nails, and other small parts in containers. Labeling materials helps find them quickly. This order keeps you focused and avoids interruptions. Clean and sharpen your tools for better results.
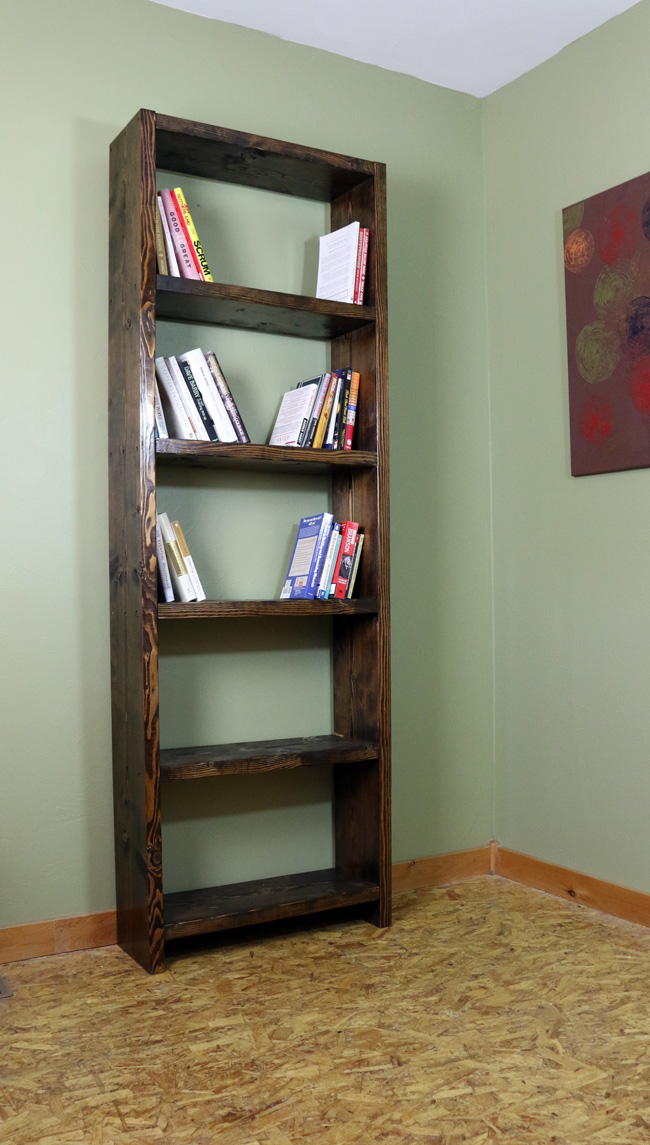
Credit: www.diypete.com
Cutting And Assembling Parts
Cutting and assembling parts is a key step in building a homemade bookshelf. This stage shapes the wood pieces and puts them together to form the structure. Careful work here ensures a strong and neat bookshelf. Focus on precise measurements, clean cuts, and solid joints for the best results.
Measuring And Cutting Wood
Start by measuring each part of the bookshelf carefully. Use a tape measure and mark the wood clearly. Double-check your marks before cutting. Cut along the lines slowly and steadily. Smooth the edges with sandpaper to remove splinters. Accurate cuts help the pieces fit well.
Joining Techniques
Use simple joining methods like screws, nails, or wood glue. Drill pilot holes to avoid splitting the wood. Apply wood glue at the joints for extra strength. Clamp pieces together until the glue dries. Screws hold the parts firmly in place. Choose the method that fits your tools and skill level.
Ensuring Stability
Check the bookshelf for wobbling or loose parts. Add corner braces or extra screws if needed. Make sure shelves sit flat and level. Test by pressing gently on different areas. Stability keeps your bookshelf safe and long-lasting. A strong frame supports heavy books easily.
Finishing Touches
Finishing touches bring your homemade bookshelf to life. They improve the look and protect the wood. These steps help your shelf last longer and look neat. Take your time with each step for the best results.
Sanding For Smoothness
Sanding removes rough spots and splinters from the wood. Use medium-grit sandpaper first, then fine-grit for a smooth finish. Always sand along the wood grain to avoid scratches. Wipe away dust with a clean cloth after sanding.
Applying Paint Or Stain
Choose paint or stain based on the style you want. Paint covers the wood completely and adds color. Stain highlights the natural grain and gives a warm tone. Apply with a brush or cloth in thin, even coats. Let each coat dry fully before adding another.
Adding Protective Coating
Protective coating guards your bookshelf from scratches and moisture. Use clear polyurethane or varnish for strong protection. Apply with a clean brush in thin layers. Allow drying time between coats for a smooth finish. This step keeps your shelf looking good for years.
Installing And Styling
Installing and styling your homemade bookshelf is the final step. This part makes your bookshelf safe and beautiful. Proper installation keeps the shelf steady and prevents accidents. Styling turns the shelf from simple to attractive. It shows your personality and fits your room’s look.
Securing The Bookshelf In Place
Start by placing the bookshelf against the wall. Use a level to make sure it stands straight. Attach brackets or anchors to the wall and shelf. This stops the shelf from tipping forward. Use screws that fit your wall type. Check all connections twice to keep the shelf firm. This step protects your books and family.
Organizing Books And Decor
Sort your books by size or subject. Place larger books on the bottom shelves. Add smaller books or magazines on upper shelves. Mix in decorative items like plants or photo frames. Keep some space empty for a clean look. Balance colors and shapes to make the shelf lively. This way, your bookshelf looks neat and inviting.
Maintenance Tips
Dust the bookshelf every week to keep it fresh. Use a soft cloth and mild cleaner for wood shelves. Check screws and brackets every few months. Tighten any loose parts to avoid accidents. Avoid placing heavy items on top shelves. Keep the shelf away from direct sunlight and moisture. These tips help your bookshelf last longer and look good.
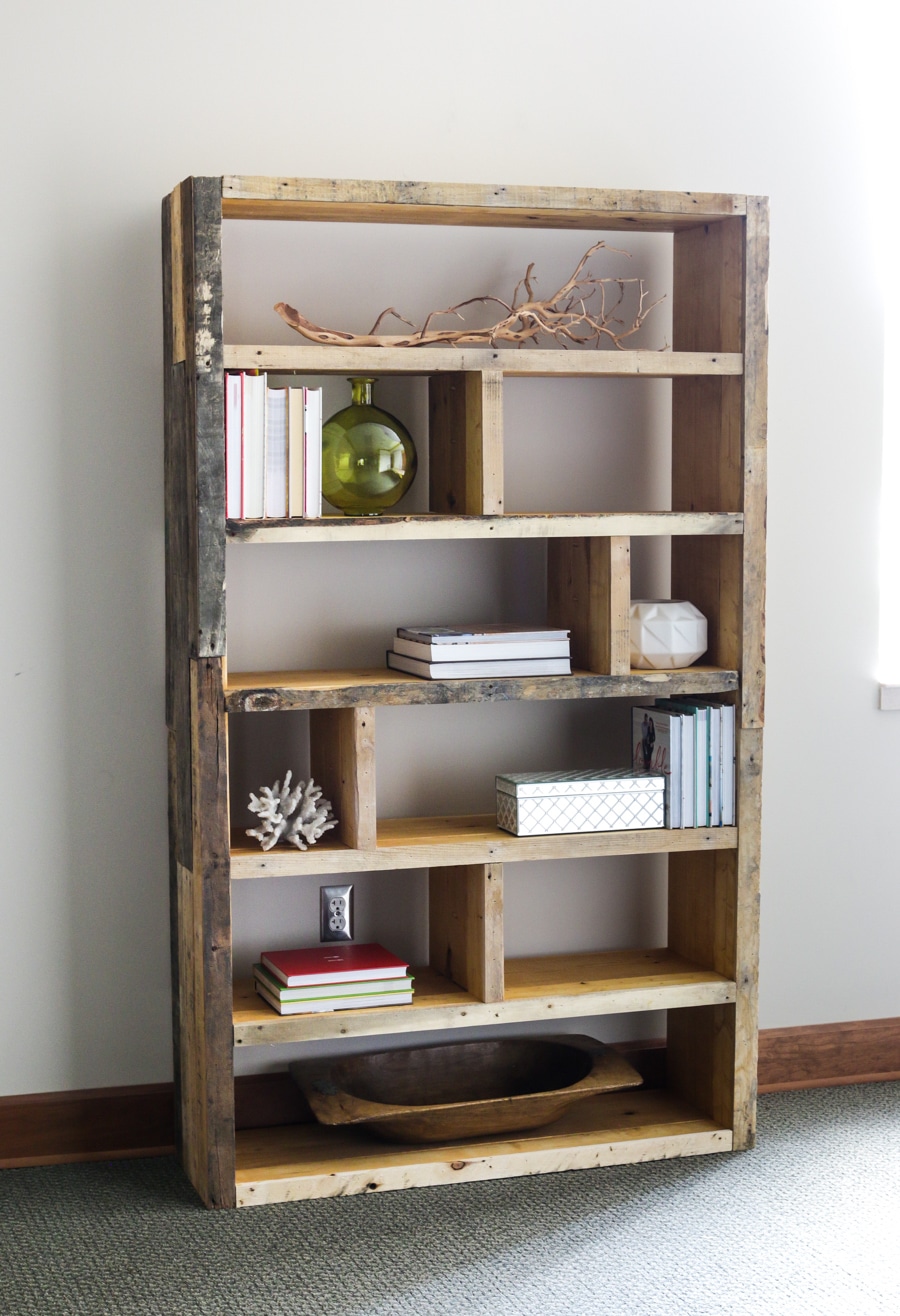
Credit: jenwoodhouse.com
Frequently Asked Questions
What Materials Do I Need To Make A Homemade Bookshelf?
You need wood boards, screws, wood glue, sandpaper, paint or stain, a drill, and a saw. Choose quality wood for durability and aesthetics. These materials ensure a sturdy and attractive bookshelf that fits your space perfectly.
How Long Does It Take To Build A Homemade Bookshelf?
Building a bookshelf typically takes 3 to 6 hours, depending on complexity. Simple designs require less time, while intricate ones take longer. Allow extra time for drying paint or stain. Planning ahead speeds up the process efficiently.
Can I Customize The Size Of My Homemade Bookshelf?
Yes, you can customize the bookshelf size to fit your space. Measure your area carefully and adjust shelf height and width accordingly. Custom sizes help maximize storage and match your room’s design perfectly.
How Do I Ensure My Bookshelf Is Sturdy And Safe?
Use quality wood and strong screws or nails for stability. Apply wood glue on joints for extra strength. Make sure shelves are level and properly supported. Secure the bookshelf to the wall to prevent tipping.
Conclusion
Building a homemade bookshelf is a fun and useful project. You can choose the size and style you want. It saves money and gives your space a personal touch. Using simple tools and materials makes the task easier. Take your time and follow each step carefully.
Soon, you will have a sturdy shelf to hold your books. Enjoy your new creation every day. Keep practicing to improve your skills with each project. DIY projects like this bring pride and joy to your home.