Are you tired of flimsy shelves that wobble under the weight of your favorite books? Imagine having a sturdy bookshelf that not only holds all your books securely but also adds charm to your room.
Building one yourself might seem tricky, but with the right steps, you can create a strong, reliable shelf that lasts for years. Keep reading, and you’ll discover simple tips and tricks that anyone can follow to make a bookshelf you’ll be proud of.
Your perfect bookshelf is just a few easy steps away!
Choosing The Right Materials
Choosing the right materials is the first step to building a sturdy bookshelf. Quality materials ensure your shelf holds weight and lasts long. Pick items that fit your budget and style. Strong wood and good hardware make a big difference. Tools also matter to get precise cuts and secure assembly.
Types Of Wood For Durability
Solid hardwoods like oak, maple, and cherry are strong and last years. Pine is softer but affordable and easy to work with. Plywood is stable and resists warping, good for shelves that hold heavy books. Avoid particleboard; it breaks down faster under weight and moisture. Choose wood that fits your shelf’s purpose and your skill level.
Hardware Essentials
Use screws instead of nails for stronger joints. Wood glue adds extra hold between boards. Brackets and corner braces help keep shelves steady and prevent wobbling. Sandpaper smooths rough edges and prepares surfaces for finishing. Pick rust-resistant screws to avoid damage over time.
Tools You’ll Need
A saw is necessary for cutting wood to size. A drill helps make holes for screws and speeds up assembly. A measuring tape keeps your cuts accurate. A level ensures shelves stay straight and balanced. Clamps hold pieces tightly while glue dries. Having the right tools makes the build easier and safer.
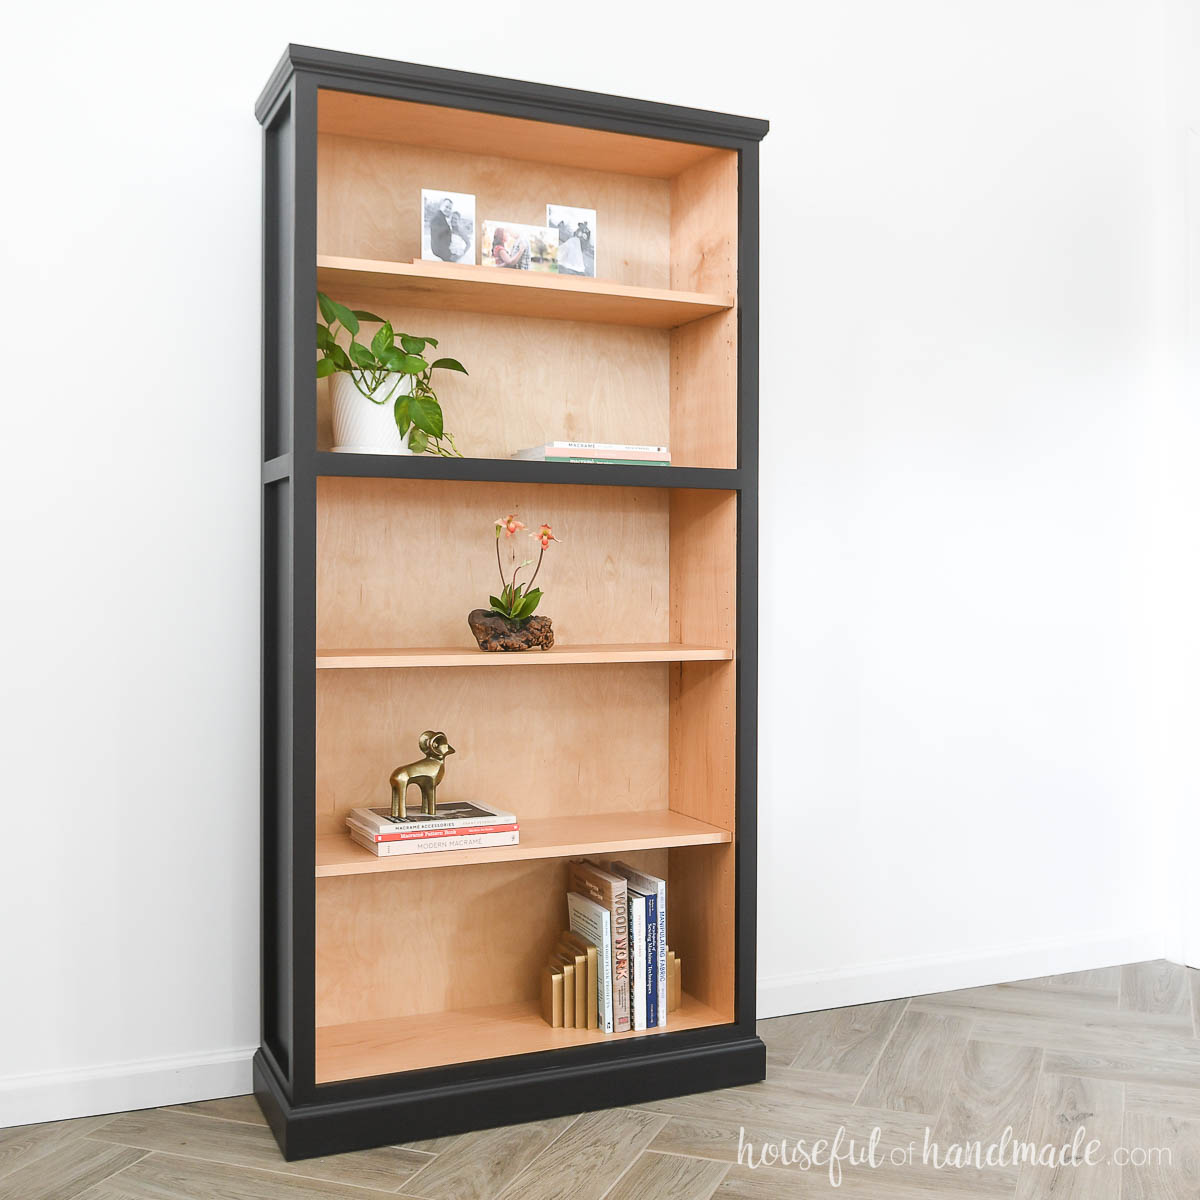
Credit: housefulofhandmade.com
Planning Your Bookshelf Design
Planning your bookshelf design is the first step to building a strong and useful piece. A good plan saves time and avoids mistakes. It helps you see the final shape and size clearly. This way, you can build a bookshelf that fits your space and needs perfectly.
Measuring Space And Dimensions
Start by measuring the area where you want the bookshelf. Check the height, width, and depth. Write down these numbers. Measure carefully to avoid errors. Remember to allow some extra space for air and ease of use. This ensures your bookshelf fits well without crowding.
Selecting Shelf Layouts
Think about how many shelves you want. Decide the distance between each shelf. Use shelves to fit different book sizes or items. You can choose equal spacing or mix tall and short shelves. Plan for flexibility if you want to change shelves later.
Considering Weight Capacity
Books can be heavy. Choose strong materials like solid wood or thick plywood. Plan for thicker shelves if you have many heavy books. Add support brackets or extra beams for strength. Ensure your design holds the weight safely without sagging.
Preparing The Wood
Preparing the wood is an important step to make a sturdy bookshelf. Good preparation helps the wood last longer and hold weight well. This process starts with cutting the wood to the right size. Then, sanding the wood smooths rough edges. Finally, applying wood treatment protects the wood from damage. Each step builds a strong base for your bookshelf.
Cutting To Size
Cut the wood pieces to match your bookshelf design. Use a saw for straight and clean cuts. Measure twice to avoid mistakes. Cutting wood to the exact size helps the shelves fit tightly. Proper cuts keep the structure strong and stable.
Sanding For Smoothness
Sand each piece of wood carefully. Sanding removes splinters and rough spots. Use medium-grit sandpaper first, then fine-grit for a smooth finish. Smooth wood feels better to touch and looks neat. Sanding also helps the wood treatment stick well.
Applying Wood Treatment
Apply wood treatment to protect the wood. Use a brush to spread stain or sealant evenly. Wood treatment prevents damage from moisture and insects. Let the wood dry completely before assembling. Treated wood increases the durability of your bookshelf.
Assembling The Frame
Building a sturdy bookshelf starts with a strong frame. This part holds everything together. Careful assembly ensures the shelf stands firm and lasts long. Focus on solid joints and perfect alignment. Take time during this step for better results.
Joining Techniques
Choose the right method to join wood pieces. Butt joints are simple but less strong. For better strength, use rabbet or dado joints. These fit pieces together tightly. Use wood glue to add extra hold. Make sure joints fit snugly without gaps.
Securing With Screws And Dowels
Screws give strong, quick connections. Pre-drill holes to avoid wood splitting. Countersink screws for a smooth finish. Dowels make hidden joints and look neat. Mark and drill holes carefully for dowels. Use wood glue with dowels for added strength.
Checking For Squareness
Check if the frame is square before moving on. Use a carpenter’s square or measure diagonals. Both diagonals must be equal for perfect squareness. Adjust joints slightly if the frame is off. A square frame keeps shelves level and stable.
Installing The Shelves
Installing the shelves correctly is key to making a sturdy bookshelf. This step ensures the shelves hold weight without bending or breaking. It also keeps your books safe and organized.
Focus on proper spacing, strong support, and secure brackets. These elements work together to create a reliable shelf structure. Let’s dive into each part.
Spacing For Books
Measure the height of your tallest books before placing shelves. Leave enough space so books fit comfortably without being squeezed. Standard spacing ranges from 10 to 12 inches between shelves.
Adjust shelf height depending on book size. For bigger books, add more space. For smaller books, less space works. Correct spacing prevents damage and makes your shelf look neat.
Reinforcing Shelf Support
Use strong materials like plywood or hardwood for shelves. Thin or weak wood can bend under weight. Adding a support beam under each shelf helps prevent sagging.
Support beams can be strips of wood fixed along the shelf’s length. Another option is a metal brace for extra strength. Reinforcement keeps shelves flat and sturdy over time.
Attaching Shelf Brackets
Choose brackets that match shelf size and weight. Place brackets evenly under the shelf to balance the load. Typically, use two brackets for shorter shelves, and more for longer ones.
Secure brackets firmly to the bookshelf frame using screws. Make sure screws go into solid wood or wall studs. Loose brackets cause shelves to wobble or fall.

Credit: www.reddit.com
Finishing Touches
Finishing touches make your bookshelf look great and last longer. They protect the wood and add style. Small details can improve safety and durability. Take time to complete these steps for a strong and beautiful shelf.
Painting Or Staining
Choose paint or stain to suit your room’s style. Paint adds color and hides imperfections. Stain shows the wood’s natural grain. Apply thin coats for an even finish. Let each coat dry fully before the next. Use a brush or cloth for best results.
Sealing For Protection
Seal the surface to guard against scratches and moisture. Use clear polyurethane or varnish. This creates a hard, protective layer. Apply with a clean brush in smooth strokes. Allow the sealant to dry well. Sand lightly between coats for a smooth feel.
Adding Anti-tip Hardware
Secure the bookshelf to the wall to prevent tipping. Use anti-tip brackets or straps for safety. Attach hardware to studs for strong support. This step is important, especially in homes with children. It keeps your bookshelf stable and safe.
Maintenance Tips For Longevity
Keeping your bookshelf strong takes effort after building it. Regular care helps avoid damage. Follow simple steps to keep it sturdy for years. These tips save time and money on repairs.
Regular Cleaning
Dust and dirt can wear down your bookshelf. Clean shelves often with a soft cloth. Avoid wet cloths that can damage wood. Use a dry or slightly damp cloth instead. Keep the surface free from spills and stains. Clean shelves help maintain their look and strength.
Inspecting For Wear
Check your bookshelf for signs of damage often. Look for cracks, splits, or warping in the wood. Notice any sagging or bending shelves. Early detection stops small problems from growing. Fix issues quickly to keep your shelf safe and strong.
Tightening Loose Parts
Screws and bolts can loosen over time. Check all fasteners regularly. Tighten any loose screws with the right tools. Loose parts cause wobbling and weaken the structure. Secure fittings keep the bookshelf steady and safe.
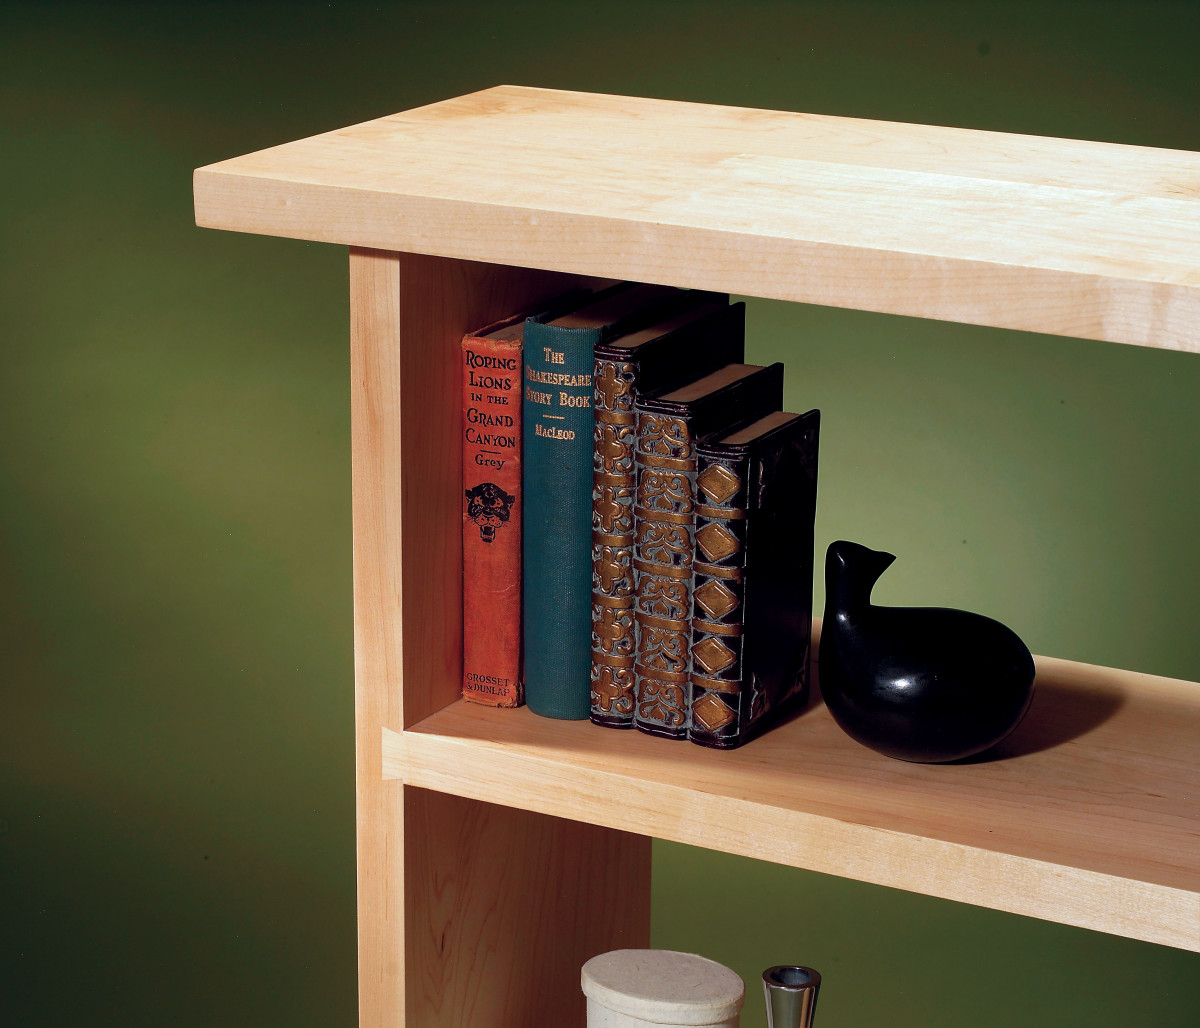
Credit: www.popularwoodworking.com
Frequently Asked Questions
What Materials Are Best For A Sturdy Bookshelf?
Solid wood like oak or maple provides excellent strength. Plywood with a thick veneer is also durable. Avoid particleboard for heavy loads. Use quality screws and brackets for extra stability.
How Can I Prevent A Bookshelf From Wobbling?
Ensure all shelves are level and securely fastened. Attach the bookshelf to the wall using brackets or anchors. Use corner braces inside to strengthen joints. Avoid overloading one side to maintain balance.
What Is The Ideal Thickness For Bookshelf Shelves?
Shelves should be at least 3/4 inch thick for durability. Thicker shelves can support heavier books without sagging. Use thicker wood for wider shelves to maintain sturdiness and long-term performance.
How Do I Distribute Weight On A Bookshelf Properly?
Place heavier items on lower shelves to lower the center of gravity. Evenly space books and objects to avoid stress on one area. Avoid stacking too many heavy items on a single shelf.
Conclusion
Building a sturdy bookshelf takes time and care. Choose strong materials for lasting support. Measure and cut pieces with accuracy. Secure joints tightly to avoid wobbling. Sand and finish for a smooth look. A solid bookshelf holds your books safely.
Enjoy the pride of your own work. Keep these steps in mind for success. Your space will look neat and organized. Start your project with confidence today.