Are you ready to transform your plain bunk bed into a stunning barn wood masterpiece? Imagine giving your child’s room a warm, rustic charm without spending a fortune or buying new furniture.
Creating a barn wood look out of your existing bunk bed is easier than you think. In this guide, you’ll discover simple steps and clever tips to achieve that cozy, farmhouse style. Stick with me, and by the end, your bunk bed will be the centerpiece of the room—inviting, unique, and full of character.
Let’s get started!

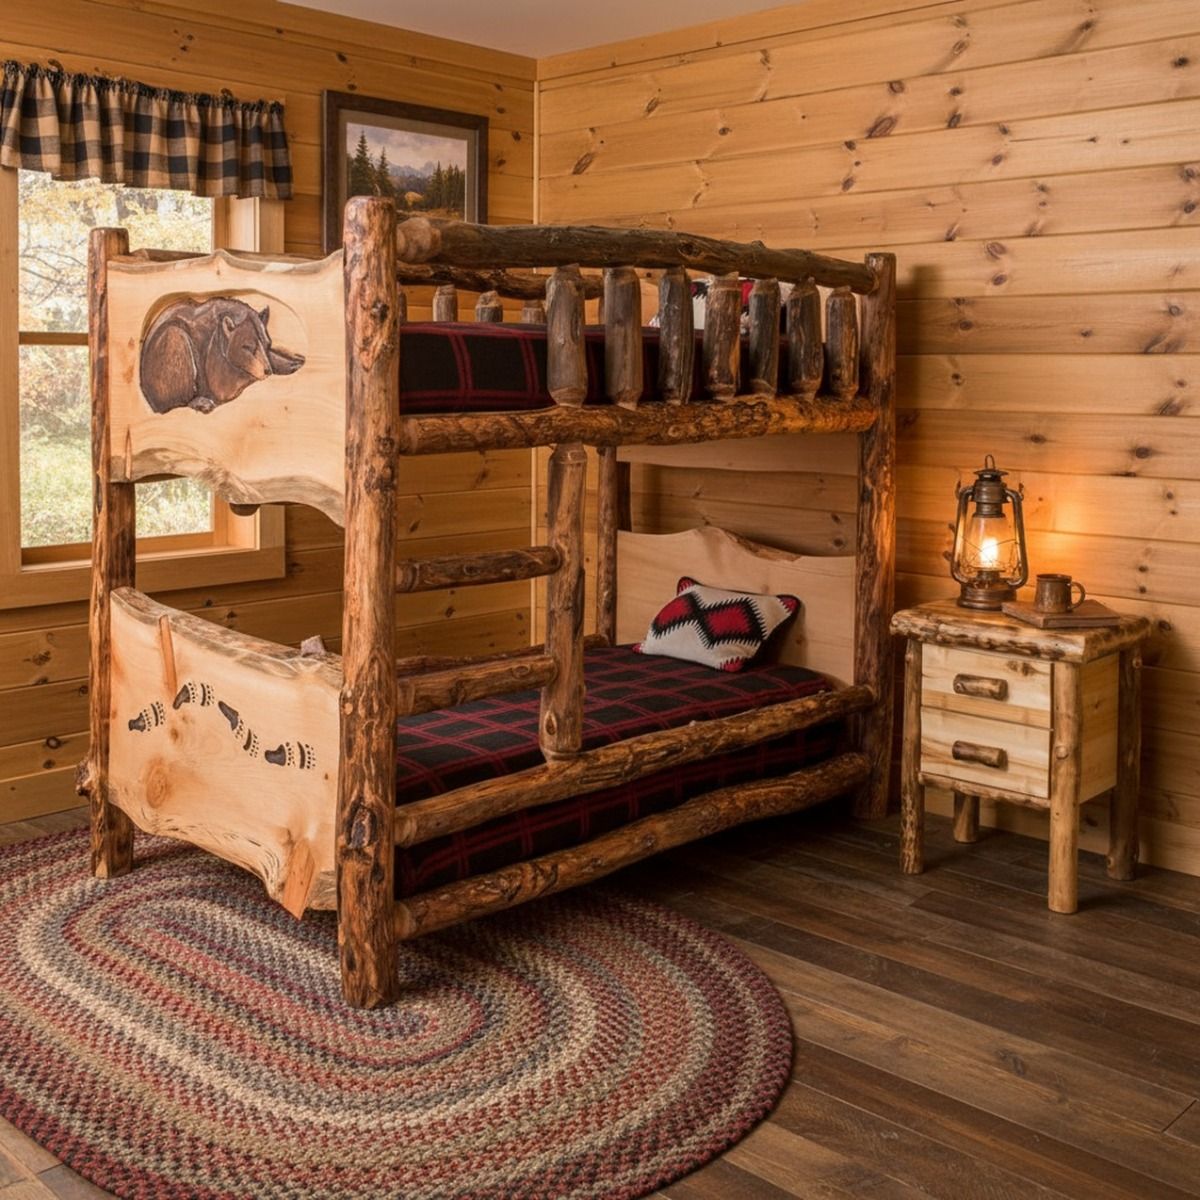
Credit: www.justbunkbeds.com
Materials Needed
Transforming a bunk bed into a barn wood look requires a few key materials. These materials help you achieve that rustic and vintage style. Gather everything before starting to make the project smooth and easy.
Wood Selection
Choose wood with a rough texture for an authentic barn look. Pine and cedar are good options. Old pallets or reclaimed wood add character and charm. Make sure the wood is free of nails and splinters.
Tools Required
Basic tools make the process simple and safe. Sandpaper smooths rough edges without losing texture. A saw helps cut wood pieces to size. Use a hammer and nails or a drill with screws for assembly. A paintbrush or sponge works best for applying stain or paint.
Paints And Stains
Pick colors that mimic aged wood. Brown, gray, and white stains create a weathered look. Matte or satin finish keeps it natural. Avoid glossy paints to keep the rustic feel. Test colors on a small wood piece before applying.
Credit: woodlandcreekfurniture.com
Preparing The Bunk Bed
Preparing the bunk bed is an important first step to create a barn wood look. It helps the wood absorb stains and paint better. A smooth surface makes the finish look more natural. Fixing any damage ensures a strong base for your project. Take time with preparation to get the best results.
Cleaning And Sanding
Start by cleaning the bunk bed well. Use a mild soap and water to remove dirt and dust. Dry the bed completely before moving on. Sand the entire surface with medium-grit sandpaper. This removes old paint and smooths rough spots. Sand in the direction of the wood grain. Wipe away dust with a damp cloth after sanding.
Repairing Imperfections
Check the bed for cracks, holes, or loose parts. Fill small holes and cracks with wood filler. Let the filler dry fully, then sand smooth. Tighten or replace loose screws and nails. Replace any broken parts if needed. A solid, smooth bed will hold the barn wood finish better.
Creating The Barn Wood Texture
Creating the barn wood texture is key to giving your bunk bed an authentic, rustic look. This texture makes the wood appear aged and weathered. It adds charm and character to plain wood surfaces.
The process involves two main steps: distressing the wood and adding wood grain details. Both steps work together to create a natural, worn effect. You don’t need special tools or skills. Just follow simple techniques and take your time.
Distressing Techniques
Distressing gives wood an old, rough look. Start by sanding the wood unevenly. Focus on edges and corners to mimic natural wear. Use a hammer or chain to add small dents and marks. Scrape the surface lightly with a screwdriver or wire brush. This creates tiny grooves and scratches. Avoid overdoing it. A little distressing looks more real.
Adding Wood Grain Details
Wood grain details add depth and texture. Use a wood graining tool or stiff brush to enhance natural lines. Brush wood stain or paint along the grain direction. Wipe off excess to keep details subtle. You can also use a dry brush to highlight ridges. This step makes the wood appear richer and more textured. It completes the barn wood effect beautifully.
Applying Paint And Stain
Applying paint and stain is a key step to achieve the barn wood look on your bunk bed. This process adds character and warmth to the wood. It also highlights the natural grain, giving the bed a rustic feel. Taking time to choose and apply the right colors and stains makes a big difference.
Choosing The Right Colors
Select colors that mimic natural barn wood tones. Soft browns, warm grays, and faded reds work well. Avoid bright or shiny colors. These do not fit the rustic style. Test colors on a small wood piece before painting the whole bed. This helps ensure the tone matches your vision.
Layering Paint For Authentic Look
Start with a base coat in a medium shade. Let it dry completely. Then add a lighter or darker color on top. Use a dry brush or sponge to apply paint unevenly. This technique creates a weathered look. Sand some areas lightly after painting for more texture. It adds natural wear and tear feel.
Using Stain For Depth
Apply wood stain after painting for richer color depth. Choose a stain that complements your paint colors. Use a cloth or brush to spread the stain evenly. Wipe off excess quickly to avoid dark spots. The stain enhances wood grain and adds a vintage touch. Let the stain dry fully before finishing.
Finishing Touches
Maintaining the barn wood look on your bunk bed keeps it beautiful and sturdy. Regular care helps preserve its rustic charm and natural texture. Small efforts can extend the life of the wood and protect it from damage.
Cleaning Barn Wood Surfaces
Use a soft cloth or brush to remove dust gently. Avoid harsh chemicals that can damage the wood finish. Mild soap mixed with water works well for cleaning. Wipe the surface with a damp cloth, then dry it quickly. Clean spills right away to prevent stains. Keep the wood dry to avoid mold or warping. Dusting often keeps the wood looking fresh and natural.
Repairing Wear Over Time
Check for scratches, dents, or loose nails regularly. Light scratches can be fixed with fine sandpaper. Apply a matching wood stain or oil to blend repairs. For deeper damage, use wood filler or putty. Tighten screws and replace any broken parts to keep the bed safe. Small repairs prevent bigger problems later on. A little attention keeps the barn wood bunk bed strong and charming.
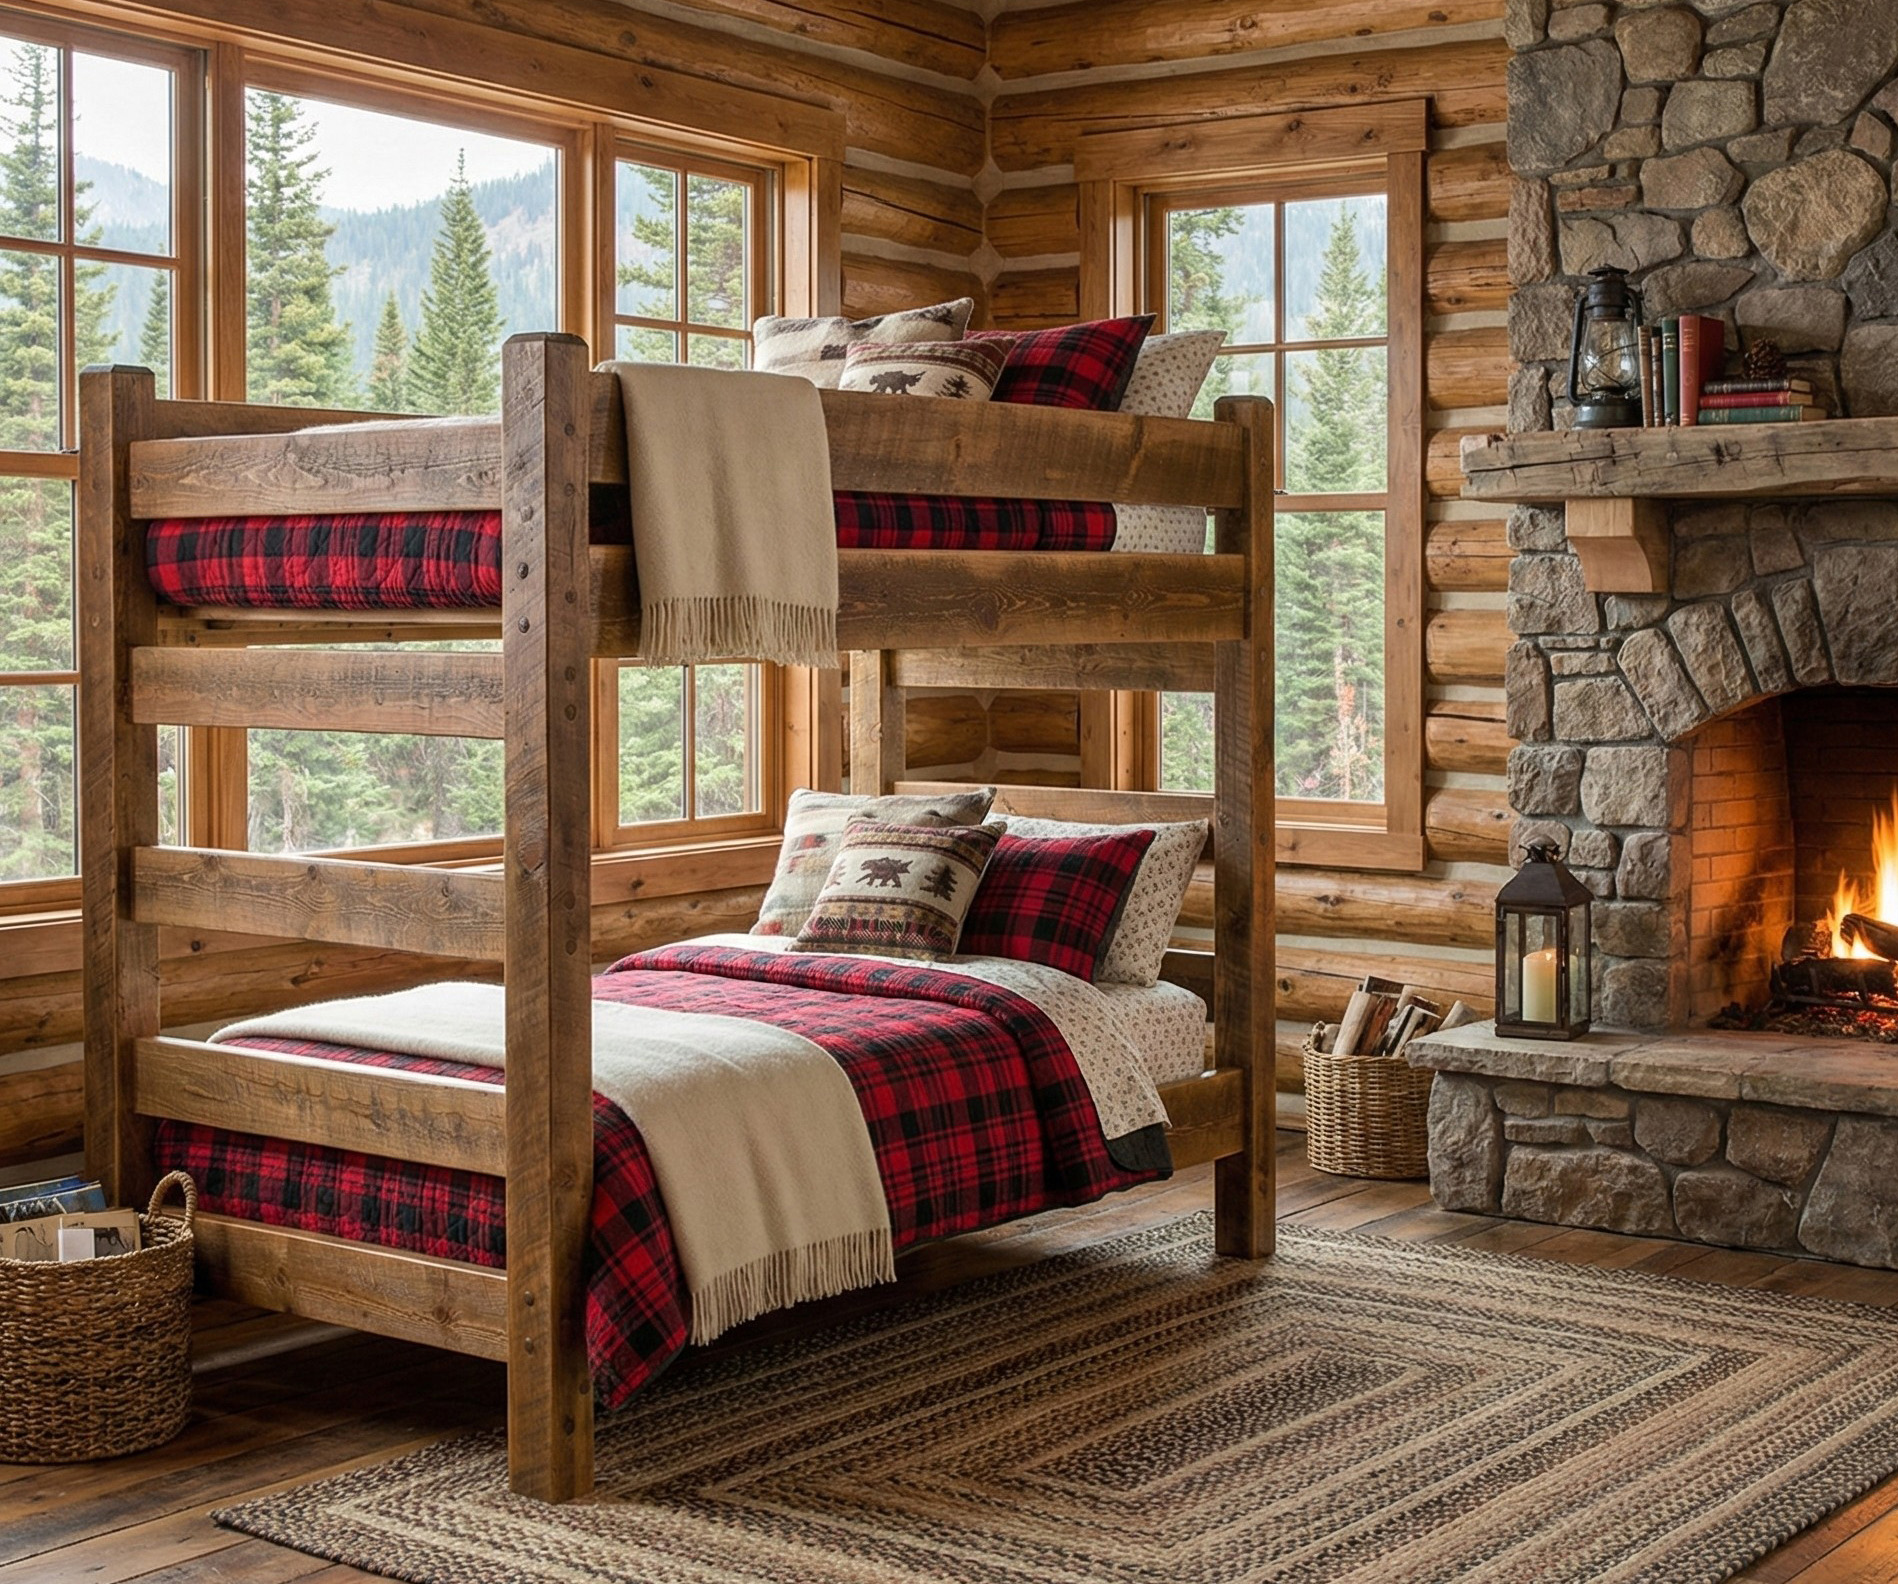
Credit: www.justbunkbeds.com
Frequently Asked Questions
What Materials Are Needed For Barn Wood Bunk Bed Look?
You need reclaimed wood or barn wood planks, sandpaper, wood stain, sealant, nails, and a hammer or drill. Choose wood with natural textures for authenticity. Proper tools ensure a smooth, rustic finish on your bunk bed.
How To Distress Wood For Barn Wood Effect?
Use sandpaper, wire brushes, or chains to create dents and scratches. Focus on edges and corners for natural wear. This technique mimics aged wood, adding character and realism to your bunk bed’s barn wood look.
Can I Use Paint To Achieve Barn Wood Style?
Yes, use muted or faded colors like gray, white, or brown. Apply paint unevenly and sand parts to expose wood underneath. This method gives an authentic, weathered barn wood appearance on your bunk bed.
How Long Does It Take To Create Barn Wood Look?
It usually takes 3 to 5 hours, depending on wood size and distressing detail. Allow extra time for staining and drying. Patience ensures a high-quality, realistic barn wood finish on your bunk bed.
Conclusion
Creating a barn wood look on a bunk bed adds charm and warmth. You only need a few simple materials and tools. Follow the steps carefully to get the best result. This style fits well in many rooms and styles.
It also gives old furniture a fresh, new feel. Try this project to make your bunk bed unique. Enjoy the process and the cozy look it brings. Your room will feel more inviting and special.