Are you ready to create more space and style in your room with a trundle bunk bed? Assembling one might seem tricky, but with the right steps, you can do it yourself quickly and confidently.
Imagine having an extra bed that slides out whenever you need it—perfect for guests or growing families. In this guide, you’ll discover simple, clear instructions that make building your trundle bunk bed easier than you think. Keep reading, and you’ll be amazed at how satisfying it is to set up your new bed all on your own.
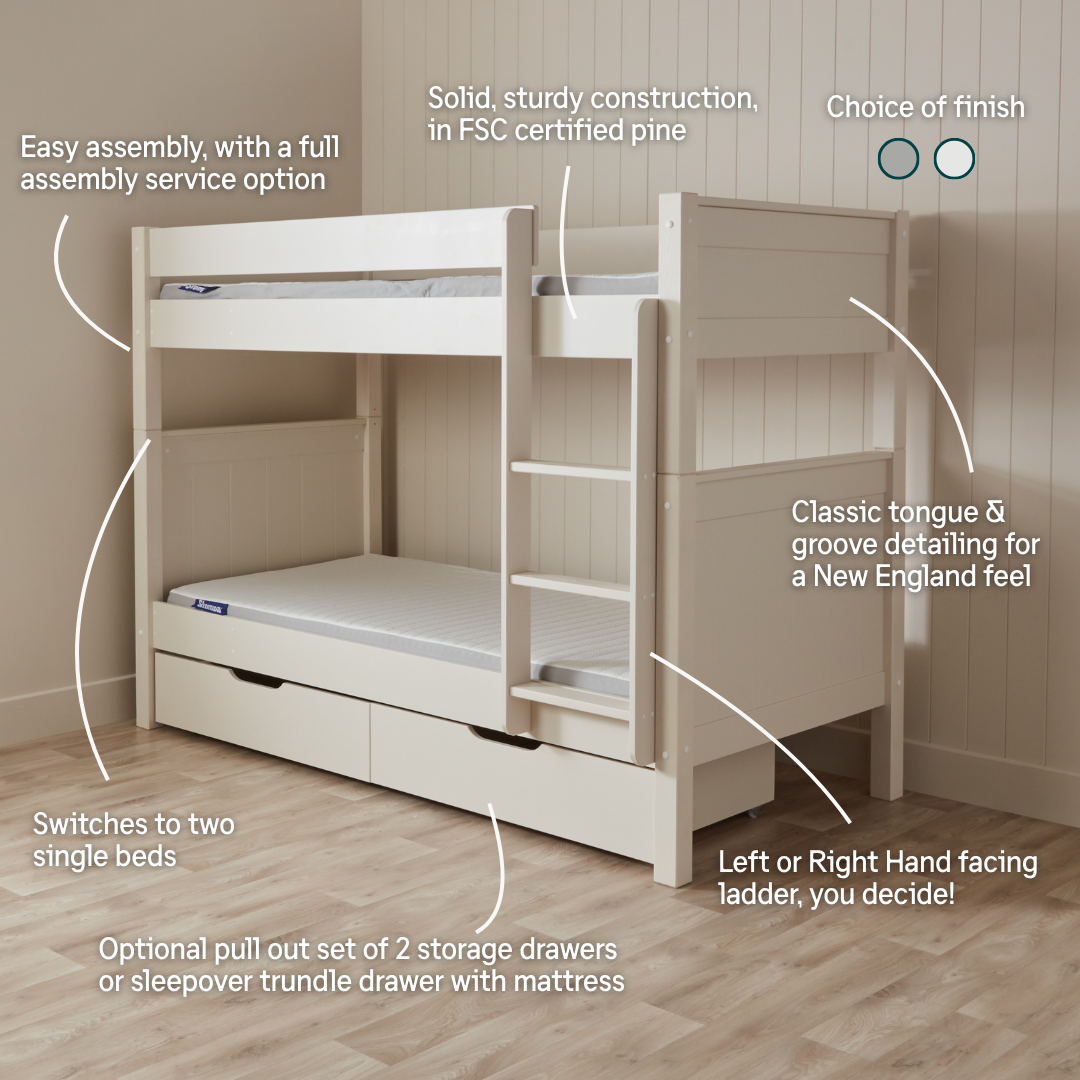
Tools And Materials Needed
Preparing your workspace is the first step in assembling a trundle bunk bed. A clean and organized area helps you work safely and efficiently. It reduces the chance of losing small parts or damaging the bed pieces. Taking time to prepare will save frustration and speed up the assembly process.
Clearing The Area
Start by choosing a spacious room with enough light. Remove furniture and objects that block your work zone. Clear the floor to have plenty of space for the bed parts. A clutter-free area prevents accidents and allows easy movement. Make sure pets and children stay away during assembly.
Organizing Components
Unbox all bed parts carefully and place them on the floor. Group similar items such as screws, bolts, and wooden pieces. Use small containers or trays to keep tiny parts from rolling away. Check the instruction manual to confirm all components are present. Organizing parts helps you find tools quickly during assembly.
Preparing The Workspace
Assembling the main frame is the first important step in building your trundle bunk bed. This frame holds the entire structure together. A strong frame ensures safety and durability. Take your time and follow each step carefully. Gather all parts and tools before you start.
Connecting Side Rails
Start by attaching the side rails to the bed’s base. Align the rails with the pre-drilled holes on the headboard and footboard. Use the provided screws or bolts to fix them in place. Tighten each screw firmly but avoid over-tightening. This helps keep the frame steady without damaging the wood. Check if the rails are straight and even before moving on.
Securing Headboard And Footboard
Next, attach the headboard and footboard to the side rails. Position each board properly to match the holes. Insert screws into the holes and tighten securely. The headboard and footboard should stand firm and not wobble. Confirm all screws are tight and the frame feels solid. This step completes the main frame assembly, ready for the next parts.
Assembling The Main Frame
Building the trundle frame is a key step in assembling a trundle bunk bed. This frame holds the mattress and allows the trundle to slide easily under the main bed. A strong frame ensures safety and smooth movement.
Focus on assembling the frame carefully for a sturdy base. Use the right tools and follow the instructions closely. Take your time to get each part in place perfectly.
Attaching Support Slats
Support slats hold the mattress and keep it from sagging. Place the slats evenly across the frame. Use screws or brackets to secure each slat firmly.
Check that the slats do not move or shift. Proper spacing is important for mattress support and airflow. Tighten screws to avoid any loose parts.
Installing Wheels Or Casters
Wheels or casters make the trundle easy to pull out and push back in. Choose wheels that fit the frame size and weight capacity. Attach each wheel securely to the frame corners.
Test the wheels by sliding the trundle in and out. Make sure they roll smoothly without sticking. Locking casters add extra safety to prevent unwanted movement.

Credit: www.amazon.com
Building The Trundle Frame
Adding mattresses and bedding to your trundle bunk bed is the last step in creating a cozy sleep space. This process needs care to ensure comfort and safety. Choosing the right mattress size and placing the mattresses correctly will make a big difference. Follow these simple tips for a perfect setup.
Choosing The Right Mattress Size
Select mattresses that fit each bed frame tightly. The top bunk usually uses a standard twin mattress. The trundle mattress should be slightly thinner to slide under easily. Measure the bed frames before buying mattresses. Avoid mattresses that are too thick or too thin. Proper size keeps the bed stable and comfortable.
Placing Mattresses Safely
Place mattresses flat and even on each bed frame. Check that the mattress fits snugly without gaps. Use safety rails on the top bunk to prevent falls. Make sure the trundle mattress slides smoothly in and out. Keep bedding light to avoid blocking trundle movement. Secure bedding so it does not slip off during sleep.
Fitting The Trundle Under The Bunk
Safety checks and final adjustments are key to a secure trundle bunk bed. These steps protect users from accidents. They also ensure the bed lasts long. Check every part carefully. Small mistakes can cause big problems. Take time to review your work before use.
Tightening All Screws
Start by tightening all screws firmly. Loose screws can make the bed unstable. Use the right tool for each screw. Turn screws gently to avoid damage. Check every joint and connection point. Tighten until the screw feels snug. Avoid over-tightening to prevent stripping threads. Repeat this step twice for safety.
Ensuring Stability
After screws are tight, test the bed’s stability. Gently shake the bed to feel any wobble. Check the frame and trundle for movement. Make sure the bed sits flat on the floor. Adjust the legs or supports if needed. A stable bed reduces the risk of falls. Confirm that all parts fit well together. Stability is crucial for safe use every night.
Credit: www.roomix.com
Adding Mattresses And Bedding
Maintaining your trundle bunk bed ensures it stays safe and lasts longer. Regular care keeps the bed sturdy and clean. Small efforts prevent big problems later.
Regular Inspections
Check the bed frame for loose screws or bolts. Tighten any parts that feel wobbly. Look for cracks in the wood or metal. Inspect the wheels under the trundle for smooth movement. Replace damaged parts quickly to avoid accidents.
Cleaning And Care
Dust the bed frame with a soft cloth often. Use mild soap and water for tougher dirt. Avoid harsh chemicals that can damage the finish. Clean the wheels to remove dirt and hair. Keep bedding fresh by washing regularly. Clean beds last longer and look better.

Credit: www.hexstaruniverse.com
Frequently Asked Questions
How Long Does It Take To Assemble A Trundle Bunk Bed?
Assembling a trundle bunk bed typically takes 2 to 4 hours. Time depends on experience and tools available. Following instructions carefully speeds up the process. Having a helper can make assembly easier and faster.
What Tools Are Needed For Trundle Bunk Bed Assembly?
You usually need a screwdriver, Allen wrench, and a hammer. Some beds come with necessary tools included. A power drill can speed up the process. Check the instruction manual for specific tool requirements.
Can I Assemble A Trundle Bunk Bed Alone?
Yes, but it is easier with two people. Some parts can be heavy or awkward to handle alone. Assistance helps ensure safety and proper alignment during assembly. Plan for extra time if assembling solo.
How To Ensure Safety When Assembling The Bed?
Follow instructions step-by-step and use recommended tools only. Tighten all screws and bolts securely. Check stability before use to avoid accidents. Keep small parts away from children during assembly.
Conclusion
Assembling a trundle bunk bed can be simple and quick. Follow each step carefully to avoid mistakes. Use the right tools and take your time during assembly. Check all parts before starting to ensure nothing is missing. A sturdy bed adds comfort and saves space in your room.
Enjoy the extra sleeping space your trundle bed provides. With patience, you can create a safe and cozy sleeping area. Now, your room looks neat and organized with this smart furniture.