Are you ready to add a stylish and sturdy bookshelf to your space without breaking the bank? Building a bookshelf with plywood is easier than you might think, even if you’ve never picked up a saw before.
Imagine having a custom piece that fits perfectly in your room and holds all your favorite books and decor. In this guide, you’ll learn simple steps, smart tips, and tricks to create a beautiful bookshelf that lasts. Keep reading, and by the end, you’ll be confident to start your own woodworking project and impress everyone with your handiwork.
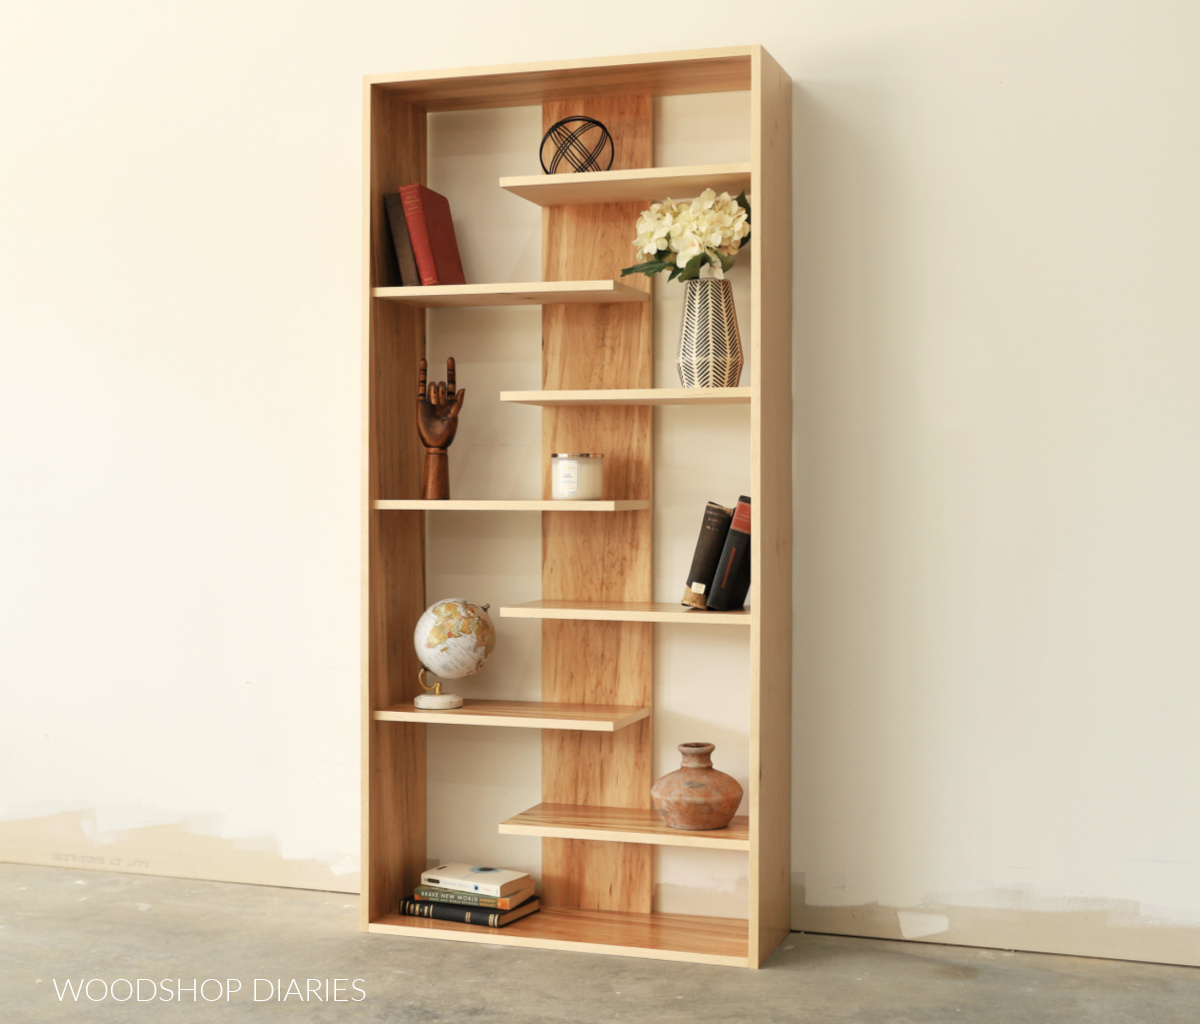
Credit: www.woodshopdiaries.com
Choosing The Right Plywood
Choosing the right plywood is key to building a strong and lasting bookshelf. The type of plywood you pick affects the look, strength, and cost of your project. This section helps you understand the best plywood options for your bookshelf.
Types Of Plywood For Bookshelves
Plywood comes in many types. Hardwood plywood looks smooth and lasts long. It is great for visible parts of the shelf. Softwood plywood is cheaper but less strong. It works well for shelves that do not hold heavy items. Baltic birch plywood is a popular choice. It is strong and has many thin layers, making it stable.
Thickness And Durability
Thickness affects how much weight your bookshelf can hold. Thicker plywood means stronger shelves. Most bookshelves use plywood that is 3/4 inch thick. Thin plywood may bend under heavy books. Choose plywood that can hold your books without sagging. Durable plywood resists warping and cracks over time.
Cost And Availability
Price varies by plywood type and thickness. Hardwood plywood costs more than softwood. Baltic birch plywood is in the middle price range. Check local stores for availability. Some types may be hard to find or expensive in your area. Buy plywood that fits your budget and is easy to get.
Tools And Materials Needed
Building a bookshelf with plywood requires the right tools and materials. These ensure your project is safe and successful. Having everything ready before you start saves time and frustration. The list includes essential tools, hardware, and safety gear. Each plays a key role in crafting a sturdy bookshelf.
Essential Tools
A circular saw or jigsaw cuts plywood into shelves and sides. A drill helps make holes and drive screws. A tape measure ensures accurate measurements for all parts. A carpenter’s square keeps corners straight and shelves level. Sandpaper smooths rough edges and surfaces. Clamps hold pieces in place during assembly.
Hardware And Accessories
Screws secure the plywood pieces firmly together. Wood glue adds strength to joints. Shelf brackets or supports hold shelves steady. Wood filler covers small holes or gaps. Paint or wood stain finishes the shelf and protects the wood. Brushes or rollers apply paint evenly.
Safety Gear
Safety glasses protect your eyes from dust and wood chips. Ear protection reduces noise from power tools. Dust masks prevent inhaling wood dust. Gloves protect hands from splinters and sharp tools. Wear sturdy shoes to protect feet from dropped tools or wood pieces.
Planning Your Bookshelf Design
Planning your bookshelf design is the first step to creating a sturdy and beautiful shelf. Careful planning saves time and materials. It helps you avoid mistakes and ensures the shelf fits your space perfectly.
Think about what you want to store. Books, decorations, or both? This decision affects the size and shape of your shelves. Clear plans make the building process smoother and more enjoyable.
Measuring Space And Dimensions
Measure the area where you want the bookshelf. Use a tape measure to get accurate width, height, and depth. Write down these numbers clearly. Leave some extra space for easy access and air circulation. Check for obstacles like power outlets or baseboards. Measure twice to avoid errors.
Sketching Your Design
Draw a simple sketch of your bookshelf on paper. Show the front and side views. Mark the dimensions you took earlier on the sketch. Plan the number of shelves and their heights. This visual guide helps you see the final look. Adjust the design until it feels right.
Selecting Shelving Layout
Decide how to arrange your shelves. Uniform shelves work well for books of similar size. Vary shelf heights for mixed items like tall books and small decor. Consider adding a bottom cabinet for closed storage. Plan spacing to avoid crowding items. Balanced layouts make the shelf look neat and functional.

Credit: www.reddit.com
Cutting Plywood Pieces
Cutting plywood pieces is a key step in building a sturdy bookshelf. Accurate cuts ensure all parts fit well. This step saves time and avoids material waste. Follow a clear process to get clean, precise cuts.
Marking Measurements
Start by measuring each plywood piece carefully. Use a tape measure and pencil to mark lines. Double-check your measurements before cutting. Mark straight lines using a ruler or square. Clear marks help guide your saw for exact cuts.
Using A Circular Saw
Set up your circular saw with the right blade depth. Align the saw with your marked lines. Hold the plywood firmly to stop movement. Cut slowly and steadily for a smooth edge. Wear safety goggles to protect your eyes during cutting.
Sanding Edges
After cutting, sand the edges to remove rough spots. Use medium-grit sandpaper for best results. Smooth edges prevent splinters and improve the finish. Sand along the cut line until the surface feels even and clean.
Assembling The Frame
Assembling the frame is the key step in building a sturdy bookshelf. It shapes the whole structure and supports the shelves. Careful assembly ensures the bookshelf stands strong and lasts long.
Joining Side Panels And Shelves
Start by placing the side panels upright. Align the shelves between them at the marked positions. Use clamps to hold pieces firmly while working. This keeps everything steady and accurate. Check all parts fit well before fixing them together.
Using Wood Glue And Screws
Apply wood glue to the edges where panels and shelves meet. The glue adds extra strength to the joints. Next, drill pilot holes to avoid wood splitting. Insert screws into these holes and tighten them. Screws hold the frame securely during daily use.
Ensuring Stability
Once assembled, test the frame’s stability by gently shaking it. If it wobbles, adjust screws and clamps. Use a level to check the shelves are even. Adding corner braces can improve strength and prevent wobbling. A stable frame is vital for safety and durability.
Adding Finishing Touches
Adding finishing touches to your plywood bookshelf brings it to life. These steps improve the look and protect the wood. They make your bookshelf ready for use and display.
Filling Gaps And Holes
Start by filling any gaps or holes in the wood. Use wood filler or putty that matches the plywood color. Apply it with a putty knife and press it into cracks. Let it dry completely before moving on.
Sanding For Smoothness
Sand the entire bookshelf to create a smooth surface. Use medium-grit sandpaper first, then fine-grit for a soft finish. Sand along the wood grain to avoid scratches. Wipe off dust with a clean cloth after sanding.
Applying Paint Or Stain
Choose paint or stain that fits your room’s style. Use a brush or roller for even coverage. Apply thin coats and let each dry fully. Stain highlights wood grain, while paint offers bold color. Finish with a clear sealant for extra protection.
Installing And Securing The Bookshelf
Installing and securing your plywood bookshelf is the final step in your project. This step ensures your bookshelf stays stable and safe. Proper installation prevents tipping and damage to your walls or floor. Follow these simple tips to position and anchor your bookshelf correctly. Safety is a top priority when handling heavy furniture.
Positioning The Bookshelf
Choose a flat and sturdy floor space for your bookshelf. Avoid uneven or slippery areas that may cause wobbling. Place the bookshelf against a wall for extra support. Leave some space between the wall and bookshelf to allow air circulation. Check if the bookshelf fits well in the chosen spot without blocking pathways or doors.
Wall Anchoring Methods
Secure the bookshelf to the wall to prevent tipping. Use wall anchors suitable for your wall type, such as drywall, brick, or concrete. Attach metal brackets or L-brackets to the top back of the bookshelf. Screw the brackets firmly into the wall studs for strong support. If you do not find studs, use heavy-duty wall anchors for drywall. Tighten all screws securely but avoid over-tightening.
Maintaining Safety
Keep heavy books on lower shelves to lower the center of gravity. Avoid overloading the shelves beyond their weight capacity. Regularly check the brackets and screws for looseness. Tighten any loose parts immediately to maintain stability. Teach children not to climb or hang on the bookshelf. These simple steps help prevent accidents and keep your bookshelf safe for years.
Tips For Customization
Customizing your plywood bookshelf makes it unique and fits your space perfectly. Small changes can add charm and improve function. Here are some simple tips to personalize your bookshelf.
Adding Decorative Elements
Decorative touches give your bookshelf character. Use trim or molding along the edges to create a polished look. Paint or stain the plywood for color and texture. Try wallpaper or contact paper on the back panel for a surprise pattern. These details make your shelf stand out.
Incorporating Lighting
Lighting brightens your books and highlights the shelf. Install LED strip lights under each shelf for a soft glow. Battery-operated puck lights are easy to place and move. Lighting helps find books in dim rooms and adds warmth to the space.
Personalizing Storage
Customize storage to match your needs. Add adjustable shelves for flexibility. Include small drawers or baskets for loose items. Hooks on the sides hold bags or keys. Personal touches keep your shelf organized and useful.
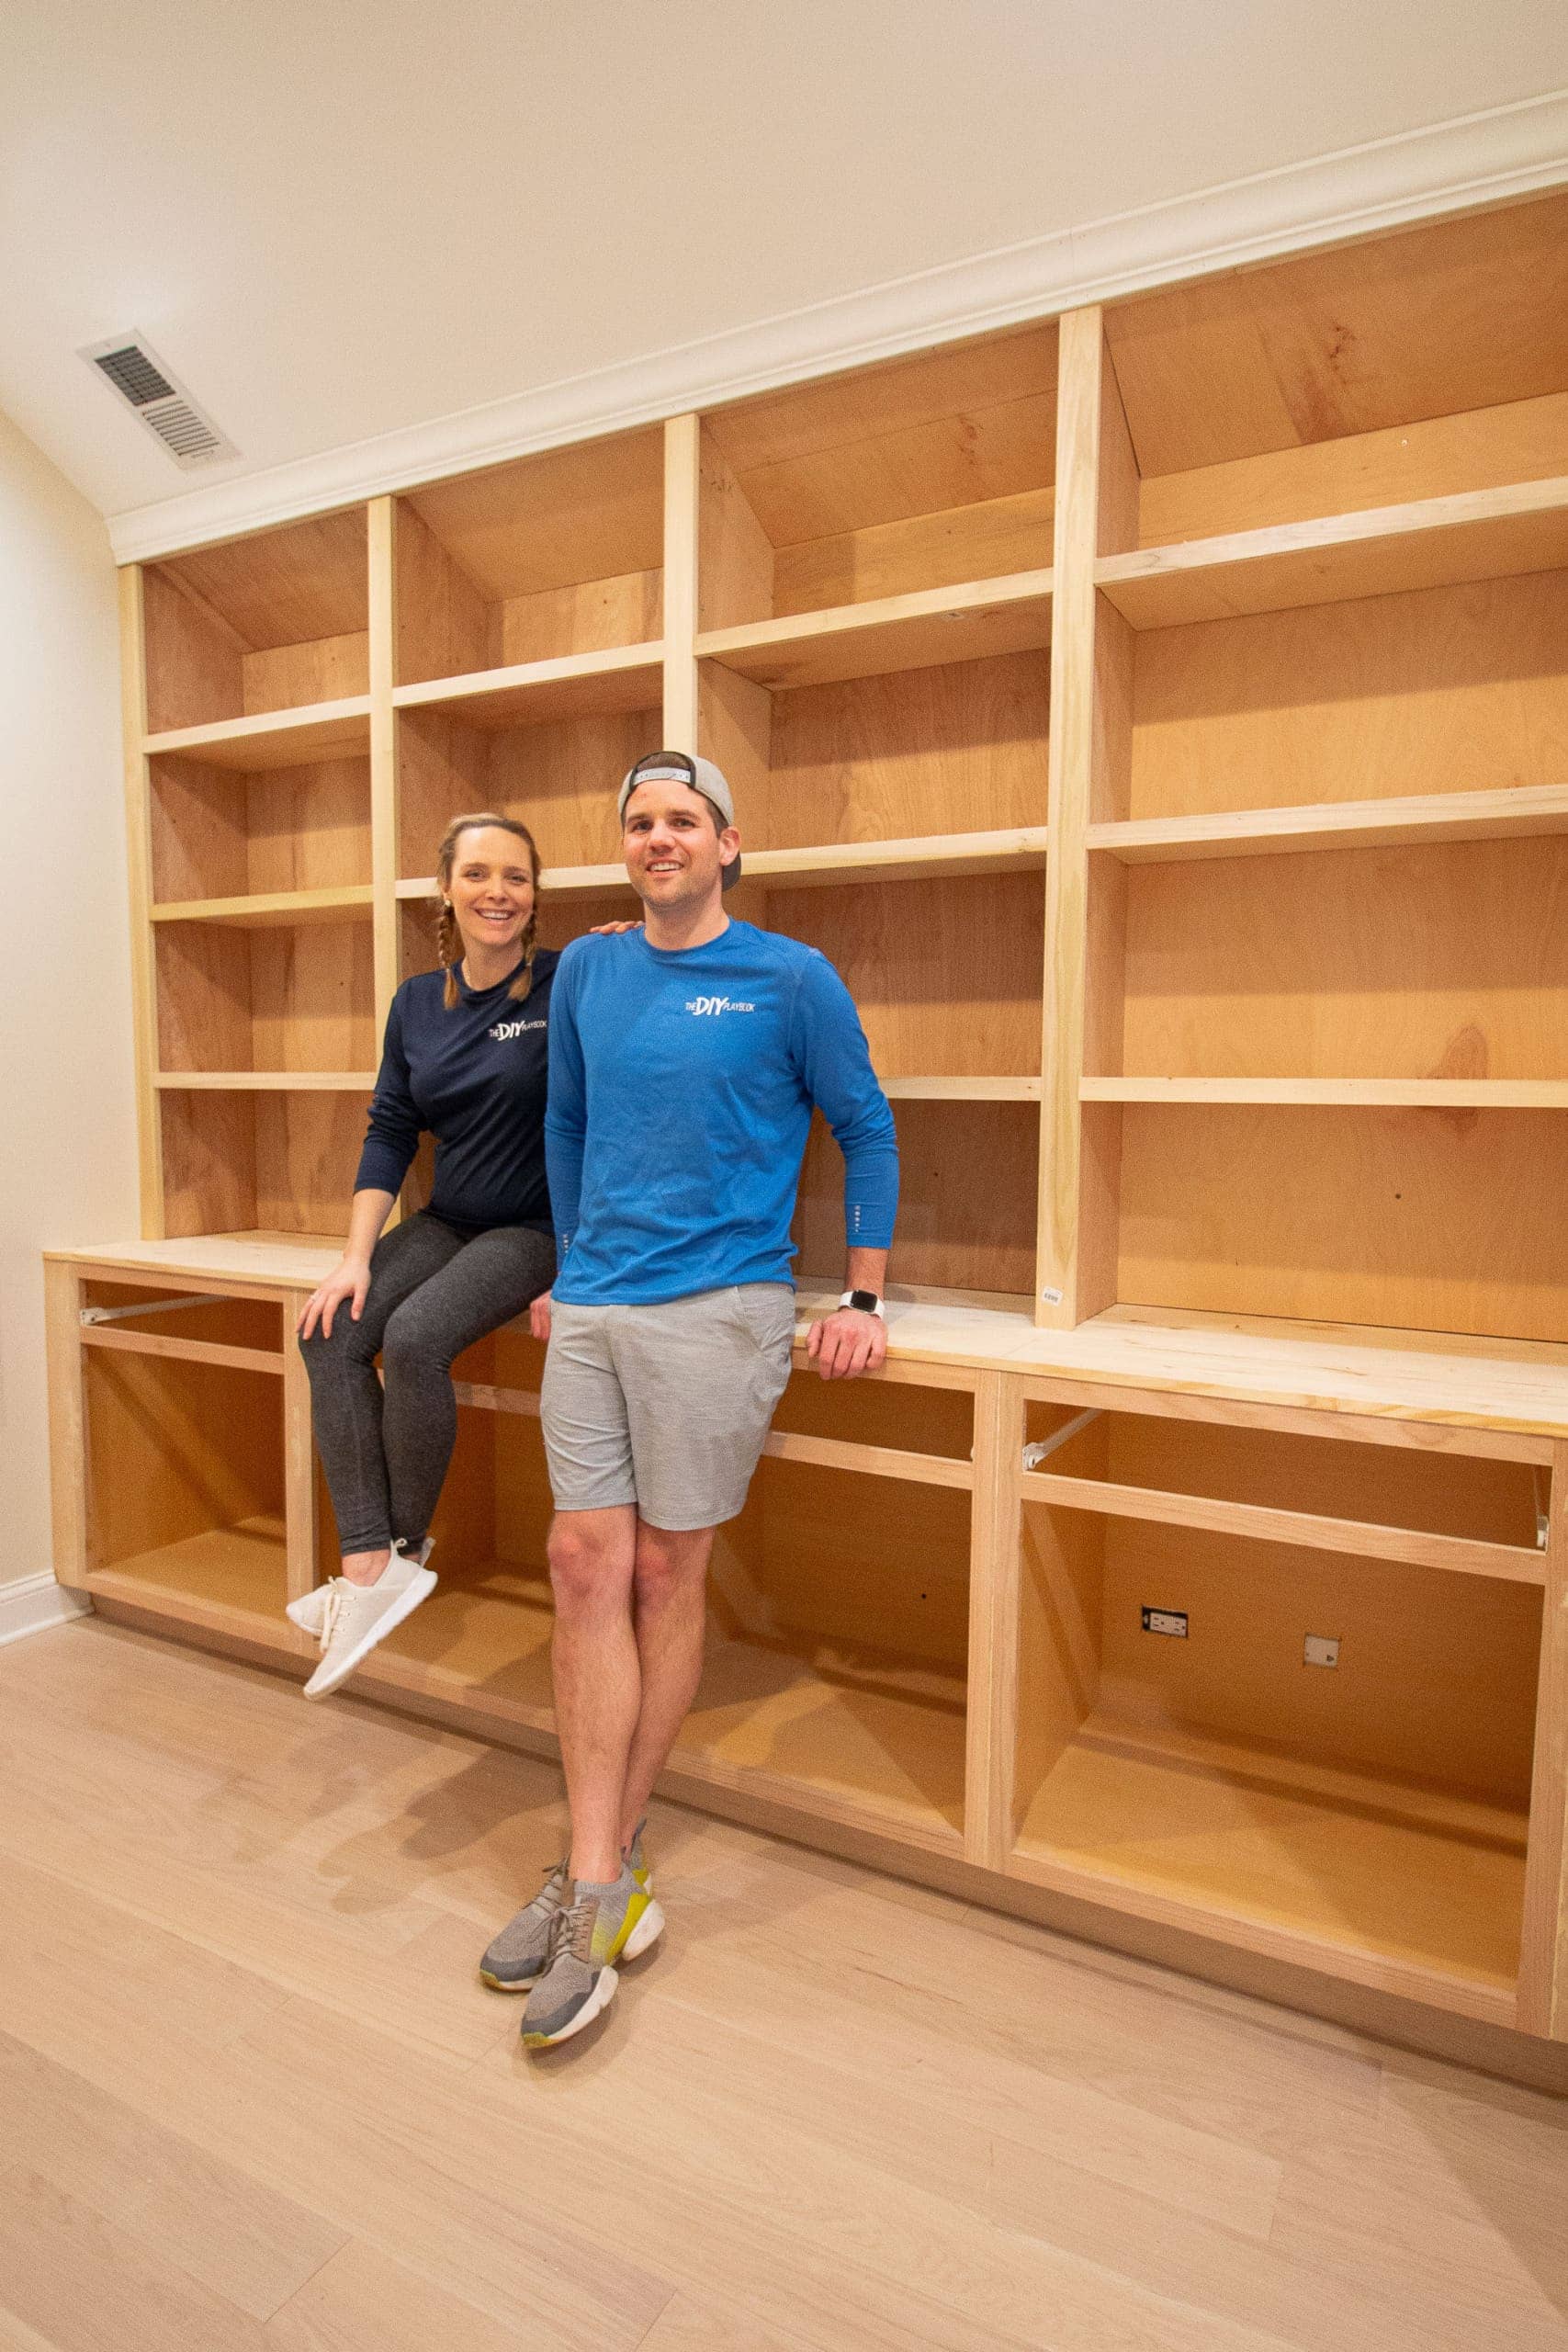
Credit: thediyplaybook.com
Frequently Asked Questions
What Type Of Plywood Is Best For Building Bookshelves?
Baltic birch plywood is ideal for bookshelves. It is strong, durable, and has an attractive finish. Avoid soft plywood types, as they may warp or break under weight.
How Do I Ensure My Bookshelf Is Sturdy?
Use strong joints like pocket holes or dowels. Secure shelves with screws and wood glue. Also, add a back panel for extra stability.
What Tools Are Needed To Build A Plywood Bookshelf?
You will need a saw, drill, clamps, measuring tape, screwdriver, and sandpaper. A level and square help ensure accurate assembly and alignment.
How Do I Finish Plywood For A Bookshelf?
Sand all surfaces smoothly. Apply wood primer, then paint or stain. Finally, seal with polyurethane for durability and protection.
Conclusion
Building a bookshelf with plywood is a fun and useful project. You only need a few tools and some patience. Measure and cut carefully for the best fit. Take your time to sand and finish the wood nicely. This bookshelf will hold your books and add charm to your room.
Try this project to create something you can be proud of. Enjoy your new bookshelf every day!