Are you tired of cluttered spaces and looking for a quick way to organize your books and decor? Building a simple bookshelf might be the perfect solution for you.
Imagine having a sturdy, stylish shelf made by your own hands—designed exactly how you want it. In this guide, you’ll discover easy steps that anyone can follow, even if you’ve never built furniture before. Ready to transform your space and boost your confidence with a project you’ll be proud of?
Keep reading, because your perfect bookshelf is closer than you think.
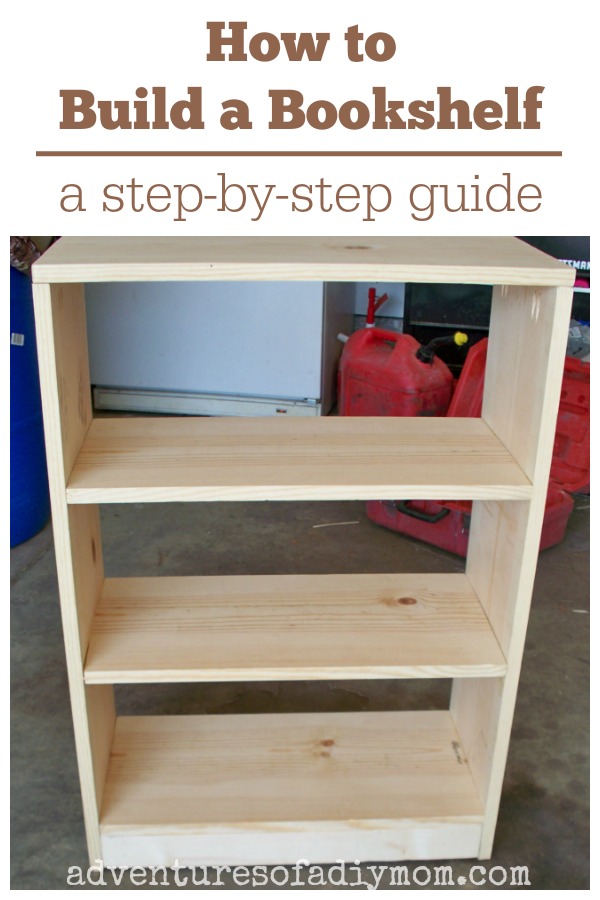
Credit: www.adventuresofadiymom.com
Choosing The Right Materials
Choosing the right materials is key to building a simple bookshelf. The materials affect the strength, look, and cost of the shelf. Picking good wood and the right tools makes the project easier and more successful. Understanding different woods and hardware helps you build a shelf that lasts and looks nice.
Types Of Wood For Bookshelves
Choose wood that is strong and easy to work with. Pine is soft, light, and affordable. It is good for beginners and simple shelves. Oak is hard and durable. It looks classic and can hold heavy books. Birch and maple are smooth and have a fine grain. They are good for painting or staining. Avoid wood that is too soft or crumbly. Check for knots or cracks that weaken the wood.
Selecting Tools And Hardware
Use basic tools like a saw, drill, and screwdriver. A measuring tape and level help make precise cuts and keep the shelf straight. Sandpaper smooths rough edges for a clean finish. Choose screws or nails that fit the wood thickness. Shelf brackets add extra support and keep shelves steady. Pick hardware that matches the style of your bookshelf.
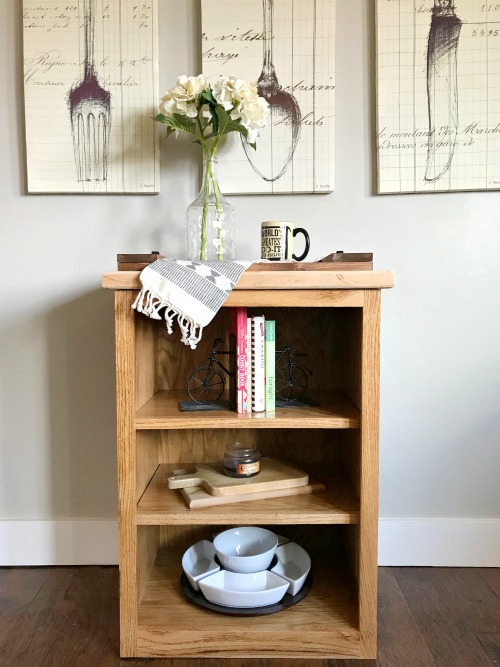
Credit: www.woodshopdiaries.com
Planning Your Bookshelf Design
Planning is the first step to building a simple bookshelf. A good plan saves time and avoids mistakes. Think about the space where the bookshelf will go. Consider what you want to store on it. Books, decorations, or both?
Knowing these details helps you decide the size and shape. A clear plan guides your building process. It makes the project easier and more fun.
Measuring Space And Dimensions
Start by measuring the space for your bookshelf. Use a tape measure to get the height, width, and depth. Write down these numbers carefully. Check for any obstacles like vents or outlets. Leave some extra room around the shelf for air and cleaning.
Think about the size of the books or items. Tall books need higher shelves. Wide books need deep shelves. Match shelf size to what you want to store. This helps the bookshelf fit your needs perfectly.
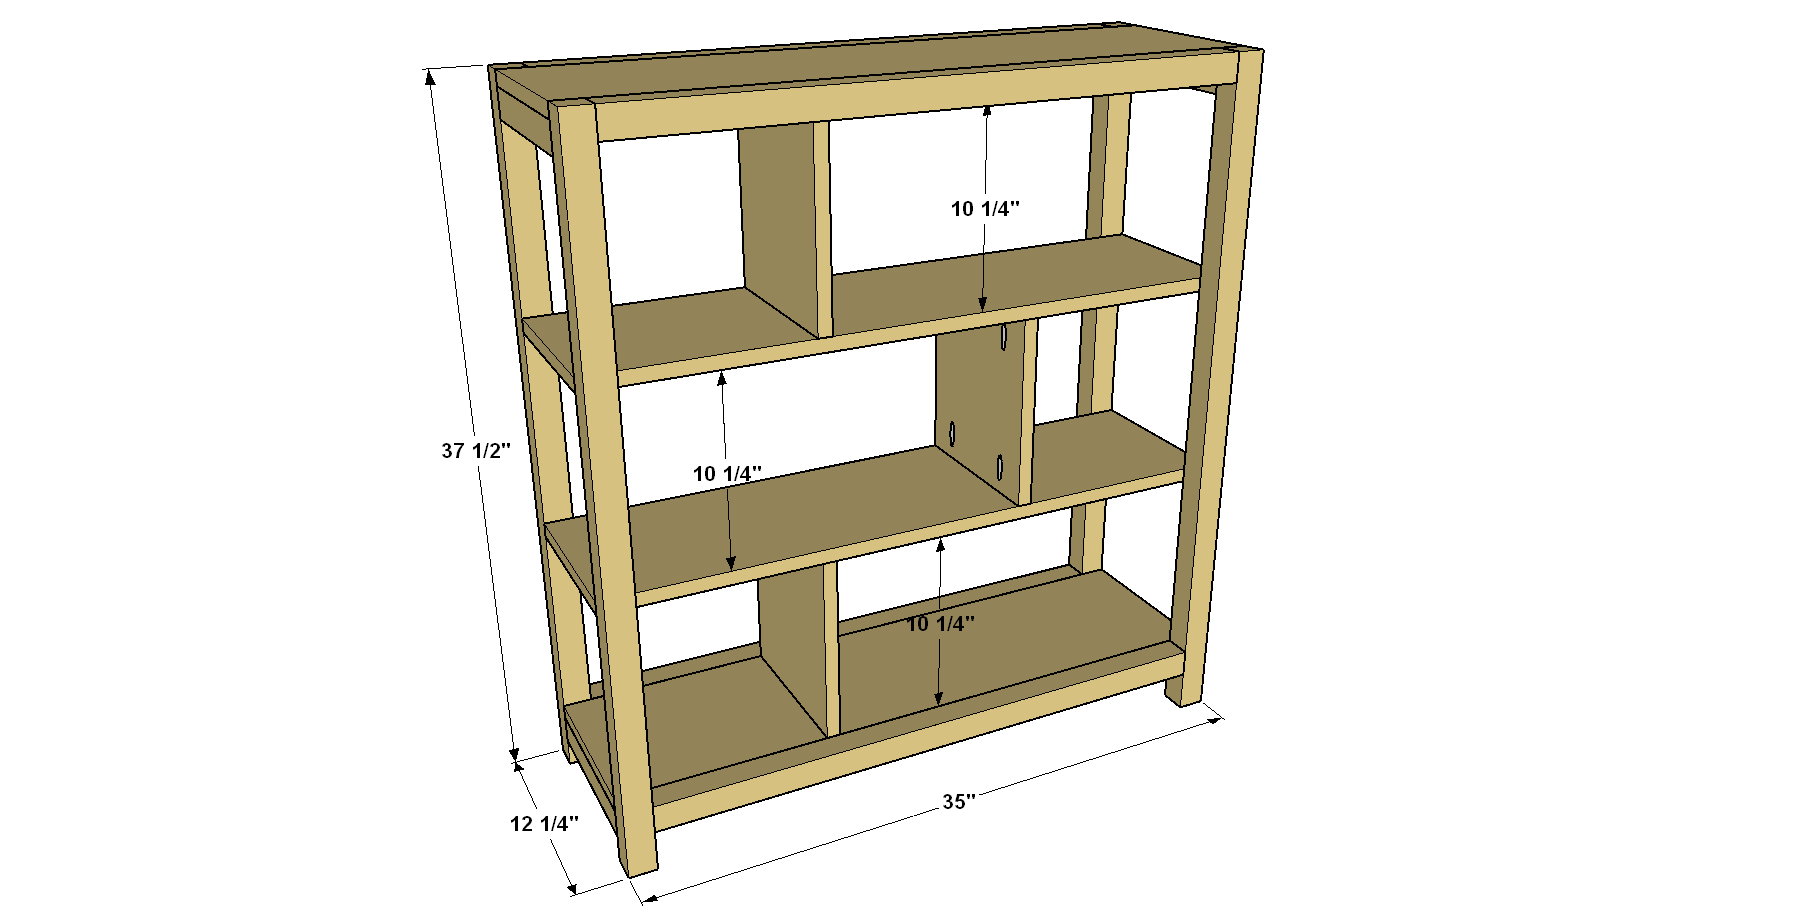
Sketching Your Bookshelf Layout
Draw a simple sketch of your bookshelf on paper. Include the overall height, width, and depth. Mark the number of shelves and their spacing. Use a ruler to keep lines straight. This sketch acts like a blueprint for your project.
Sketching helps spot design problems early. It shows how the bookshelf will look and work. Change your sketch until it feels right. A clear layout makes building faster and easier.
Cutting And Preparing Wood
Cutting and preparing wood is a key step in building a simple bookshelf. This step shapes the wood pieces to the right size. Careful cutting ensures the bookshelf fits together well. Proper preparation also helps the wood last longer and look better. Follow clear steps to measure, mark, and cut your wood safely and accurately.
Measuring And Marking Cuts
Start by measuring the wood pieces you need for your bookshelf. Use a tape measure for accuracy. Measure twice, cut once. Mark the cutting lines with a pencil. Draw straight lines along the wood surface. This makes cutting easier and more precise. Double-check your marks before cutting to avoid mistakes.
Safe Cutting Techniques
Wear safety glasses and gloves to protect yourself. Use a stable work surface to hold the wood steady. Cut slowly and steadily along the marked lines. Keep your hands clear of the blade at all times. Use the right saw type for your wood and project. Always follow the tool’s safety instructions to prevent accidents.
Assembling The Bookshelf Frame
Assembling the bookshelf frame is an important step in building your simple bookshelf. It gives the structure strength and shape. Doing this right makes your shelf sturdy and reliable.
Start by preparing all the parts. Make sure the side panels and shelves are ready for joining. Take your time to fit everything correctly before fixing them together.
Joining Side Panels And Shelves
Place the side panels upright on a flat surface. Align the shelves between them at the marked spots. Check that all shelves are level and straight.
Use clamps to hold the shelves and side panels tightly. This keeps the parts from moving while you work. Double-check the alignment to avoid mistakes.
Securing With Screws And Nails
Choose screws or nails suitable for wood. Pre-drill small holes to prevent splitting the wood. This step ensures a clean finish and strong hold.
Drive screws or nails into the holes slowly. Keep the shelves flush with the side panels. Tighten enough to hold firmly but not too much to crack the wood.
Repeat this for all shelves. The frame will become solid and ready for finishing touches.
Sanding And Finishing
Sanding and finishing are important steps when building a simple bookshelf. These steps make the wood smooth and protect it from damage. They also improve the look of the bookshelf. Taking time to sand and finish properly will give your project a clean, polished appearance.
Smoothing Surfaces
Start sanding with medium-grit sandpaper to remove rough areas. Sand along the wood grain to avoid scratches. After that, use fine-grit sandpaper for a smoother finish. Wipe the dust off with a dry cloth before moving on. Smooth surfaces help paint or stain stick better.
Applying Paint Or Stain
Choose paint or stain based on the look you want. Use a brush or cloth to apply thin, even coats. Let the first coat dry completely before adding more. Lightly sand between coats for a smooth finish. Proper finishing protects the wood and makes your bookshelf last longer.
Installing And Organizing
Installing and organizing your simple bookshelf is the final step. It ensures your shelf is safe and looks great. Proper installation keeps the shelf steady and prevents accidents. Organizing your books and items neatly makes the space inviting and functional.
Positioning Your Bookshelf
Place your bookshelf against a flat wall for best support. Avoid areas with heavy sunlight to protect books from fading. Leave space around the shelf for easy cleaning and access. Make sure the shelf is level to keep items stable. Secure tall shelves to the wall to prevent tipping. Consider traffic flow to avoid blocking walkways or doors.
Tips For Stylish Storage
Arrange books by size or color for a neat look. Mix books with decorative items to add interest. Use baskets or boxes on lower shelves to hide clutter. Keep frequently used books at eye level for easy reach. Leave some empty space to avoid a crowded feel. Rotate items seasonally to refresh the shelf’s appearance.
Credit: learn.kregtool.com
Frequently Asked Questions
What Materials Do I Need To Build A Simple Bookshelf?
You need wood boards, screws, a drill, sandpaper, wood glue, and paint or stain. These basic materials ensure a sturdy and attractive bookshelf.
How Long Does It Take To Build A Simple Bookshelf?
Building a simple bookshelf typically takes 2 to 4 hours. Time depends on your skill level and tools available.
Can I Customize The Size Of My Bookshelf?
Yes, you can customize dimensions to fit your space. Measure the area and adjust the wood pieces accordingly.
What Type Of Wood Is Best For A Bookshelf?
Pine, plywood, or MDF are ideal for bookshelves. They are affordable, easy to work with, and durable.
Conclusion
Building a simple bookshelf is easier than you think. With basic tools and clear steps, anyone can create one. This project saves money and adds charm to your space. Plus, it gives you a chance to learn new skills. Remember to measure carefully and work safely.
Enjoy the process and the final result. Your handmade bookshelf will hold more than just books—it will hold your effort and creativity. Start your project today and see how satisfying it feels.