Are you ready to create a cozy and fun sleeping space for your kids? Putting together a twin wooden bunk bed might sound tricky, but with the right steps, you can do it easily and safely.
Imagine the joy on your children’s faces when they see their new bunk bed, perfect for sleepovers or saving space in their room. This guide will walk you through every part of the process, making sure you feel confident and ready.
Keep reading, and you’ll have that bunk bed ready in no time!
Choosing The Right Bunk Bed
Gathering the right tools and materials is the first step in building a kids twin wooden bunk bed. Having everything ready saves time and avoids frustration during assembly. It also ensures the bed is safe and sturdy for your children.
Before starting, check the instruction manual for specific tools and parts. Organize your workspace to keep all items within reach. This preparation makes the building process smooth and efficient.
Essential Tools Checklist
Collect these basic tools before assembling the bunk bed:
- Screwdriver (Phillips and flathead)
- Allen wrench (usually included)
- Hammer or rubber mallet
- Measuring tape
- Power drill with drill bits
- Level to ensure even assembly
- Wrench or pliers for tightening bolts
Having these tools ready helps avoid interruptions. Double-check tool conditions to ensure they work well.
Organizing Hardware And Components
Sort all screws, bolts, and wooden parts into labeled containers. Group similar items together to avoid confusion. Lay out wooden panels and slats in order of assembly.
Check each piece for damage or defects. Remove any packing materials and keep small parts out of children’s reach. This step helps keep the process safe and efficient.
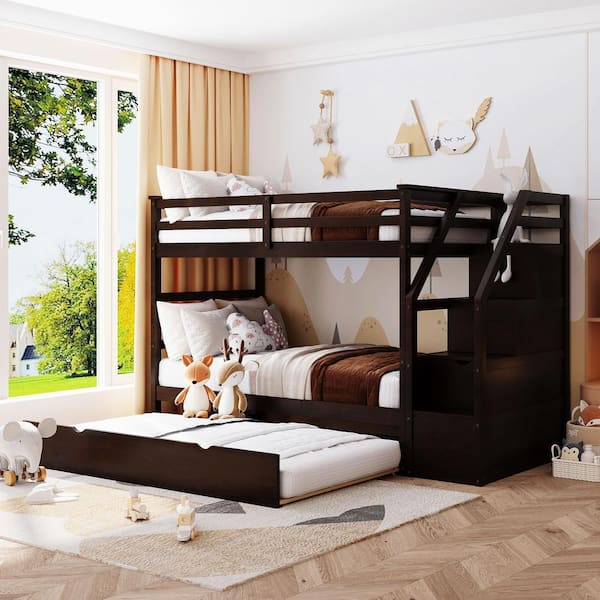
Credit: www.homedepot.com
Gathering Tools And Materials
Preparing the workspace is the first step to assemble a kids twin wooden bunk bed. A clean and organized area helps make the process smooth. It also keeps parts safe and easy to find. Good preparation saves time and reduces frustration.
Clearing And Cleaning The Area
Start by removing toys, furniture, and other items from the room. A clear space prevents accidents and gives enough room to move. Sweep or vacuum the floor to remove dust and dirt. Clean floors protect the bed parts from damage. Make sure the space is dry and well-lit.
Setting Up A Comfortable Assembly Zone
Choose a flat surface to build the bed. A carpet or soft mat helps avoid scratches on the wood. Keep all tools and screws close by. Arrange parts in the order you will use them. Sit on a low stool or cushion to avoid strain. Take breaks to stay comfortable and focused.
Preparing The Workspace
Assembling the bed frame is the first step to build a sturdy twin wooden bunk bed for kids. It sets the foundation for safety and comfort. Follow each step carefully to ensure the frame is strong and secure. Use the tools provided and work on a flat surface. Take your time to avoid mistakes and make the bed last longer.
Connecting Side Rails And Posts
Start by attaching the side rails to the posts. Align the rails with the holes on the posts. Use the bolts and screws given in the kit. Tighten them with a screwdriver or wrench. Check that the rails sit flush and do not wobble. This connection holds the bed’s shape and weight. Double-check each joint for firmness before moving on.
Securing Support Slats
Place the support slats evenly along the side rails. These slats hold the mattress and prevent sagging. Use screws to fix them securely to the rails. Space the slats equally for balanced support. Avoid leaving gaps that are too wide. Tighten all screws to stop any movement. Strong support slats help the bed last and keep kids safe.
Attaching Guardrails
Guardrails protect children from falling out of the top bunk. Position them on the sides of the upper frame. Match the guardrail holes with the frame holes. Use bolts or screws to attach them firmly. Make sure the guardrails do not move or tilt. Test their strength by pushing gently. Secure guardrails add a vital safety layer to the bunk bed.
Assembling The Bed Frame
Installing the ladder is an important step in building a kids twin wooden bunk bed. The ladder must be safe and easy to climb. Follow clear steps to place and secure it properly. This will help your child use the bed without risk.
Positioning The Ladder
Choose the side of the bunk bed for the ladder. Usually, it goes on the bed’s side or foot. Make sure there is enough space around it. The ladder should stand firmly on the floor. Check if it is easy for the child to reach the top bunk.
Securing Ladder Steps
Attach each ladder step tightly to the side rails. Use screws or bolts that come with the bed. Make sure each step is level and steady. Tighten all fasteners to prevent wobbling. Test the ladder by gently pressing each step before use.
Installing The Ladder
Final checks and adjustments are vital steps after assembling a kids twin wooden bunk bed. These steps ensure the bed is safe and secure for children. Taking time to double-check everything prevents accidents and keeps the bed sturdy for years.
Tightening All Screws And Bolts
Start by tightening all screws and bolts. Use the right tools to avoid stripping the hardware. Check every joint and connection point carefully. Loose screws can cause wobbling or parts coming apart. Tighten each screw firmly but avoid over-tightening. Over-tightening can damage the wood or hardware.
Go over the bed twice to catch any missed screws. Focus on the ladder, guardrails, and frame. These areas handle the most weight and movement. Make sure all fasteners sit flush against the wood. Loose or sticking screws reduce the bed’s strength.
Testing Stability And Safety
After tightening, test the bed’s stability. Push and shake the bed gently to spot any movement. The bed should feel solid with no creaks or wobbling. Check the ladder and guardrails by applying pressure. They should stay firm and not bend.
Look under the bed for any gaps or loose parts. Make sure the mattress fits snugly without sliding. Verify the height of the guardrails to prevent falls. Confirm the ladder steps are secure and safe to climb. These tests ensure the bed is ready for safe use.

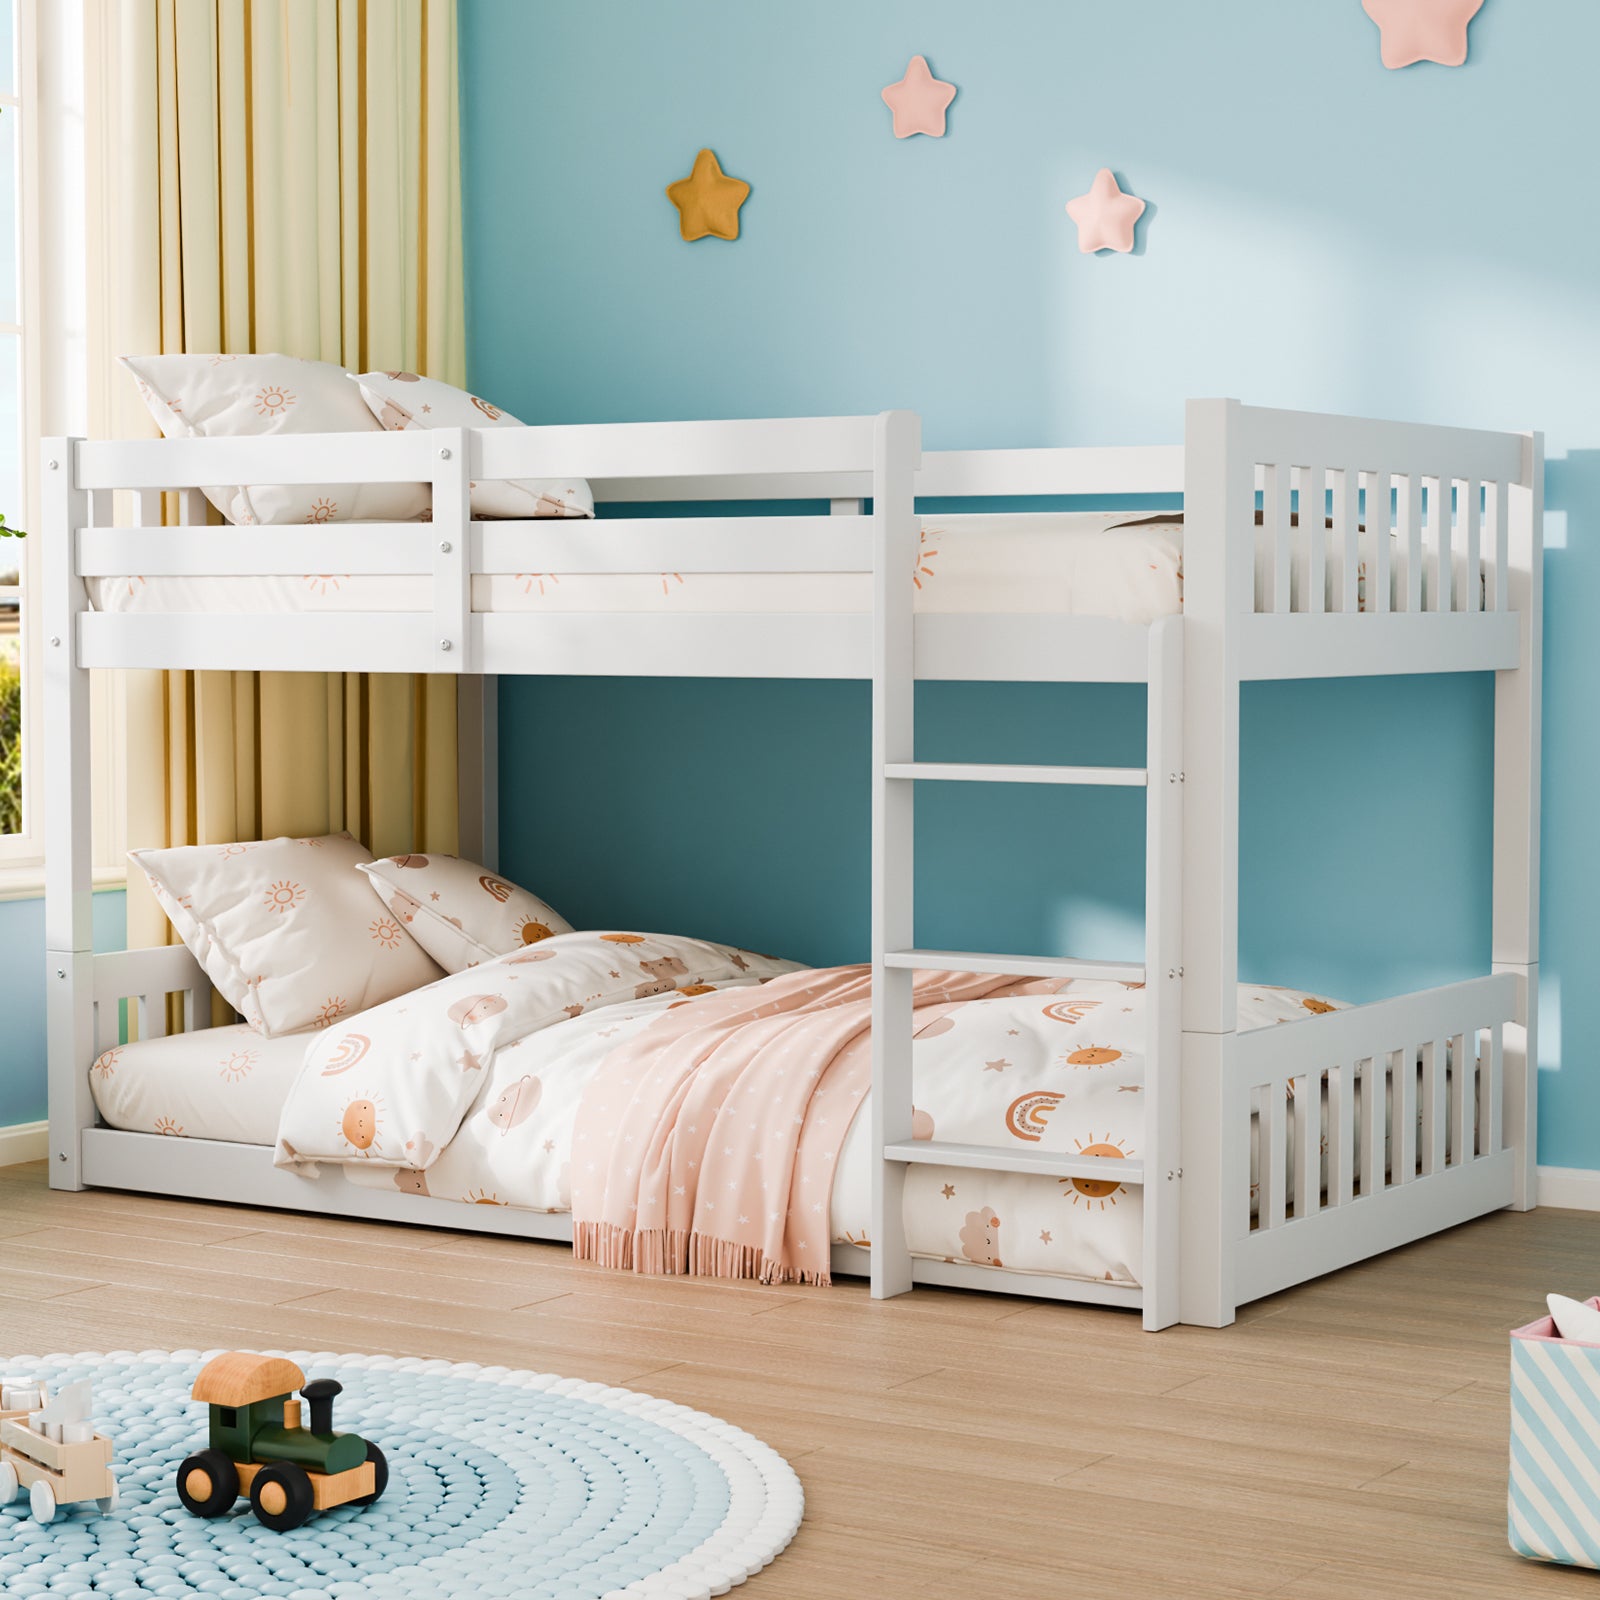
Credit: maxandlily.com
Final Checks And Adjustments
Keeping a kids twin wooden bunk bed safe and sturdy requires regular care. Proper maintenance helps prevent accidents and extends the bed’s life. Simple steps can keep the bed strong and secure.
Parents should focus on checking the bed often and protecting it from damage. This makes sure the bunk bed stays safe for children to use every night.
Regular Inspection Routines
Check the bed frame every week for loose screws or bolts. Tighten them to keep the structure solid. Look for cracks or splinters in the wood. Smooth out rough spots to avoid injuries. Make sure the guardrails are firmly attached. Test the ladder to ensure it is steady and safe to climb. Watch for any wobbling or unusual noises. Fix problems right away to prevent accidents.
Preventing Wear And Tear
Use furniture pads under the bed legs to protect floors. Avoid jumping on the bunk bed to reduce stress on joints. Clean the bed with a soft cloth and mild soap. Keep liquids away from the wood to prevent stains and warping. Apply wood polish or wax every few months for extra protection. Teach kids not to hang heavy items on the bed. Store toys and heavy objects elsewhere to avoid damage.
Credit: www.joymor.com
Frequently Asked Questions
How Do I Assemble A Kids Twin Wooden Bunk Bed?
Start by organizing all parts and tools. Follow the manufacturer’s instructions step-by-step. Secure each joint tightly for safety. Use the right screws and check stability frequently. Take your time to avoid mistakes.
What Tools Are Needed For Bunk Bed Assembly?
You typically need a screwdriver, hammer, Allen wrench, and a drill. Some beds include specific tools. Having a level helps ensure the bed is even. Always read the manual for any special tool requirements.
How Can I Ensure The Bunk Bed Is Safe?
Check that all screws and bolts are tight. Ensure guardrails are securely attached. The ladder should be stable and well-fastened. Confirm the bed frame supports the weight limits. Regularly inspect the bed for wear or damage.
How Long Does It Take To Build A Twin Wooden Bunk Bed?
Assembly time varies but usually takes 1 to 3 hours. It depends on experience and complexity of the bed design. Having a helper can speed up the process. Read instructions carefully to avoid delays.
Conclusion
Putting together a kids twin wooden bunk bed can be simple and rewarding. Follow each step carefully for a safe build. Use the right tools and check all parts twice. Take your time and ask for help if needed. A sturdy bunk bed saves space and adds fun to any room.
Enjoy the process and the final result with your kids. Safety first, always. This bed will serve well for many years.