Are you looking for a stylish way to display your favorite books without taking up too much space? A simple floating bookshelf could be the perfect solution for your room.
Imagine having your books neatly arranged on the wall, creating a clean and modern look that instantly upgrades your space. In this guide, you’ll discover easy steps to build your own floating bookshelf, even if you’ve never tried DIY before.
By the end, you’ll have a functional and beautiful shelf that makes your books stand out—and maybe even sparks a little envy from your friends. Ready to transform your walls? Let’s get started!
Credit: yellowbrickhome.com
Materials Needed
Gathering the right materials is the first step to build a floating bookshelf. It helps to have a clear list before starting. This makes the process smooth and saves time. Below are the main materials you need to prepare.
Wood Selection
Choose wood that is strong and looks good. Pine, oak, or plywood work well for shelves. The thickness should be about 1 to 1.5 inches. This thickness holds books without bending. Cut the wood to the size you want your shelf.
Hardware Essentials
You need brackets to hold the shelf on the wall. Floating shelf brackets are best as they hide inside the wood. Screws and wall anchors must fit your wall type. Use screws that are long enough to support the shelf and books.
Tools Required
A drill is necessary to make holes for screws. A screwdriver helps to fix screws tightly. A level ensures the shelf is straight. A tape measure checks the shelf size and placement. Sandpaper smooths the wood edges for a clean look.

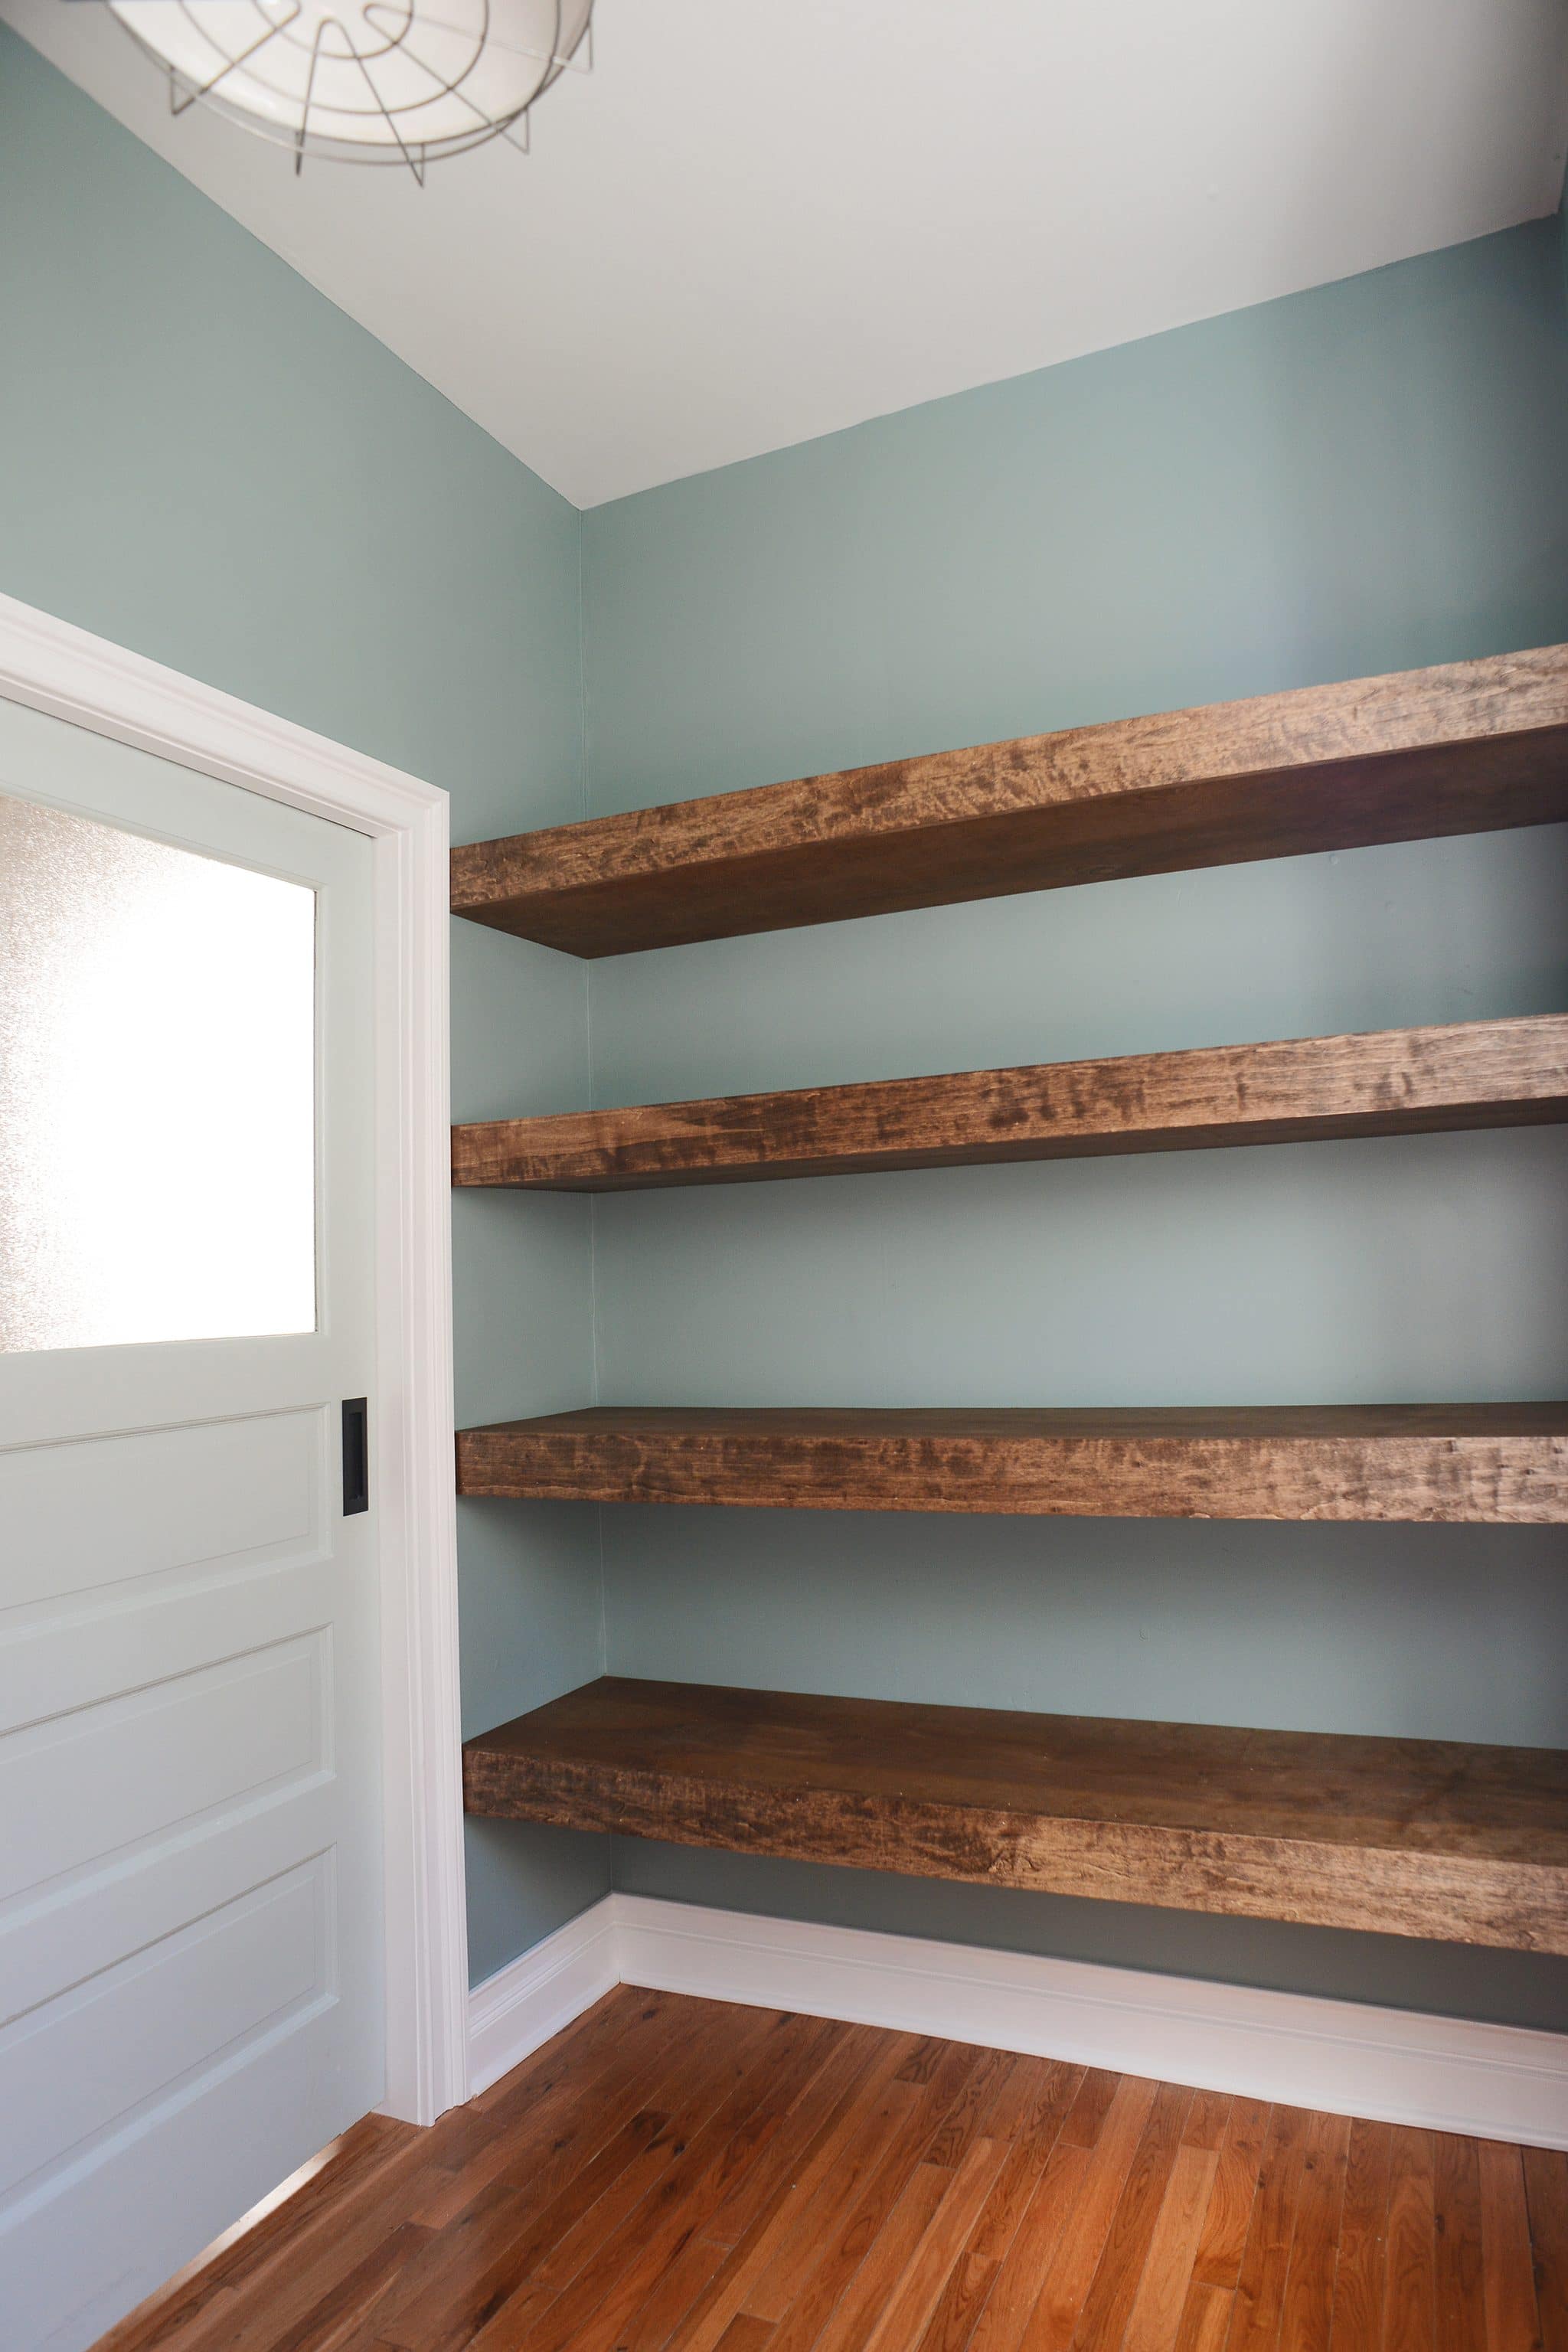
Credit: www.freeandunfettered.com
Planning Your Shelf
Planning your floating bookshelf is the first step to a great project. It helps you avoid mistakes and saves time. Think about where you want the shelf and what it will hold. This way, you create a shelf that fits your space and needs perfectly.
Choosing Dimensions
Decide how long and deep your shelf should be. Measure the wall space where you want to install it. Keep the depth enough to hold standard books, usually around 8 to 10 inches. The length depends on the number of books you want to display. A good size balances space and style.
Design Considerations
Think about the shelf’s style and shape. Simple rectangular shelves work well in most rooms. Rounded edges add a softer look. Choose a color or finish that matches your room. Make sure the shelf blends with your décor for a neat appearance. Also, consider how easy it will be to install and clean.
Weight Capacity
Check how much weight your shelf can hold. Floating shelves rely on strong brackets or anchors. Use hardware made for heavy loads if you plan to store many books. Always build with safety in mind. A sturdy shelf protects your books and your wall.
Cutting And Preparing Wood
Cutting and preparing wood is a key step in building a simple floating bookshelf. This step shapes your wood pieces to fit perfectly and look neat. Careful preparation helps the shelf stay strong and safe.
Measuring And Marking
Start by measuring the wood carefully. Use a tape measure for accuracy. Mark the wood with a pencil where you need to cut. Double-check your marks to avoid mistakes. Clear, straight lines make cutting easier.
Cutting Techniques
Use a saw that fits your skill level. A handsaw or a circular saw works well. Cut slowly along the lines you marked. Keep your hands steady and watch your fingers. Smooth, straight cuts make the shelf look better.
Sanding And Finishing
Sand the wood pieces to remove rough edges. Use medium-grit sandpaper first, then fine-grit. Sand in the direction of the grain. This step makes the wood smooth and safe to touch. Finish with a wood sealant or paint to protect it.
Assembling The Shelf
Assembling the floating bookshelf is a simple process that anyone can follow. It involves a few key steps to secure the shelf safely to the wall. Taking your time during assembly ensures the shelf holds your books without any risk.
Attaching Brackets
Start by fixing the metal brackets to the wall. Use a level to keep them straight. Mark the spots with a pencil. Drill holes into the wall for screws. Insert wall anchors if the wall is drywall. Screw the brackets tightly into place. These brackets will hold the shelf securely.
Securing The Shelf
Next, place the wooden shelf on the brackets. Align it so the edges are even. Use screws to attach the shelf to the brackets. Drill pilot holes in the shelf first to avoid splitting. Tighten the screws until the shelf feels firm. This step keeps the shelf from moving or falling.
Ensuring Stability
Check the shelf by pressing gently on different spots. Make sure it does not wobble or tilt. Tighten any loose screws for extra strength. Confirm the shelf is level using a spirit level. A stable shelf supports your books safely. Now the floating bookshelf is ready to use.
Mounting The Shelf
Mounting the floating bookshelf securely is key to its function and safety. This step ensures the shelf holds books without falling or tilting. Careful mounting gives your shelf a clean, floating look that impresses.
Locating Wall Studs
Start by finding wall studs. Studs are wooden beams behind drywall. They hold weight better than drywall alone. Use a stud finder tool for accuracy. Mark the stud positions with a pencil. Mounting into studs makes the shelf strong and safe.
Using Wall Anchors
Wall anchors help if studs are not in the right spot. They expand inside the wall to hold screws tightly. Choose anchors rated for the shelf’s weight. Insert anchors carefully into drilled holes. Screw the mounting brackets into the anchors for support.
Leveling Tips
Keep the shelf level for a neat look. Use a bubble level on the mounting brackets. Adjust screws until the bubble is centered. Double-check before tightening all screws. A level shelf prevents books from sliding off.
Finishing Touches
Finishing touches make your floating bookshelf stand out. They protect the wood and improve its look. Simple steps help you create a shelf that fits your style and lasts long. Focus on painting, adding decorations, and keeping it clean. These details bring your project to life.
Painting And Staining
Choose paint or stain that matches your room’s color. Use light coats for smooth, even coverage. Let each layer dry before adding the next. Staining shows the wood grain and adds a natural feel. Paint covers the wood fully and offers many color options. Both protect the wood from damage and wear.
Adding Decorative Elements
Decorations give your shelf a personal touch. Try small plants or framed photos. Use bookends or candles to add style and function. Keep decorations simple to avoid clutter. Balance the look by spacing items evenly. These extras make your shelf a cozy part of the room.
Maintenance Tips
Dust your shelf regularly to keep it clean. Use a soft cloth to avoid scratches. Check for loose screws or brackets often. Tighten parts to keep the shelf steady and safe. Avoid placing very heavy items to prevent damage. Proper care helps your shelf stay beautiful for years.
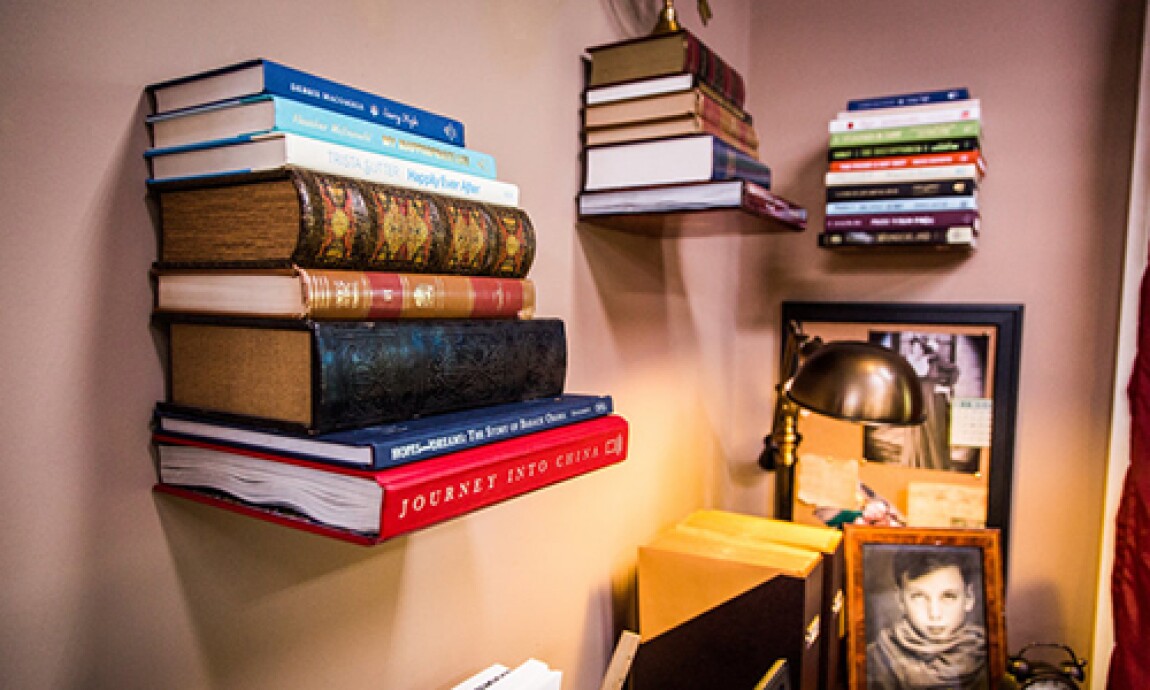
Credit: www.hallmarkchannel.com
Frequently Asked Questions
What Materials Do I Need For A Floating Bookshelf?
You need wood planks, wall anchors, screws, a drill, a level, and mounting brackets. Choose sturdy wood for durability. These materials ensure a safe, simple floating bookshelf that supports your books securely.
How Do I Install A Floating Bookshelf On Drywall?
Use wall anchors to secure mounting brackets into drywall. Find studs for extra support. Drill pilot holes, then attach brackets tightly. This ensures your floating shelf holds weight safely without damaging walls.
Can I Customize The Size Of My Floating Bookshelf?
Yes, you can cut wood planks to any size. Measure your space first, then adjust plank length accordingly. Custom sizes help fit your bookshelf perfectly into any room or corner.
How Much Weight Can A Simple Floating Bookshelf Hold?
Weight capacity depends on bracket strength and wall type. Typically, a well-installed floating shelf holds 20-40 pounds. Always use strong anchors and brackets for heavier books to prevent damage or accidents.
Conclusion
Creating a simple floating bookshelf adds style and space to any room. You only need a few tools and materials to start. Follow the steps carefully and take your time. This project fits beginners and helps build confidence. Enjoy showing off your new shelf with your favorite books.
Try different sizes and shapes for a personal touch. Keep your space tidy and organized with this easy shelf. Give it a try today and see the difference it makes.