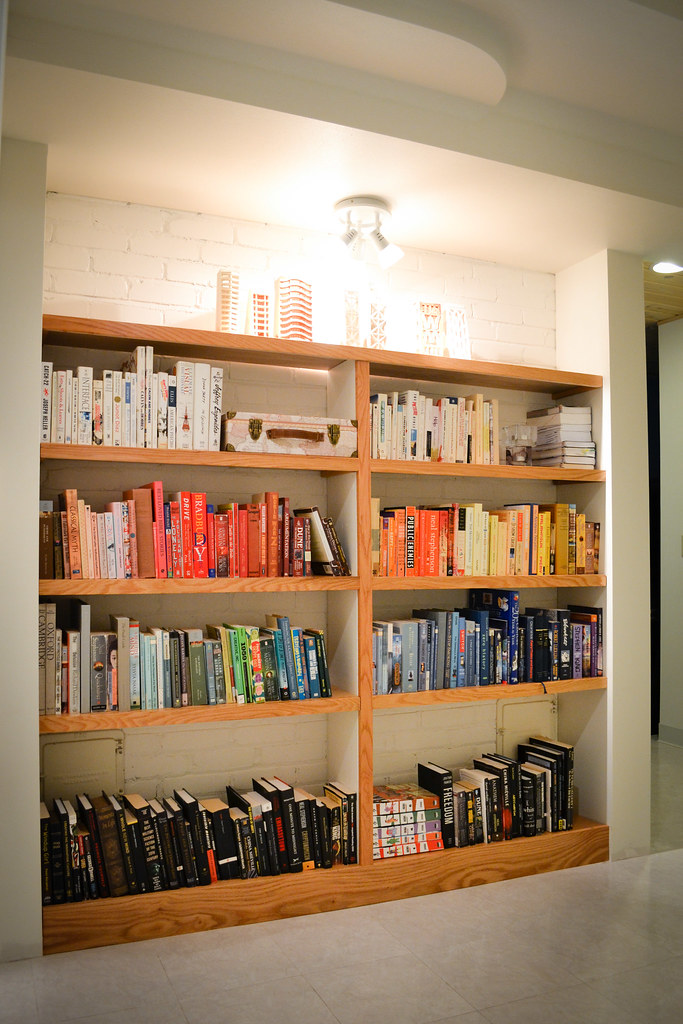
Imagine having a beautiful bookshelf that doesn’t take up any floor space and makes your room look bigger and more organized. Building a bookshelf into your wall can do just that.
It’s a smart way to add storage and style without clutter. If you’ve ever thought about creating a custom bookshelf that fits perfectly in your space, this guide is for you. You’ll learn simple steps to build a sturdy, attractive bookshelf right into your wall.
By the end, you’ll have the confidence to transform an empty wall into a stunning focal point. Ready to start? Let’s dive in!
Planning Your Bookshelf
Building a bookshelf into the wall takes careful planning. This step ensures the project fits your space and looks great. Planning saves time and avoids mistakes later. Start by thinking about where the bookshelf will go. Measure the space well. Choose strong materials and the right tools. These steps help make a sturdy, beautiful shelf.
Choosing The Right Wall
Pick a wall that can hold the shelf weight. Avoid walls with pipes or wires inside. Stud walls are best for built-in bookshelves. Find studs using a stud finder. Make sure the wall space suits your shelf size. The right wall helps keep the bookshelf safe and stable.
Measuring Space Accurately
Measure the wall space carefully. Use a tape measure for height, width, and depth. Write down the measurements twice to avoid mistakes. Leave room for trim or molding around the shelf. Accurate measurements make sure the shelf fits perfectly.
Selecting Materials And Tools
Choose wood that is strong and smooth, like plywood or pine. Pick screws and brackets that support the shelf weight. Get a saw, drill, level, and screwdriver. Using the right tools makes building easier and faster. Good materials ensure your shelf lasts a long time.

Credit: southernyankeediy.com
Preparing The Wall
Preparing the wall is the first step to building a bookshelf into the wall. Proper preparation ensures a safe and sturdy shelf. It involves finding the right spots on the wall and carefully marking where the bookshelf will go. You must also cut the drywall precisely to avoid damage.
Taking time to prepare the wall correctly makes the building process easier. It also helps the bookshelf fit perfectly and look neat.
Locating Studs And Wiring
Start by finding the studs inside the wall. Use a stud finder for accuracy. Studs are wooden beams that hold the wall. They provide support for the bookshelf.
Check for electrical wiring and plumbing. Avoid cutting into wires or pipes. Use a wire detector to stay safe. Mark the locations clearly to prevent damage.
Marking The Bookshelf Dimensions
Measure the space where the bookshelf will fit. Use a pencil and level to draw straight lines. Mark the height, width, and depth of the shelf area. Double-check the measurements before cutting.
Clear and accurate marks guide your cuts and assembly. They keep the bookshelf aligned and balanced.
Cutting The Drywall
Use a drywall saw to cut along your marked lines. Cut carefully to avoid breaking the drywall. Remove the drywall piece slowly to expose the studs.
Wear safety goggles and a mask to protect yourself. Keep the cut edges smooth for a clean finish.
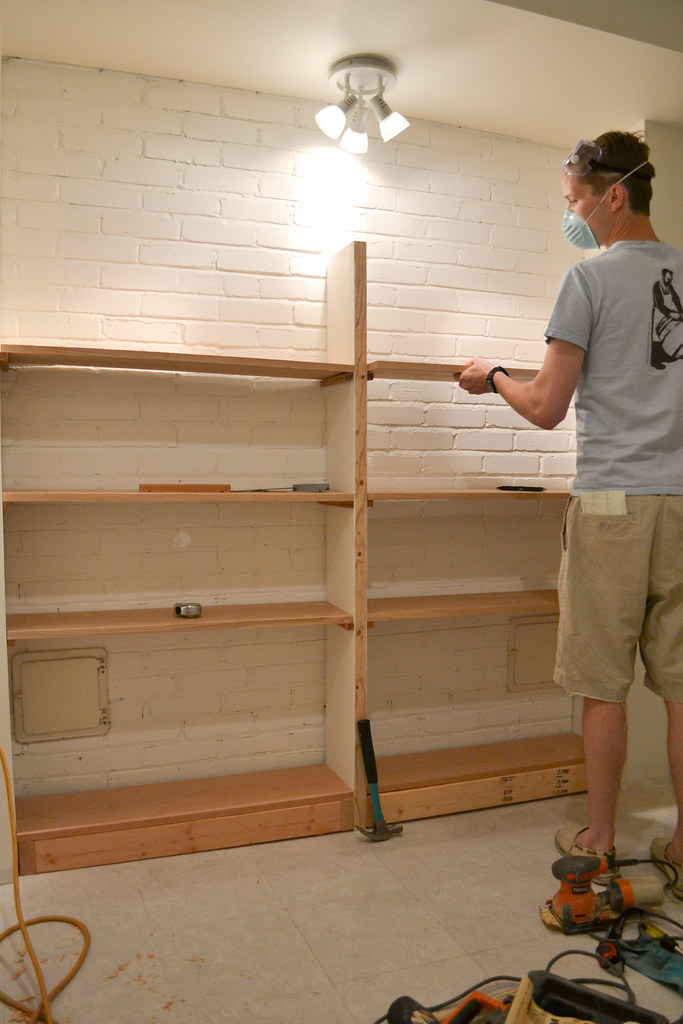
Building The Frame
Building the frame is the first step to a strong, built-in bookshelf. This part creates the basic shape and support for the entire unit. A well-built frame holds the shelves firmly and keeps the structure safe. Follow these steps to build a solid frame that fits perfectly into your wall space.
Constructing The Support Frame
Start by cutting wood pieces for the frame’s sides, top, and bottom. Use sturdy wood like pine or plywood for strong support. Measure the wall opening carefully before cutting. Assemble the pieces into a rectangular shape with nails or screws. Check that corners form right angles to keep the frame square.
Securing The Frame To Studs
Locate the wall studs behind the drywall using a stud finder. Align the frame so it fits between the studs. Screw the frame directly into the studs to hold it firmly in place. Use long screws to ensure the frame won’t move or fall. This step prevents the bookshelf from wobbling or collapsing.
Ensuring Level And Stability
Use a level tool to check the frame’s vertical and horizontal alignment. Adjust the frame until it is perfectly straight. Add shims if needed to fill gaps and keep it steady. Tighten all screws to secure the frame fully. A level and stable frame makes the shelves safe and looks professional.
Credit: www.thingsimadetoday.com
Installing Shelves
Installing shelves is an important step in building a bookshelf into the wall. It shapes the look and strength of the unit. Each shelf must fit well and hold weight safely. Careful measuring and cutting ensure a neat finish. Strong attachment keeps shelves steady and reliable.
Cutting Shelf Boards To Size
Measure the width and depth of the bookshelf space. Mark the shelf boards with a pencil. Use a saw to cut the boards straight and clean. Sand the edges for a smooth finish. Accurate cuts help shelves fit perfectly inside the frame.
Attaching Shelves To The Frame
Place each shelf board on the frame supports. Use a level to check they sit flat. Drill pilot holes before screwing to avoid wood splitting. Screw the shelves firmly to the frame. Secure attachment stops shelves from moving or sagging.
Adding Reinforcements For Heavy Loads
Heavy books need extra support under the shelves. Add brackets or cleats beneath each shelf. Use metal or sturdy wood for reinforcements. Attach them tightly to the wall studs. Reinforcements keep shelves strong and safe from bending.
Finishing Touches
Finishing touches bring your built-in bookshelf to life. They hide rough edges and create a smooth, polished look. Proper finishing makes the bookshelf blend with your wall perfectly. Follow these steps carefully to get professional results.
Applying Drywall And Spackle
Cover all gaps and screw holes with drywall pieces. Use spackle to fill small cracks and imperfections. Spread spackle evenly with a putty knife. Let it dry completely before moving on. This step creates a flat surface for painting or staining.
Sanding And Smoothing Surfaces
Use fine-grit sandpaper to smooth the spackled areas. Sand until the surface feels even and soft to touch. Remove dust with a dry cloth or vacuum. Sand edges and corners to avoid sharp spots. Smooth surfaces help paint or stain stick better.
Painting Or Staining The Bookshelf
Choose paint or stain that matches your room style. Apply a primer coat first for better coverage. Use a brush or roller for even layers. Let each coat dry fully before adding the next. Finish with a clear sealant for long-lasting protection.
Credit: www.thingsimadetoday.com
Frequently Asked Questions
How Do You Start Building A Bookshelf Into The Wall?
Begin by measuring the wall space and marking the desired bookshelf area. Locate studs, then cut drywall to fit the bookshelf frame precisely.
What Materials Are Needed For An In-wall Bookshelf?
You need wood for framing and shelves, drywall, screws, brackets, paint, and tools like saws and drills for construction.
How Do You Ensure The Bookshelf Is Securely Attached?
Attach the bookshelf frame directly to wall studs using heavy-duty screws. Use brackets for extra support and stability.
Can I Customize The Bookshelf Size To Fit My Space?
Yes, measure your wall space carefully and build the bookshelf to those dimensions for a perfect custom fit.
Conclusion
Building a bookshelf into the wall saves space and looks neat. It adds a personal touch to any room. Follow each step carefully for the best results. Take your time and measure twice before cutting. Use the right tools to keep your work safe.
Enjoy the satisfaction of creating something useful and beautiful. This simple project can improve your home’s style and storage. Keep practicing, and you will get better with each build. Ready to give your room a fresh look? Start planning your built-in bookshelf today!
