Are you ready to create a beautiful bookshelf that fits perfectly in your space? Making your own bookshelf is easier than you might think, and it gives you a unique piece that shows off your style.
In this step-by-step guide, you’ll learn exactly how to build a sturdy, attractive bookshelf from start to finish. Whether you’re a beginner or just looking for a simple project, this article will walk you through every detail. By the end, you’ll have the confidence and skills to craft a bookshelf you’ll be proud of.
Let’s get started and turn your idea into reality!
Materials And Tools Needed
Building a bookshelf is easier with the right materials and tools. This section lists everything needed. Proper preparation saves time and effort. It helps to get a strong, lasting bookshelf.
Essential Wood Types
Choose wood that fits your budget and style. Pine is soft, easy to cut, and affordable. Oak is hard and lasts long but costs more. Plywood offers smooth surfaces and strong support. MDF is smooth and cheap but not very strong. Pick wood that suits your room and use.
Required Tools
Basic tools make building simple and safe. A saw cuts the wood into pieces. A drill makes holes and drives screws. Sandpaper smooths rough edges. A tape measure checks lengths. A screwdriver tightens screws. Clamps hold wood while gluing or screwing. A pencil marks measurements and cuts.
Optional Accessories
Extras improve the look and function of your shelf. Wood glue adds strength to joints. Paint or wood stain changes color and protects. Brackets add extra support to shelves. Shelf liners protect wood and keep items from slipping. Felt pads stop scratches on floors.
Planning Your Bookshelf
Planning your bookshelf is the first important step to building a great piece. Good planning saves time and effort later. It helps you make sure the bookshelf fits your space and needs. Take your time to think about the size, style, and exact measurements before you start cutting any wood.
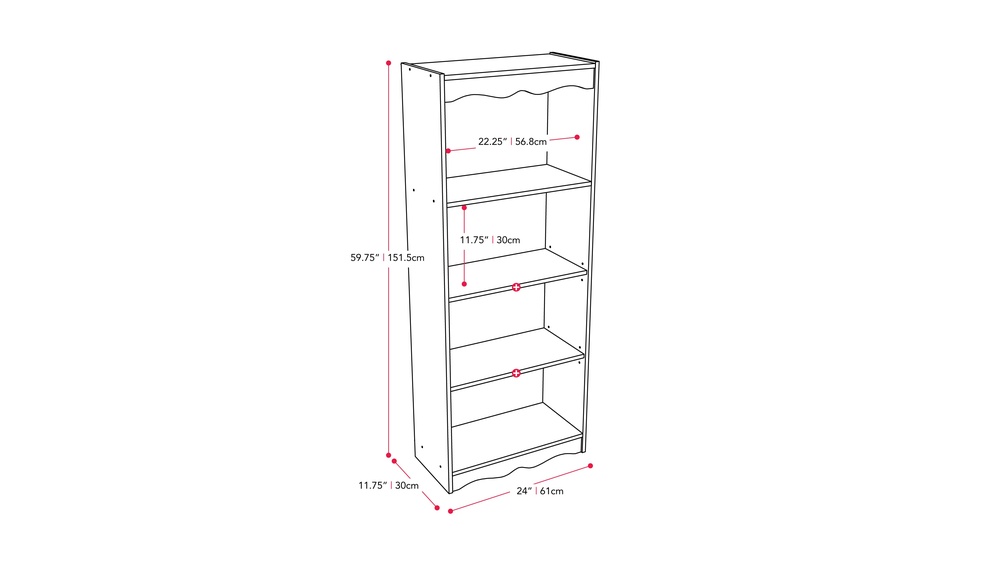
Choosing The Right Size
Start by deciding where you want to place the bookshelf. Measure the height, width, and depth of that space. Think about how many books or items you want to store. Choose a size that fits well but does not crowd the room. Remember, a bookshelf too big or too small will not work well.
Design And Style Options
Bookshelves come in many styles. Simple, modern, rustic, or classic. Pick a design that matches your room’s look. Think about open shelves or shelves with doors. Decide if you want adjustable shelves for different sized books. Your design should be both useful and attractive.
Measuring And Marking
Use a tape measure and pencil to mark your wood pieces. Measure twice to avoid mistakes. Mark the length and width clearly on the boards. Accurate marking helps you cut straight and fit pieces well. This step ensures your bookshelf will be strong and look good.
Cutting The Wood
Cutting the wood is one of the first and most important steps in making a bookshelf. This step shapes all the pieces you will need. Accurate cuts ensure the bookshelf fits together well and looks good. Taking your time here helps avoid mistakes later.
Safety Tips
Always wear safety goggles to protect your eyes. Use ear protection to guard your hearing. Keep your fingers away from the blade at all times. Work on a stable surface to avoid slips. Make sure your tools are sharp and in good condition. Never rush the cutting process.
Cutting Techniques
Mark your wood clearly before cutting. Use a pencil and ruler for straight lines. Cut slowly and steadily for clean edges. Follow the marked lines closely. For long cuts, a circular saw works best. A hand saw is good for small or detailed cuts. Clamp the wood down to keep it steady.
Preparing Pieces
After cutting, check each piece for rough edges. Sand the edges smooth with sandpaper. Remove any splinters or dust. Organize the pieces by size and shape. This makes assembly easier and faster. Double-check the measurements before moving on.
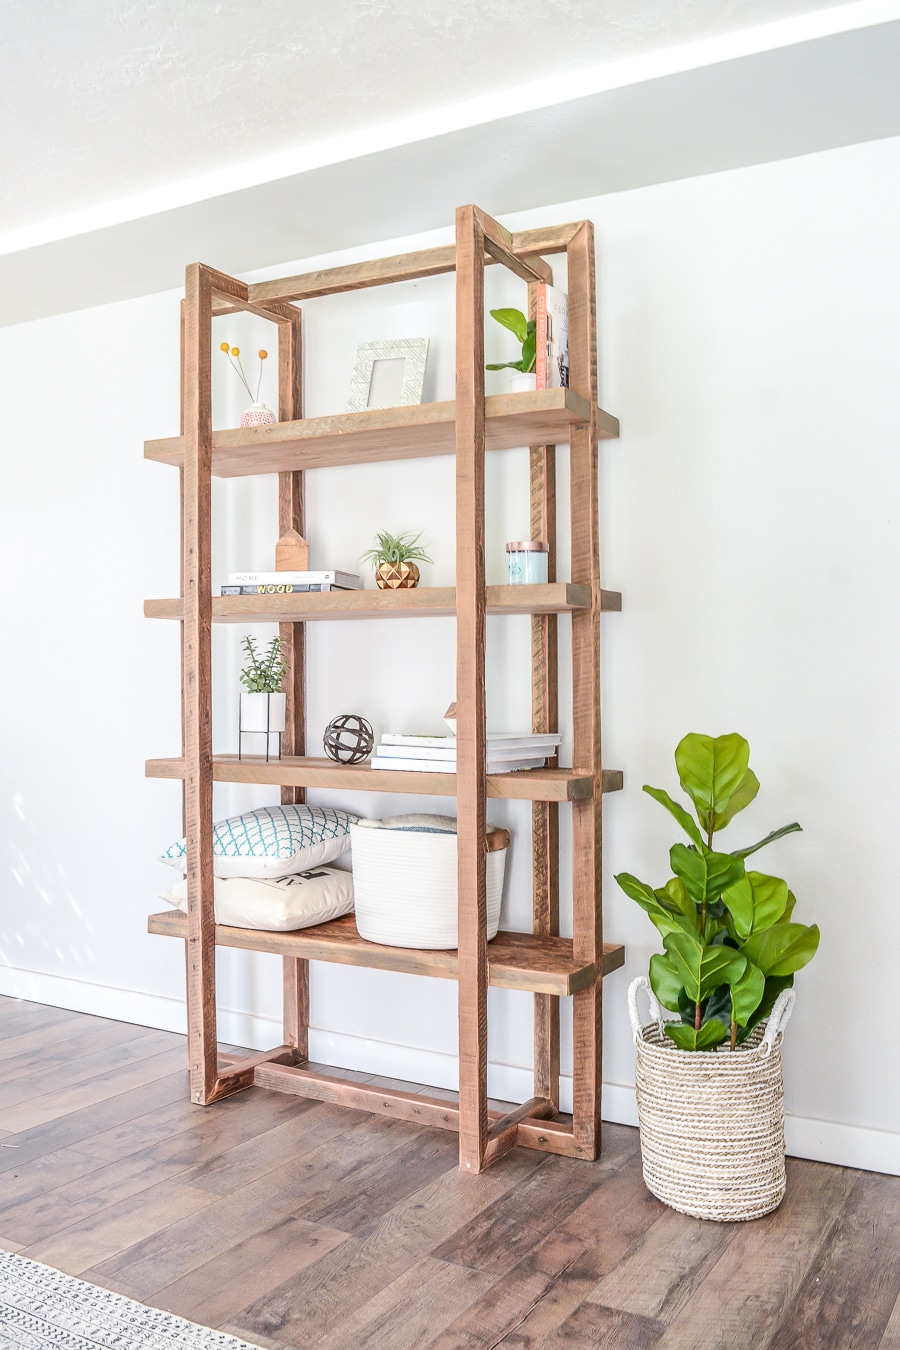
Credit: jenwoodhouse.com
Assembling The Frame
Assembling the frame is a key step in building a sturdy bookshelf. This process shapes the basic structure that holds all the shelves. Taking care during assembly ensures your bookshelf will last long and hold weight well. Follow each step carefully for best results.
Joining Techniques
Choose the right joining method to connect the frame parts. Butt joints are simple and common. They join two boards at a right angle. For stronger joints, use dowels or biscuits. These add extra support inside the wood. Clean cuts help joints fit tightly. Tight joints prevent wobbling and gaps.
Securing With Screws And Glue
Apply wood glue on joint surfaces before attaching. Glue strengthens the connection and reduces movement. Next, drive screws into the frame to hold parts firmly. Use screws that match the wood thickness. Pre-drill holes to avoid splitting the wood. Screws and glue together create a solid frame.
Ensuring Stability
Check the frame for square corners with a carpenter’s square. Make sure all sides line up evenly. Tighten any loose screws or joints. Add corner braces for extra support if needed. Stability is important to prevent the bookshelf from leaning or collapsing. A stable frame keeps your books safe.
Adding Shelves
Adding shelves is a key step in building your bookshelf. It gives your bookshelf its storage space. The shelves hold your books and other items. This part needs careful planning and accurate work. Follow these steps to add shelves safely and neatly.
Spacing Shelves Evenly
Measure the height inside the bookshelf frame. Decide how many shelves you want to add. Divide the total height by the number of shelves plus one. This gives even spacing between shelves. Mark these spots on both sides of the frame. Use a level to make sure marks are straight. Even spacing keeps the bookshelf balanced and looks good.
Attaching Shelf Supports
Choose the right shelf supports for your shelf size and weight. Small brackets or wooden strips work well. Attach the supports at the marked spots. Use screws and a drill for a strong hold. Check each support with a level. Supports must be level to keep shelves steady. Secure supports tightly to avoid any movement later.
Installing Shelves
Cut the shelves to the correct width and depth. Sand edges to avoid splinters. Place each shelf on its supports gently. Check for stability by pressing down lightly. Adjust supports if shelves wobble. Secure shelves with screws if needed. This keeps shelves from moving or falling. Installing shelves carefully ensures your bookshelf lasts long.

Credit: woodworkingacademy.com
Finishing Touches
Finishing touches bring your bookshelf to life. They improve its look and protect the wood. These final steps make your project feel complete and polished. Pay close attention to each detail for the best result.
Sanding For Smoothness
Sanding removes rough spots and splinters. Use fine-grit sandpaper to smooth the surface. Move the sandpaper in the wood grain direction. Wipe away dust with a clean cloth after sanding. Smooth surfaces help paint or stain stick better.
Applying Paint Or Stain
Choose paint or stain based on your style. Paint adds color and hides wood grain. Stain enhances the natural beauty of wood. Apply thin, even coats with a brush or cloth. Let each coat dry fully before adding another. This step makes the bookshelf attractive and personal.
Sealing And Protecting
Seal the wood to guard against damage. Use a clear varnish or polyurethane finish. Apply with a brush in thin layers. Allow the sealant to dry completely between coats. Sealing keeps your bookshelf safe from scratches and spills. It also extends its life and shine.
Safety And Maintenance Tips
Building a bookshelf is rewarding, but safety and maintenance are key. Proper care keeps it sturdy and lasting. Neglect may cause accidents or damage. Follow simple tips to secure and maintain your bookshelf.
Securing The Bookshelf
Attach the bookshelf to the wall using brackets or anchors. This prevents tipping, especially in homes with kids or pets. Use screws that fit your wall type. Check the stability before loading books. Place heavy items on lower shelves for balance.
Regular Upkeep
Dust your bookshelf weekly to avoid buildup. Use a soft cloth or duster for gentle cleaning. Avoid harsh chemicals that can damage wood or paint. Check for loose screws or joints every few months. Tighten them to keep the shelf firm and safe.
Troubleshooting Common Issues
Watch for cracks or warping in the wood. These can weaken the structure. Fix small cracks with wood filler and sand smooth. If shelves sag, add support brackets underneath. Replace any damaged parts quickly to prevent accidents.
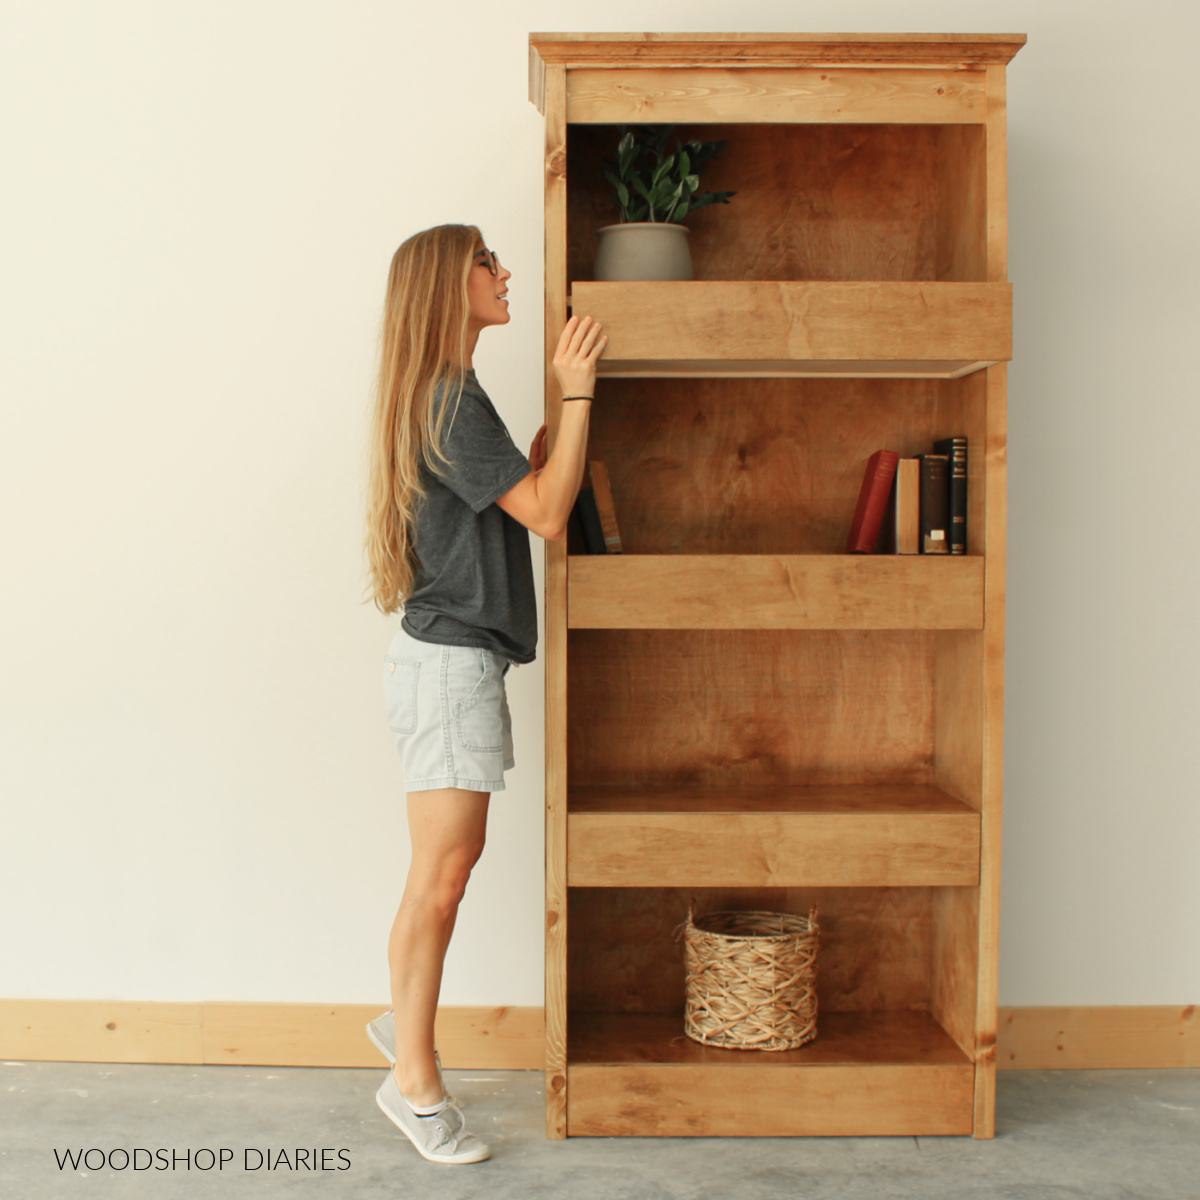
Credit: www.woodshopdiaries.com
Frequently Asked Questions
What Materials Are Needed To Build A Bookshelf?
You need wood boards, screws, nails, wood glue, sandpaper, and paint or stain. Also, gather a drill, saw, measuring tape, and level for accurate construction.
How Long Does It Take To Make A Bookshelf?
Building a bookshelf typically takes 3 to 6 hours. Time depends on your skill level, design complexity, and drying time for paint or stain.
Can Beginners Make A Bookshelf Easily?
Yes, beginners can make a bookshelf by following step-by-step instructions. Start with simple designs and use basic tools for best results.
How Do I Choose The Right Wood For A Bookshelf?
Select hardwood like oak or maple for durability. Pine is affordable and easier to work with but less durable.
Conclusion
Building a bookshelf step by step is simple and fun. You only need basic tools and materials. Follow each step carefully to get a strong, neat shelf. Take your time and measure twice before cutting. Personalize your bookshelf with paint or stain to fit your style.
Enjoy the satisfaction of creating something useful with your hands. A homemade bookshelf adds charm to any room. Keep practicing and try new designs for more projects. Start today and see how rewarding DIY can be.