Are you looking to make your bunk bed even more functional without buying a new piece of furniture? Turning your bunk bed into a trundle bed is a smart way to add extra sleeping space without taking up more room.
Imagine having a cozy extra bed ready whenever you need it, perfect for sleepovers or unexpected guests. In this guide, you’ll discover simple steps to transform your bunk bed into a practical trundle. By the end, you’ll have a clear, easy-to-follow plan that saves space and makes your room more versatile.
Keep reading to unlock the secret to maximizing your bedroom’s potential!
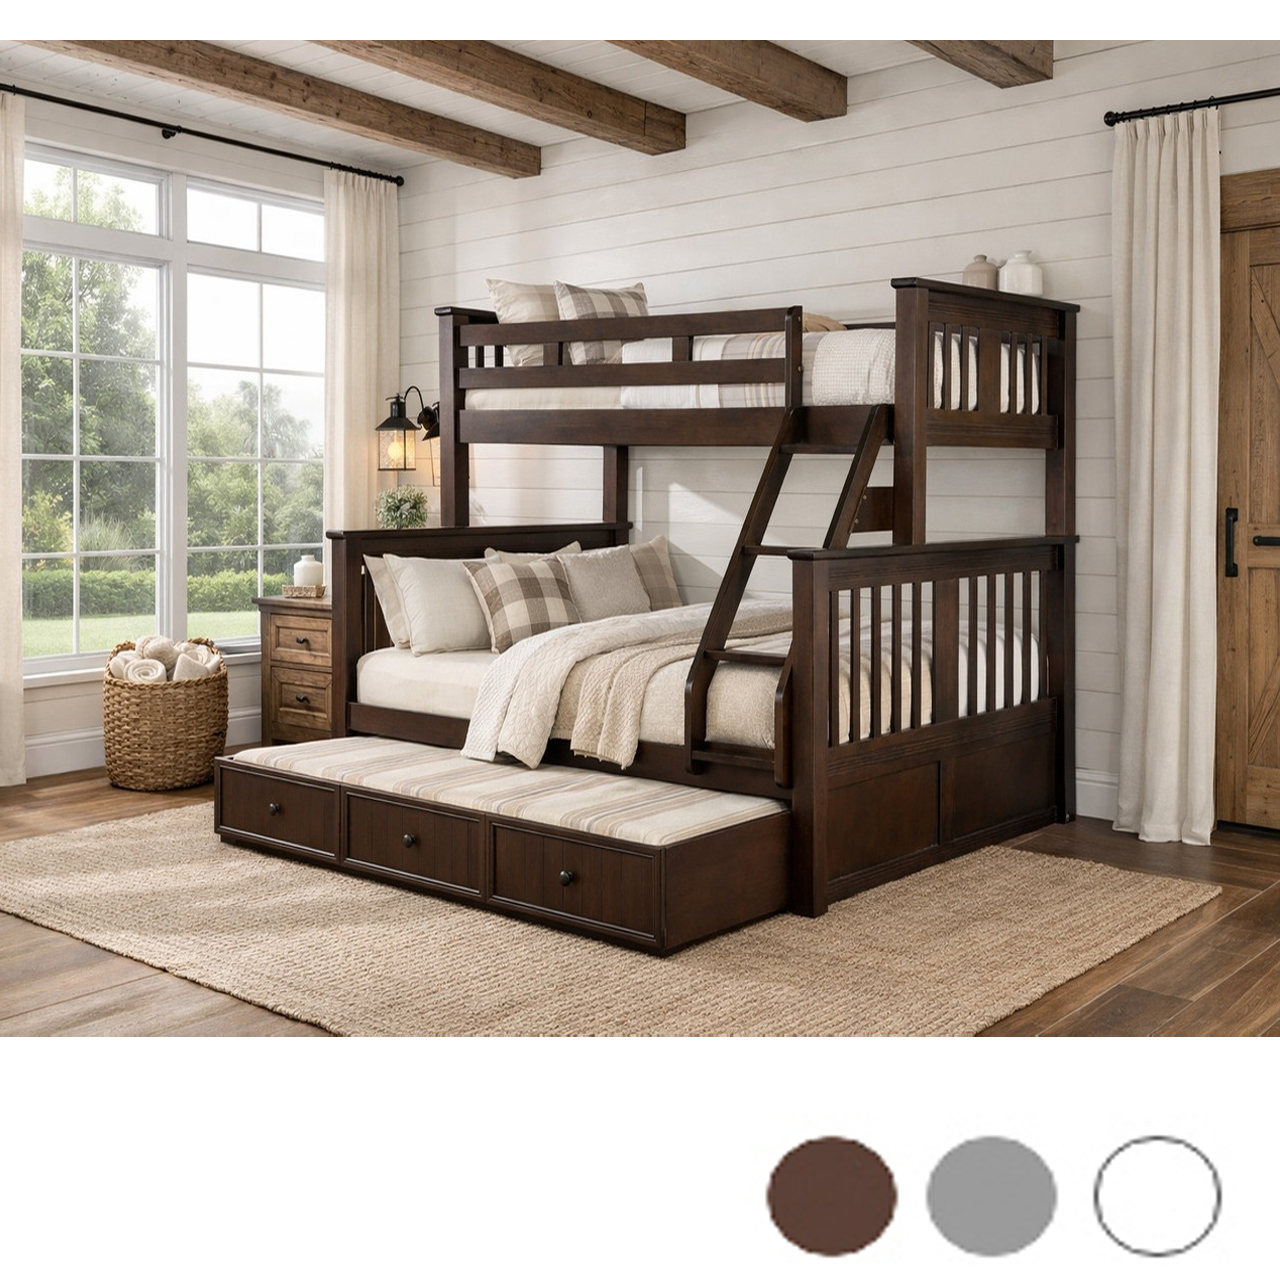
Credit: www.justbunkbeds.com
Choosing The Right Bunk Bed
Choosing the right bunk bed is the first step to turn it into a trundle bed. The bed must suit the trundle design and fit the space. Not every bunk bed can work well with a trundle. Consider the bed’s materials, size, and frame before starting.
Materials And Design Considerations
Wood and metal are the most common bunk bed materials. Wood gives a classic look and feels sturdy. Metal beds are lighter and often cheaper. Choose a material that supports extra weight for the trundle.
The design should allow space below the bottom bunk. Beds with a solid base may not fit a trundle. Look for open frames or slats under the bed. The style should match the room’s decor too.
Measuring For The Trundle
Measure the length and width of the bottom bunk carefully. The trundle mattress must fit perfectly under the bed. Check the height between the floor and the bottom bunk. A trundle needs enough space to slide in and out easily.
Note the clearance around the bed too. The trundle needs room to pull out fully. Measure doorways and hallways for moving the trundle mattress. Accurate measurements prevent surprises later.
Checking Bed Frame Compatibility
Not all bunk beds can hold a trundle frame. The bed’s legs and supports must allow enough space. The frame must be strong enough for the extra weight. Check the manufacturer’s instructions or contact them if unsure.
Ensure the bed frame height suits a trundle setup. The trundle should not touch the floor completely. Confirm the bed frame design allows easy trundle access. A good fit ensures safety and convenience.

Credit: www.justbunkbeds.com
Gathering Tools And Materials
Gathering the right tools and materials is the first step to turn a bunk bed into a trundle. Having everything ready saves time and reduces mistakes. It also helps keep the project safe and smooth. Before starting, check the list carefully and prepare your workspace.
Essential Tools List
- Measuring tape for accurate dimensions
- Electric drill with drill bits
- Screwdrivers – both flathead and Phillips
- Wood saw or jigsaw for cutting wood
- Sandpaper or sanding block for smooth edges
- Clamps to hold pieces together
- Carpenter’s square for right angles
- Pencil for marking measurements
Selecting The Trundle Components
Choose sturdy wood for the frame, like pine or plywood. Pick wheels that roll smoothly and lock in place. Find a mattress that fits under the bunk bed. Pick screws and bolts that match the wood thickness. Consider a handle or cutout to pull the trundle easily.
Safety Gear Recommendations
- Wear safety goggles to protect your eyes
- Use gloves to avoid splinters and cuts
- Wear a dust mask when sanding or cutting
- Use ear protection if using loud power tools
- Keep a first aid kit nearby for emergencies
Preparing The Bunk Bed Frame
Preparing the bunk bed frame is the first step to add a trundle bed. This stage sets a strong base for the new sleeping space. Careful preparation ensures the trundle fits well and stays safe for use. Focus on removing old parts, checking frame strength, and cleaning the structure.
Removing Existing Bed Slats
Start by taking out the bed slats from the lower bunk. These slats usually hold the mattress in place. Remove them carefully to avoid damage to the frame. Use a screwdriver or drill to unscrew any fasteners. Keep the screws safe; you might need them later.
Reinforcing The Frame
Check the frame for weak spots or loose joints. Strengthen the frame with extra wood or metal braces. Tighten all screws and bolts to make the frame steady. A firm frame will support the weight of both beds safely. Use strong materials to avoid future problems.
Cleaning And Inspecting
Clean the frame well to remove dust and dirt. This helps you spot cracks, rust, or damage. Inspect every corner and joint carefully. Fix any damage before adding the trundle. A clean, solid frame makes the next steps easier and safer.
Building The Trundle Frame
Building the trundle frame is a key step in turning a bunk bed into a trundle. The frame holds the mattress and allows it to slide under the bed. It must be strong and fit perfectly.
This section explains how to cut wood, assemble the base, and add support slats. Follow these clear steps to create a sturdy frame that lasts.
Cutting Wood Pieces To Size
Start by measuring the space under the bunk bed. Cut the wood pieces to fit this space. You will need two long side pieces and two shorter end pieces.
Use a saw and safety gear. Make sure the cuts are straight. Smooth the edges with sandpaper to avoid splinters.
Assembling The Base
Lay the side and end pieces flat to form a rectangle. Join the corners with wood screws or brackets. Check that the frame is square by measuring diagonals.
Tighten all screws to keep the frame strong. This base will hold the mattress and support the trundle’s weight.
Adding Support Slats
Cut several slats to fit between the long sides of the frame. Space them evenly to support the mattress well. Attach each slat with screws or nails.
Make sure slats lie flat and are secure. These slats stop the mattress from sagging and add strength to the frame.
Installing Wheels And Hardware
Installing wheels and hardware is a key step to convert your bunk bed into a trundle. This step makes the lower bed easy to pull out and push back. Proper installation helps the trundle slide smoothly and stay stable during use. Follow simple instructions to pick the right parts and attach them correctly.
Choosing The Right Casters
Select casters that support the weight of the mattress and sleeper. Look for wheels with locks to keep the trundle in place. Choose smooth-rolling casters to avoid noise and damage to floors. Measure the height to ensure the trundle fits under the bunk bed. Plastic or rubber wheels work well on hard floors and carpets.
Attaching Wheels Securely
Mark spots where you will fix the casters on the trundle frame. Use screws that fit the caster plates tightly. Drill small pilot holes to prevent wood from splitting. Tighten screws firmly but avoid over-tightening which can strip the wood. Test the wheels by rolling the trundle across the floor to check stability and movement.
Adding Handles For Easy Pulling
Install handles on the front side of the trundle for easy grip. Choose handles that are strong and comfortable to hold. Position handles low enough to pull without bending too much. Screw handles securely into the frame to avoid loosening. Handles help you pull out the trundle smoothly and safely every time.
Finishing Touches
Finishing touches give your bunk bed trundle a polished look. They protect the wood and ensure smooth use. These final steps make your project safe and comfortable.
Sanding And Painting
Sanding smooths the wood surface. Use fine-grit sandpaper for the best finish. Remove all dust after sanding. Choose paint or stain that matches your room. Apply thin, even coats. Let each coat dry fully before the next. Paint protects the wood from damage and wear.
Adding A Mattress
Select a mattress that fits the trundle frame. Measure the space carefully before buying. A thin mattress works best for easy storage. Place the mattress evenly on the trundle base. Ensure it fits snugly without bending or folding.
Testing The Trundle Movement
Slide the trundle in and out smoothly. Check for any sticking or resistance. Make sure the wheels or sliders roll quietly. Adjust or tighten parts if the movement feels rough. Confirm the trundle locks securely in place when extended.
Tips For Maintenance And Safety
Turning a bunk bed into a trundle is a smart idea for extra sleeping space. Keeping it safe and in good shape is very important. Follow simple tips to maintain your trundle bed and avoid accidents.
Regular Inspections
Check the trundle bed every week. Look for loose screws or bolts. Tighten any that are loose. Inspect the wheels or sliders to ensure they move smoothly. Watch for cracks or damage in the wood or metal. Fix small problems early to stop bigger issues later.
Weight Limits And Usage
Know the weight limit of your trundle bed. Do not let anyone heavier than allowed use it. This helps keep the bed strong and safe. Use the trundle only for sleeping, not for jumping or playing. Proper use extends the bed’s life and prevents accidents.
Safe Operation Practices
Pull the trundle out carefully and slowly. Avoid sudden moves that can damage the frame or wheels. Make sure the trundle is fully pushed in when not in use. Keep the area around the bed clear to prevent tripping. Teach kids how to use the trundle safely.

Credit: oeufnyc.com
Frequently Asked Questions
How Do You Convert A Bunk Bed Into A Trundle Bed?
To convert a bunk bed into a trundle, remove the bottom bunk mattress. Build or buy a rolling frame that fits underneath. Slide the frame with a mattress under the top bunk for easy storage and access.
What Materials Are Needed For A Bunk Bed Trundle Conversion?
You need wood or metal for the frame, caster wheels for mobility, screws, and a mattress. Basic tools like a drill, screwdriver, and measuring tape help complete the project efficiently.
Is It Safe To Use A Trundle Bed Under A Bunk Bed?
Yes, if the trundle frame is sturdy and fits well. Ensure wheels lock to prevent movement. Keep clearance for ventilation and avoid overcrowding the area for safety.
Can I Keep The Original Bunk Bed Frame Intact?
Yes, most conversions use the space under the bottom bunk. This keeps the original frame intact and adds a functional trundle bed without modifications.
Conclusion
Transforming a bunk bed into a trundle bed saves space and adds comfort. It gives extra sleeping room without needing a new bed. The process is simple and affordable with basic tools. Small changes make a big difference in any bedroom.
Try this idea to create a cozy and practical space. Enjoy the extra bed for guests or family anytime. This project fits well in homes with limited space. Easy to do, useful, and smart for your home.