Are you looking to give your bookshelf a fresh, personalized look without spending a fortune? Modge Podge is the perfect tool to transform your plain shelves into eye-catching pieces that reflect your style.
Whether you want to add colorful patterns, vintage paper, or photos, Modge Podge makes it easy and fun. In this guide, you’ll discover simple steps to modge podge your bookshelf like a pro, plus tips to avoid common mistakes. Ready to turn your bookshelf into a stunning centerpiece?
Let’s dive in!
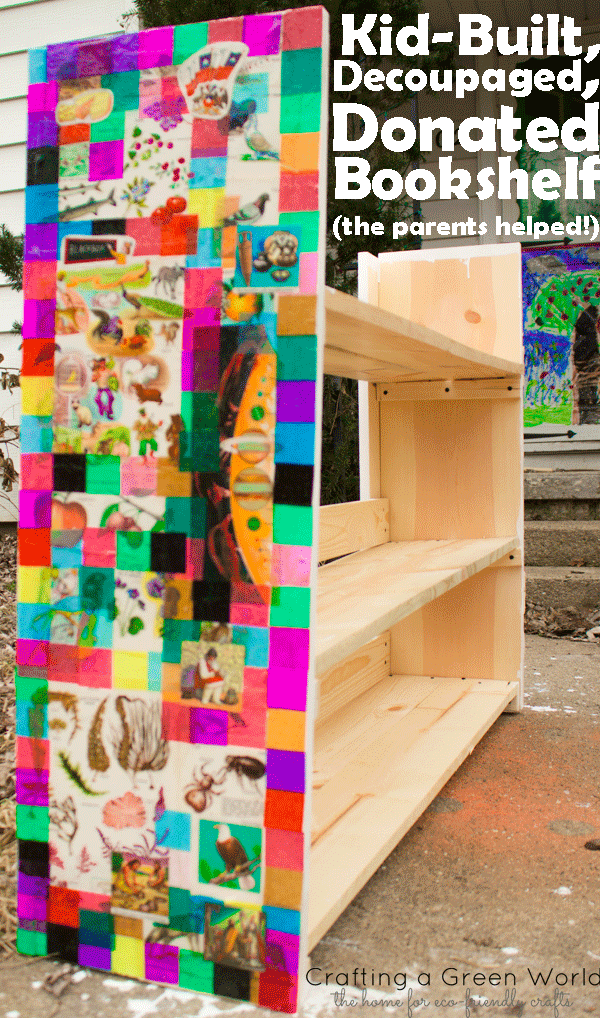
Credit: craftingagreenworld.com
Materials Needed
Before starting your Mod Podge bookshelf project, gather the right materials. Having the correct supplies makes the process smooth and enjoyable. These materials help you get a clean, lasting finish on your shelf. Let’s explore the key items needed for your project.
Choosing The Right Mod Podge
Select a Mod Podge formula suited for your project. Glossy Mod Podge gives a shiny, polished look. Matte Mod Podge creates a soft, non-shiny finish. Use outdoor Mod Podge for shelves that face moisture. Choose the formula based on your desired finish and shelf use.
Selecting Brushes And Tools
Pick brushes with soft, synthetic bristles. These brushes spread Mod Podge evenly without streaks. Foam brushes work well for smooth coverage on flat surfaces. Have a clean cloth or sponge ready for wiping excess glue. Keep a small container for mixing or thinning Mod Podge if needed.
Preparing The Bookshelf Surface
Clean the shelf thoroughly to remove dust and dirt. Use a damp cloth and mild soap if needed. Sand rough or glossy surfaces lightly for better adhesion. Wipe off sanding dust with a dry cloth. Make sure the surface is dry before applying Mod Podge. Proper preparation ensures your project lasts longer and looks better.

Credit: www.instructables.com
Preparing Your Workspace
Preparing your workspace is the first step to successfully Modge Podge a bookshelf. A neat, organized area helps you work faster and avoid mistakes. It also keeps your project clean and protects your home from spills or damage.
Setting Up A Clean Area
Choose a flat surface with enough space for your bookshelf and supplies. Clear off any clutter or items that might get in the way. Wipe down the surface to remove dust and dirt. Good lighting is important. Make sure the area is bright so you can see details clearly.
Protecting Surrounding Surfaces
Cover your workspace with newspaper or a plastic sheet. This stops glue and paint from staining your furniture or floor. Use painter’s tape to secure the cover in place. Keep a damp cloth nearby to clean spills quickly. Protect walls and nearby objects by moving them away or covering them.
Cleaning And Sanding
Cleaning and sanding are key steps before applying Mod Podge to a bookshelf. They prepare the surface for better glue hold and a smooth finish. Skipping these steps can cause peeling or uneven results. Take your time here for the best outcome.
Removing Dust And Dirt
Start by wiping the bookshelf with a dry cloth. This removes loose dust and dirt easily. Next, use a damp cloth to clean sticky spots or grime. Avoid soaking the wood; use just enough moisture to clean. Let the bookshelf dry completely before moving on.
Sanding For Better Adhesion
Use fine-grit sandpaper to gently sand the surface. Sanding roughens the wood slightly, helping Mod Podge stick better. Focus on smooth areas and edges. After sanding, wipe away dust with a clean cloth. This step ensures a smooth and lasting finish.
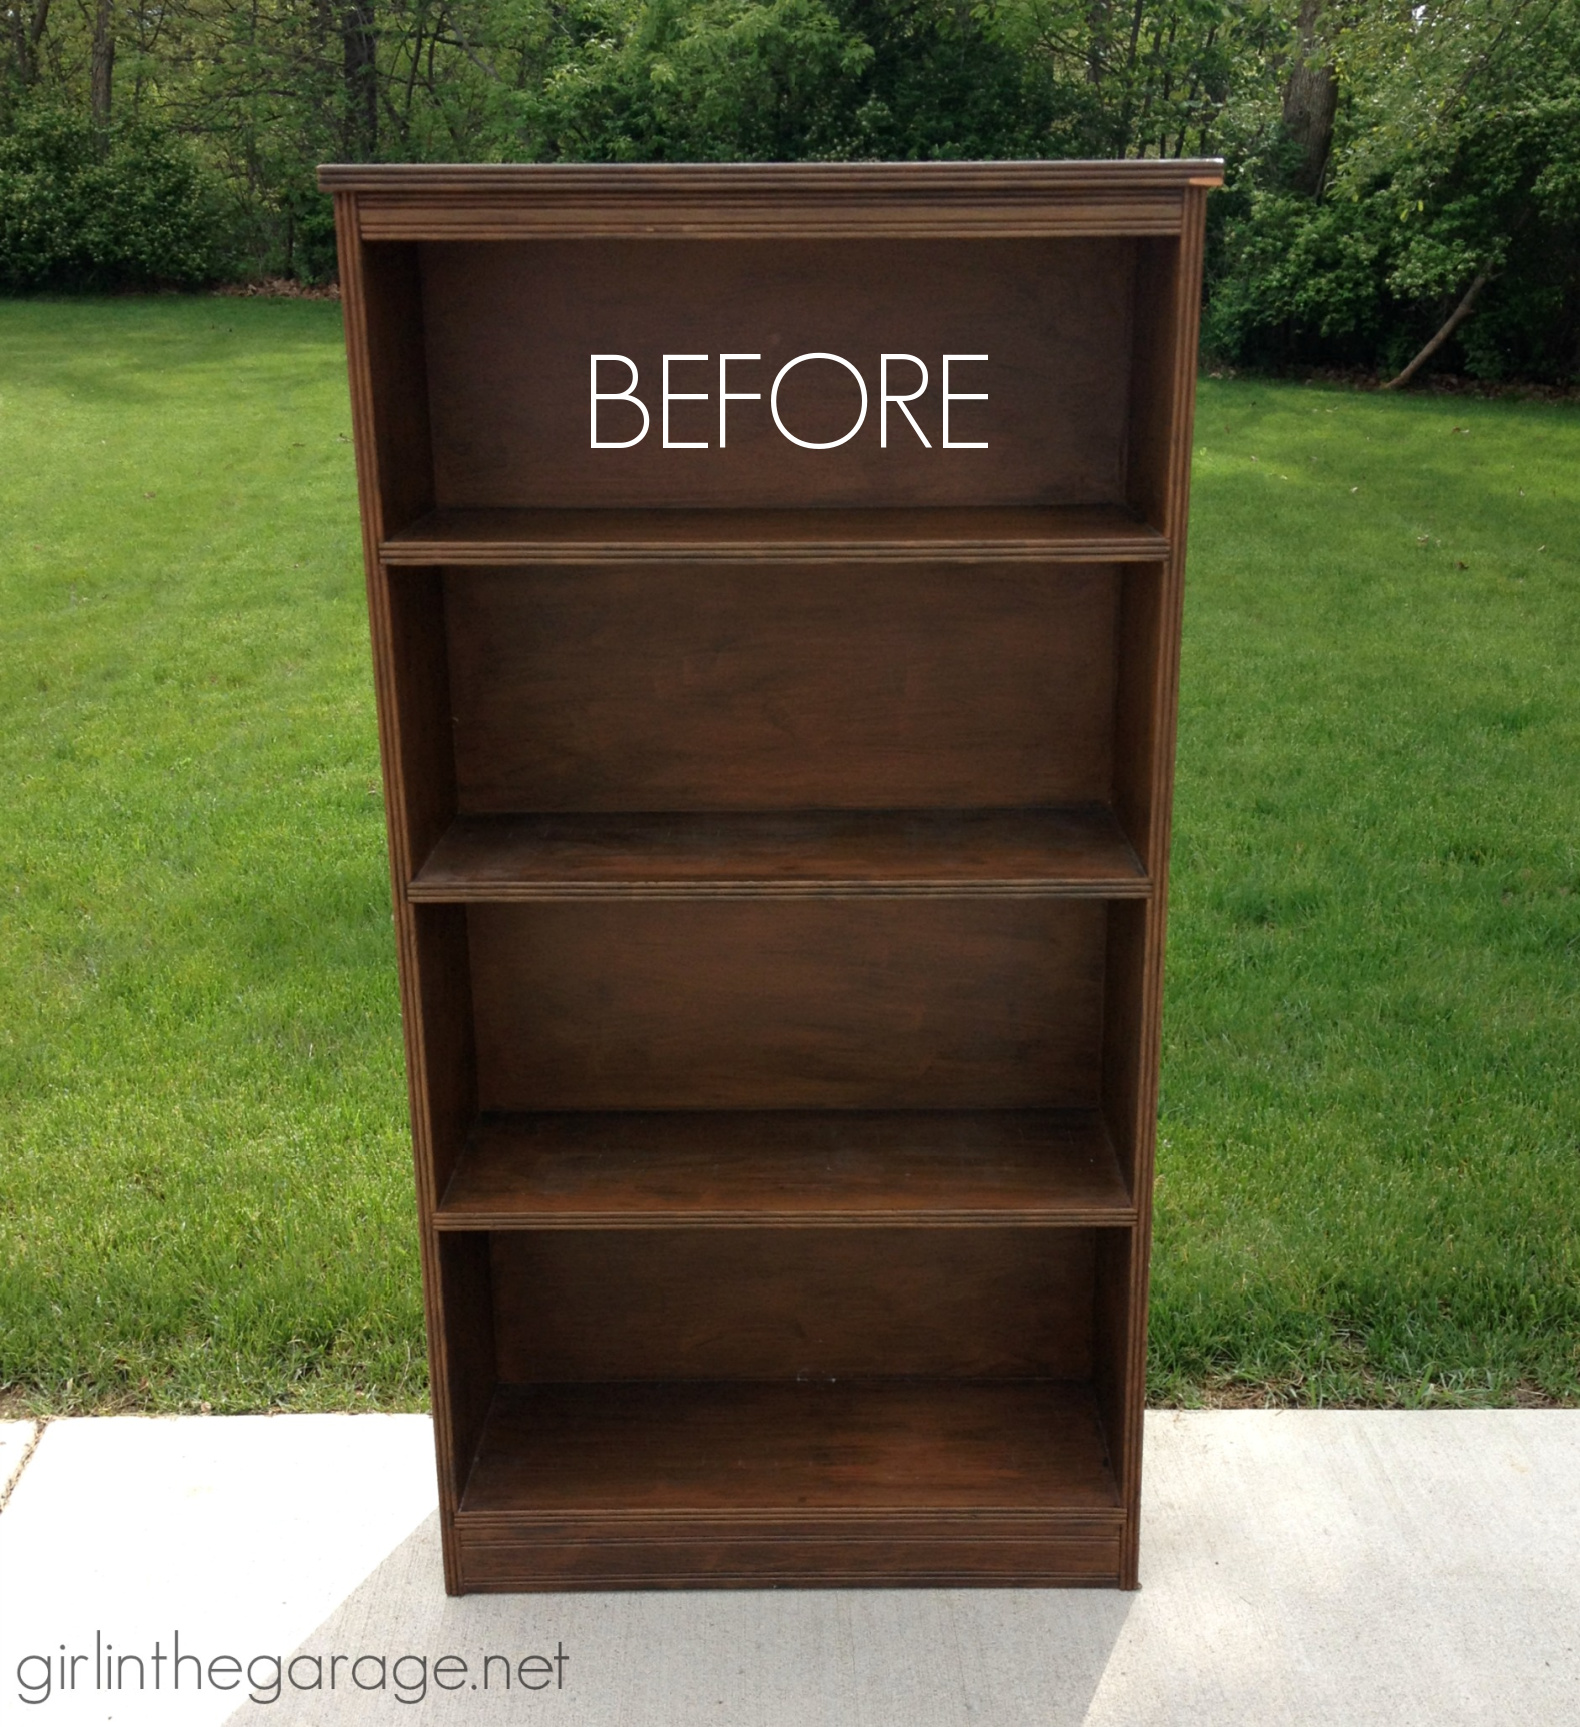
Credit: girlinthegarage.net
Cutting And Arranging Paper
Cutting and arranging paper is a key step in Modge Podging a bookshelf. This process shapes the look of your project. It helps create a neat and attractive finish. Careful cutting and thoughtful layout make the final result stand out. Planning each piece of paper ensures a smooth application and lasting effect.
Measuring And Cutting Paper
Start by measuring the bookshelf shelves carefully. Use a ruler or tape measure for exact sizes. Mark the paper with a pencil to guide your cuts. Cut slowly along the marks using sharp scissors or a craft knife. Trim edges cleanly to avoid rough or uneven sides. Check each piece fits before moving to the next step.
Designing Your Layout
Lay out the cut pieces on the shelves without glue first. Try different arrangements to find the best look. You can mix patterns, colors, or keep it simple. Make sure papers align well and cover the surface. Leave no gaps or overlaps for a smooth finish. This step helps visualize the final design clearly.
Applying Mod Podge
Applying Mod Podge to your bookshelf is a simple process that transforms its look quickly. This step adds protection and a smooth finish to the paper or fabric you choose. Take your time and follow each step carefully for the best results.
First Layer Application
Start by brushing a thin, even coat of Mod Podge on the bookshelf surface. Use a foam brush or a soft paintbrush for smooth coverage. Avoid thick layers, as they cause bubbles and wrinkles. Work in small sections to keep the glue wet and easy to spread.
Placing The Paper Smoothly
Lay your paper or fabric gently onto the glued surface. Start at one edge and slowly press it down to avoid air bubbles. Use a plastic card or your fingers to smooth the paper. Move from the center outward for a flat, wrinkle-free look.
Sealing With Additional Coats
After the first layer dries, apply more Mod Podge coats to seal the paper. Use thin layers and let each dry fully before adding the next. Usually, two to three coats create a strong, protective finish. This step helps your design last longer and resist wear.
Drying And Curing Time
Drying and curing time is a key step in Modge Podging a bookshelf. It affects the finish and durability of your project. Taking the right time to dry and cure ensures your bookshelf looks great and lasts long.
Rushing this step can cause smudges or sticky surfaces. Patience helps the Modge Podge harden properly. This process might take hours or days depending on conditions. Knowing how to create the best environment speeds up drying and curing.
Optimal Drying Conditions
Choose a warm, dry place for your bookshelf to dry. Avoid humid areas or direct sunlight. Humidity slows down drying and can cause bubbles. Good air flow helps moisture escape faster. Keep the bookshelf flat and still during drying. This prevents drips and uneven surfaces.
Room temperature between 70 and 75 degrees Fahrenheit works well. Use a fan for gentle air circulation if the room feels still. Avoid heating devices that blow hot air directly on the project. That can cause cracking or warping.
Avoiding Common Mistakes
Do not touch or move the bookshelf until fully dry. Touching can leave fingerprints or damage the finish. Avoid applying thick layers of Modge Podge at once. Thick layers take much longer to dry and stay tacky.
Apply thin, even coats and let each dry completely before the next. Do not cover the drying bookshelf with plastic or cloth. Covering traps moisture and slows curing. Wait at least 24 hours before heavy use, even if the surface feels dry.
Adding Finishing Touches
Adding finishing touches to your Modge Podged bookshelf gives it a polished and neat look. This step helps smooth rough areas and adds personality. Small details make a big difference in the final appearance.
Sanding Edges For A Clean Look
Use fine-grit sandpaper to gently sand the edges of your bookshelf. This removes excess glue and uneven spots. Sanding creates smooth edges that feel nice to touch. Be careful not to sand too much and damage the design. Light, even strokes work best for a tidy finish.
Optional Decorative Enhancements
After sanding, consider adding decorations to personalize your shelf. You can use paint, stickers, or small stencils for patterns. Clear Modge Podge over decorations to protect them. Adding ribbons or trim can also enhance the style. Keep decorations simple for a clean, fresh look.
Maintenance Tips
Maintaining your Mod Podged bookshelf keeps it looking fresh and beautiful. Proper care helps protect the finish and extends its life. Follow simple tips for cleaning and fixing small problems quickly.
Cleaning Your Mod Podged Bookshelf
Use a soft, dry cloth to remove dust regularly. Avoid wet cloths or harsh cleaners that can damage the finish. For sticky spots, lightly dampen the cloth with water and wipe gently. Always dry the surface immediately after cleaning.
Repairing Minor Damages
Small scratches or chips can happen. Lightly sand the damaged area with fine sandpaper. Apply a thin layer of Mod Podge over the spot using a brush. Let it dry fully before adding another coat if needed. This keeps your bookshelf looking smooth and neat.
Frequently Asked Questions
What Materials Are Needed To Modge Podge A Bookshelf?
To Modge Podge a bookshelf, you need Modge Podge glue, a paintbrush, sandpaper, decorative paper or fabric, and a clean cloth. These materials help you apply and seal the design smoothly for a durable finish.
How Long Does Modge Podge Take To Dry On Wood?
Modge Podge typically dries within 15-20 minutes on wood surfaces. However, for full curing, it’s best to wait 24 hours before heavy use or adding multiple coats for the best finish.
Can I Use Modge Podge On Painted Bookshelves?
Yes, you can use Modge Podge on painted bookshelves. Make sure the paint is fully dry and clean the surface before applying. Modge Podge will seal and protect the paint while adding a decorative layer.
How Do I Prevent Bubbles When Modge Podging?
To prevent bubbles, apply Modge Podge with a smooth, even brush stroke. Work slowly and press out air bubbles gently with a flat tool or cloth while the glue is still wet.
Conclusion
Modge Podging a bookshelf adds style and protection easily. You only need a few simple steps to transform your furniture. The process is fun and lets you customize your space. Use patterns or pictures to make it unique. Clean the surface well before starting for best results.
Allow each layer to dry fully before adding more. With patience, your bookshelf will look fresh and new. Enjoy your creative project and the new look it brings. Try it yourself and see how simple it is!