Are you looking for a stylish and practical way to organize your books? A wooden sling bookshelf might be just what you need.
It’s simple to make, adds a unique touch to any room, and keeps your favorite reads close at hand. In this guide, you’ll discover easy steps to create your own wooden sling bookshelf, even if you’re new to DIY projects.
By the end, you’ll have a beautiful, functional piece that’s all yours. Ready to get started? Let’s dive in!

Credit: buybuybaby.bedbathandbeyond.com
Materials Needed
Gathering the right materials is the first step to making a wooden sling bookshelf. Using good materials ensures your bookshelf is strong and looks great. Each part plays a key role in the final product. Let’s explore what you need to create this stylish and functional piece.
Types Of Wood
Choose wood that is sturdy and easy to work with. Pine and oak are popular choices for shelves. Pine is light and affordable. Oak is harder and lasts longer. Avoid soft woods that may bend or break easily. Smooth wood with a nice grain adds beauty to your shelf.
Choosing The Right Sling Material
The sling holds your books, so it must be strong and flexible. Canvas and leather are common sling materials. Canvas is durable and easy to clean. Leather offers a classic look and great support. Make sure the sling material can hold the weight of your books without stretching too much.
Tools Required
Use basic tools to build your bookshelf. A saw helps cut the wood to size. Sandpaper smooths rough edges. A drill makes holes for screws. Screwdrivers fasten the parts together. Clamps hold the wood steady while you work. A tape measure ensures accurate cuts and assembly.
Preparing The Wood
Preparing the wood is the first step in making a wooden sling bookshelf. This step ensures the wood pieces fit well and look nice. Taking time to measure, cut, sand, and finish the wood creates a strong base. It also makes the shelf safe to use and pleasant to see. Proper preparation helps the project last longer and hold books securely.
Measuring And Cutting
Measure each wood piece carefully before cutting. Use a tape measure and mark the wood with a pencil. Double-check the marks to avoid mistakes. Cut the wood along the marked lines using a saw. Cut slowly to keep edges straight and smooth. Proper cutting is key to a sturdy bookshelf frame.
Sanding And Finishing
Sand every wood piece to remove rough spots and splinters. Start with coarse sandpaper and finish with fine grit for smoothness. Sanding makes the wood safe to touch and easy to paint or stain. Apply a finish like wood stain or clear varnish to protect the wood. This step adds beauty and helps the shelf resist damage over time.
Creating The Sling
Creating the sling is a key step in building your wooden sling bookshelf. The sling holds the books and adds a stylish look. Choosing the right material and attaching it properly makes the shelf strong and durable. Follow clear steps to make a sling that fits well and supports your books safely.
Cutting The Sling Material
Select a sturdy fabric or leather for the sling. Measure the distance between the wood sides. Add a few extra inches for folding and attaching. Use sharp scissors to cut the sling material. Cut straight lines to avoid fraying. Smooth edges make the sling look neat and last longer.
Attaching The Sling To The Wood
Fold the edges of the sling material over the wood frame. Secure the folds with strong staples or nails. Space the fasteners evenly for better hold. Check that the sling is tight but not too stretched. This balance keeps your books safe and the shelf stable. Test the sling by gently pulling before placing books on it.
Assembling The Bookshelf
Assembling your wooden sling bookshelf is the step where all parts come together. This stage requires careful attention and patience. Follow each step closely to ensure the bookshelf is sturdy and looks great.
Aligning The Components
Start by placing the wooden frame pieces on a flat surface. Check that all edges match perfectly. Align the side panels with the top and bottom pieces. Use clamps to hold the parts steady. This keeps the frame square and prevents gaps.
Double-check the corners with a carpenter’s square. Make sure all angles are exactly 90 degrees. Proper alignment is key to a balanced shelf. Take your time and adjust as needed.
Securing The Sling And Frame
Next, attach the sling to the wooden frame. Stretch the fabric or leather sling evenly between the sides. Use screws or nails to fix the sling securely to the frame. Ensure the sling is tight but not overstretched.
Check the sling’s tension by placing a light book on it. It should hold the weight without sagging. Finally, tighten all fasteners on the frame. Your wooden sling bookshelf is now ready to use and enjoy.
Finishing Touches
Finishing touches make your wooden sling bookshelf look complete and strong. These final steps protect the wood and help the shelf hold books safely. Choose the right stain or paint for style and protection. Secure the shelf on the wall with mounts or supports for safety and stability.
Applying Stain Or Paint
Start by sanding the wood smoothly. Wipe off dust with a clean cloth. Choose a stain or paint that fits your room’s style. Apply it evenly using a brush or cloth. Let it dry fully before adding a second coat. Stain shows the natural wood grain. Paint covers the wood with color and hides grain. Both protect the wood from damage and wear.
Adding Wall Mounts Or Supports
Pick strong wall mounts to hold the shelf’s weight. Use a level to keep the shelf straight. Mark where you want to place the mounts on the wall. Drill holes carefully and insert anchors if needed. Screw mounts firmly into the wall. Attach the shelf to the mounts securely. Double-check the shelf is stable before placing books on it.
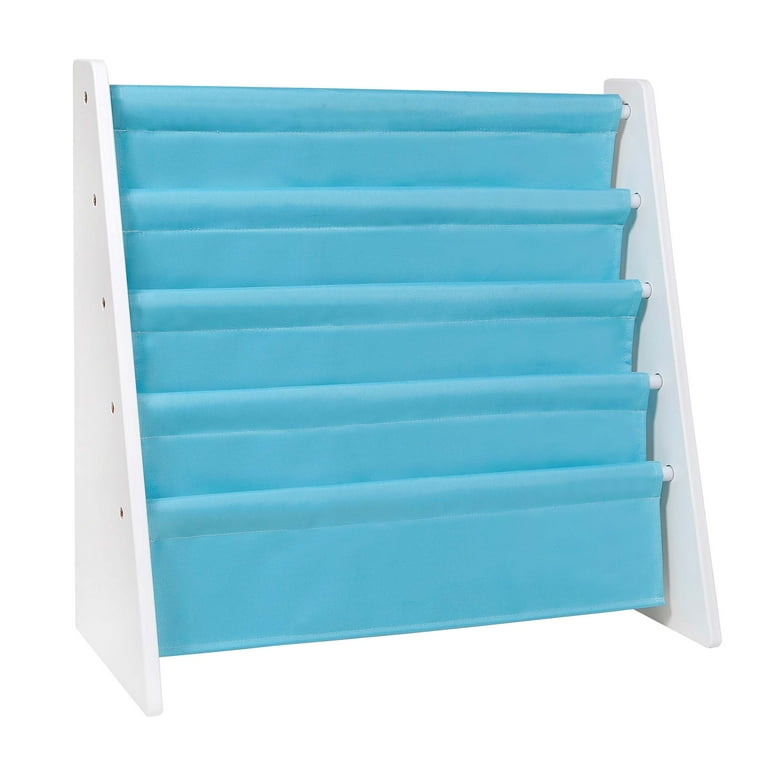
Credit: www.walmart.com
Tips For Maintenance
Maintaining your wooden sling bookshelf keeps it looking good and working well. Regular care extends its life and keeps it safe for your books. Follow simple steps to keep both wood and sling in top shape.
Small efforts now save you time and money later. A clean and strong bookshelf holds your favorite books perfectly.
Cleaning The Wood And Sling
Dust the wood with a soft cloth often. Avoid wet cloths that can damage the wood. Use a dry microfiber cloth to remove dirt gently.
For the sling, use a vacuum with a brush tool to clean dust. If the sling is fabric, spot clean with mild soap and water. Let it dry fully before putting books back.
Handling Wear And Tear
Check the sling for any loose threads or holes. Repair small tears quickly to stop them from growing. Tighten screws or bolts on the wooden frame regularly.
Use wood polish or wax every few months to protect the wood. Avoid placing heavy items beyond the sling’s weight limit. Balance the load to prevent stretching or bending.

Credit: www.amazon.com
Frequently Asked Questions
What Materials Are Needed To Make A Wooden Sling Bookshelf?
You need wood planks, strong fabric or leather for the sling, screws, wood glue, sandpaper, and mounting hardware. Choose durable materials for safety and longevity.
How Do You Assemble A Wooden Sling Bookshelf?
Cut wood to size, sand edges, attach fabric sling securely, and mount the shelf on the wall using screws. Ensure the sling is taut to hold books safely.
Can A Wooden Sling Bookshelf Hold Heavy Books?
Yes, if made with sturdy wood and thick sling material. Proper mounting with strong anchors is crucial to support heavier loads safely.
How Do You Maintain A Wooden Sling Bookshelf?
Regularly dust the wood and fabric. Avoid overloading the sling to prevent sagging. Tighten screws and check mounts periodically for safety.
Conclusion
Building a wooden sling bookshelf is a fun and simple project. You can create a unique piece for your home. It holds books neatly and looks stylish. Using basic tools and materials makes it easy to start. Take your time and enjoy each step.
Soon, you will have a practical shelf you made yourself. Try this project and add a cozy touch to any room. Crafting something with your hands feels great. Give it a try—you might like the result more than expected.