Are you tired of cluttered spaces and piles of books everywhere? Imagine having a neat, sturdy 3 shelf bookshelf that holds your favorite reads and adds style to your room.
Building one yourself is easier than you think, even if you’ve never tried woodworking before. In this guide, you’ll discover simple steps to create a beautiful bookshelf that fits your space perfectly. Keep reading, and by the end, you’ll have the confidence and know-how to make a bookshelf that’s truly yours.
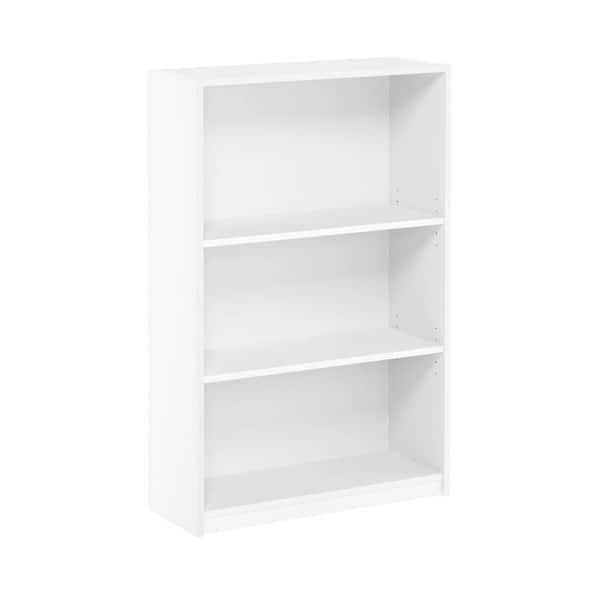
Credit: www.homedepot.com
Materials And Tools Needed
Building a 3 shelf bookshelf requires careful selection of materials and tools. The right choices make the project easier and the result stronger. This section explains what wood, tools, and supplies you need.
Choosing The Right Wood
Wood type affects the shelf’s strength and look. Pine is soft and easy to work with. It costs less and is good for beginners. Oak is harder and lasts longer. It looks nice but costs more. Plywood is also a good choice. It is stable and resists warping. Choose smooth, straight boards without knots or cracks.
Essential Tools List
You need some basic tools for cutting and assembling. A saw is necessary to cut the wood. A drill helps make holes and drive screws. Sandpaper or a sander smooths rough edges. A screwdriver or drill bit tightens screws. A tape measure ensures precise measurements. A level keeps shelves straight. Clamps hold pieces while gluing or screwing.
Additional Supplies
Besides wood and tools, other items help the build. Wood glue strengthens joints between pieces. Screws hold parts together firmly. Wood filler hides holes or imperfections. Paint or stain finishes the shelf for a polished look. Brushes or rags apply paint or stain evenly. Safety glasses protect your eyes during work.

Credit: www.amazon.com
Planning Your Bookshelf
Planning your bookshelf is the first step to building a strong and useful piece. Good planning saves time and effort during construction. It helps to avoid mistakes and ensures the shelf fits your space perfectly.
Think about what you want to store on the shelves. Books, decorations, or both? This choice influences the size and style of your bookshelf. Careful planning creates a bookshelf that looks great and works well.
Measuring And Dimensions
Measure the space where the bookshelf will go. Note the height, width, and depth available. Keep extra room for easy access and air circulation.
Decide on shelf height based on book sizes. Standard shelves usually hold most books comfortably. Adjust shelf height if you have tall or oversized books.
Use a tape measure and write down all numbers. Accurate measurements prevent cutting errors and material waste.
Design And Style Choices
Choose a design that fits your room’s style. Simple, modern, or rustic designs all work well.
Think about the color and finish of the wood. Light wood brightens a room. Dark wood adds warmth and richness.
Decide if you want open shelves or shelves with backing. Open shelves create an airy feel. Backed shelves offer more support and prevent items from falling.
Safety Considerations
Check the weight your bookshelf must hold. Books can be heavy, so strong materials are important.
Use sturdy wood and proper screws to keep the shelf stable. Avoid weak joints that may break under weight.
Plan to secure the bookshelf to the wall. This prevents tipping, especially in homes with kids or pets.
Cutting The Wood
Cutting the wood is the first big step in building your 3 shelf bookshelf. Accurate cuts help the pieces fit well together. It also keeps the bookshelf strong and stable. Take time to measure and mark each piece before cutting.
Marking The Pieces
Use a pencil and ruler to mark each board clearly. Mark the length and width for all shelves and sides. Double-check the measurements to avoid mistakes. Draw straight lines where you will cut. Clear markings guide your saw and make cutting easier.
Safe Cutting Techniques
Wear safety goggles and gloves before cutting wood. Use a sharp saw for clean cuts and less effort. Cut slowly along the marked lines. Keep your hands away from the blade at all times. Secure the wood with clamps to prevent movement. Follow the saw’s instructions carefully to stay safe.
Preparing Edges
After cutting, smooth the edges with sandpaper. Sanding removes splinters and rough spots. It helps the pieces fit snugly together. Smooth edges also give your bookshelf a neat finish. Check each piece for any uneven cuts and sand again if needed.
Assembling The Frame
Assembling the frame is the key step in building your 3 shelf bookshelf. This part holds everything together and gives the bookshelf its shape. Take your time to fit each piece right. A sturdy frame means a strong bookshelf.
Building The Side Panels
Start by preparing two side panels. Cut the wood pieces to the right height and width. Attach the vertical supports to each side panel using screws. Make sure the panels are straight and even. These panels will hold the shelves, so they must be solid.
Attaching The Shelves
Place the three shelves between the side panels. Space them evenly for a balanced look. Use wood screws to fix the shelves to the side panels. Check that the shelves sit flat and do not wobble. Tight screws keep the shelves steady under weight.
Securing The Back
Finish by adding the back panel to the frame. Use thin plywood or hardboard for support. Nail or screw the back panel onto the edges of the side panels and shelves. This step stops the frame from shifting or leaning. A secure back makes the bookshelf durable and safe.
Finishing Touches
Finishing touches give your 3 shelf bookshelf a polished look. These steps protect the wood and make the bookshelf last longer. They also improve the overall appearance, making your project look complete and neat.
Sanding For Smoothness
Start by sanding all surfaces with fine-grit sandpaper. Sanding removes rough spots and splinters. It helps paint or stain stick better to the wood. Move the sandpaper in the direction of the wood grain. Wipe off dust with a clean cloth before the next step.
Applying Paint Or Stain
Choose paint or stain based on your style preference. Paint offers a solid color and hides wood grain. Stain enhances the natural wood look and grain patterns. Apply evenly with a brush or cloth. Let the first coat dry fully before adding another. Light sanding between coats creates a smooth finish.
Adding Protective Coating
Use a clear protective finish to guard against scratches and water damage. Polyurethane is a common choice for durability. Apply thin coats using a clean brush. Allow each coat to dry well before adding the next. This step helps your bookshelf stay beautiful and strong over time.
Tips For Stability And Durability
Building a 3 shelf bookshelf is fun but making it strong is very important. A sturdy bookshelf lasts longer and holds books safely. Follow these tips to improve stability and durability. These small steps help your shelf stand firm and look good for years.
Reinforcing Joints
Joints are the places where wood pieces meet. Strengthen them with wood glue for a tight bond. Use screws or nails to hold parts together firmly. Add corner brackets inside for extra support. Check joints during assembly and fix any loose parts.
Using Wall Anchors
Wall anchors keep your bookshelf from tipping over. Attach the shelf to the wall using strong anchors. Choose anchors that fit your wall type, like drywall or brick. Secure the bookshelf at the top back corners for best balance. This step adds safety and stops accidents.
Maintenance Advice
Keep your bookshelf clean and dry to avoid damage. Wipe dust regularly with a soft cloth. Check screws and joints every few months. Tighten any loose screws to keep the shelf stable. Avoid placing very heavy items on one shelf only.

Credit: www.maxtrixkids.com
Frequently Asked Questions
What Materials Are Needed To Build A 3 Shelf Bookshelf?
You need wood boards, screws, wood glue, sandpaper, paint or stain, and tools like a drill and saw. Choose sturdy wood like pine or oak for durability. Proper materials ensure a strong and lasting bookshelf.
How Long Does It Take To Build A 3 Shelf Bookshelf?
Building a 3 shelf bookshelf typically takes 3 to 5 hours. Time varies based on skill level and tools available. Proper preparation and step-by-step work help complete the project efficiently.
What Are The Basic Steps To Assemble A 3 Shelf Bookshelf?
Start by cutting wood pieces to size, then sand edges smooth. Assemble the frame using screws and wood glue. Attach shelves evenly, and finish by painting or staining. Follow instructions carefully for a sturdy bookshelf.
Can I Customize Shelf Height On A 3 Shelf Bookshelf?
Yes, you can customize shelf heights by adjusting placement of supports. Measure your items before building to decide shelf spacing. Custom shelves improve storage flexibility and suit your needs.
Conclusion
Building a 3 shelf bookshelf is a simple and useful project. You only need a few tools and some wood. Follow each step carefully to create a strong shelf. This bookshelf will hold your books and decorations well. Plus, making it yourself saves money and gives pride.
Try this project to add storage and style to your room. Enjoy your new bookshelf every day!