Are you looking to add a stylish and functional bookshelf to your space without spending a fortune? Building an Ikea-style bookshelf yourself is easier than you think.
Imagine having a sleek, modern shelf that fits perfectly in your room and holds all your favorite books and decor. In this guide, you’ll discover simple steps to create your own bookshelf that looks just like the ones from Ikea—but with your personal touch.
Keep reading, and you’ll be amazed at how quickly you can transform your space with this project.
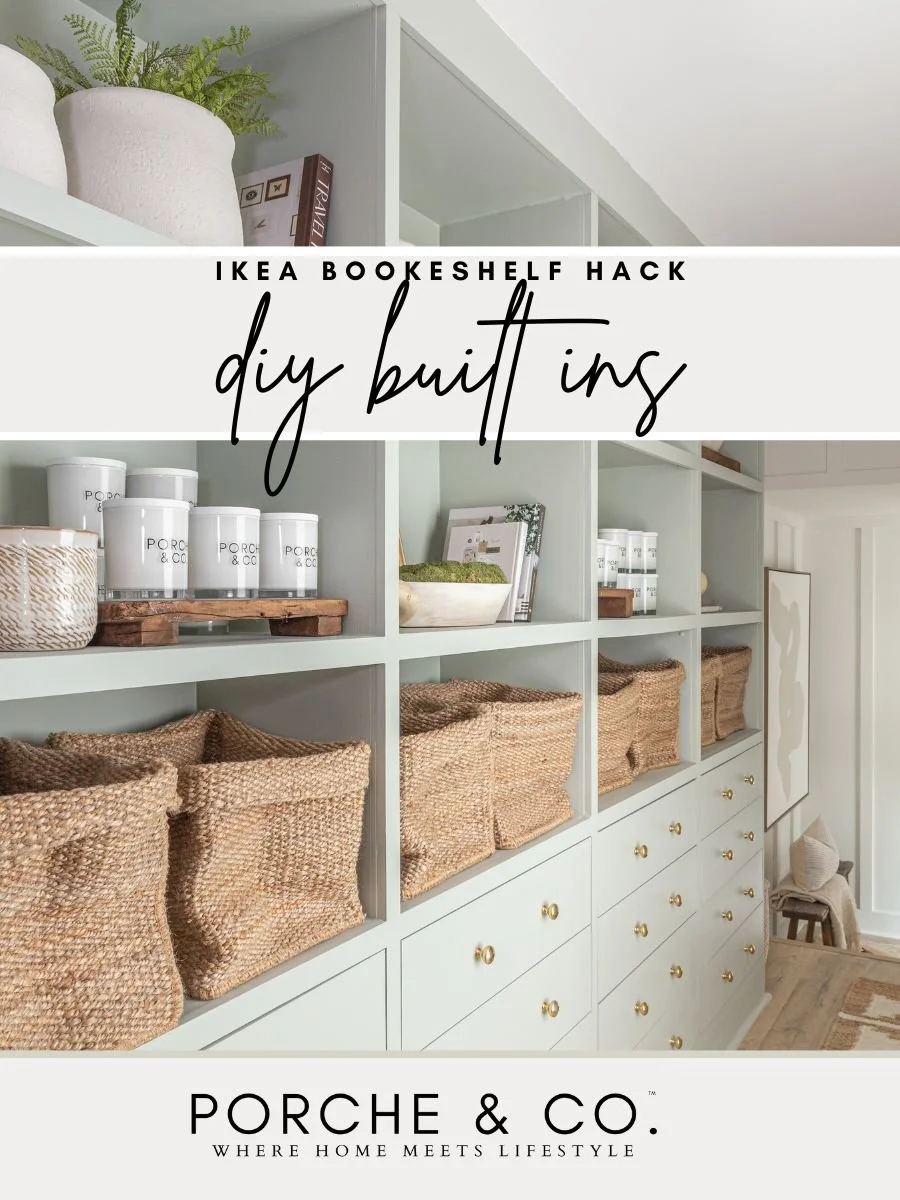
Credit: porcheandco.com
Choosing Materials
Choosing the right materials is key to building a strong Ikea style bookshelf. The right wood and hardware make your shelf sturdy and beautiful. Using proper tools helps you work faster and safer. This section covers how to pick materials and tools for your project.
Selecting Wood Types
Choose wood that fits your budget and style. Pine is soft and easy to work with. It costs less and looks good with paint. Oak is harder and lasts longer. It shows natural grain and resists dents. Plywood is strong and stable. It resists warping and is often used for shelves. Select smooth boards without cracks or knots. Good wood makes your bookshelf durable.
Picking Hardware
Hardware holds your bookshelf together. Use screws that fit the wood thickness. Metal brackets add extra support to shelves. Choose shelf pins that fit the holes well. Sandpaper helps smooth rough edges. Use wood glue for extra bond. Pick hardware that matches your shelf design. Strong hardware keeps your bookshelf safe and steady.
Tools You’ll Need
Gather basic tools before starting. A drill makes holes quickly and cleanly. A screwdriver fits screws tightly. A saw cuts wood to size. Use a level to keep shelves straight. A measuring tape helps measure wood pieces. Clamps hold wood together while glue dries. Safety gear protects your eyes and hands. Having the right tools makes building easier.
Credit: wethedreamers.com
Planning Your Bookshelf
Planning your bookshelf is the first step to a successful build. Careful planning saves time and materials. It helps you create a sturdy and functional design. This stage focuses on measuring your space, setting the right dimensions, and sketching the layout.
Start with clear goals. Decide how many books or items you want to store. Think about the style and shape that fits your room. Good planning makes building easier and more enjoyable.
Measuring Space
Measure the area where you want to place the bookshelf. Use a tape measure and note the height, width, and depth. Check for obstacles like power outlets or vents. Record the smallest and largest space available. This helps avoid errors during construction.
Designing Dimensions
Choose dimensions that fit your measured space. Think about shelf height for different book sizes. Allow enough depth to hold large books or decorations. Balance between storage capacity and room flow. Simple, clear dimensions make cutting and assembly easier.
Sketching The Layout
Draw a rough sketch of your bookshelf design. Include shelves, sides, and back panels. Mark the size of each part with measurements. Visualizing the layout helps plan materials and tools. Adjust the sketch until the design feels right.
Cutting And Preparing Pieces
Cutting and preparing pieces is an important step in building an Ikea style bookshelf. It shapes the wood into the right sizes for assembly. Careful cutting ensures the parts fit well and the shelf stays strong. Preparing the wood also helps create a smooth finish that looks professional.
Follow each step with care. Use the right tools and safety gear. This part may take time, but it makes your project easier later.
Marking Measurements
Start by measuring each piece of wood carefully. Use a tape measure for accuracy. Mark the cutting lines with a pencil. Double-check the marks before cutting. Clear and precise lines help you cut straight every time.
Safe Cutting Techniques
Wear safety glasses and gloves before cutting. Use a saw that fits your project size. Hold the wood steady with clamps. Cut slowly along the marked lines. Keep your fingers away from the blade. Always work on a stable surface.
Sanding And Smoothing
After cutting, sand each piece to remove rough edges. Use medium-grit sandpaper first, then fine-grit for smoothness. Sand along the wood grain for best results. This step prevents splinters and helps paint or finish stick well. Clean dust off before moving on.
Assembling The Frame
Building an Ikea style bookshelf starts with assembling the frame. This step shapes the foundation of your bookshelf. A strong frame keeps the shelves steady and supports the weight of your books. Take your time to join the panels correctly. Follow the instructions carefully for a perfect fit.
Joining Panels
Begin by aligning the side panels with the top and bottom pieces. Make sure the edges match perfectly. Use dowels or cam locks to connect them firmly. Press the panels together until they fit tightly. This forms the basic shape of your bookshelf.
Securing With Screws
After joining the panels, use screws to hold them in place. Screws add strength and prevent wobbling. Drill pilot holes first to avoid splitting the wood. Tighten the screws evenly on all sides. Avoid overtightening to keep the wood safe.
Checking For Stability
Once assembled, check if the frame stands steady. Place it on a flat surface and gently shake it. The frame should not wobble or lean. If it moves, tighten the screws or adjust the panels. A stable frame ensures your bookshelf lasts long and holds weight well.
Adding Shelves
Adding shelves is a key step in building an Ikea style bookshelf. Shelves hold your books and display your items. Proper shelf placement ensures balance and functionality. You can fix shelves permanently or make them adjustable for flexibility. This section explains how to measure shelf placement, fix shelves in place, and explore adjustable shelf options.
Measuring Shelf Placement
Start by measuring the inside height of your bookshelf frame. Decide how many shelves you want. Divide the total height by the number of shelves plus one space for the bottom. Mark the spots on the side panels using a pencil. Check that the marks are level on both sides. Even spacing keeps the bookshelf stable and neat.
Fixing Shelves In Place
Use shelf pins or brackets to hold your shelves. Drill small holes on the marks you made earlier. Insert shelf pins into the holes to support the shelves. Place the shelves on top of the pins. For a stronger hold, use screws and brackets under the shelves. Secure shelves firmly to avoid wobbling or falling.
Adjustable Shelf Options
Adjustable shelves give you freedom to change shelf height. Use metal or plastic shelf supports that fit into pre-drilled holes. This allows you to move shelves up or down as needed. Consider installing a pegboard or track system for more flexibility. Adjustable shelves help adapt your bookshelf to different items and sizes.

Credit: thehouseofnavy.com
Finishing Touches
Finishing touches make your Ikea style bookshelf look complete and strong. They protect the wood and give the shelf a neat, polished look. This step is key to making your shelf last longer and look great in your room. Follow these simple steps to finish your project like a pro.
Painting And Staining
Choose paint or stain that matches your room’s style. Paint gives a solid color and hides wood grain. Stain shows the natural wood pattern and adds color. Use a brush or small roller for smooth, even coats. Let each coat dry before adding another. Light sanding between coats helps the finish stick well.
Applying Protective Coats
Protective coats keep your shelf safe from scratches and water. Use clear varnish, polyurethane, or lacquer. Apply thin layers with a clean brush. Let each layer dry fully. Sand lightly between coats for a smooth surface. This step makes your shelf strong and easy to clean.
Attaching Back Panels
Back panels add strength and keep shelves straight. Measure the back area carefully. Cut the panel to fit snugly. Use nails or screws to secure the panel to the frame. This step stops the shelf from wobbling. It also gives a finished look from behind.
Maintaining Your Bookshelf
Maintaining your Ikea style bookshelf helps keep it strong and beautiful. Regular care protects the wood and ensures the shelves stay level and safe. Simple steps make your bookshelf last longer and look fresh.
Regular Cleaning Tips
Dust your bookshelf weekly. Use a soft cloth or duster to remove dirt. Avoid wet cloths that can damage the wood. For tougher spots, use a damp cloth with mild soap. Dry the surface immediately after cleaning. Keep books and items organized to reduce dust buildup.
Handling Wear And Tear
Check your bookshelf for scratches or dents regularly. Use wood polish or touch-up markers to fix small marks. Tighten loose screws or brackets to keep shelves stable. Avoid overloading shelves to prevent bending or breaking. Handle the bookshelf gently when moving it.
Upgrading Over Time
Change the look by painting or staining the bookshelf. Add decorative knobs or hooks for extra style and function. Replace damaged shelves or panels if needed. Use shelf liners to protect surfaces and add grip. Upgrade lighting to highlight your collection and improve room ambiance.
Frequently Asked Questions
What Materials Are Needed To Build An Ikea-style Bookshelf?
You need plywood or MDF boards, wood screws, brackets, wood glue, sandpaper, paint or veneer, and basic tools like a drill and saw.
How Do I Ensure My Bookshelf Is Sturdy And Safe?
Use quality wood, secure joints with screws and glue, and attach the bookshelf to the wall to prevent tipping.
Can I Customize The Size Of My Ikea-style Bookshelf?
Yes, you can adjust dimensions to fit your space while maintaining proper shelf spacing for stability and storage.
What Finishing Options Suit An Ikea-style Bookshelf?
Paint, wood stain, or veneer offer clean, modern finishes similar to Ikea’s style and protect the wood surface.
Conclusion
Building an Ikea style bookshelf is simple and fun. You need basic tools and clear steps. Choose the right materials and follow the instructions carefully. Take your time and work step by step. This project helps you create useful storage for your space.
Enjoy your new bookshelf and the pride of building it yourself. Try customizing it to fit your style and needs. A well-made bookshelf can last for years. Keep practicing and your skills will grow stronger.