Are you looking for an easy way to add charm and storage to your space? Making a simple wooden bookshelf might be just what you need.
Imagine having a sturdy, beautiful shelf you built yourself—perfect for your favorite books, plants, or keepsakes. In this guide, you’ll discover step-by-step instructions that anyone can follow, even if you’ve never worked with wood before. By the end, you’ll have the skills and confidence to create a bookshelf that fits your style and space perfectly.
Ready to get started? Let’s dive in!
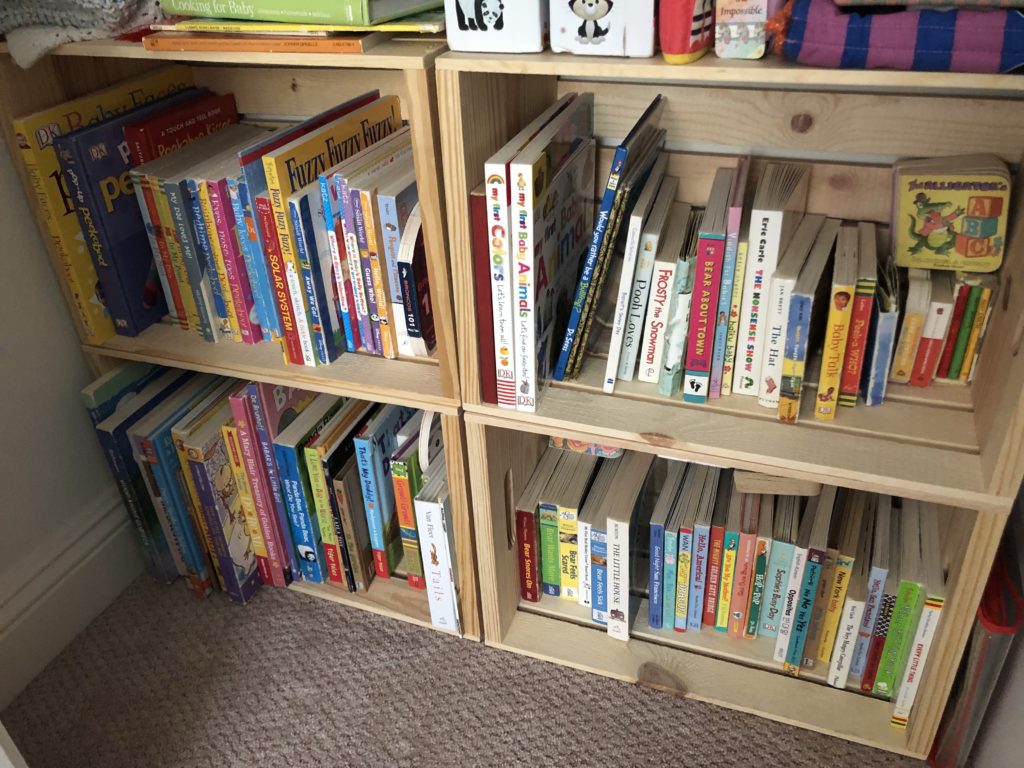
Credit: ecofriendlymama.com
Materials And Tools
Building a simple wooden bookshelf starts with gathering the right materials and tools. Using quality wood and the correct tools makes the project easier and the final product stronger. Prepare everything before you begin to save time and avoid problems.
Wood Selection
Choose wood that is sturdy and easy to work with. Pine is a popular choice for beginners. It is affordable and cuts easily. Hardwood like oak or maple lasts longer but can be harder to handle. Pick boards that are straight and free of cracks. The wood thickness should be about 3/4 inch for good strength.
Essential Tools
Basic tools are needed for cutting, measuring, and assembling. A handsaw or circular saw will cut your wood pieces. Use a tape measure to get exact lengths. A carpenter’s square helps to make perfect corners. Sandpaper or a sanding block smooths rough edges. A drill or screwdriver is necessary for screws.
Additional Supplies
Besides wood and tools, some supplies make assembly easier. Wood screws hold the parts together firmly. Wood glue adds extra strength at joints. Finish with wood stain or paint for protection and style. Painter’s tape helps keep lines neat during finishing. Don’t forget safety gear like gloves and goggles.
Designing Your Bookshelf
Designing your wooden bookshelf is the first step to a successful project. A clear design helps you plan and build easily. Think about the space where you want to place the shelf. This affects its size and style.
Good design also makes your bookshelf sturdy and useful. You want shelves that hold your books well and look nice in your room. Start with simple ideas and adjust as you go.
Choosing Dimensions
Measure the wall or space for your bookshelf carefully. Decide how tall and wide the shelf should be. A common height is between 4 and 6 feet. Width depends on your wall space and book size.
Depth is important too. Most books fit well on shelves 10 to 12 inches deep. Keep extra space for bigger books or decorations. Choose sizes that fit your needs and room.
Planning Shelf Layout
Think about how many shelves you want. More shelves mean more storage but less space between each. Plan the height between shelves based on the books you own.
Mix shelf heights for different book sizes. Some tall shelves for large books. Short shelves for small books or decorations. A good layout makes the bookshelf useful and attractive.
Cutting The Wood
Cutting the wood is the first real step in building your bookshelf. This part needs care and precision. It sets the base for a strong and neat bookshelf. You will cut the wood into the right sizes and shapes. Follow each step carefully to avoid mistakes.
Measuring And Marking
Start by measuring each piece of wood. Use a tape measure to get exact lengths. Mark the cut lines clearly with a pencil. Double-check measurements before marking. Measure twice, cut once is an important rule. Make straight lines using a ruler or square. Clear marks help you cut accurately and avoid waste.
Safe Cutting Techniques
Wear safety glasses and gloves before cutting. Choose the right saw for your wood type. Keep your hands away from the blade. Cut slowly and follow the marked lines. Use clamps to hold wood steady. This prevents slipping and accidents. Work in a clean, well-lit area. Safety first makes your project easier and safer.
Assembling The Frame
Assembling the frame is the key step to build your wooden bookshelf. This part creates the strong structure that holds everything together. It needs careful work and attention to detail. Follow the steps carefully to make sure the frame is stable and square.
Joining Side Panels
Start by placing the two side panels upright and parallel. Use wood glue along the edges for a tight bond. Next, align the panels with the top and bottom pieces. Drill pilot holes to avoid splitting the wood. Secure all parts with screws. Check the corners with a square tool. Adjust until the frame is perfectly right-angled.
Attaching Shelves
Measure and mark shelf positions on the side panels. Use a level to keep shelves even. Apply wood glue on the shelf edges. Insert the shelves between the side panels. Drill pilot holes through the sides into the shelves. Fasten shelves with screws for a strong hold. Double-check the shelves are flush and stable. Let glue dry before adding weight.
Sanding And Finishing
Sanding and finishing are key steps in making a wooden bookshelf. They help create a smooth surface and protect the wood. Proper sanding removes rough spots and splinters. Finishing adds color and seals the wood. This process improves the look and lifespan of your bookshelf.
Smoothing Surfaces
Start sanding with coarse sandpaper. This removes large bumps and rough edges. Sand along the grain of the wood. Avoid sanding across the grain to prevent scratches. After the first sanding, use finer sandpaper. This makes the surface smooth and ready for finishing. Wipe the dust off with a clean cloth. Check the surface by running your hand over it. It should feel even and soft.
Applying Paint Or Stain
Choose paint or stain based on your style preference. Stain highlights the natural wood grain. Paint covers the wood and adds color. Use a brush or cloth to apply evenly. Work in thin coats to avoid drips and blobs. Let each coat dry completely before applying the next. For extra protection, add a clear sealant on top. This keeps the wood safe from scratches and moisture.
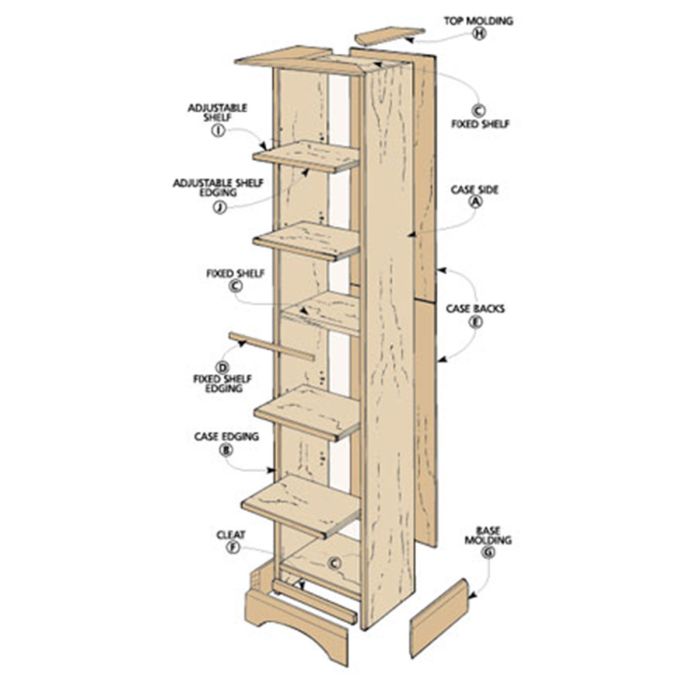
Credit: www.woodpeck.com
Final Touches
Final touches bring your wooden bookshelf to life. They make it sturdy and neat. These steps protect your shelf and help it last longer. Let’s add the last details carefully.
Adding Back Panel
The back panel gives your bookshelf more strength. Use thin plywood or hardboard for this part. Cut it to fit the back of your shelf exactly. Attach it with small nails or screws. Make sure it is straight and secure. This panel stops the shelf from wobbling or leaning.
Securing The Bookshelf
Secure your bookshelf to the wall for safety. Use wall brackets or L-brackets at the top corners. Find studs in the wall with a stud finder. Screw brackets into the studs for a strong hold. This step prevents the shelf from tipping over. It keeps your books and family safe.
Maintenance Tips
Keeping your wooden bookshelf in good shape is key to its long life. Regular care helps maintain its beauty and strength. Simple steps protect the wood from wear and tear. These tips make sure your bookshelf stays sturdy and attractive.
Cleaning Advice
Dust the bookshelf often using a soft cloth. Avoid harsh chemicals that can damage the wood. Use a damp cloth with mild soap for tough spots. Always dry the surface right after cleaning. This keeps the wood from absorbing moisture.
Preventing Damage
Place the bookshelf away from direct sunlight to stop fading. Avoid placing heavy items on one shelf only. Spread weight evenly to prevent bending or warping. Use coasters or pads under decorations to avoid scratches. Keep the bookshelf in a room with stable humidity to prevent cracking.
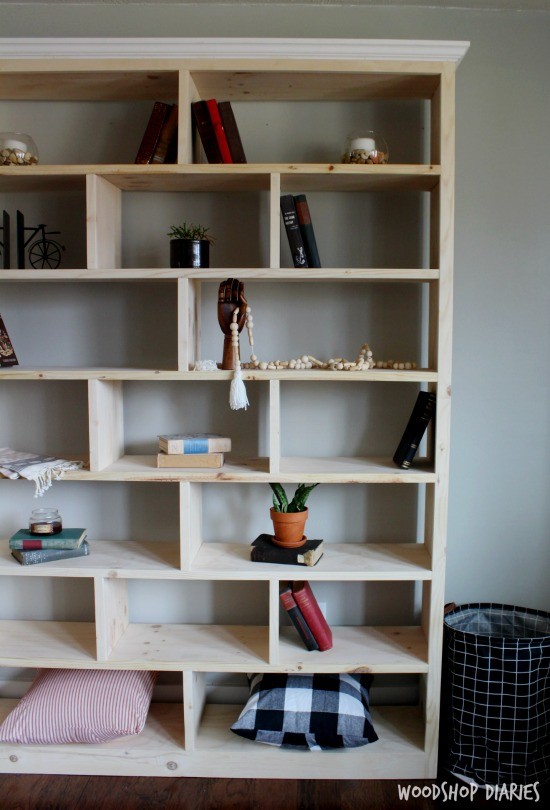
Credit: www.woodshopdiaries.com
Frequently Asked Questions
What Materials Do I Need For A Wooden Bookshelf?
You need wood boards, screws, wood glue, sandpaper, paint or stain, and basic tools like a drill and saw. Choose sturdy wood for durability and smooth finishes for better appearance.
How Long Does It Take To Build A Wooden Bookshelf?
Building a simple wooden bookshelf typically takes 3 to 5 hours. This depends on your skill level and the complexity of the design. Preparation and finishing may add extra time.
Can Beginners Easily Build A Wooden Bookshelf?
Yes, beginners can build a simple wooden bookshelf. Follow clear instructions, use basic tools, and start with a simple design. It’s a great project to improve woodworking skills.
How Do I Ensure My Bookshelf Is Stable?
Use strong joints like screws and wood glue for stability. Make sure all parts fit tightly and the bookshelf is level. Adding a back panel can also improve strength.
Conclusion
Building a simple wooden bookshelf is a great way to add storage space. It only takes a few basic tools and materials. You can customize it to fit any room or style. The project helps you learn basic woodworking skills too.
With patience and care, the shelf will last a long time. Try it yourself and enjoy the satisfaction of making something useful. A wooden bookshelf brings warmth and charm to your home. Start small, and see how easy it can be!