Are you ready to create a beautiful bookshelf that fits your space perfectly? Building your own bookshelf might sound tricky, but with the right steps, you can do it yourself and enjoy a custom piece that shows off your style.
Imagine having a sturdy, stylish shelf where you can neatly organize your favorite books and treasures. In this guide, you’ll discover simple, clear instructions to help you build a bookshelf that looks great and lasts for years. Keep reading, and by the end, you’ll feel confident to start your own bookshelf project today.
Choosing The Right Materials
Choosing the right materials is the first step to build a strong, beautiful bookshelf. The materials affect how long your bookshelf will last. They also determine how it looks and feels. Picking good materials makes your project easier and more fun. It helps you create a shelf that fits your space and style perfectly.
Types Of Wood
Wood is the main material for bookshelves. Softwoods like pine are light and easy to cut. They cost less but can dent easily. Hardwoods like oak or maple are stronger. They last longer and look richer. Plywood is another option. It is made of layers and resists warping. Choose wood that fits your budget and style. Also, think about the weight your shelf must hold.
Selecting Fasteners And Tools
Fasteners hold the parts of your bookshelf together. Nails and screws are common fasteners. Screws give a tighter hold and are easier to fix. Wood glue adds extra strength. Use clamps to keep pieces steady while glue dries. Tools like saws, drills, and sandpaper are needed. Pick tools you can handle safely and easily. Good fasteners and tools make your shelf stable and neat.
Finishes And Paints
Finishes protect wood from damage and stains. Clear finishes keep the natural wood look. Paint adds color and hides imperfections. Choose finishes that fit your room’s style. Water-based paints dry fast and smell less. Oil-based paints last longer but have strong fumes. Sand the wood before finishing for smooth results. Finishes help your bookshelf stay beautiful for years.
Planning Your Bookshelf Design
Planning your bookshelf design is the first step to building a strong and useful shelf. Good planning saves time and materials. It also helps the shelf fit perfectly in your space and hold your books well. Start by understanding your space and what you want.
Measuring Your Space
Measure the area where the bookshelf will go. Use a tape measure and note the height, width, and depth. Check for obstacles like doors, windows, or vents. Write down these numbers carefully. These measurements guide your shelf size and shape.
Deciding Shelf Dimensions
Choose how tall and wide your bookshelf should be. Think about the size of your books. Standard shelves fit most books, but large books need more height. Decide the number of shelves you want. Make sure each shelf can hold your books without bending.
Sketching The Layout
Draw a simple picture of your bookshelf on paper. Mark the height, width, and shelf places. Use a ruler for straight lines. This sketch helps you see the final look. It also guides you during building. Change your sketch if needed before cutting wood.
Cutting And Preparing Wood
Cutting and preparing wood is the first step in building a sturdy bookshelf. This part sets the foundation for a neat and strong piece. Proper cutting ensures all parts fit well together. Smooth edges prevent splinters and give a clean look.
Safety Tips For Cutting
Wear safety goggles to protect your eyes from dust and wood chips. Use ear protection if the tools are loud. Keep your hands away from the blade. Work on a stable surface to avoid slips. Check the tool before starting to ensure it works well.
Cutting Boards To Size
Measure your wood pieces carefully before cutting. Mark the lines clearly with a pencil. Use a saw that matches your skill level for straight cuts. Cut slowly and steadily along the lines. Double-check measurements after cutting to avoid mistakes.
Sanding And Smoothing Edges
Use sandpaper or a sanding block to smooth rough edges. Start with coarse grit to remove splinters. Follow with fine grit for a soft finish. Sand all surfaces that will be visible. Wipe away dust before assembling your bookshelf.
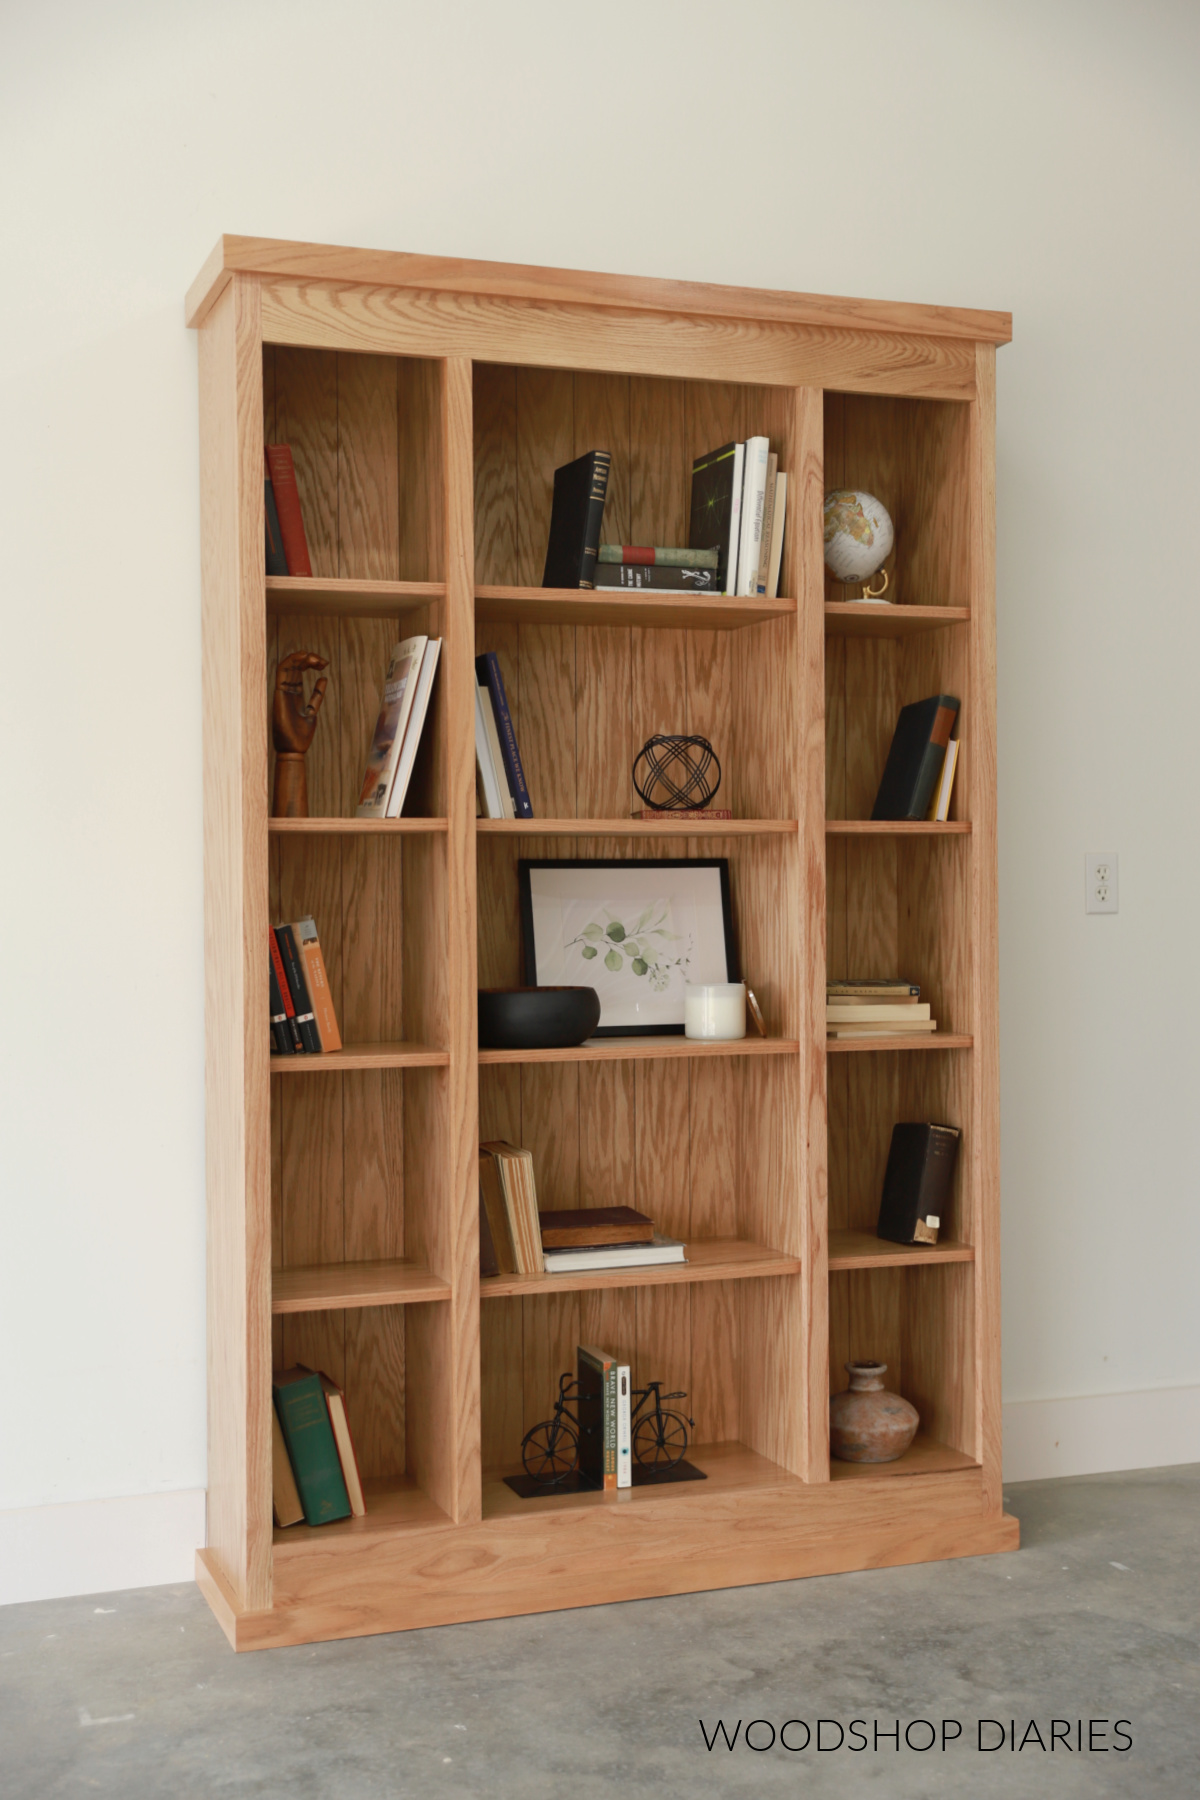
Credit: www.woodshopdiaries.com
Assembling The Frame
Building a bookshelf starts with assembling the frame. This step creates the basic structure. A strong frame holds the shelves and books safely. Follow each part carefully for a sturdy build.
Joining Side Panels
Begin by connecting the two side panels. Use screws or wooden dowels for a tight fit. Align the edges to keep panels straight. Check for square corners before tightening. This forms the backbone of your bookshelf.
Attaching Shelves
Next, place the shelves between the side panels. Measure space for even gaps. Secure each shelf with screws or brackets. Make sure shelves sit flat and stable. Proper attachment prevents sagging under weight.
Ensuring Stability
Stability is key for a safe bookshelf. Add a back panel or cross braces. Tighten all screws and check for wobble. Place the frame on a flat surface. A steady frame supports your books long-term.
Finishing Touches
Finishing touches make your bookshelf look complete and last longer. These steps protect the wood and add style. Spend time on these details for a neat, strong shelf.
Applying Paint Or Stain
Choose paint or stain to match your room’s style. Paint gives color and hides wood grain. Stain shows the natural wood patterns and adds warmth. Use a brush or cloth to apply evenly. Let it dry well between coats for smooth results.
Adding Protective Coating
A protective layer keeps your bookshelf safe from scratches and water. Use clear varnish, polyurethane, or wax. Apply thin coats with a brush. Let each coat dry completely before adding the next. This layer helps your shelf stay beautiful for years.
Installing Wall Supports
Wall supports keep your bookshelf steady and safe. Use brackets or anchors suited for your wall type. Measure carefully to place supports evenly. Secure the shelf tightly to avoid tipping. This step protects your books and your home.
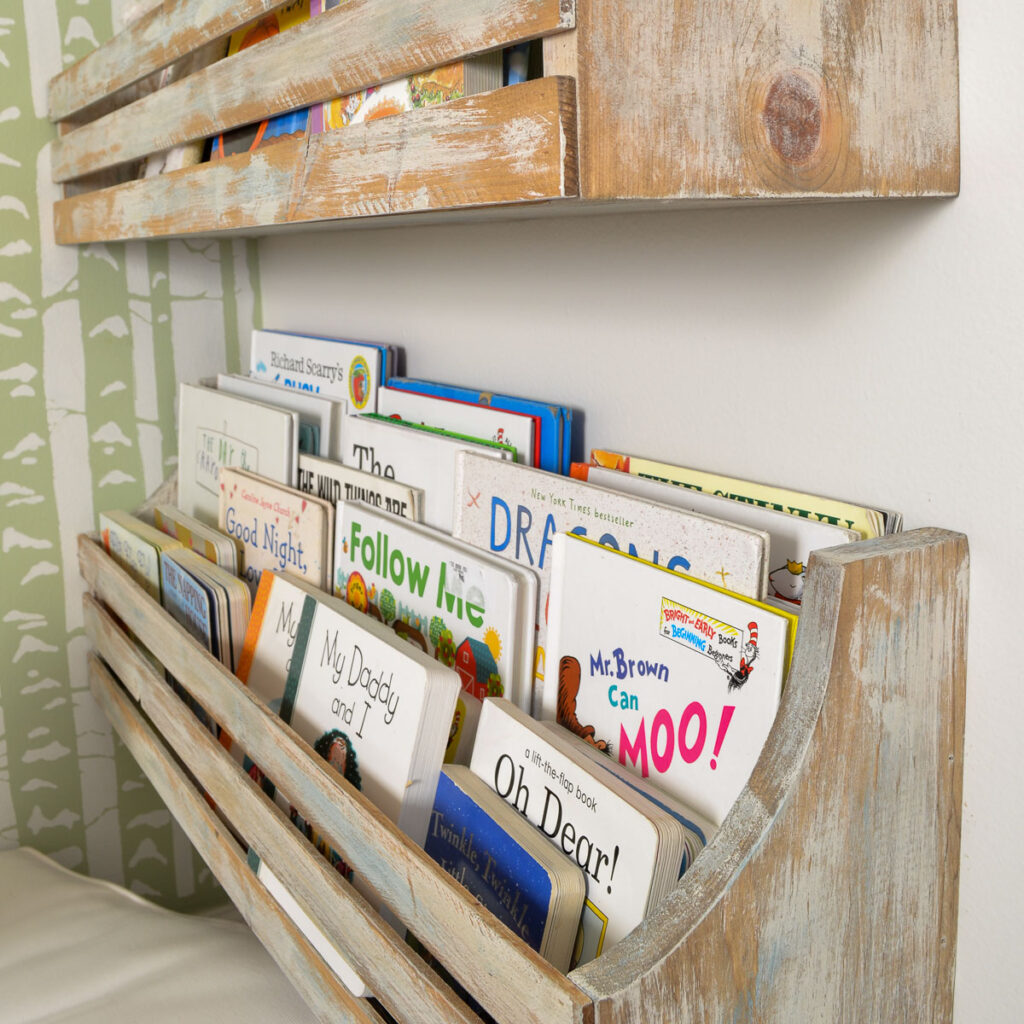
Credit: refreshliving.us
Maintaining Your Bookshelf
Maintaining your bookshelf keeps it strong and looking great for years. Simple care helps avoid damage and keeps books safe. Regular upkeep also makes your space tidy and inviting.
Regular Cleaning Tips
Dust the shelves at least once a week. Use a soft cloth or a feather duster. Clean between books to stop dust buildup. Avoid wet cloths that can damage wood. For stubborn dirt, use a slightly damp cloth. Dry the surface right after cleaning.
Handling Wear And Tear
Check shelves for scratches and dents often. Light scratches can be fixed with a wood marker. For loose screws, tighten them carefully. Replace damaged brackets to keep shelves stable. Use coasters under heavy items to protect surfaces. Avoid overloading shelves to prevent sagging.
Adjusting Shelves As Needed
Change shelf height to fit different book sizes. Remove shelves to clean or rearrange easily. Make sure shelves lock securely in place. Use a level to keep shelves straight. Adjusting shelves helps keep your collection neat. It also prevents books from falling or leaning.

Credit: www.amazon.com
Frequently Asked Questions
How Do I Start Building A Bookshelf?
Begin by selecting a design and measuring your space. Gather materials like wood, screws, and tools. Cut wood to size, assemble the frame, and secure shelves. Finish by sanding and painting or staining for durability and style.
What Tools Are Essential For Bookshelf Building?
You’ll need a saw, drill, measuring tape, screwdriver, level, and clamps. These tools help cut, assemble, and secure wood pieces accurately and safely, ensuring a sturdy and well-built bookshelf.
Which Wood Types Are Best For Bookshelves?
Pine, oak, and plywood are popular choices. Pine is affordable and easy to work with. Oak offers durability and a classic look. Plywood provides strength and resists warping, making it ideal for heavy books.
How Can I Ensure My Bookshelf Is Stable?
Use sturdy wood and secure joints with screws or brackets. Add a back panel for extra support. Anchor the bookshelf to the wall to prevent tipping, especially if it’s tall or heavily loaded.
Conclusion
Building a bookshelf can be a fun and rewarding project. Follow the steps carefully to create a sturdy shelf. Choose the right materials and tools before you start. Take your time with measuring and cutting for best results. A well-built bookshelf adds style and storage to any room.
Keep practicing to improve your woodworking skills. Enjoy the process and the finished product. Your bookshelf will hold books and memories for years. Simple projects like this boost confidence and creativity. Start building today and see what you can make.