Are you ready to transform your empty wall into a stunning bookshelf that shows off your favorite books and decor? Building a bookshelf wall from scratch might sound challenging, but with the right steps, you can create a custom piece that fits perfectly in your space.
Imagine having a wall that not only holds your collection but also adds character and warmth to your room. In this guide, you’ll discover simple, clear instructions that make the process easy and even enjoyable. Keep reading, and by the end, you’ll have the confidence to build a bookshelf wall that’s truly your own.

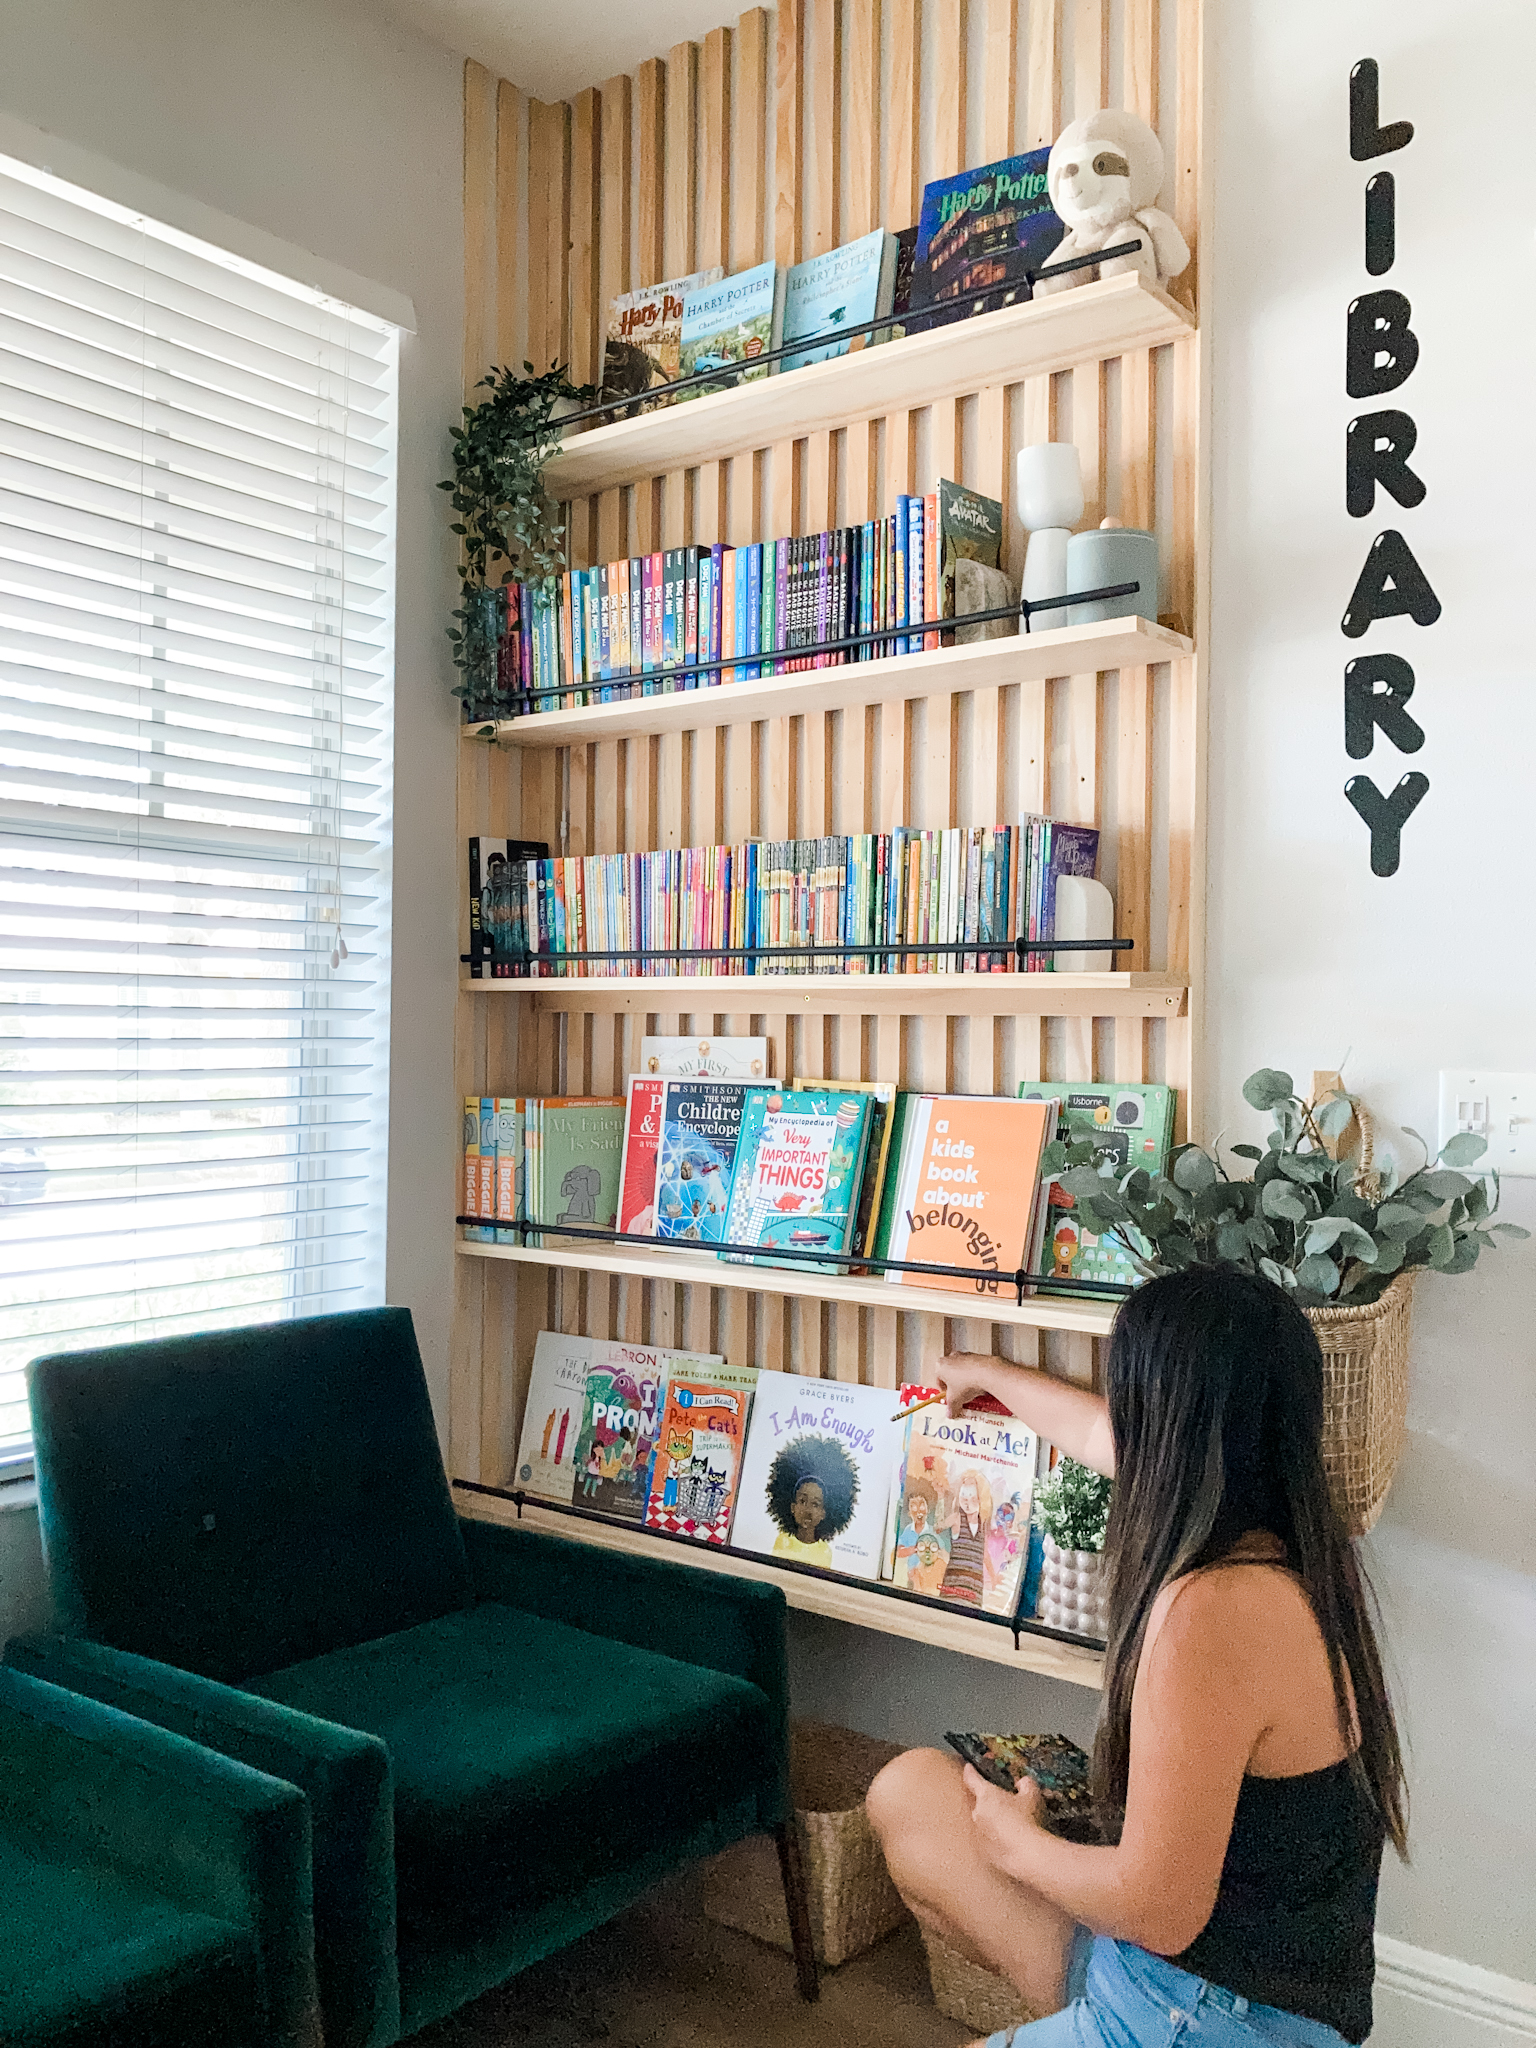
Credit: southernyankeediy.com
Planning Your Bookshelf Wall
Planning your bookshelf wall is the first step in a successful project. Careful thought helps create a strong, beautiful, and useful shelf. This part guides you through important details before building.
Measuring The Wall Space
Start by measuring the wall carefully. Use a tape measure to find the height and width. Write down the numbers. Check for doors, windows, or outlets that may affect the design. Accurate measurements prevent mistakes later.
Choosing The Right Materials
Select materials that fit your style and budget. Wood is popular for its strength and look. Plywood is affordable and easy to paint. Metal brackets add support and a modern touch. Pick materials that suit your room’s feel and hold your books safely.
Designing The Layout
Draw a simple plan of your shelf. Decide how many shelves you want and the space between them. Think about shelf depth for different book sizes. Plan extra space for decorations or storage boxes. A clear layout helps build with confidence and ease.
Credit: xomyhome.com
Gathering Tools And Supplies
Before starting your bookshelf wall project, gather all tools and supplies. This step saves time and keeps the work smooth. Knowing what you need helps avoid interruptions. Organize everything in one place for easy access.
Essential Tools List
Prepare basic tools for cutting, measuring, and assembling. A power drill speeds up drilling and screwing tasks. Use a tape measure for accurate dimensions. A level keeps shelves straight. A saw cuts wood precisely. Screwdrivers and a hammer help with fasteners. Sandpaper smooths rough edges for a clean finish.
Selecting Wood And Fasteners
Choose strong, durable wood like pine or plywood. Wood should be smooth and free of cracks. Pick fasteners suitable for your wood type and wall. Use wood screws for solid hold. Anchors increase stability on drywall. Match fastener size to shelf weight and thickness. Quality materials make your bookshelf last longer.
Safety Gear Checklist
Protect yourself while working with tools and wood. Wear safety glasses to guard your eyes. Use ear protection when cutting or drilling. Gloves protect your hands from splinters and sharp tools. A dust mask keeps you safe from wood dust. Wear closed-toe shoes to protect your feet. Safety gear reduces risk and keeps work safe.
Preparing The Wall
Preparing the wall is the first step to building a strong bookshelf wall. Proper preparation makes the building process easier and safer. It helps you avoid mistakes and damage to your home. Start by clearing the space, then mark important spots on the wall. Finally, protect the floor and furniture from dust and scratches. Each step sets a solid base for your project.
Clearing The Area
Remove all furniture and decorations near the wall. Clear the floor space to move freely. This prevents accidents and damage to your belongings. It also gives you a clean area to work in. Use a small box or bag to store nails and screws during the project.
Marking Studs And Layout Lines
Use a stud finder to locate the wall studs. Mark each stud with a pencil. Studs give your bookshelf strong support. Next, draw horizontal and vertical lines to plan the shelf layout. Use a level to keep lines straight. These marks guide you during installation and ensure balance.
Protecting Floors And Furniture
Cover the floor with a drop cloth or old sheets. Tape edges down to stop slipping. Move any nearby furniture away or cover it with plastic. This stops dust and paint from damaging your items. Protecting your space keeps cleanup quick and easy.
Building The Frame
Building the frame is the first big step in creating a sturdy bookshelf wall. This part shapes the entire structure. A well-built frame ensures the shelves hold books safely. Careful measuring and cutting make the frame strong and balanced.
Cutting Wood To Size
Start by measuring the wall space for your bookshelf. Mark the wood pieces with a pencil. Use a saw to cut the wood to the right lengths. Cut the vertical and horizontal pieces carefully. Smooth the edges with sandpaper for safety.
Assembling The Frame
Lay out the cut wood on the floor. Arrange the pieces to form the frame shape. Use wood glue on the joints for extra hold. Nail or screw the pieces together tightly. Check that the frame is square with a carpenter’s square tool.
Securing The Frame To The Wall
Find the wall studs using a stud finder. Align the frame against the wall studs. Drill pilot holes through the frame into the studs. Use long screws to attach the frame securely. Double-check the frame is level and steady before adding shelves.
Adding Shelves
Adding shelves is a key step in building a bookshelf wall. Shelves hold your books and decor items. They need to be strong and well-fitted. This part explains how to measure, cut, and attach the shelves properly. Follow these steps carefully for a sturdy and neat finish.
Measuring And Cutting Shelves
Measure the space between the vertical supports. Use a tape measure for accuracy. Mark the length on your shelf boards. Cut the shelves with a saw along the marks. Make sure each shelf is cut straight. Sand the edges to smooth any roughness.
Installing Shelf Supports
Select the right supports for your shelf weight. Brackets or cleats work well for most shelves. Attach supports to the frame at the measured points. Use a level to keep supports even. Secure them with screws to hold firm. Double-check all supports before placing shelves.
Attaching Shelves To The Frame
Place each shelf on the installed supports. Ensure the shelf fits well without gaps. Use screws or brackets to attach shelves if needed. This keeps shelves stable and stops movement. Check each shelf for level and adjust if needed. Your bookshelf wall is ready to hold your items.
Finishing Touches
Finishing touches give your bookshelf wall a polished, complete look. They protect the wood and enhance its beauty. Careful attention to these steps ensures your project lasts longer and looks great.
Sanding And Smoothing Surfaces
Start by sanding all surfaces with fine-grit sandpaper. This removes rough spots and splinters. Smooth surfaces help paint or stain stick better. Always sand in the direction of the wood grain. Wipe dust away with a damp cloth before the next step.
Painting Or Staining Options
Choose paint or stain to match your room’s style. Paint covers wood completely and offers many colors. Stain shows the wood’s natural beauty and texture. Apply thin, even coats with a brush or cloth. Let each coat dry fully before adding more.
Installing Trim And Molding
Trim and molding add a finished look to edges and corners. They hide gaps and give a clean line. Cut pieces to fit tightly against the wall and shelves. Use nails or strong glue to secure them. Fill nail holes with wood filler for a smooth finish.
Organizing Your Bookshelf
Organizing your bookshelf is a key step after building it from scratch. It helps keep your books neat and your space inviting. A well-arranged shelf makes finding books easy and adds charm to your room. Follow simple steps to organize your books and decor safely and keep them looking good over time.
Arranging Books And Decor
Start by grouping books by size or topic. Place taller books at the ends or back. Use horizontal stacks to break up vertical rows. Add small decor items like plants or candles for interest. Keep some empty space to avoid a crowded look. Balance colors and shapes to create a pleasing display.
Maintaining Stability And Safety
Secure shelves to the wall to prevent tipping. Use bookends to hold books upright firmly. Avoid overloading shelves with too much weight. Place heavier items on lower shelves for stability. Check fasteners regularly to keep the shelf safe. Keep the area around the shelf clear to avoid accidents.
Tips For Long-term Care
Dust shelves and books often to prevent buildup. Avoid direct sunlight to stop fading. Keep the shelf dry to prevent warping or mold. Rotate books occasionally to reduce wear on spines. Repair small damages quickly to extend shelf life. Use shelf liners for extra protection and easy cleaning.

Credit: southernyankeediy.com
Frequently Asked Questions
What Materials Are Needed To Build A Bookshelf Wall?
To build a bookshelf wall, you need wood boards, screws, nails, brackets, a drill, a level, measuring tape, and paint or stain. Choose sturdy wood like plywood or oak for durability. These materials ensure a strong, stable, and attractive bookshelf wall.
How Long Does It Take To Build A Bookshelf Wall?
Building a bookshelf wall typically takes one to three days. Time varies based on size, complexity, and skill level. Preparing, measuring, cutting, assembling, and finishing all affect the duration. Proper planning helps complete the project efficiently and with quality results.
How Do I Ensure My Bookshelf Wall Is Sturdy?
To ensure sturdiness, anchor shelves to wall studs with strong brackets or screws. Use quality wood and level each shelf carefully. Reinforce joints with wood glue and screws. Proper installation prevents sagging and keeps bookshelves safe and durable over time.
Can I Customize The Bookshelf Wall Design?
Yes, you can customize the design by choosing different shelf sizes, shapes, and finishes. Add doors, lighting, or decorative molding for style. Customizing helps match your room’s décor and storage needs, making the bookshelf wall both functional and visually appealing.
Conclusion
Building a bookshelf wall from scratch takes time and care. Start with a clear plan and the right tools. Measure your space well to fit shelves perfectly. Choose strong materials for safety and durability. Take each step slowly to avoid mistakes.
Your new bookshelf will add charm and storage to any room. Enjoy the process and the final result. A well-built bookshelf wall lasts for years. It makes your space look neat and organized. Try this project and see the difference it brings.
