Are you looking to give your wood bunk bed a fresh, new look? Painting it yourself is easier than you might think, and it can completely transform your space.
Whether you want a bold color or a soft, cozy finish, this guide will walk you through every step. By the end, you’ll have a beautiful bunk bed that feels brand new—without spending a fortune. Ready to make your bunk bed the highlight of the room?
Let’s get started!
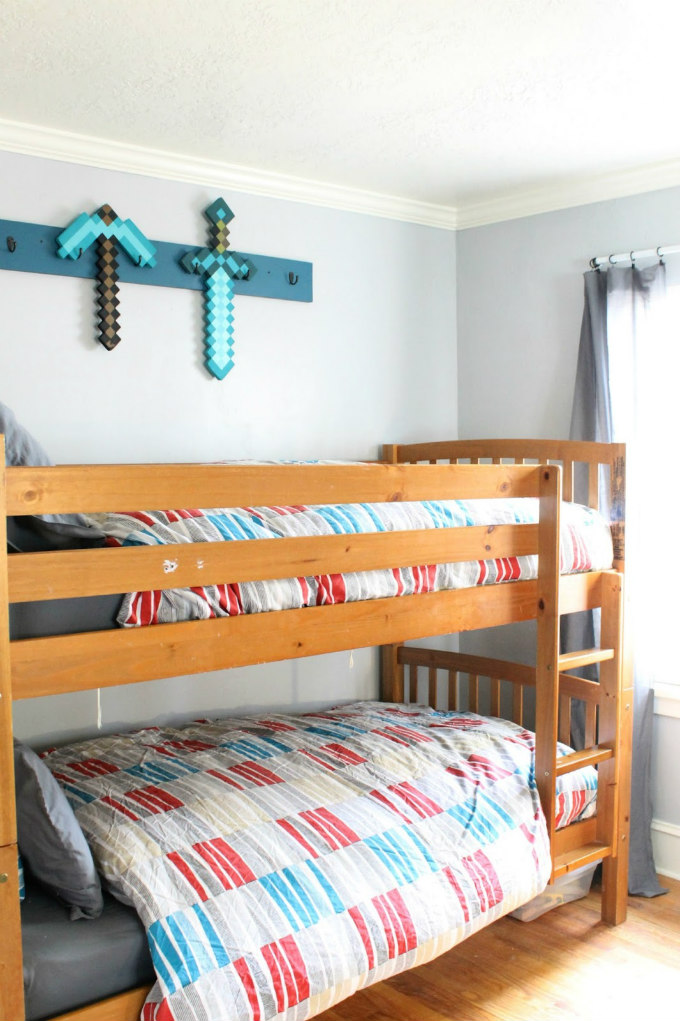
Credit: thewickerhouse.com
Choosing The Right Paint
Choosing the right paint for your wood bunk bed is important. The paint affects how the bed looks and lasts. It also protects the wood from damage and wear. Picking the best paint type and color helps you create a safe and stylish bed. This section explains different paint types, color tips, and eco-friendly choices. Use these tips to make a smart decision.
Types Of Paint For Wood
Latex paint is popular for wood projects. It dries fast and cleans easily with water. It has low odor and works well indoors.
Oil-based paint is stronger and more durable. It takes longer to dry and needs special thinner for cleanup. It gives a smooth finish but has stronger smell.
Chalk paint is great for a matte, vintage look. It sticks well without much prep. It may need a protective topcoat for durability.
Milk paint is natural and safe for kids. It creates a soft, old-fashioned finish. It may chip slightly for a worn effect.
Color Selection Tips
Pick colors that match your room’s style and mood. Light colors make the room feel bigger and brighter. Dark colors add warmth and coziness.
Choose non-toxic, low-VOC paints for children’s furniture. These paints reduce harmful fumes and keep air clean.
Test a small paint patch on the wood. Watch how it looks in natural light and under lamps. Colors can change with different lighting.
Eco-friendly Options
Eco-friendly paints contain fewer chemicals. They are safer for your family and the environment. Look for paints labeled “low VOC” or “zero VOC.”
Natural paints made from clay, chalk, or milk are good choices. They are biodegradable and non-toxic.
Using eco-friendly paint helps reduce indoor pollution. It also supports sustainable living and protects nature.
Preparing The Bunk Bed
Preparing a wood bunk bed before painting is essential for a smooth finish. Proper preparation helps the paint stick better and last longer. It also makes the bed look more polished and neat. This process involves cleaning, sanding, repairing, and sometimes removing old paint. Taking time for these steps makes the painting easier and more effective.
Cleaning And Sanding
Start by cleaning the bunk bed thoroughly. Use a damp cloth to remove dust and dirt. This step clears away grime that can stop paint from sticking well. After cleaning, sand the wood surface with fine-grit sandpaper. Sanding smooths rough spots and opens the wood pores. This helps the paint hold better and gives a smooth finish.
Repairing Damages
Check the bunk bed for cracks, holes, or loose parts. Fill small holes and cracks with wood filler. Let the filler dry completely before sanding it smooth. Tighten loose screws or joints to make the bed sturdy. Fixing damages improves the bed’s safety and appearance before painting.
Removing Old Paint
If the bunk bed has old or peeling paint, remove it first. Use a paint scraper or a chemical paint remover carefully. Removing loose paint prevents uneven surfaces and peeling later. After paint removal, sand the surface lightly to prepare it for the new paint.
Gathering Supplies
Gathering the right supplies is the first step to painting a wood bunk bed. It ensures the process goes smoothly and gives the best results. Preparing carefully saves time and avoids mistakes. Below are the key supplies you need for a successful project.
Essential Tools
Start with a good quality paintbrush or roller. A small brush helps with corners and details. Sandpaper or a sanding block is important to smooth the wood surface. Use painter’s tape to protect areas you don’t want to paint. A paint tray keeps your paint handy and neat. Also, have a clean cloth for wiping dust and spills.
Safety Gear
Protect yourself while working. Wear gloves to keep paint off your skin. Use a dust mask to avoid breathing dust from sanding. Safety goggles protect your eyes from splashes and dust. Old clothes or a painting apron keep your clothes clean. Good ventilation in the workspace helps reduce fumes from the paint.
Workspace Setup
Choose a well-lit and ventilated area for painting. Lay down a drop cloth or old newspapers to catch drips. Keep all your tools and paint within reach. Clear space around the bunk bed for easy movement. Ensure the floor is clean and dry to avoid slipping. Proper setup makes painting easier and neater.
Priming The Surface
Priming the surface is a key step before painting a wood bunk bed. It helps the paint stick better and lasts longer. Without primer, paint may peel or chip quickly. A good primer also hides stains and wood imperfections. This section explains how to choose and apply primer correctly. Follow these steps for a smooth, durable finish.
Choosing A Primer
Select a primer made for wood surfaces. Oil-based primers work well for raw wood. They block stains and knots effectively. Water-based primers dry faster and have less odor. Use a stain-blocking primer if the wood has dark marks. Choose a primer compatible with your paint type—latex or oil-based.
Applying Primer
Start with a clean, dry surface. Sand the wood lightly to smooth rough spots. Use a brush or roller to apply primer evenly. Cover all surfaces, including edges and corners. Apply thin coats to avoid drips and runs. Let the first coat dry, then apply a second coat if needed.
Drying Time
Allow the primer to dry fully before painting. Drying usually takes 1 to 4 hours. Check the primer label for exact times. Avoid touching the surface while drying. Proper drying ensures the paint will stick well and look smooth.
Painting Techniques
Painting a wood bunk bed requires careful techniques to get a smooth, lasting finish. The right methods help the paint stick well and look neat. Choosing the correct tools and applying paint evenly makes a big difference. Avoiding common mistakes like drips and streaks keeps your bunk bed beautiful and safe for kids. Below are some key painting techniques to consider.
Brush Vs. Spray Painting
Brush painting is simple and good for small areas. It gives control and reaches corners easily. Use a high-quality brush for smooth strokes. Spray painting covers large surfaces quickly. It creates an even finish without brush marks. Sprayers need careful handling to avoid overspray. Choose brush painting for detail work and spray painting for speed.
Applying Even Coats
Apply thin coats of paint rather than thick ones. Thin coats dry faster and reduce drips. Use long, smooth strokes to spread paint evenly. Wait for each coat to dry before adding another. Two to three coats ensure full coverage and strong color. Light sanding between coats can help smooth the surface.
Avoiding Drips And Streaks
Hold the brush or sprayer at a steady angle. Move steadily without stopping in one spot. Too much paint causes drips and streaks. Wipe off excess paint from the brush before painting. Check your work often and fix drips right away. Proper technique keeps the bunk bed looking neat and safe.

Credit: www.maisondepax.com
Adding Finishing Touches
Adding finishing touches to your painted wood bunk bed completes the project. It protects the paint and enhances the bed’s look. These small steps make a big difference. You will see the effort pay off in the final result.
Sealing And Protecting
Apply a clear sealant to protect the paint. Choose a water-based polyurethane for a smooth finish. Use a brush or spray for even coverage. Let the sealant dry fully between coats. This step guards against scratches and moisture damage.
Decorative Details
Add details like stencils or decals to personalize the bed. Use painter’s tape to create clean lines. Consider soft colors or simple shapes for a calm look. Small touches make the bunk bed unique and fun. Avoid heavy designs that may clash with the paint.
Curing Time
Allow the paint and sealant to cure fully before use. This may take several days depending on the products. Avoid heavy use or placing mattresses too soon. Proper curing ensures the paint stays strong and lasts longer. Patience now saves future repairs.
Maintenance Tips
Painting a wood bunk bed is just the start. Proper care keeps it looking fresh and strong for years. Follow these maintenance tips to protect your paint job and keep the bed safe and beautiful.
Cleaning Painted Surfaces
Dust the bunk bed regularly using a soft cloth. Avoid rough scrubbing that can damage paint. Use mild soap and water for stains. Wipe gently and dry with a clean cloth. Avoid harsh chemicals that wear down paint layers.
Touching Up Chips
Inspect the bed often for paint chips or scratches. Lightly sand the chipped area before repainting. Use matching paint to fill small spots. Apply thin coats and let each dry fully. This keeps the bed looking neat and protects the wood underneath.
Prolonging Paint Life
Keep the bunk bed away from direct sunlight. Sunlight can fade and crack paint over time. Control room humidity to avoid moisture damage. Use furniture wax or polish occasionally to shield the paint. Handle the bed gently to prevent dents and scratches.
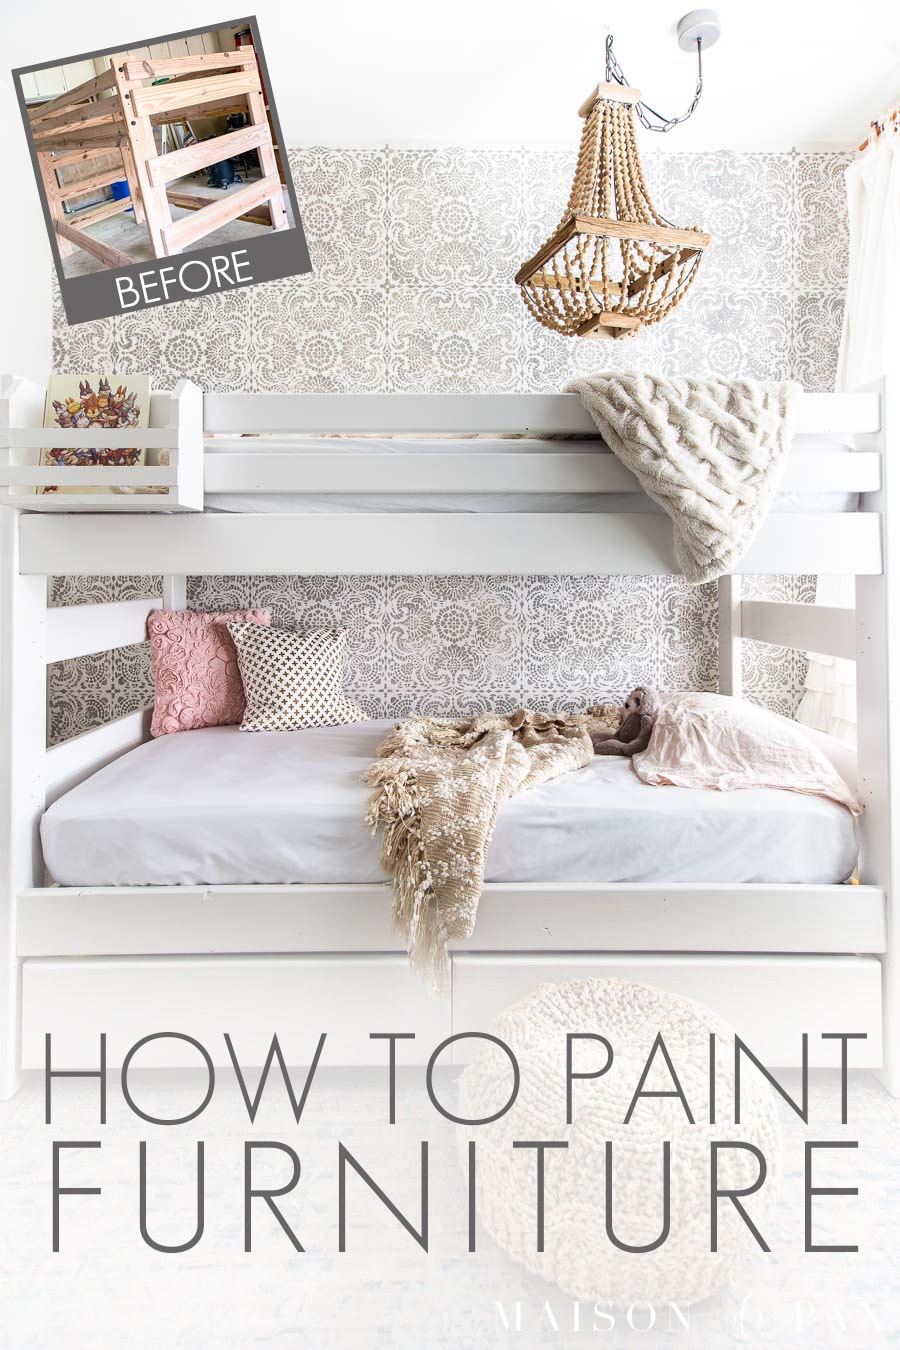
Credit: www.maisondepax.com
Frequently Asked Questions
How Do I Prepare A Wood Bunk Bed For Painting?
Start by cleaning the bed thoroughly to remove dust and grime. Sand the surface evenly to create a smooth base. Fill any holes or cracks with wood filler. Finally, wipe the surface with a damp cloth before applying primer.
What Type Of Paint Is Best For Wood Bunk Beds?
Use a durable, non-toxic, and child-safe paint. Latex or acrylic paints work well for wood furniture. Choose a paint with a smooth finish for easy cleaning and long-lasting results. Avoid oil-based paints for better safety and quicker drying time.
How Many Coats Of Paint Are Needed For Bunk Beds?
Apply at least two coats of paint for full coverage. Allow each coat to dry completely before adding the next. Multiple coats ensure durability and a smooth, even finish. Avoid applying too many layers to prevent paint buildup.
Can I Use Spray Paint On A Wood Bunk Bed?
Yes, spray paint provides an even and smooth finish. Use it in a well-ventilated area and apply thin, even coats. Spray paint dries quickly but requires careful masking of areas you want to protect. It’s a convenient option for large surfaces.
Conclusion
Painting a wood bunk bed is a simple way to refresh it. Choose the right paint and prepare the surface well. Apply thin coats and let each dry completely. Take your time for a smooth, lasting finish. This project adds color and protects the wood.
Enjoy your newly painted bunk bed every day. Small steps make a big difference in any DIY task. Try it yourself and see how easy it can be.