Are you looking to add a personal touch to your bunk bed? Making your own headboard is easier than you think—and it can completely change the look and feel of your room.
Imagine having a stylish, sturdy headboard that fits perfectly with your space and style. In this guide, you’ll discover simple steps and smart tips to create a headboard that not only looks great but also feels just right for you.
Ready to transform your bunk bed into something special? Let’s dive in and make it happen!
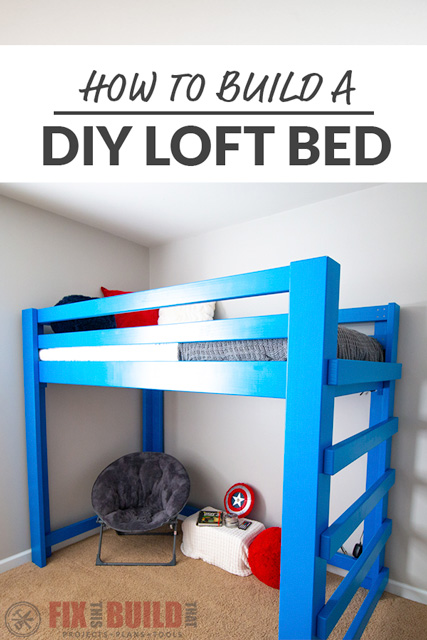
Credit: fixthisbuildthat.com
Choosing Materials
Choosing the right materials is key to making a strong and safe headboard for a bunk bed. The materials must be sturdy and easy to work with. This ensures the headboard lasts and looks good. Also, picking the right tools and safety gear is very important for a smooth building process.
Wood Types
Wood is the best choice for a bunk bed headboard. Pine is soft, light, and easy to cut. Oak is harder and lasts longer but costs more. Plywood is affordable and stable but may need finishing. Choose wood that fits your budget and style. Always pick wood that is smooth and free from cracks.
Tools Needed
You need basic tools to build the headboard. A saw cuts the wood to size. A drill makes holes for screws. Sandpaper smooths rough edges. A measuring tape ensures correct sizes. A screwdriver or power driver helps join pieces. Keep tools close to save time and effort.
Safety Gear
Safety gear protects you from injury. Wear safety glasses to shield your eyes. Use ear protection to reduce noise from tools. Gloves protect your hands from splinters and cuts. A dust mask keeps you from breathing wood dust. Always wear proper shoes to avoid foot injuries.
Measuring The Bunk Bed
Measuring the bunk bed is the first step in making a headboard. Accurate measurements ensure the headboard fits well and looks great. Take your time and measure carefully. This helps avoid mistakes and saves you from having to redo the work later.
Width And Height
Measure the width of the bunk bed at the head of the bed. Use a tape measure for accuracy. Write down this number. Next, measure the height you want for the headboard. Common heights range from 24 to 36 inches. Choose a height that fits the room and style.
Consider Bed Frame
Look at the bed frame design. Some frames have rails or posts that affect where you attach the headboard. Measure the distance between these parts. Note if the headboard should sit inside or outside the frame. This helps with cutting and fitting the headboard later.
Allow For Clearance
Leave extra space for clearance above the mattress. This prevents the headboard from touching the mattress or pillows. Usually, 2 to 3 inches of gap works well. Also, check space for bedding and room to move around. Clearance keeps the headboard functional and safe.
Design Ideas
Designing a headboard for a bunk bed can change the room’s whole look. A good design adds charm and comfort. It also makes the bed feel more personal and cozy. Simple ideas often work best. They fit many room styles and are easier to build. This section shares easy and creative ideas to make your headboard stand out.
Simple Styles
Simple headboards focus on clean lines and smooth shapes. A flat wooden board works well. You can cut it to fit the bed’s width. Rounded edges soften the look. Vertical slats add a classic touch. A padded headboard with fabric brings comfort. These styles suit small spaces and keep the room neat.
Decorative Elements
Decorative touches make a headboard unique. Add cut-out shapes like stars or hearts. Use stencils to paint patterns or letters. Attach small shelves for books or toys. Rope or twine wrapped around the edges adds texture. Buttons or fabric flowers create a soft, playful look. These details personalize the bunk bed.
Painting And Finishing
Paint changes the headboard’s feel completely. Bright colors make it cheerful and fun. Soft pastels offer a calm, cozy vibe. Use non-toxic paint for safety. Clear varnish protects wood and shows its grain. Matte finishes hide scratches well. Smooth sanding before painting helps the finish last longer.
Cutting And Preparing Wood
Cutting and preparing wood is the first step in making a headboard for a bunk bed. This step sets the foundation for a strong and neat headboard. Proper preparation ensures the wood fits perfectly and looks great. Take your time to measure and cut carefully.
Marking Dimensions
Start by measuring the size of your bunk bed. Use a pencil and a ruler to mark the wood. Draw clear, straight lines where you will cut. Double-check all measurements before cutting. Accurate marks prevent mistakes and wasted wood.
Sawing Techniques
Use a handsaw or power saw to cut along the lines. Keep the saw steady and follow the marks closely. Cut slowly to avoid splintering the wood. Use clamps to hold the wood in place for safety. A clean cut makes the headboard stronger and easier to assemble.
Sanding Edges
After cutting, smooth the edges with sandpaper. Sand in the direction of the wood grain. This removes rough spots and splinters. Use fine-grit sandpaper for a smooth finish. Sanding makes the wood safe to touch and ready for painting or staining.
Assembly Process
The assembly process is key to building a strong headboard for your bunk bed. It ensures all parts fit well and stay secure. Taking time to assemble carefully will give you a sturdy and safe headboard.
Follow each step carefully. Use the right tools and materials. This will make the process easier and quicker.
Joining Pieces
Start by placing all wood pieces in order. Align the edges carefully to avoid gaps. Use clamps to hold pieces tight. This keeps everything steady while you work. Make sure the headboard frame is square. Check with a carpenter’s square or measure diagonally.
Using Screws And Nails
Use screws for strong holds and nails for quick fixes. Drill pilot holes before screwing to avoid wood splitting. Drive screws in straight and flush with the wood surface. Nails can be used for less stressed areas. Hammer them gently to prevent damage. Use wood glue along joints for extra strength before screwing or nailing.
Reinforcing Joints
Add corner brackets or metal plates at key joints. This prevents wobbling and increases durability. Tighten screws fully but do not over-tighten. Use wood filler to cover gaps or holes. Sand the surface smooth after filling. Reinforce with wood glue for long-lasting joints. Solid joints keep the headboard safe during use.
Credit: adultbunkbeds.com
Attaching Headboard To Bunk Bed
Attaching the headboard to a bunk bed is a key step. It adds style and protects the wall. Doing it right keeps the bed strong and safe. Follow clear steps to fix the headboard securely.
Positioning
Place the headboard at the top end of the bunk bed. Make sure it lines up evenly with the bed frame. Check height so it does not block the ladder or rails. Measure twice to avoid mistakes. Mark spots for screws or bolts clearly on the bed frame.
Securing Methods
Use screws or bolts to attach the headboard. Choose the right size for the bed frame material. Drill pilot holes to prevent wood from splitting. Tighten screws firmly but avoid over-tightening. Use metal brackets for extra support if needed. Check that all fasteners are flush and secure.
Stability Checks
Push the headboard gently to test for movement. It should not wobble or shift easily. Tighten loose screws or add more brackets if needed. Sit or lean on the headboard to check strength. A stable headboard adds safety and comfort for the bunk bed user.
Finishing Touches
Finishing touches make your bunk bed headboard look complete and stylish. They protect the wood and add comfort. Simple steps here will help your headboard last longer and feel cozy.
Painting Or Staining
Choose paint or stain to match your room’s theme. Paint offers color options and hides imperfections well. Stain shows the wood grain and gives a natural look. Apply two coats for better coverage. Let each coat dry fully before the next. Use a clear sealant to protect the surface from scratches and spills.
Adding Cushions Or Padding
Attach cushions or padding for extra comfort and safety. Use foam or soft fabric that is easy to clean. Secure cushions with straps or Velcro to keep them in place. Make sure the padding covers sharp edges to prevent bumps. This makes the bunk bed safer and more inviting for kids.
Maintenance Tips
Check your headboard regularly for loose screws or damage. Clean it with a soft cloth and mild soap. Avoid harsh chemicals that can damage paint or wood. Tighten screws to keep the headboard stable and secure. Repair any scratches or dents quickly to keep it looking new.

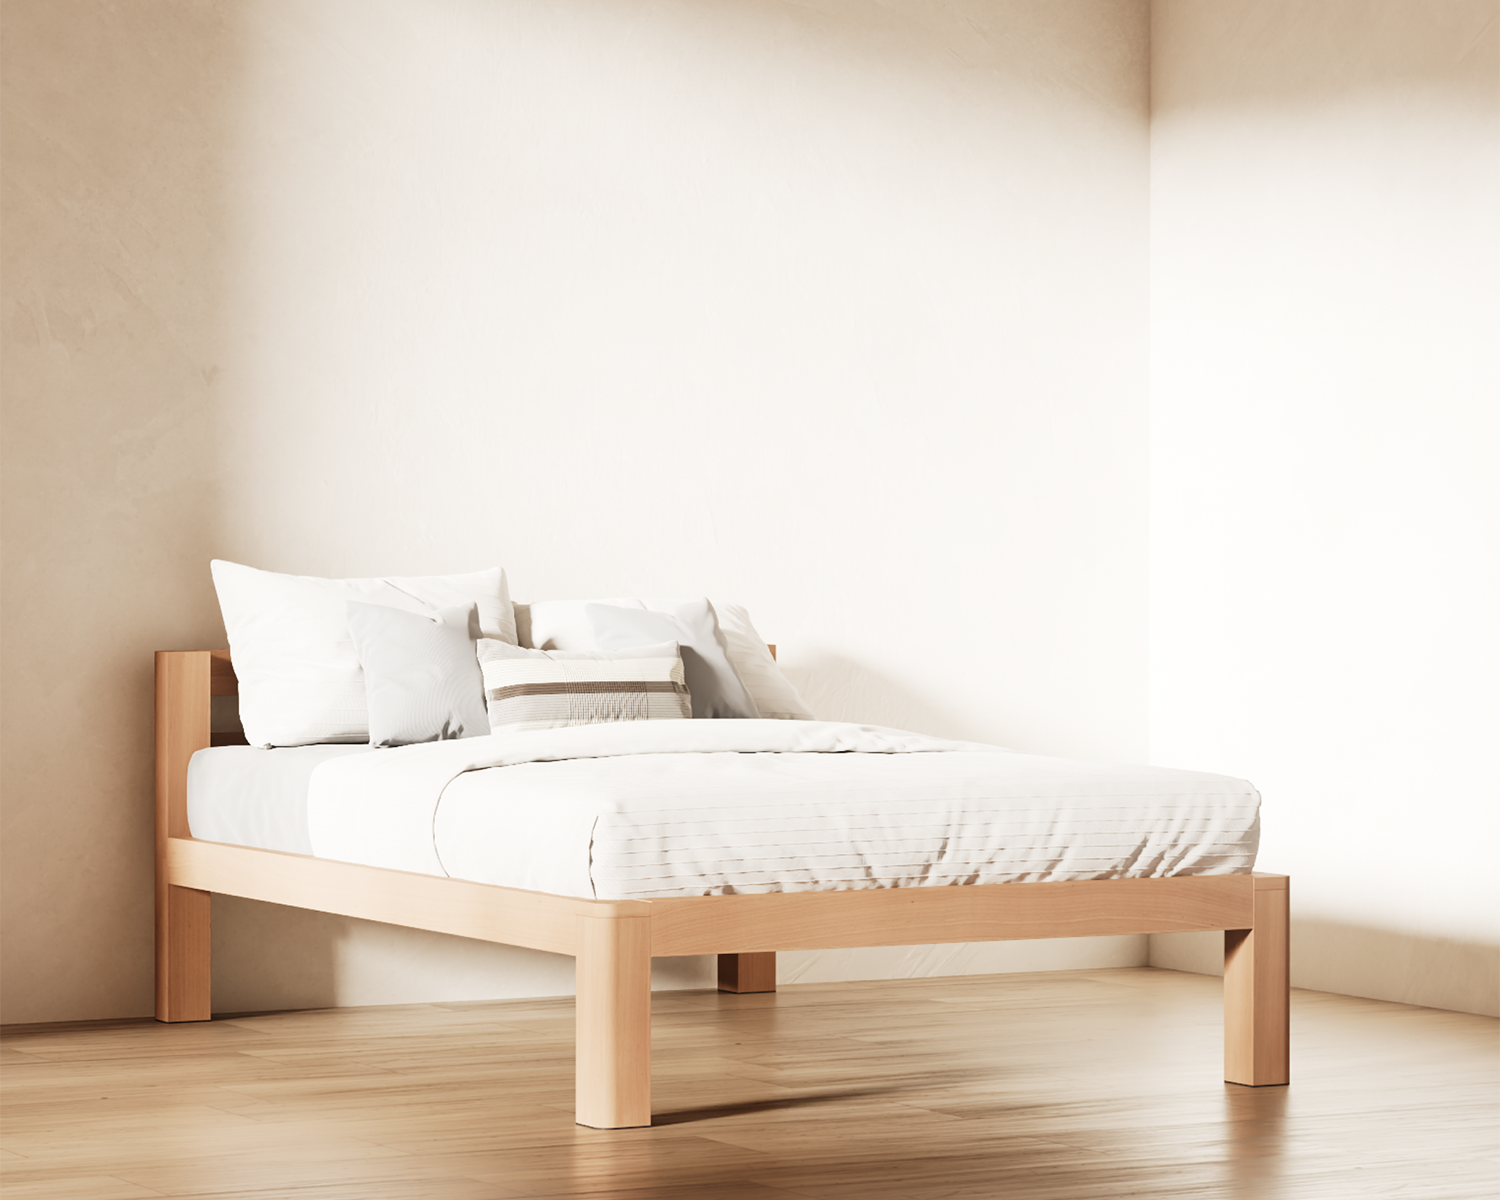
Credit: www.nytimes.com
Frequently Asked Questions
What Materials Are Best For A Bunk Bed Headboard?
Wood, plywood, and MDF are ideal for bunk bed headboards. They are sturdy, easy to work with, and affordable. Choose smooth, splinter-free wood for safety. You can also add padding or fabric for comfort and style.
How Do I Measure For A Bunk Bed Headboard?
Measure the width of the bunk bed frame first. Then, decide the desired height of the headboard. Ensure measurements allow safe clearance for the upper bunk. Accurate measuring prevents fitting issues and ensures a perfect headboard size.
Can I Make A Headboard Without Power Tools?
Yes, you can build a headboard using hand tools like saws and screwdrivers. It may take more time but is doable. Use clamps and pre-drill holes to ease assembly. Safety and patience are key for a smooth process.
How To Safely Attach A Headboard To A Bunk Bed?
Use strong brackets or screws to secure the headboard to the frame. Avoid nails that can loosen over time. Check all connections for stability. Proper attachment ensures safety and durability for nightly use.
Conclusion
Making a headboard for a bunk bed is simple and fun. You only need basic tools and materials. Follow the steps carefully, and take your time. A headboard adds style and comfort to the bed. It also makes the room look neat and cozy.
You can customize the design to fit your space and taste. Enjoy the process and be proud of your work. A DIY headboard makes the bunk bed more personal and inviting. Try it yourself and see how easy it can be.