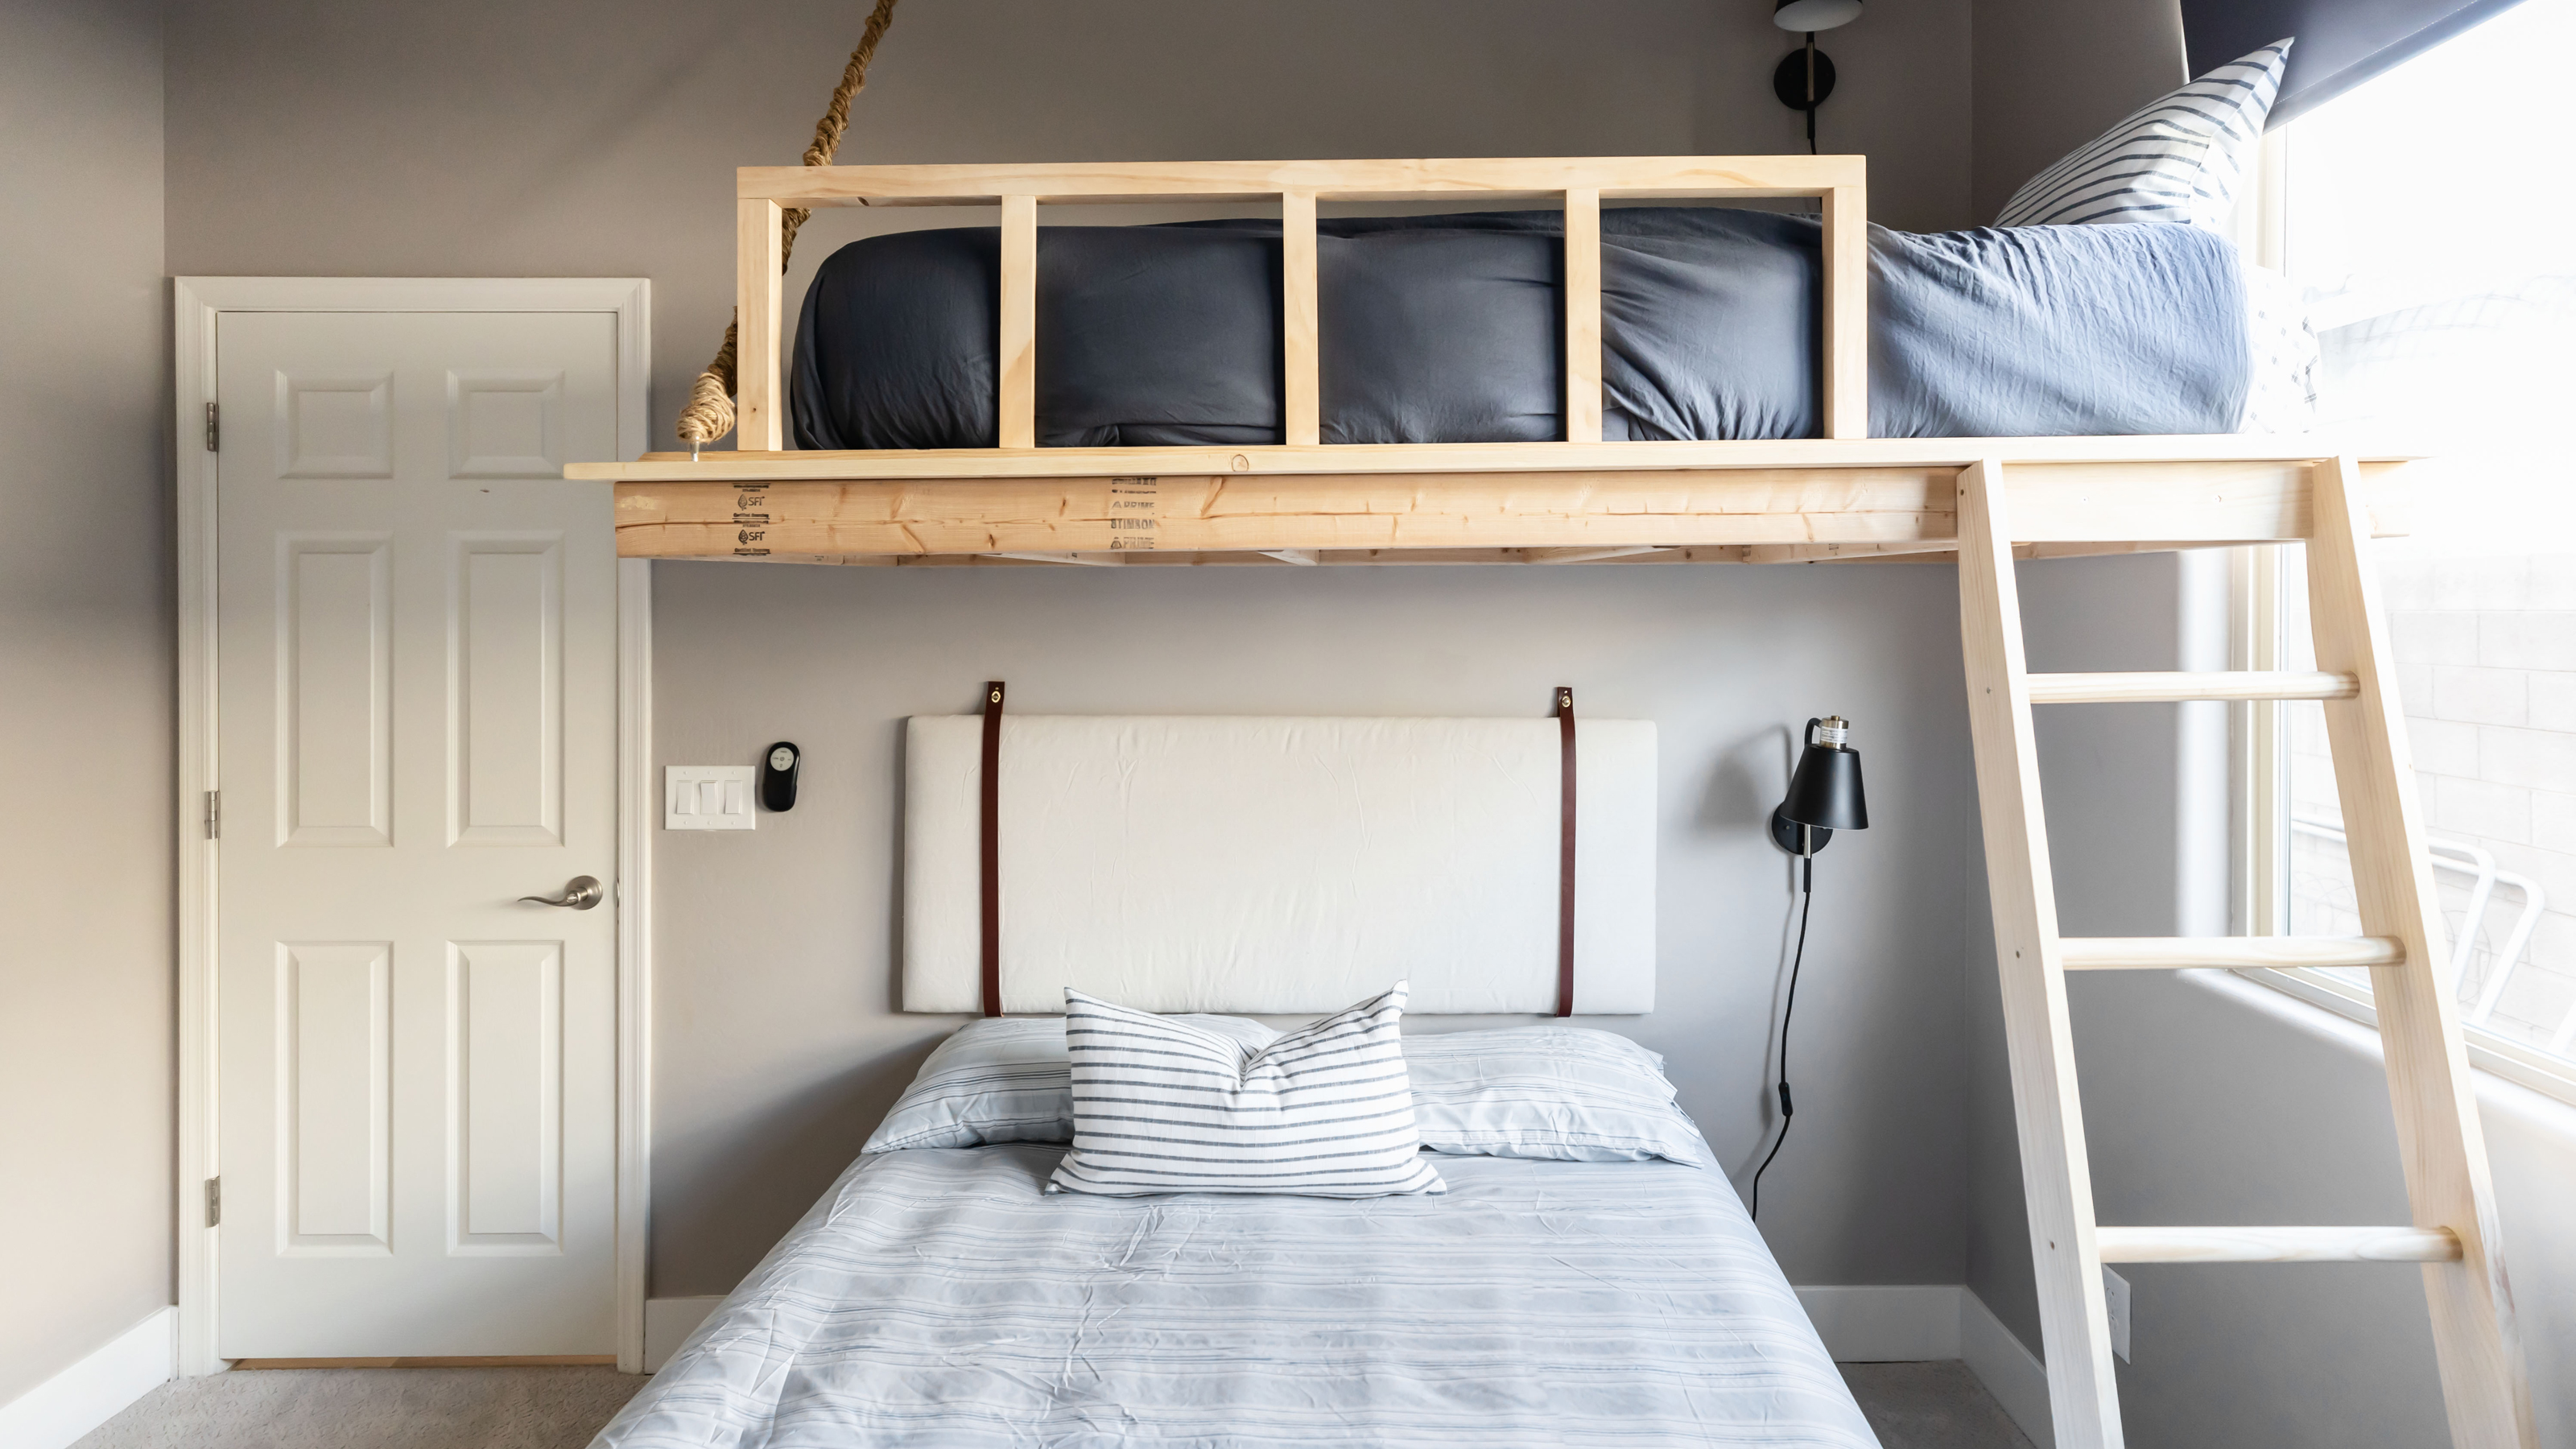
Are you looking to save space and add a cool, practical feature to your room? Building a bunk bed into the wall could be the perfect solution.
It’s not just about having two beds stacked—it’s about creating a sleek, sturdy design that fits perfectly in your space. Imagine having more floor room for play, work, or relaxation while still giving everyone a comfortable place to sleep. In this guide, you’ll discover simple steps and tips to build your own wall bunk bed, even if you’re not a pro.
Ready to transform your room and impress your family? Keep reading to learn how to make it happen.
Credit: www.realhomes.com
Planning Your Bunk Bed
Planning is the first step to build a bunk bed into the wall. It helps avoid mistakes and saves time. Careful planning ensures the bed fits well and stays safe. Think about the space, size, and materials before starting. This section breaks down these key parts.
Measuring Wall Space
Measure the wall space carefully. Use a tape measure to get exact length and height. Check for any obstacles like switches or vents. Make sure the wall can hold the weight of the bed. Write down all measurements for later use.
Choosing Bed Dimensions
Pick the right size for the bunk bed. Consider who will use the bed and their comfort. Standard bunk beds are usually 39 inches wide. Length should fit the mattress size, often 75 inches. Leave space around the bed for easy access and safety.
Selecting Materials
Choose strong and durable materials for the bed frame. Wood is a common choice for its strength and look. Use screws and brackets designed for heavy loads. Avoid cheap materials that may break or bend. Think about the finish to match your room’s style.
Gathering Tools And Supplies
Building a bunk bed into the wall needs careful preparation. Gathering the right tools and supplies is the first step. Good tools make the job easier and safer. Proper supplies ensure the bed is strong and stable. Take time to collect everything before you start.
Essential Tools List
- Measuring tape to get exact dimensions
- Power drill for making holes and driving screws
- Stud finder to locate wall studs for support
- Level to keep the bed perfectly horizontal
- Hammer for nails and small adjustments
- Screwdriver set for assembling parts
- Handsaw or circular saw to cut wood pieces
- Safety goggles to protect your eyes
- Work gloves to protect your hands
- Pencil for marking measurements
Recommended Hardware
- Wood screws for strong, lasting joints
- Metal brackets to support the bed frame
- Lag bolts for attaching to wall studs
- Wall anchors if studs are not available
- Wood glue to add extra strength
- Sandpaper to smooth rough edges
- Bed slats made from sturdy wood
- Safety rails to prevent falls
- Optional: mattress supports for extra comfort
Preparing The Wall
Preparing the wall is the first step in building a bunk bed into it. This step ensures the bed will be safe and strong. A well-prepared wall supports the weight and keeps the bed steady. Take time to check the wall carefully before starting the build.
Locating Wall Studs
Find the wall studs to attach the bunk bed frame. Use a stud finder tool for this task. Studs are vertical wooden beams inside the wall. Mark each stud location with a pencil. Attach the bed frame only to these studs. This prevents the bed from falling or shaking.
Marking Bed Placement
Decide the exact spot for the bunk bed on the wall. Measure the bed size and mark the top and bottom edges. Use a level to make sure the marks are straight. These marks guide you during installation. Clear and accurate marks make the job easier and safer.
Ensuring Wall Strength
Check the wall for damage or weak spots. Look for cracks, holes, or soft areas in drywall. Repair any damage before installing the bed. If the wall is weak, add extra support like plywood or wood blocks. Strong walls keep the bunk bed stable and safe for use.

Credit: www.simplyhandmadestudios.com
Building The Frame
Building the frame is the first key step to create a sturdy bunk bed inside the wall. This step forms the foundation for safety and comfort. A strong frame holds the mattress and supports the weight of sleepers. Focus on precise measuring and cutting to fit the space perfectly. Use quality wood for lasting strength. Take your time during assembly to ensure all parts fit tightly.
Follow each step carefully. This will help avoid mistakes and extra work later. A well-built frame makes the rest of the project easier and safer.
Cutting Lumber To Size
Start by measuring the wall space for the bunk bed. Mark the lumber based on these measurements. Use a saw to cut the wood pieces cleanly and straight. Safety first: wear goggles and gloves. Cut all frame parts: side rails, slats, and supports. Double-check each piece against your plan before cutting. Accuracy here keeps the frame stable and balanced.
Assembling Bed Frame
Lay out all cut pieces on a flat surface. Join side rails with head and foot boards using screws. Add slats evenly across the frame for mattress support. Use wood glue for extra hold. Tighten all screws firmly but avoid splitting the wood. Check alignment regularly during assembly. The frame should not wobble or twist. A solid frame means safer sleep.
Securing Frame To Wall
Position the assembled frame against the wall. Use a stud finder to locate wall studs. Drill pilot holes in the frame and wall studs. Secure the frame with long screws into the studs. This anchors the bed firmly to the wall. Check that the frame is level and steady. Proper wall attachment prevents accidents and keeps the bed secure.
Adding Safety Features
Adding safety features to your built-in bunk bed is very important. It keeps kids safe and prevents accidents during sleep or play. Simple safety steps can make the bunk bed a secure and cozy space.
Installing Guard Rails
Guard rails stop sleepers from falling out of the top bunk. Use strong wood or metal rails on all open sides. Make sure the rails are at least 5 inches above the mattress. Check that there are no gaps where a child could get stuck.
Creating A Sturdy Ladder
The ladder must be solid and easy to climb. Use wide steps and space them evenly. Attach the ladder firmly to the bed frame or wall. Avoid slippery finishes to prevent falls. Test it by applying weight before use.
Checking Stability
Ensure the whole bunk bed is steady and does not wobble. Tighten all screws and bolts securely. Push gently on the bed to test its balance. Fix any loose parts immediately. A stable bed is safer for children and lasts longer.
Credit: www.houzz.com
Finishing Touches
Finishing touches make your built-in bunk bed look complete and neat. They protect the wood and add comfort. These final steps help the bunk bed fit perfectly in the room. They also make the bed safe and inviting for kids or guests.
Sanding And Painting
Start by sanding the wood surfaces. Sanding smooths rough edges and removes splinters. Use fine-grit sandpaper for a soft finish. Wipe off dust with a clean cloth before painting. Choose paint that matches your room’s style. Use non-toxic paint for safety. Apply two coats of paint for better coverage. Let each coat dry completely before the next. This step protects the wood from damage and moisture.
Adding Mattresses And Bedding
Pick mattresses that fit the bunk bed frame well. Measure the frame before buying mattresses. Choose firm mattresses for good support. Add soft bedding and pillows for comfort. Use bed sheets that match the room’s colors. Keep bedding simple for easy cleaning. Arrange pillows neatly to create a cozy look. This makes the bunk bed inviting and ready to use.
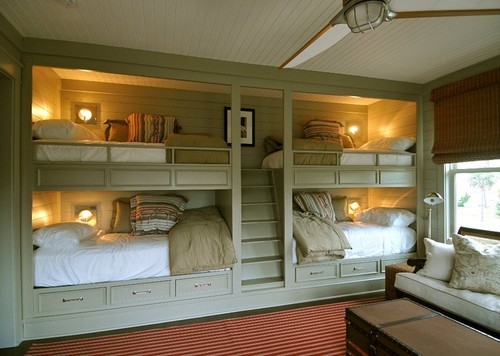
Decorative Options
Add fun decorations to personalize the bunk bed area. Use wall decals or stickers around the bed. Hang small shelves for books or toys. Add a reading light for bedtime stories. Use curtains or fabric to create privacy. Choose soft rugs near the bed for warmth. These details make the bunk bed space feel special and unique. They also add character to the room.
Maintenance Tips
Building a bunk bed into the wall is a smart way to save space. To keep it safe and strong, regular maintenance is key. Small tasks done often can stop bigger problems later. Here are some simple tips to help your bunk bed last long and stay safe.
Regular Safety Checks
Look over the bunk bed every week. Check for cracks or broken parts in the wood. Make sure the bed is steady and does not wobble. Check the guardrails and ladder carefully. These parts keep sleepers safe. Replace anything that seems weak or damaged.
Tightening Loose Screws
Loose screws can make the bed unsafe. Use a screwdriver to check all screws every month. Tighten any that feel loose. Pay extra attention to joints and brackets. Tight screws keep the bed strong and steady. Avoid using too much force when tightening.
Cleaning And Upkeep
Dust and dirt can build up on the bed. Clean the bed frame with a soft cloth every week. Use mild soap and water for sticky spots. Keep the mattress clean by vacuuming it regularly. Avoid harsh chemicals that can damage the wood. A clean bed looks good and lasts longer.
Frequently Asked Questions
How Do You Secure A Bunk Bed Into The Wall?
To secure a bunk bed into the wall, use heavy-duty brackets or lag bolts. Attach them to wall studs for maximum stability. This ensures safety and prevents the bed from wobbling or tipping during use.
What Tools Are Needed To Build A Wall-mounted Bunk Bed?
Essential tools include a drill, stud finder, level, measuring tape, wrench, and saw. These tools help measure, cut, and securely fasten the bunk bed to the wall for a professional finish.
Can I Build A Bunk Bed Without Professional Help?
Yes, with basic woodworking skills and proper tools, you can build a bunk bed. Follow detailed instructions and safety guidelines to ensure a sturdy and safe result.
How Do I Find The Studs For Attaching The Bunk Bed?
Use a stud finder to locate studs behind the drywall. Mark their positions before drilling to ensure the bed is securely anchored to solid wood framing.
Conclusion
Building a bunk bed into the wall saves space and adds style. Careful planning and measuring make the project easier. Using strong materials keeps the bed safe and steady. Taking your time helps avoid mistakes and ensures good results. Enjoy the extra room and cozy feel your new bed brings.
This simple project can change your room for the better. Try it step by step and see the difference yourself.
