Your outdoor furniture deserves to look great and stay protected through every season. Applying polyurethane is one of the best ways to keep your pieces strong, shiny, and safe from the weather.
But if you’ve never done it before, the process might seem tricky. Don’t worry—this guide will walk you through each simple step, so your furniture gets the perfect finish. By the end, you’ll know exactly how to apply polyurethane like a pro, making your outdoor space look inviting and lasting much longer.
Ready to transform your furniture? Let’s dive in!
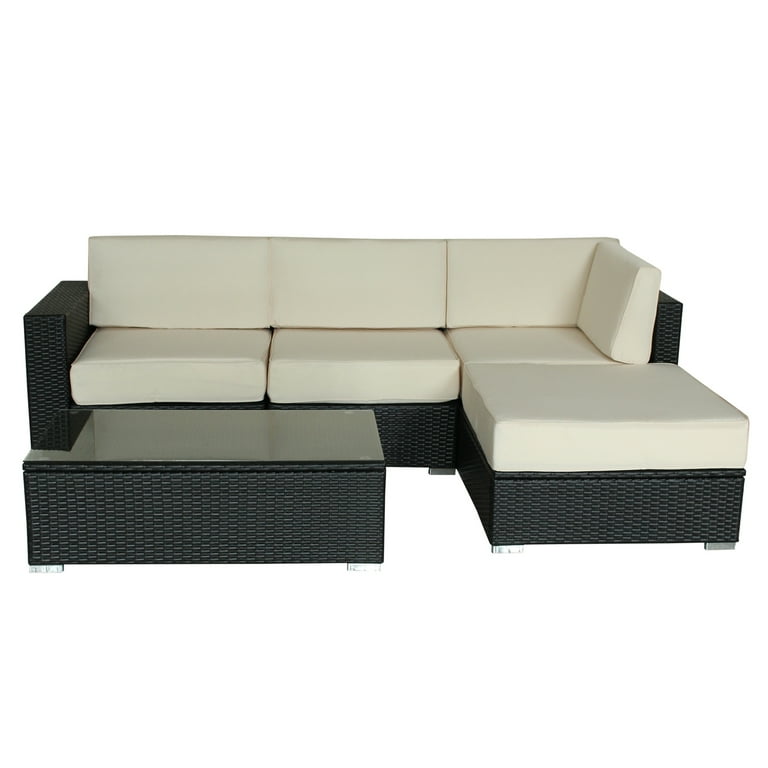
Credit: www.walmart.com
Choosing The Right Polyurethane
Choosing the right polyurethane is key to protecting outdoor furniture. It keeps wood safe from rain, sun, and wear. The right type lasts longer and looks better. Understanding the differences helps you pick the best finish for your needs.
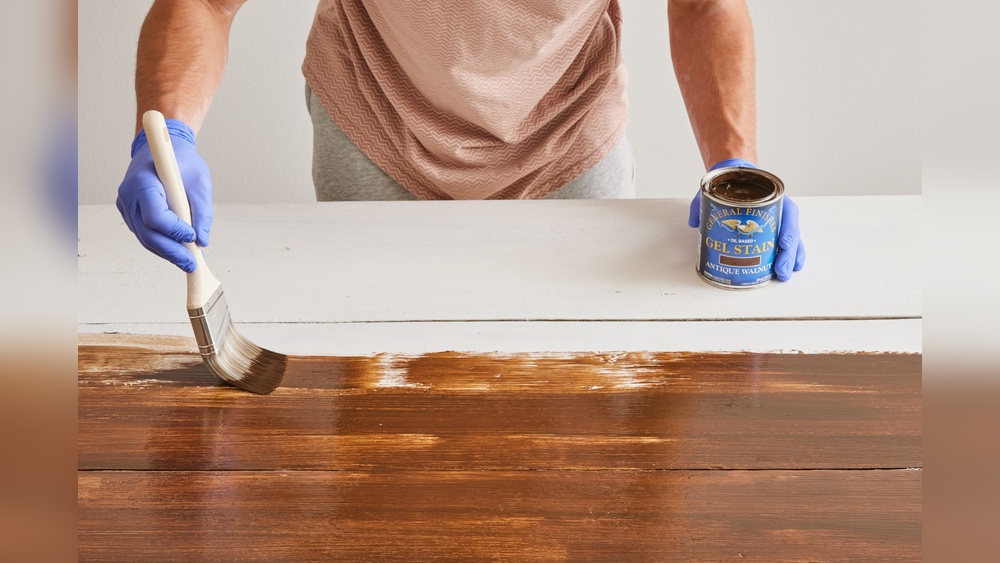
Oil-based Vs Water-based Options
Oil-based polyurethane is strong and lasts long. It soaks deep into wood and protects well. It takes longer to dry and smells stronger. Water-based polyurethane dries fast and has less odor. It is clear and keeps wood’s natural color. Both types protect, but oil-based is better for tough conditions.
Matte, Satin, And Gloss Finishes
Matte finish gives a smooth, dull look. It hides scratches and dirt well. Satin finish offers a soft shine that looks natural. It balances shine and hiding marks nicely. Gloss finish is very shiny and bright. It shows wood grain clearly but reveals scratches faster. Choose the finish that fits your style and use.

Credit: www.foxessellfaster.com
Preparing Outdoor Furniture
Preparing outdoor furniture properly is key to a smooth polyurethane application. Clean and smooth surfaces help the finish stick better. It also extends the furniture’s life against weather damage.
Take time to get the furniture ready. This step sets the stage for a long-lasting, beautiful finish.
Cleaning And Sanding
Start by cleaning the furniture with mild soap and water. Remove dirt, dust, and old finishes. Let it dry completely before moving on.
Next, sand the surface using medium-grit sandpaper. Sand in the direction of the wood grain. This removes rough spots and opens the wood pores for better adhesion.
Wipe away sanding dust with a damp cloth. The surface must be clean and smooth for polyurethane to bond well.
Repairing Surface Imperfections
Check the furniture for cracks, holes, or dents. Use wood filler to fix small damages. Apply it with a putty knife and smooth it out.
Let the filler dry fully, then sand the patched areas gently. This creates an even surface for the finish.
Repairing imperfections improves the look and protects the wood under the polyurethane layer.
Application Tools And Techniques
Applying polyurethane to outdoor furniture requires the right tools and techniques. The tools affect how smooth and even the finish looks. Choosing the correct method also helps protect the wood better. Each tool offers different results and ease of use. Understanding these options makes the job easier and more effective.
Brushes
Brushes are the most common tool for polyurethane. Use a high-quality, natural bristle brush for oil-based polyurethane. Synthetic bristles work well for water-based types. Brushes allow precise control and can reach corners easily. Avoid cheap brushes as they leave streaks and bristles in the finish. Clean brushes thoroughly after each use to keep them in good shape.
Rollers
Rollers cover large areas quickly. Choose a small foam roller for smooth finishes. Foam rollers reduce bubbles and brush marks. Rollers work best on flat surfaces like tabletops and benches. Use slow, even strokes to avoid splashing. Rollers are less precise but faster than brushes. Always lightly sand between coats for a smooth surface.
Sprayers
Sprayers give the smoothest finish with no brush marks. Use an airless sprayer or a handheld spray gun. Spray in thin, even layers. Keep the sprayer moving steadily to avoid drips. Sprayers need more prep work and protection for surrounding areas. They work well for large or detailed furniture. Clean the sprayer immediately after use to prevent clogging.
Applying Even Coats
Apply polyurethane in thin, even coats. Thick layers take longer to dry and can peel. Use smooth, steady strokes with your chosen tool. Always follow the wood grain direction. Let each coat dry completely before adding the next. Lightly sand between coats to remove bumps. This process creates a strong, durable finish that lasts.
Drying And Curing Times
Drying and curing times are crucial when applying polyurethane to outdoor furniture. This stage ensures the finish hardens properly. A well-cured coat protects the wood from weather and wear. Patience during this phase improves the durability of your project.
Ideal Weather Conditions
Choose a dry day with mild temperatures. Avoid high humidity as it slows drying. Temperatures between 65°F and 75°F work best. Wind can cause dust to stick to the wet surface. Pick a calm day for smoother results.
Avoiding Dust And Debris
Keep the workspace clean to prevent dirt on the finish. Cover the furniture with a breathable cloth if needed. Avoid working near open windows or dusty areas. Dust particles ruin the smoothness of polyurethane. A clean environment helps the finish dry evenly and clear.
Maintaining Polyurethane Finish
Maintaining the polyurethane finish on outdoor furniture keeps it looking fresh and protects the wood. A good finish prevents water damage, dirt buildup, and fading from sunlight. Proper care extends the life of the furniture and saves time on repairs.
Regular Cleaning Tips
Clean the furniture often to remove dust and dirt. Use a soft cloth or sponge with mild soap and water. Avoid harsh chemicals that can break down the finish. Rinse well and dry with a clean towel. Do this every few weeks to keep the surface smooth and shiny.
Remove bird droppings and stains quickly. They can damage the finish if left too long. Light scrubbing works well, but do not scrub too hard. Gentle care keeps the polyurethane layer intact and prevents scratches.
Touch-up Procedures
Check the furniture for small scratches or worn areas. Sand these spots lightly with fine-grit sandpaper. Wipe away dust before applying new polyurethane. Use a small brush to apply a thin coat over damaged parts.
Let the touch-up dry fully. Apply a second coat if needed for better protection. Regular touch-ups help avoid larger damage and keep the finish uniform. This simple step keeps your outdoor furniture looking its best longer.
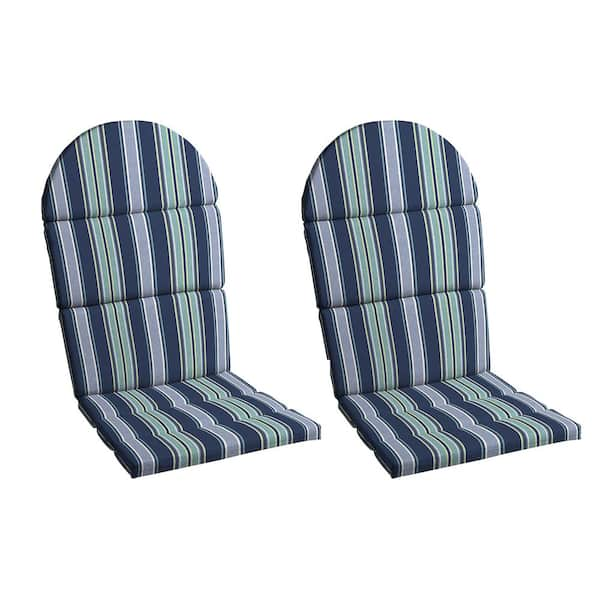
Credit: www.homedepot.com
Frequently Asked Questions
How Do I Prepare Outdoor Furniture For Polyurethane?
Clean the furniture thoroughly to remove dirt and dust. Sand the surface lightly to ensure better polyurethane adhesion. Wipe off all sanding dust with a damp cloth before applying the finish.
What Type Of Polyurethane Is Best For Outdoor Use?
Use oil-based polyurethane for outdoor furniture. It offers better water resistance and durability against harsh weather. Water-based options dry faster but may need more coats for protection.
How Many Coats Of Polyurethane Should I Apply?
Apply at least two to three coats of polyurethane. Multiple coats improve protection and enhance the furniture’s appearance. Allow each coat to dry fully and sand lightly between coats.
Can I Apply Polyurethane In Cold Or Humid Weather?
Avoid applying polyurethane in temperatures below 50°F or above 90°F. High humidity slows drying and causes cloudiness. Choose a dry, warm day with good ventilation for best results.
Conclusion
Applying polyurethane to outdoor furniture protects it from weather and wear. Clean and dry the surface before starting. Use even strokes and allow each coat to dry well. Sand lightly between coats for a smooth finish. Choose the right polyurethane type for your wood.
Regular maintenance keeps furniture looking fresh longer. With care, your outdoor pieces stay beautiful and strong. A simple step that saves time and money later. Your furniture deserves this extra layer of protection.