Are your shoes scattered all over the floor, making it hard to find the pair you want? Imagine having a neat, stylish bookshelf made just for your shoes—one that saves space and makes your favorite pairs easy to spot.
Building a bookshelf for shoes might seem tricky, but with a few simple steps, you can create a perfect organizer that fits your style and needs. In this guide, you’ll discover how to build your own shoe bookshelf quickly and affordably.
Ready to turn your clutter into a clean, attractive display? Let’s get started!

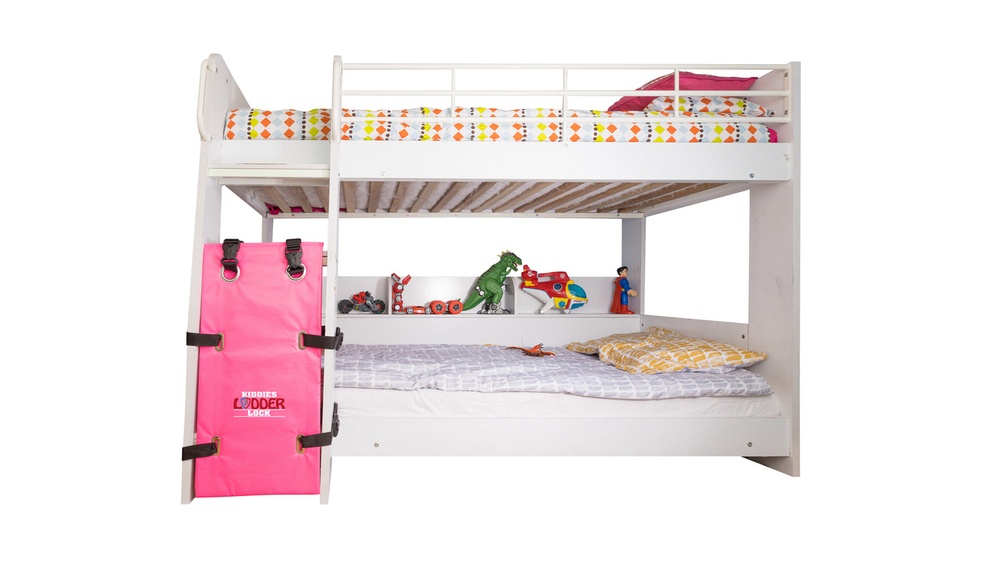
Credit: thistlewoodfarms.com
Choosing The Right Materials
Choosing the right materials is key to building a sturdy and attractive shoe bookshelf. The materials affect how long the shelf lasts and how well it holds your shoes. Picking good wood, tools, and hardware helps you create a shelf that fits your space and style.
Types Of Wood
Wood is the main material for most shoe bookshelves. Pine wood is soft, easy to work with, and affordable. It suits simple shelves. Oak and maple are hard woods. They last longer and look more elegant. Plywood is also popular. It is strong and resists warping. Choose wood that matches your budget and design.
Tools You’ll Need
Good tools make the project easier and faster. A saw cuts the wood to size. A drill makes holes for screws. A screwdriver tightens screws and bolts. Sandpaper smooths rough edges. A measuring tape ensures accurate cuts. A level keeps shelves straight. Gather these tools before starting.
Hardware And Accessories
Hardware holds the shelf together. Use screws or nails to join wood pieces. Brackets support shelves and add strength. Wood glue adds extra hold. Sanding sealer or paint protects the wood from damage. Choose hardware that fits your wood type and shelf design.
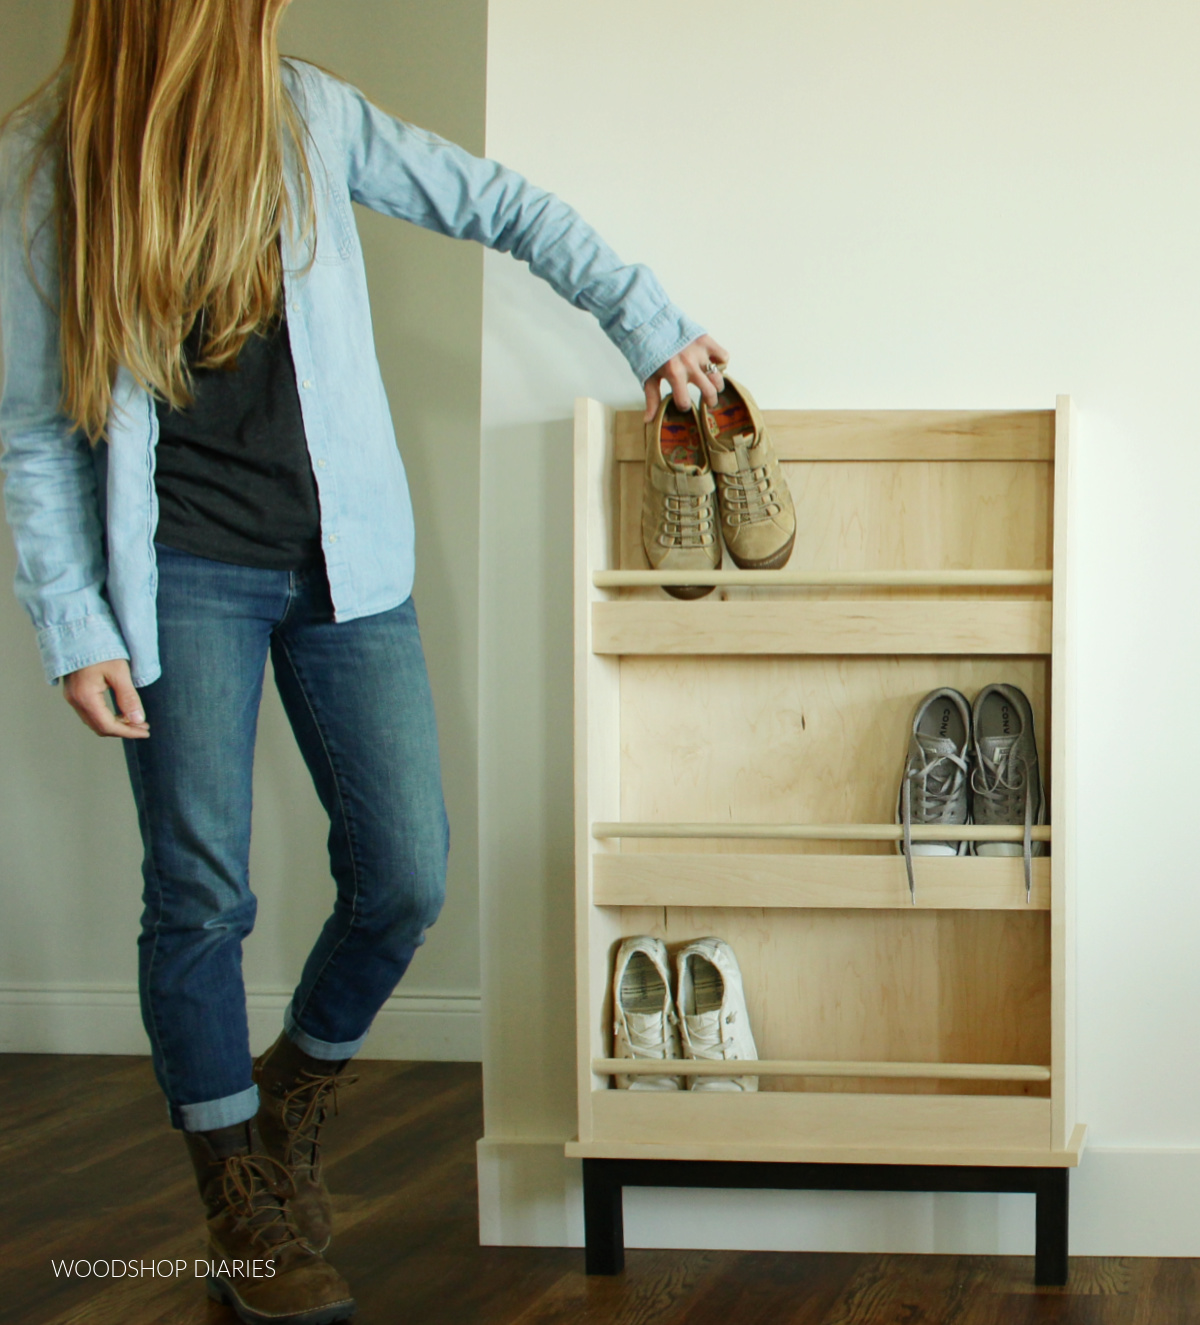
Credit: www.woodshopdiaries.com
Designing Your Bookshelf
Designing your bookshelf for shoes starts with a clear plan. It helps to think about the space you have and how many shoes you want to store. A good design saves space and keeps your shoes organized. Simple steps make the project easier and the result better.
Careful planning means your bookshelf will fit well and look good. Focus on measurements and shelf size before buying materials. Adjustable shelves add flexibility for different shoe sizes. Let’s explore these key parts of the design process.
Measuring Your Space
Begin by measuring the area where you want to place the bookshelf. Use a tape measure and note the height, width, and depth. Check for any obstacles like vents or outlets. Write down exact numbers to avoid mistakes later. Measure twice to make sure your numbers are right.
Planning Shelf Dimensions
Decide how many shelves you need based on your shoe collection. Measure the average shoe height to set shelf spacing. Leave a little extra room for tall shoes or boots. Keep shelf depth wide enough for shoes to fit comfortably. Balance the shelf width to hold several pairs without crowding.
Incorporating Adjustable Shelves
Adjustable shelves let you change shelf height as your shoe collection grows. Use shelf pins or brackets for easy movement. This feature helps store different shoe types, from flats to boots. Plan for enough holes or slots to allow flexibility. Adjustable shelves add long-term value to your bookshelf.
Step-by-step Assembly
Building a bookshelf for shoes is easier than it looks. Follow these clear steps to create a strong, useful shelf. The process starts with cutting wood, then moves to building the frame. Next, you add shelves and finish by sanding and painting. Each step helps make your shelf last long and hold many shoes.
Cutting The Wood
Measure the wood pieces carefully before cutting. Use a saw to cut boards to the right size. Cut two long pieces for the sides. Cut several shorter pieces for shelves. Keep cuts straight and smooth. This makes assembly easier later on.
Building The Frame
Stand the two side pieces upright. Attach the top and bottom pieces between them. Use screws or nails to hold parts tightly. Check that the frame is square and even. A strong frame supports all the shelves well.
Adding Shelves
Mark shelf positions on the inside of the frame. Attach shelf boards using screws or brackets. Space shelves evenly for different shoe sizes. Make sure shelves are level and secure. This keeps shoes stable and easy to reach.
Sanding And Finishing
Sand all surfaces to remove rough edges. Use fine sandpaper for a smooth finish. Wipe away dust with a clean cloth. Apply paint or wood stain as you prefer. Let the finish dry fully before use. This protects wood and makes the shelf look nice.
Customizing For Shoe Storage
Customizing a bookshelf for shoe storage helps keep shoes neat and easy to find. It makes the best use of space and protects shoes from damage. Simple changes can fit different shoe types like boots, sandals, or sneakers. Personal touches also make your shoe shelf look nice and match your room.
Adding Dividers
Dividers create separate spaces for each pair of shoes. They stop shoes from falling over or mixing up. You can use wood or plastic dividers to fit your shelf size. Dividers help store high heels and flats without squishing them. They also make your shelf look tidy and organized.
Using Baskets And Bins
Baskets and bins hold smaller shoes or accessories like socks. They keep things hidden for a cleaner look. Choose baskets that fit your shelf and style. Clear bins let you see what’s inside quickly. Baskets can be moved easily for cleaning or rearranging.
Labeling And Organizing
Labels make shoe storage simple and fast. You can label shelves, baskets, or bins by shoe type or owner. Use big, clear letters for easy reading. Organizing shoes by season or use helps save time. Labels keep your shelf neat and help everyone find shoes.
Space-saving Tips
Saving space is important when building a shoe bookshelf. Small rooms need smart ideas to keep shoes organized. Using space well helps avoid clutter and makes your room look neat. Here are simple ways to save space and store shoes efficiently.
Vertical Storage Ideas
Stack shelves vertically to use wall height. Tall units hold many shoes without taking floor space. Use narrow shelves to fit tight spots. Vertical racks keep shoes visible and easy to reach. This method works well in small rooms or closets.
Under-bench Shelves
Build shelves under a bench to combine seating and storage. This saves floor area and keeps shoes hidden. Use open or slatted shelves for air flow. Perfect for entryways or bedrooms with little space. It keeps shoes off the floor and organized.
Wall-mounted Options
Mount shelves directly on walls to clear floor space. Floating shelves can hold shoes and look stylish. Use hooks or small racks for sandals and flats. Wall options make the room feel larger and less crowded. Great for small apartments or tight corners.
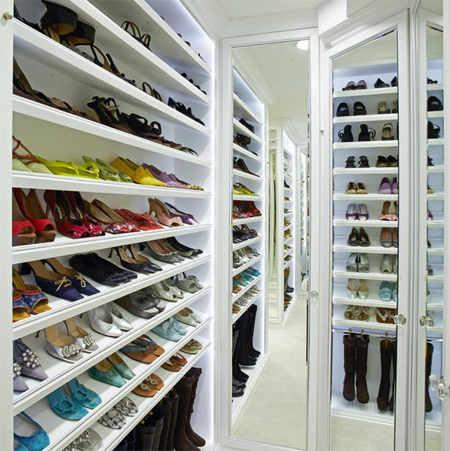
Credit: everestkitchennc.com
Maintaining Your Bookshelf
Maintaining your bookshelf for shoes keeps it looking good and lasting longer. Regular care protects the wood and keeps it sturdy. Simple steps can help avoid damage and keep the finish fresh. A well-kept shelf shows off your shoes nicely and stays safe to use.
Cleaning Tips
Dust your bookshelf often using a soft cloth. Avoid wet cloths that may soak the wood. Use a small brush to clean corners and edges. For stains, gently wipe with a damp cloth and mild soap. Dry the shelf quickly to stop water damage. Regular cleaning stops dirt from scratching the surface.
Preventing Wear And Tear
Place your shoes carefully to avoid scratches. Use felt pads under heavy items to protect the wood. Keep the shelf away from direct sunlight to prevent fading. Avoid placing it near heaters or damp areas. Check screws and joints regularly for tightness. Fix small problems early to stop bigger damage.
Refreshing The Finish
Apply a wood polish every few months to keep shine. Use a soft cloth and work in small sections. Choose a polish that matches your shelf’s finish. For scratches, use a wood marker or wax stick. Sand lightly before applying new paint or varnish. Keep the finish smooth and even for a fresh look.
Frequently Asked Questions
What Materials Do I Need To Build A Shoe Bookshelf?
You need wood planks, screws, a drill, sandpaper, wood glue, and paint or stain. Choose durable wood for strength and finish for style.
How Much Time Does It Take To Build A Shoe Bookshelf?
Building a shoe bookshelf typically takes 3-5 hours. Time depends on your experience and the bookshelf size.
Can I Customize The Shoe Bookshelf Size And Design?
Yes, you can customize size and design to fit your space and shoe collection. Adjust shelf height and width easily.
How Do I Ensure Stability In A Shoe Bookshelf?
Use sturdy wood, secure shelves with screws, and add a back panel. Anchor the shelf to the wall for extra safety.
Conclusion
Building a bookshelf for shoes can be simple and fun. You only need a few tools and some wood. Follow the steps carefully, and you will get a strong shelf. A good shelf helps keep shoes neat and easy to find.
You can make it fit your space perfectly. This project saves money and adds a personal touch to your home. Try it yourself and enjoy a tidy room. Small efforts bring big changes. Start building today!