Are you ready to create a sturdy, stylish bookshelf that fits perfectly in your space? Building a bookshelf with plywood is easier than you think, even if you’re new to woodworking.
Imagine having a custom piece that holds your favorite books, displays your treasures, and adds character to your room—all made by your own hands. In this guide, you’ll discover simple steps, smart tips, and must-know tricks to build a beautiful bookshelf that lasts.
Keep reading, and you’ll soon turn plain plywood into a stunning, functional masterpiece you’ll be proud of.
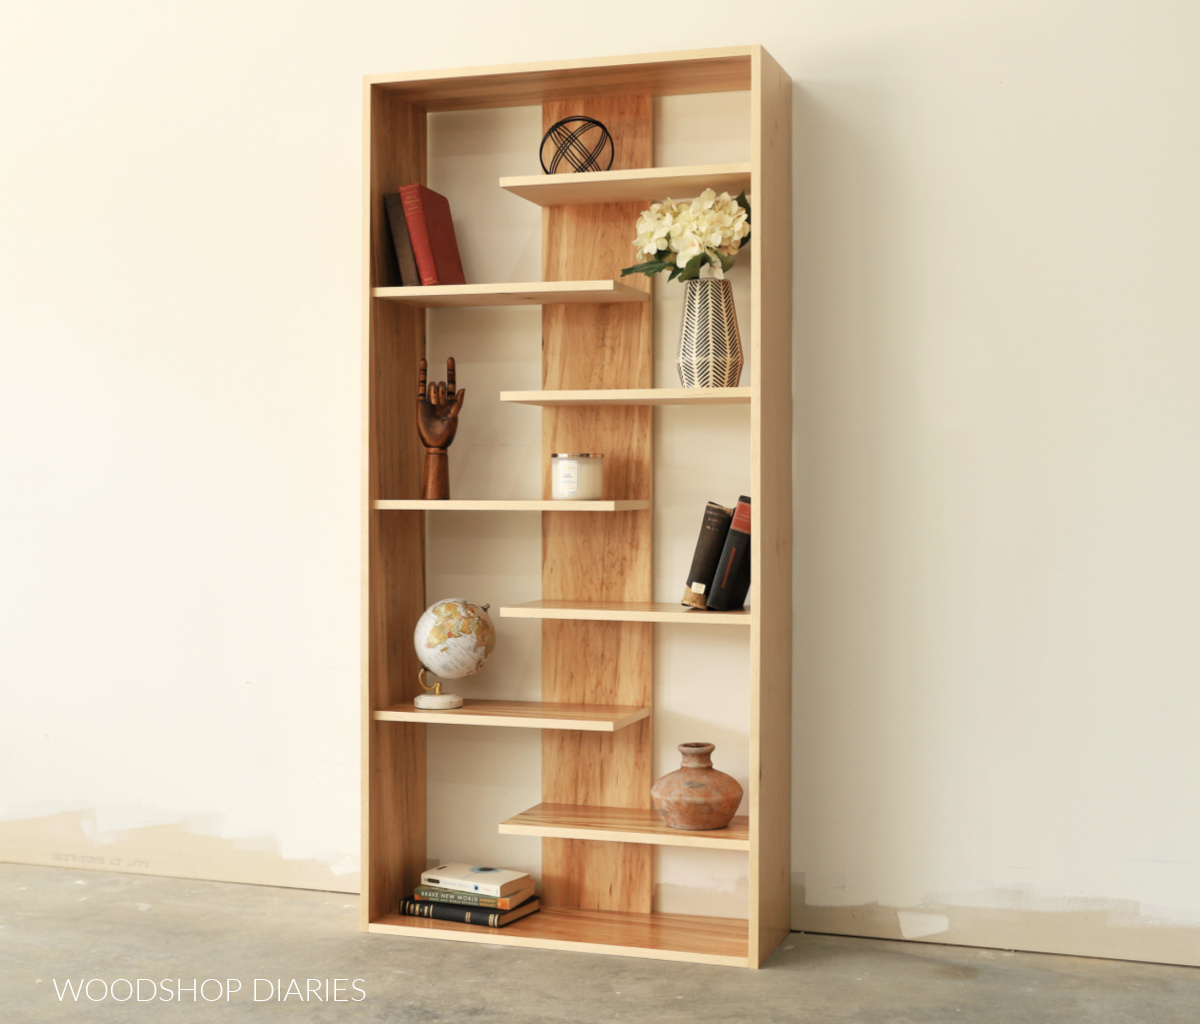
Credit: www.woodshopdiaries.com
Choosing The Right Plywood
Choosing the right plywood is key for a strong bookshelf. The right plywood makes the shelf sturdy and good-looking. Picking the correct type, thickness, and grade helps your project last long. This section guides you through these important choices.
Types Of Plywood For Bookshelves
Plywood comes in many types. Common types are hardwood, softwood, and cabinet grade. Hardwood plywood looks nice and holds weight well. Softwood plywood is lighter and cheaper but less strong. Cabinet grade plywood has a smooth finish, perfect for visible parts. Choose the type that suits your budget and style.
Thickness And Grade Selection
Thickness affects strength and stability. For bookshelves, 3/4 inch plywood is best. Thinner plywood may bend under weight. Grades show surface quality. Grade A has a smooth, clean surface. Grade B has some knots or marks but still strong. Use higher grades for shelves you want to look nice.
Where To Buy Quality Plywood
Buy plywood at local lumber yards or home centers. These places often have better quality than big-box stores. Check for flat, clean sheets without warps or cracks. Online stores also offer good options with delivery. Compare prices and reviews to find the best plywood for your shelf.
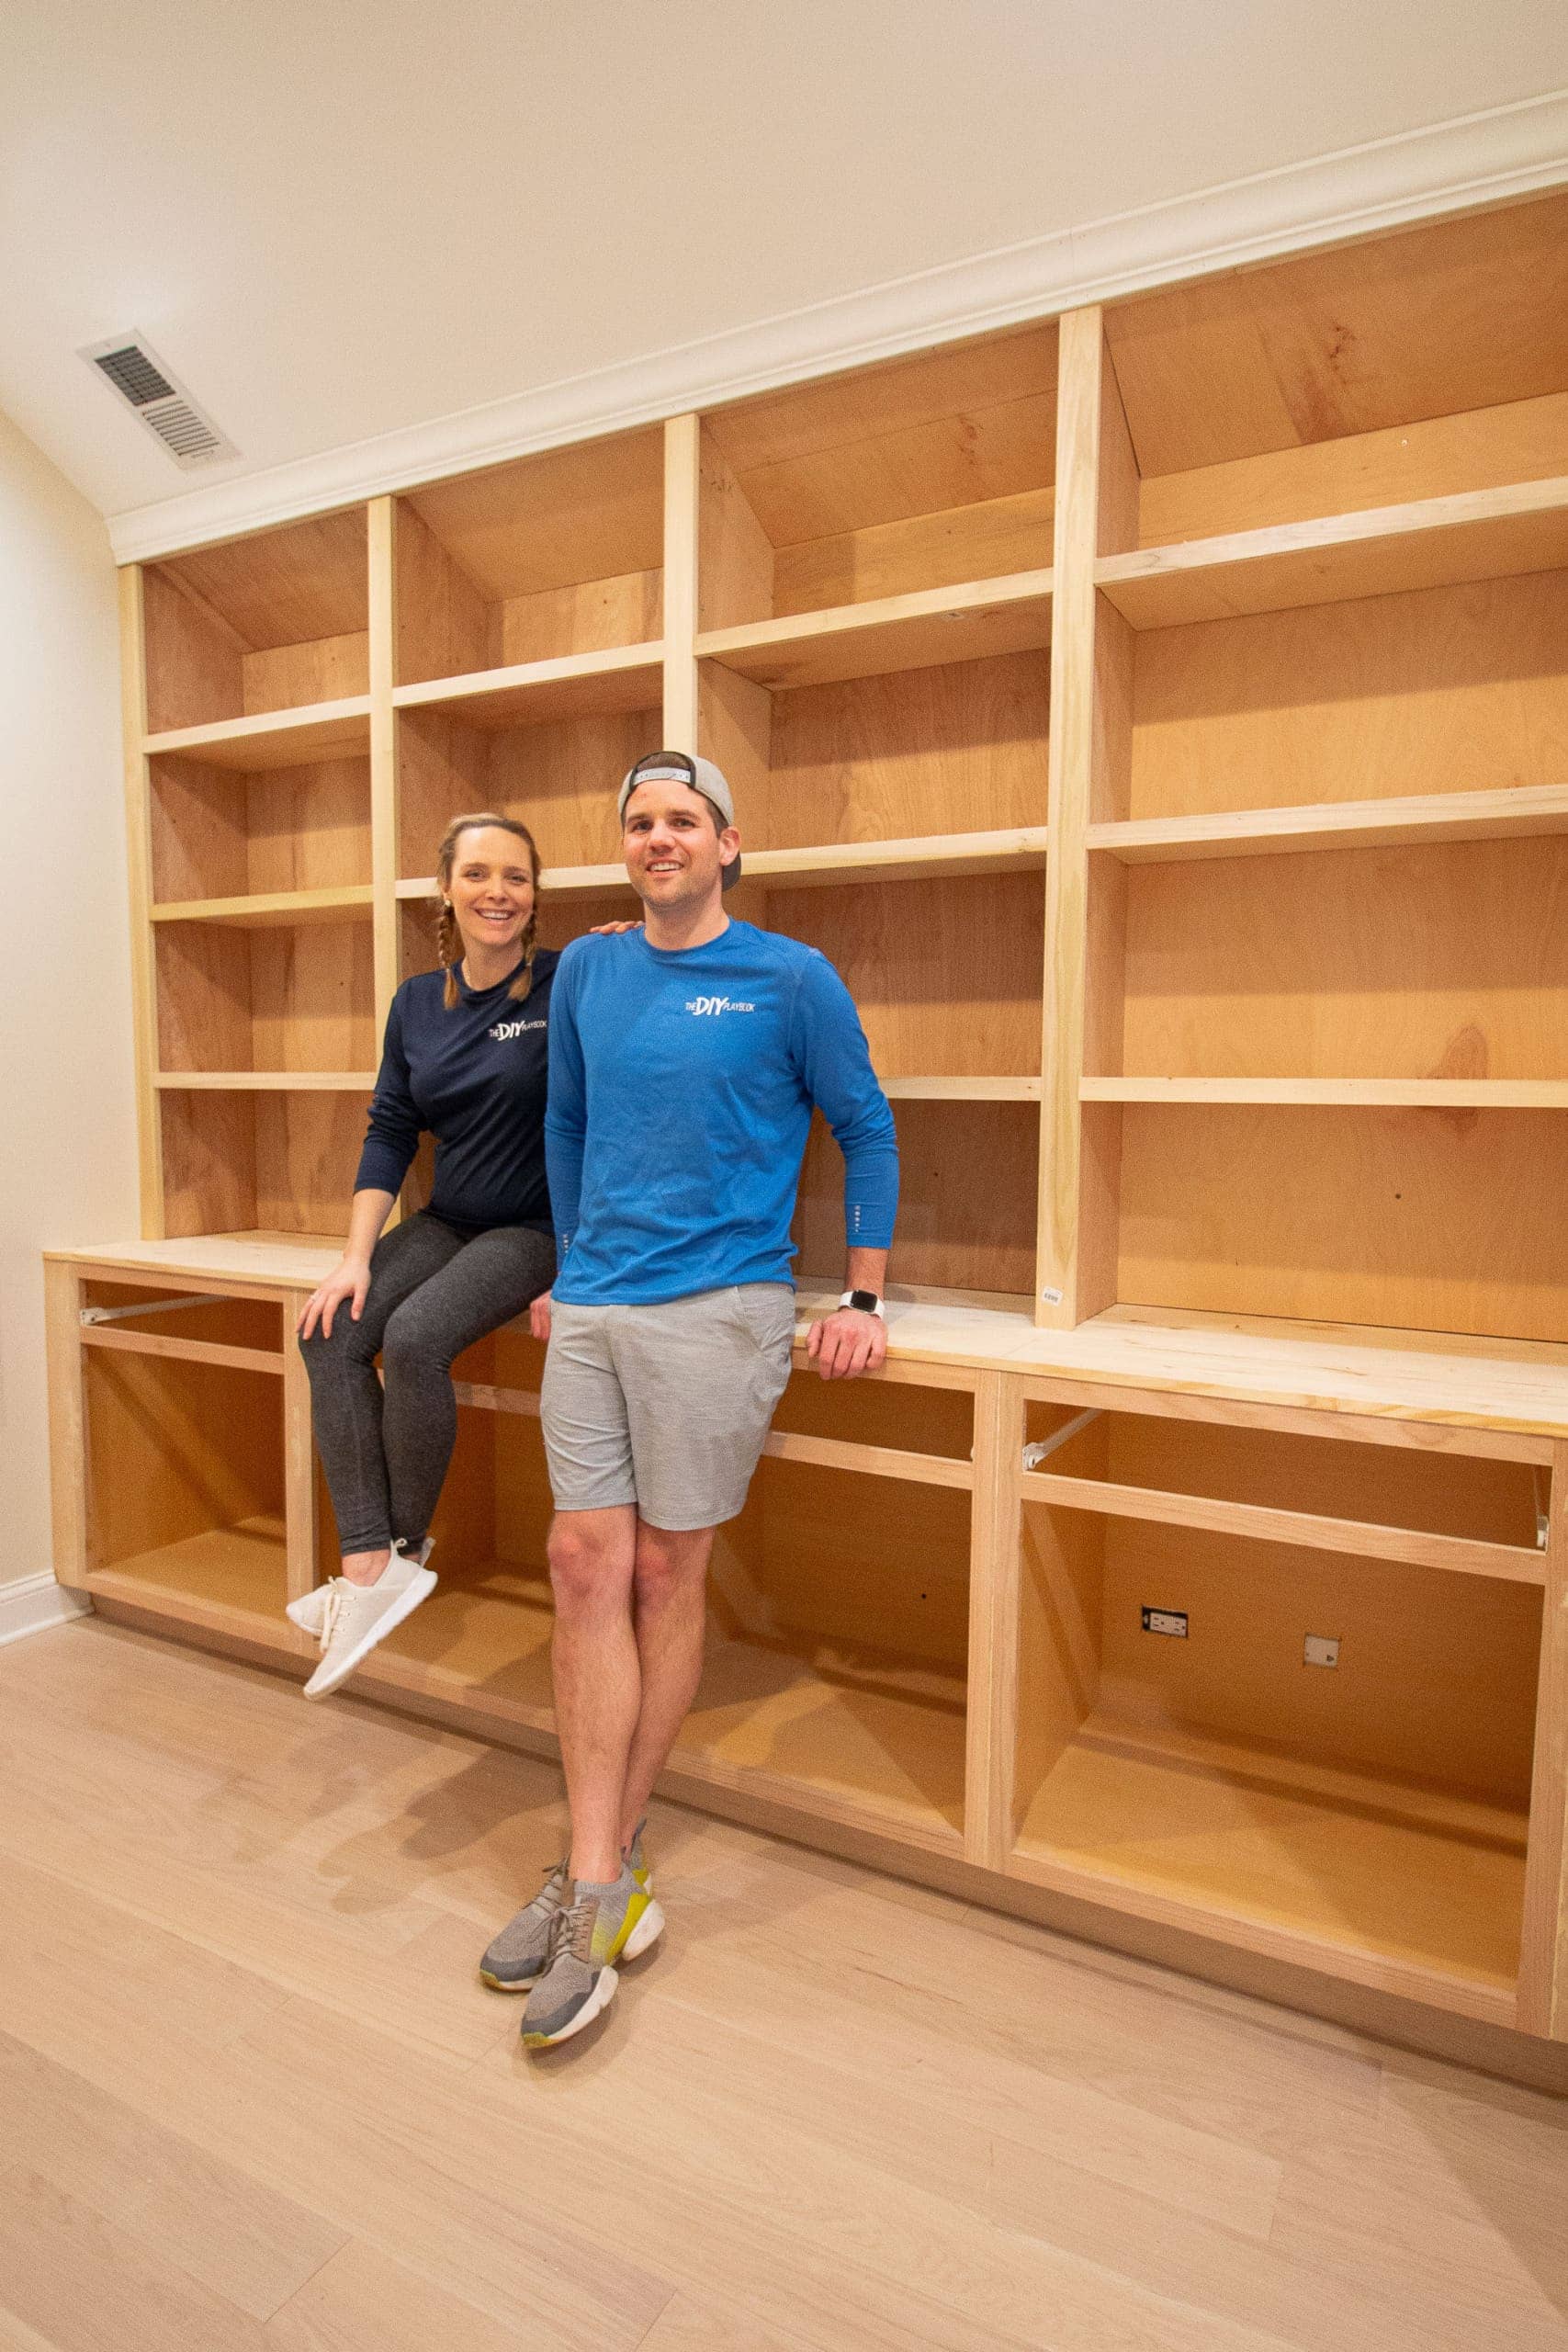
Credit: thediyplaybook.com
Tools And Materials Needed
Building a bookshelf with plywood is a fun project. Having the right tools and materials makes the work easier and safer. This section lists everything needed for the job. Simple tools and supplies help you create a strong, neat bookshelf. Safety gear protects you while working with wood and tools.
Essential Tools List
- Circular saw or handsaw for cutting plywood
- Drill with drill bits for making holes
- Screwdriver for driving screws
- Measuring tape to measure wood pieces accurately
- Carpenter’s square to keep edges straight
- Clamps to hold wood while gluing or screwing
- Sanding block or electric sander to smooth surfaces
Additional Supplies
- Plywood sheets, preferably 3/4 inch thick
- Wood screws suitable for plywood
- Wood glue for stronger joints
- Wood filler to cover holes or gaps
- Paint or wood stain to finish the bookshelf
- Brushes or rags for applying finishes
Safety Gear
- Safety glasses to protect your eyes
- Hearing protection if using loud power tools
- Dust mask to avoid inhaling wood dust
- Work gloves to protect your hands
Planning Your Bookshelf Design
Planning your bookshelf design is the first step to a successful project. It helps avoid mistakes and saves time. Careful planning ensures the shelf fits your space perfectly. Think about what you want to store and how the shelf will look. This section guides you through measuring, deciding dimensions, and sketching your bookshelf layout.
Measuring Your Space
Start by measuring the wall or area for the bookshelf. Use a tape measure to get the height, width, and depth. Write down all measurements clearly. Check for any obstacles like outlets or vents. Knowing your space helps you design a shelf that fits well and looks balanced.
Deciding Shelf Dimensions
Choose shelf height and depth based on your items. Books need different space than decor or boxes. A common shelf depth is 10 to 12 inches. Shelf height usually ranges from 10 to 14 inches. Think about leaving extra space for larger books or objects. Keep the overall bookshelf width in proportion to your room size.
Sketching The Layout
Draw a simple sketch of your bookshelf on paper. Mark the total size and each shelf’s position. Label measurements clearly on the sketch. Include thickness of plywood in your drawing. This helps visualize the final product and guides cutting and assembly. A neat plan leads to a smooth building process.
Cutting The Plywood Pieces
Cutting the plywood pieces is a key step in building a sturdy bookshelf. Accurate cuts ensure the pieces fit well and the shelf stands strong. Take your time and prepare properly before you start cutting. This will help you avoid mistakes and save wood.
Marking The Cuts
Start by measuring the plywood carefully. Use a pencil to mark the cut lines clearly. Double-check the measurements to make sure they are correct. Mark both sides of the plywood for better guidance. Straight and clear lines make cutting easier and more precise.
Using A Circular Saw Safely
Wear safety glasses and ear protection before using the saw. Keep your hands away from the blade at all times. Hold the plywood firmly on a stable surface. Follow the marked lines slowly and steadily. Let the saw do the work; don’t force it. Always unplug the saw when changing blades or adjusting it.
Sanding Edges Smooth
After cutting, the edges may feel rough or splintered. Use sandpaper to smooth all edges carefully. Sand along the grain to avoid damage. Smooth edges prevent splinters and give the shelf a clean look. Take your time to sand evenly for the best finish.
Assembling The Frame
Assembling the frame is the key step in building your plywood bookshelf. It creates the strong base that holds everything together. Take your time to ensure each piece fits well and is stable. A well-assembled frame means a durable and sturdy bookshelf.
Joining Side Panels
Start by preparing the side panels. These panels form the vertical sides of your bookshelf. Align the edges carefully to keep the frame square. Use clamps to hold the panels in place. This prevents movement while joining them together.
Attaching Shelves
Next, position the shelves between the side panels. Measure the distance to keep shelves evenly spaced. Place each shelf flat and flush with the edges. Check the level to avoid a crooked frame.
Securing With Screws And Wood Glue
Apply wood glue along the joints for a strong bond. Then, drive screws through the side panels into the shelves. Use screws that are the right length for plywood. Tighten the screws, but avoid overdriving them.
Finishing Touches
Finishing touches make your plywood bookshelf look complete and polished. These steps protect your wood and improve its appearance. Small details create a big impact on the final product.
Filling Gaps And Holes
Start by checking for any gaps or holes in the plywood. Use wood filler to fill these imperfections. Apply it with a putty knife and smooth it out. Let it dry completely before sanding. Sand the area until it feels even and smooth.
Applying Paint Or Stain
Choose paint or stain based on your desired look. Paint offers a solid color and hides wood grain. Stain enhances the natural beauty of the wood. Apply paint or stain evenly using a brush or cloth. Allow it to dry according to the product instructions. Multiple coats may be needed for a rich finish.
Adding Protective Coating
Protect your bookshelf with a clear coat after painting or staining. Use polyurethane, lacquer, or varnish for durability. Apply thin, even layers with a brush. Let each layer dry before adding the next. This coating shields the wood from scratches and moisture.
Installing And Securing The Bookshelf
Installing and securing your plywood bookshelf is a crucial step. A well-installed shelf stays sturdy and safe. It also looks neat and lasts longer. Follow these simple steps to place and fix your bookshelf properly.
Positioning The Shelf
Choose a spot with enough space for your bookshelf. Ensure the floor is flat and even. Keep the shelf away from direct sunlight to protect books. Leave some space around for easy cleaning. Check the wall for any obstacles like sockets or switches.
Anchoring To The Wall
Use wall anchors or brackets to secure the shelf. Find studs in the wall with a stud finder. Mark the spots to drill holes safely. Attach brackets to the shelf and wall firmly. Tighten screws but avoid over-tightening to prevent damage. Anchoring stops the shelf from tipping over.
Organizing Your Books
Sort books by size or category for easy access. Place heavier books on lower shelves for balance. Leave some space between books for airflow. Add decorative items or bookends to keep books upright. Organizing this way helps protect your books and looks tidy.

Credit: www.reddit.com
Tips For Maintenance And Longevity
Taking care of your plywood bookshelf helps it last longer and look better. Small efforts can keep it strong and clean. Follow simple steps to protect your investment and enjoy your bookshelf for years.
Regular Cleaning
Dust your bookshelf often using a soft cloth. Avoid harsh cleaners that can damage the wood. Use a damp cloth for sticky spots, then dry immediately. Keep the surface free from dirt to prevent scratches.
Avoiding Overloading
Do not place too many heavy books on one shelf. Spread weight evenly across all shelves. Overloading can cause the plywood to bend or break. Check weight limits and follow guidelines for safety.
Repairing Minor Damages
Fix small scratches with wood filler or touch-up markers. Sand rough edges gently to smooth the surface. Tighten loose screws or nails to keep shelves stable. Quick repairs stop damage from getting worse.
Frequently Asked Questions
What Type Of Plywood Is Best For Building Bookshelves?
The best plywood for bookshelves is cabinet-grade or Baltic birch plywood. It offers strength, durability, and a smooth finish. Avoid cheap or soft plywood, as it may warp or sag under weight. Choose plywood with a thickness of at least ¾ inch for sturdy shelves.
How Do I Prevent Plywood Shelves From Sagging?
To prevent sagging, use thicker plywood and add support brackets under each shelf. Properly space vertical dividers to distribute weight evenly. Avoid overloading shelves with heavy items. Additionally, secure the bookshelf firmly to the wall for extra stability.
What Tools Are Needed To Build A Plywood Bookshelf?
Essential tools include a saw (circular or table saw), drill, screws, measuring tape, level, and clamps. Sandpaper or an electric sander helps smooth edges. A screwdriver and wood glue are also useful for assembly and reinforcing joints.
How Can I Finish Plywood Bookshelves For A Polished Look?
Finish plywood shelves by sanding smoothly, then applying primer and paint or wood stain. Use a clear polyurethane coat for protection and durability. This enhances appearance, protects wood, and extends the bookshelf’s lifespan.
Conclusion
Building a bookshelf with plywood is simple and rewarding. You need basic tools and clear steps. Measure carefully, cut with care, and assemble with patience. This project saves money and lets you customize your space. A sturdy, neat bookshelf adds charm to any room.
Try it yourself and enjoy the process. Woodworking feels good. You will learn and create something useful at the same time. Keep practicing, and your skills will grow.
