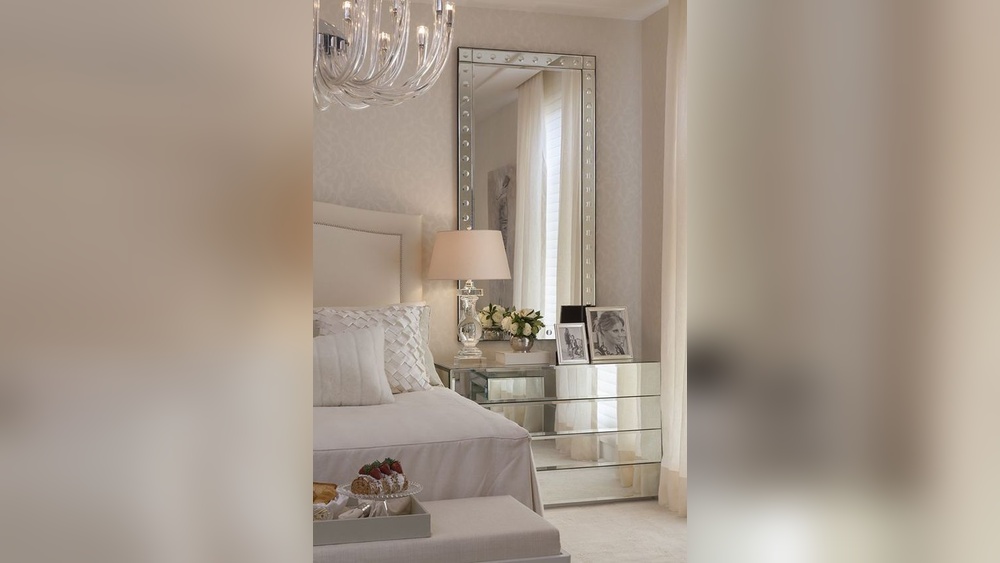
Looking to add a unique touch to your living space without spending a fortune? Building a pallet console table might be exactly what you need.
It’s a simple project that anyone can tackle, even if you’ve never built furniture before. Imagine turning old wooden pallets into a stylish, sturdy table that fits perfectly in your home. In this guide, you’ll discover easy steps to create a beautiful pallet console table that reflects your personal style.
Ready to transform your space and impress your friends? Let’s get started!

Credit: www.youtube.com
Choosing The Right Pallets
Choosing the right pallets is a key step in building a strong and beautiful pallet console table. The right pallet affects the table’s look, durability, and safety. Not all pallets are the same. Some pallets suit furniture better than others. This guide helps you pick the best pallets for your project.
Types Of Pallets
Wood pallets come in many types. Common types include hardwood and softwood pallets. Hardwood pallets are strong and last longer. Softwood pallets are lighter but may have more damage. Some pallets are treated with chemicals, while others are heat treated. Heat-treated pallets are safer for indoor use. Avoid pallets marked with “MB” as they contain harmful chemicals.
Checking Pallet Quality
Check pallets carefully before using. Look for cracks, splinters, and broken boards. Avoid pallets with mold or stains. These may cause health problems or damage your table. Pallets should feel solid and sturdy. Test by pressing on boards. Weak pallets will bend or break easily. Smooth the surface to avoid rough spots and nails.
Where To Find Pallets
Pallets are easy to find. Many stores and warehouses throw them away. Ask local stores if they have pallets to give or sell. Some recycling centers also have pallets. Online marketplaces can list free or cheap pallets nearby. Choose pallets that are clean and dry for best results.
Gathering Tools And Materials
Gathering the right tools and materials is the first step to build a pallet console table. Having everything ready makes the process smoother. It helps avoid delays and frustration. This section lists all essentials and extra supplies you might need.
Essential Tools
Start with basic tools that make cutting and assembling easy. A handsaw or power saw cuts the pallets precisely. A hammer helps to nail pieces together tightly. Use a drill to make holes for screws. Sandpaper or an electric sander smooths rough wood surfaces. A tape measure ensures accurate measurements. Safety gear like gloves and goggles protects your hands and eyes.
Additional Supplies
Extra supplies improve the table’s strength and look. Wood screws hold the pieces firmly. Wood glue adds extra bonding power. Paint or wood stain gives color and protects the wood. Brushes or rags apply the paint or stain evenly. Furniture legs or casters can be added for style and mobility. Wood filler covers any cracks or holes in the pallet wood.
Preparing The Pallets
Preparing the pallets is the first important step in building a pallet console table. Clean and smooth pallets make the building process easier and safer. Take your time to get the pallets ready before starting the assembly. Proper preparation improves the final look of your console table.
Cleaning And Sanding
Start by cleaning the pallets well. Remove dirt, dust, and any loose debris. Use a stiff brush to scrub the wood surface. This helps the wood look fresh and ready to work with. After cleaning, let the pallets dry completely.
Next, sand the pallets to smooth out rough areas. Use medium-grit sandpaper for the first pass. Then switch to fine-grit sandpaper for a smooth finish. Sanding removes splinters and rough spots, making the wood safe to handle. Smooth pallets also help paint or stain stick better.
Removing Nails And Splinters
Check the pallets carefully for old nails or screws. Use a hammer or pliers to pull out any nails you find. Removing nails prevents damage to your tools and keeps the table safe to use. Watch for small, sharp splinters and break them off with pliers or sand them down. Clear pallets make building easier and protect your hands during work.

Credit: www.remodelaholic.com
Designing Your Console Table
Designing your pallet console table is the first step in creating a piece that fits your space and style. A good design plan helps avoid mistakes and saves time. It makes the building process smooth and enjoyable.
Start by thinking about where you want to place your console table. Consider the size of the wall or area. Think about how you will use the table. This will guide your design choices.
Choosing Dimensions
Decide the height, width, and depth of your console table. The height should match other furniture or be comfortable for use. Width depends on the space available and what you want to place on the table. Depth is important for stability and storage space.
Measure the area carefully. Write down the numbers. Keep your measurements simple and clear. This helps you build a table that fits well in your home.
Sketching The Layout
Draw a simple sketch of your console table. Use your dimensions to create an accurate layout. Mark where the pallets will be cut and joined. Show shelves or drawers if you want them.
Sketching helps you visualize the final product. It also helps plan the materials and tools you will need. Keep the sketch neat and easy to understand.
Cutting And Shaping Wood
Cutting and shaping wood is a key step in building a pallet console table. This part helps turn rough wood into smooth, fit pieces for your project. Careful cutting ensures the table looks good and stays strong. Take time to measure and cut with care. Safety is important to protect yourself during this process.
Measuring And Marking
Start by measuring each pallet board carefully. Use a tape measure for exact lengths. Mark the wood with a pencil. Draw clear, straight lines where you need to cut. Double-check measurements before cutting. Accurate marking saves wood and time.
Safe Cutting Techniques
Wear safety glasses and gloves before cutting. Use a sharp saw to make clean cuts. Keep your hands away from the blade. Cut slowly and steadily to avoid mistakes. Use clamps to hold wood still. This stops the wood from moving while cutting. Always work in a well-lit space for better control.
Assembling The Table Frame
Assembling the table frame is a key step in building your pallet console table. This part gives the table its shape and strength. Proper assembly ensures your table stands firm and looks good. Follow these steps carefully for a solid frame.
Joining Pallet Pieces
Start by selecting straight pallet boards. Arrange them to form the table’s sides and base. Use clamps to hold the pieces together. Check the alignment to keep edges even. This makes sure your table frame will be stable.
Securing With Screws And Nails
Use screws for strong joints. Pre-drill holes to avoid wood splitting. Drive screws through the pallets at the joints. Add nails for extra hold if needed. Tight connections stop wobbling and keep the frame tight.
Adding Tabletop And Shelves
Adding the tabletop and shelves is a key step in building your pallet console table. This part gives the table its shape and extra storage space. Proper placement of the top and shelves makes your table strong and practical.
Positioning The Top
Place the tabletop on the pallet base carefully. Make sure it is centered and even on all sides. Use clamps to hold it firmly in place. Check that the edges align with the base for a neat look.
Mark where you will drill screws to attach the top. Drill pilot holes to avoid splitting the wood. Secure the tabletop using wood screws. Tighten screws until the top feels stable but avoid cracking the wood.
Installing Support Shelves
Measure the space under the table for your shelves. Cut wood boards to fit this space as shelves. Sand the edges to prevent splinters and rough spots.
Attach support beams on the sides inside the pallet frame. These will hold the shelves. Use screws to fix the supports securely. Slide the shelves onto the supports. Make sure they sit level and steady before final tightening.
Finishing Touches
Finishing touches bring your pallet console table to life. They improve its look and protect the wood. Taking time here makes your table last longer and look great in any room.
Sanding And Smoothing
Start by sanding the entire table. Use medium-grit sandpaper to remove rough spots. Then, switch to fine-grit for a smooth finish. Sand all surfaces evenly to avoid splinters. Wipe off dust with a clean cloth before moving on.
Painting And Staining Options
Choose paint or stain based on your style. Paint adds color and covers wood grain. Stain enhances the natural wood look. Apply thin coats for even coverage. Let each coat dry fully before the next one. Experiment with colors to match your decor.
Applying Protective Coating
Seal your table with a clear protective coat. Use polyurethane or varnish for strong protection. This layer shields the wood from spills and scratches. Apply with a brush in long, smooth strokes. Allow the coating to dry completely for best results.
Maintenance Tips
Keeping your pallet console table in good shape takes regular care. Simple steps help your table last longer and look great. Follow these maintenance tips to protect your wood and finish.
Cleaning Advice
Dust your table often with a soft cloth. Use a damp cloth for sticky spots. Avoid soaking wood with water. Mild soap and water work well for cleaning. Dry the table immediately after wiping. Do not use harsh chemicals or abrasive cleaners. These can damage the wood and finish.
Handling Wear And Tear
Check for loose nails or screws regularly. Tighten or replace them as needed. Sand rough spots gently with fine sandpaper. Apply wood oil or wax to protect the surface. Use coasters to prevent water rings. Avoid placing hot items directly on the table. Repair small scratches with a wood touch-up pen. Regular care reduces damage and keeps your table sturdy.
Credit: www.reddit.com
Frequently Asked Questions
What Materials Are Needed To Build A Pallet Console Table?
You need wooden pallets, sandpaper, screws, wood glue, a saw, and paint or stain. Optional items include brackets for extra support and sealant for durability.
How Long Does It Take To Build A Pallet Console Table?
Building a pallet console table typically takes 4 to 6 hours. This includes sanding, assembling, and finishing the wood.
Can I Customize The Size Of The Pallet Console Table?
Yes, you can customize the size by cutting pallets to your preferred dimensions. Measure your space before cutting for a perfect fit.
Is It Necessary To Treat The Pallet Wood Before Use?
Yes, treating pallet wood is important. Sanding removes rough edges, and applying sealant protects against moisture and pests, increasing the table’s lifespan.
Conclusion
Building a pallet console table is fun and rewarding. You need just a few tools and some patience. Each step is simple to follow and helps you learn. This project saves money and adds a unique touch to your home.
Try different finishes to match your style. Enjoy the process and the final product. Your handmade table will bring charm and function to any room. Start building today and see how easy it can be!