Do you want to give your furry friend a cozy spot right next to your bed? Building a small bedside dog bunk bed is easier than you think.
It saves space, keeps your dog close, and adds a stylish touch to your room. In this guide, you’ll learn simple steps and tips to create a comfy, safe bunk bed for your dog. Keep reading, and soon your pet will have the perfect place to rest—just within arm’s reach.

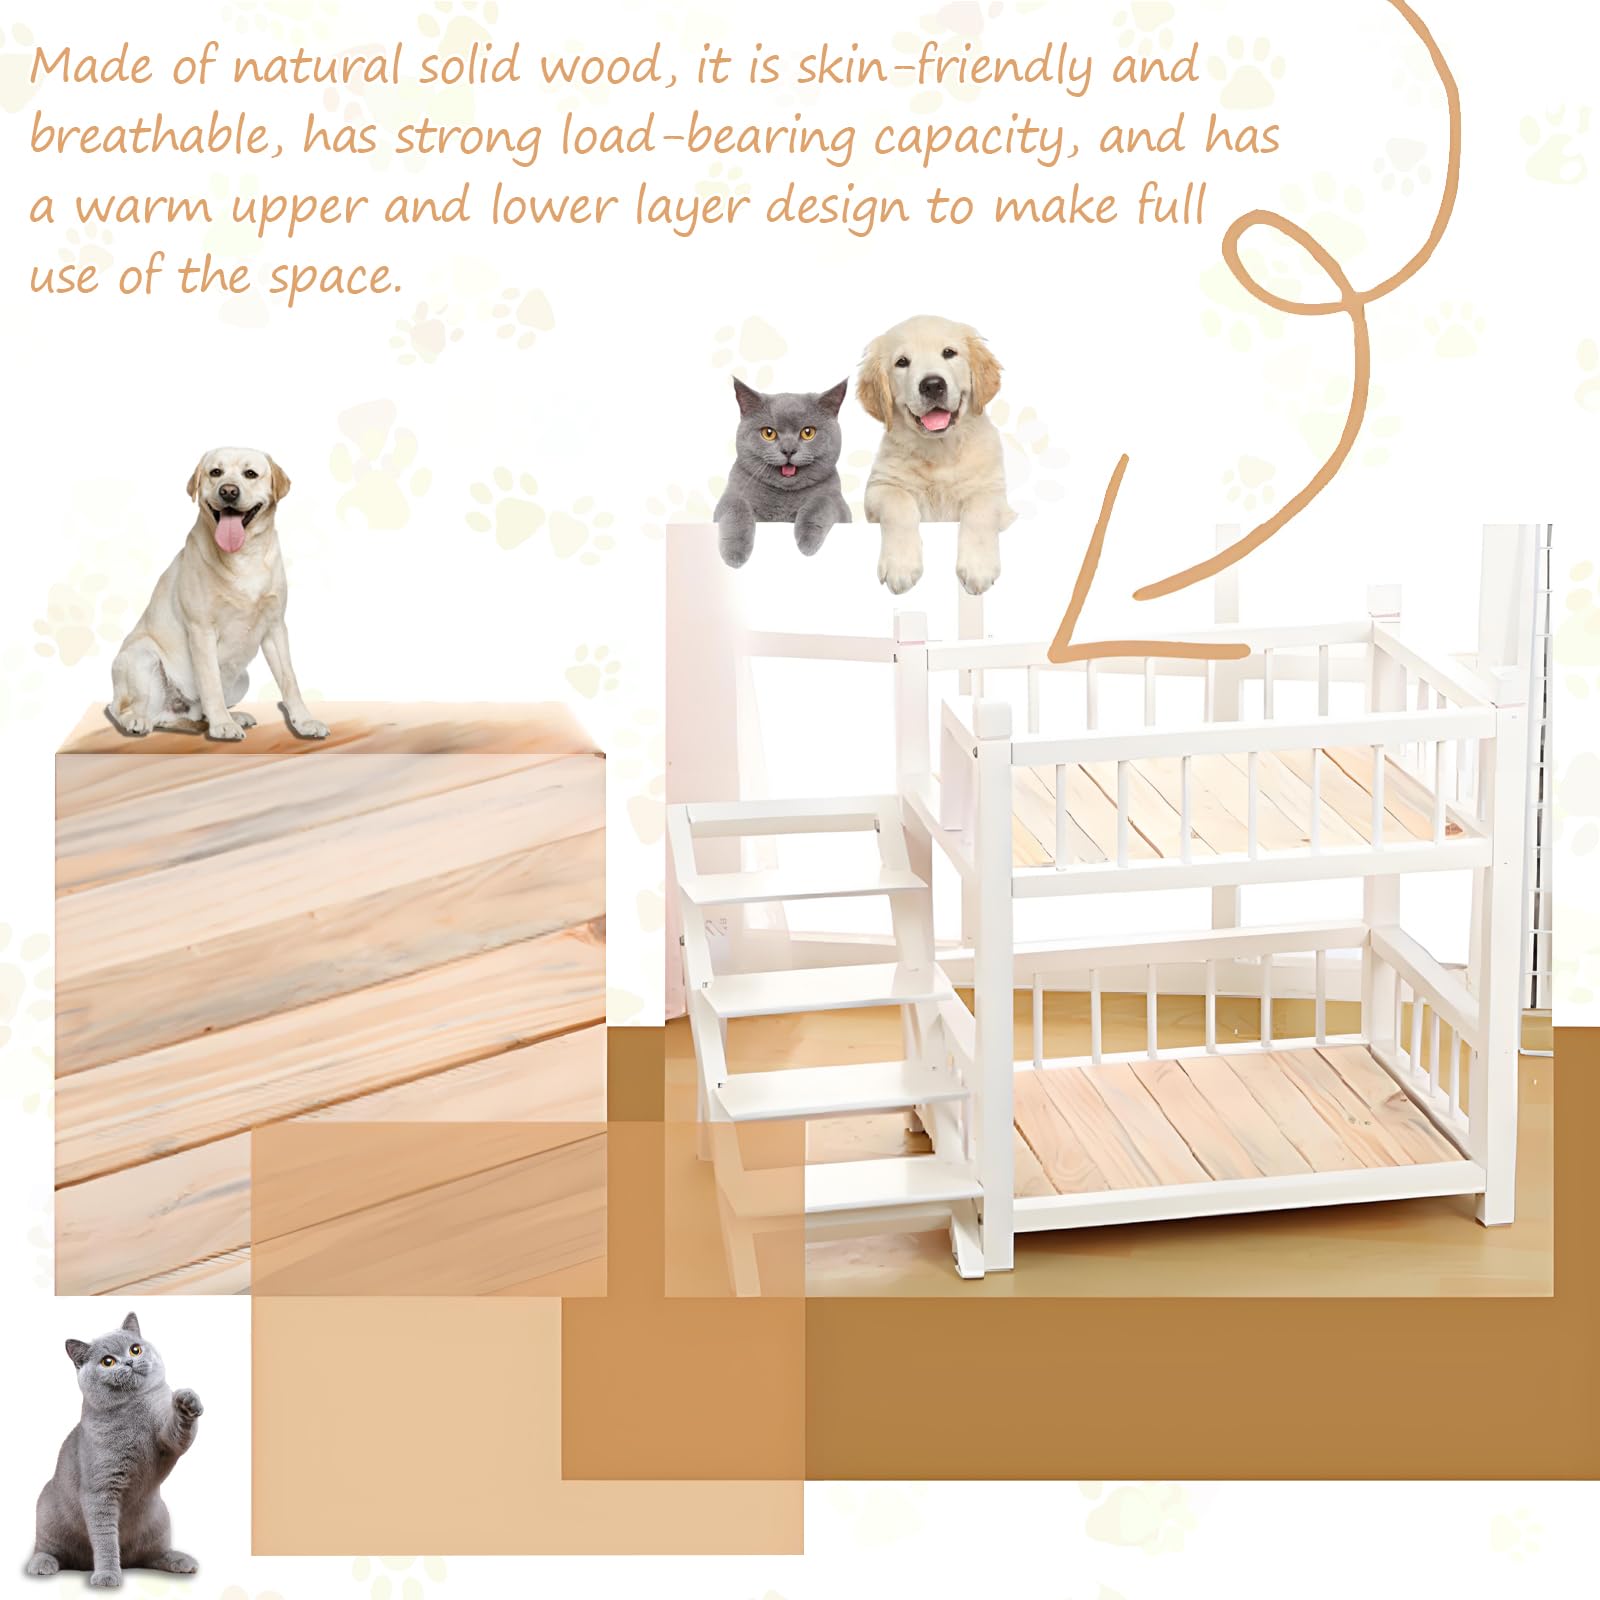
Credit: www.callegherie.it
Materials And Tools
Designing the bed is the first step in building a small bedside dog bunk bed. This step helps make sure the bed fits well and is comfortable for your dog. Good design saves time and materials during building. It also gives a safe and cozy space for your pet.
Planning carefully helps avoid mistakes. Start by measuring the space where the bed will go. Then, size the bed to match your dog’s needs. Finally, sketch your plan for a clear guide before building.
Measuring Your Space
Measure the area next to your bed where you want the dog bed. Check the width, depth, and height. Write down all measurements. Make sure to leave room for walking and other furniture. This keeps the space safe and easy to use.
Sizing For Your Dog
Measure your dog from nose to tail. Also, measure from the floor to the top of their shoulders. Add a few inches to these numbers for comfort. Your dog needs enough space to lie down and turn around easily. A well-sized bed helps your dog rest well.
Sketching The Plan
Draw a simple sketch of the bed design. Include the bed’s height, width, and depth. Mark where the bunk will be placed next to your bed. Use your measurements to keep the sketch accurate. This plan guides you while building and helps avoid errors.
Designing The Bed
Cutting the wood is a key step in building your small bedside dog bunk bed. Precise cuts help the bed fit together well and stay strong. Take your time to measure and cut each piece carefully. This step sets the base for a sturdy, safe dog bed.
Marking Measurements
Start by measuring the wood pieces based on your design. Use a pencil to mark the exact length and width on each board. Double-check the numbers before marking. Clear, accurate marks guide your cuts and reduce mistakes.
Safe Cutting Techniques
Wear safety goggles and gloves before cutting. Use a stable surface or workbench to support the wood. Cut slowly along the marked lines to keep control. Keep fingers away from the blade at all times. Use clamps to hold the wood steady if needed.
Preparing Pieces For Assembly
After cutting, smooth the edges with sandpaper to avoid splinters. Check each piece against your plan to confirm correct sizes. Organize the pieces in order to make assembly easier. Clean the work area to keep parts safe and ready.
Cutting The Wood
Assembling the frame is the first step in building your small bedside dog bunk bed. This part creates the main shape and holds everything together. A strong frame ensures safety and stability for your dog. Follow the steps carefully to make a sturdy base.
Joining The Sides
Start by taking the two side panels. Align their edges so they match perfectly. Use wood glue on the edges for extra hold. Then, screw the panels together using wood screws. Make sure the screws go in straight for a tight fit. Check the sides with a square tool to keep corners at 90 degrees.
Attaching The Base
Next, place the base panel between the joined sides. It should fit snugly without gaps. Apply wood glue along the edges of the base. Press it firmly into place. Secure the base with screws through the sides. This step creates a strong platform for your dog’s bed.
Securing The Structure
Reinforce the frame by adding corner brackets or wooden blocks inside each corner. Use screws to attach these supports tightly. This prevents wobbling and adds strength. Finally, check all screws and joints. Tighten any loose parts to ensure a safe, solid frame for your dog bunk bed.
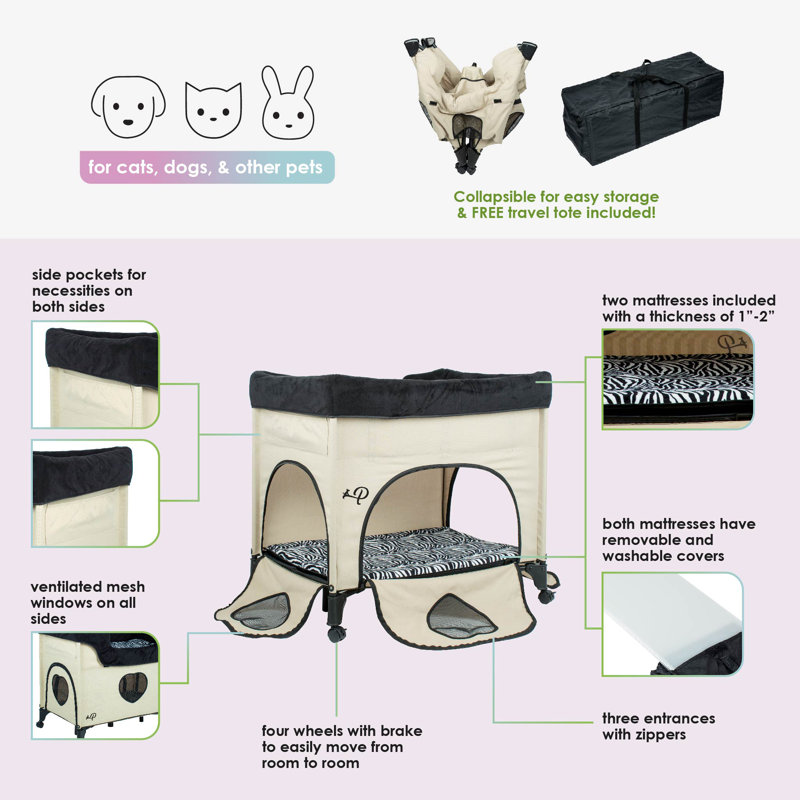
Credit: www.amazon.sa
Assembling The Frame
Adding finishing touches to your small bedside dog bunk bed makes it safe and cozy. These final steps improve the look and feel of the bed. They also protect the wood and ensure comfort for your dog. Focus on smoothing the surface, choosing the right finish, and adding soft bedding.
Sanding And Smoothing
Start by sanding the entire bed frame. Use fine-grit sandpaper for a smooth finish. Sand all edges and corners carefully. This removes splinters and rough spots. It helps prevent injuries to your dog. Wipe off the dust with a dry cloth after sanding.
Painting Or Staining
Choose paint or stain that is safe for pets. Use non-toxic, water-based products. Apply thin, even coats for best results. Allow each coat to dry fully before the next. Paint adds color and style. Stain highlights the natural wood grain. Both protect the wood from wear and tear.
Adding Cushions Or Bedding
Select soft cushions or bedding that fit the bed perfectly. Use washable covers for easy cleaning. Choose materials that are comfortable and durable. Place the cushion inside the bed frame. This makes the bunk bed cozy and inviting for your dog. A comfy bed encourages restful sleep and relaxation.
Adding Finishing Touches
Placing the small bedside dog bunk bed is an important step. It affects your dog’s comfort and your room’s look. Choose a spot that fits your space and keeps your pet close. Think about safety and ease of use for both you and your dog.
Positioning Beside Your Bed
Place the dog bunk bed close to your bed. This helps your dog feel safe and near you. Make sure there is enough space to move around. Avoid blocking doors or walkways. The bed should be easy for your dog to climb in and out.
Ensuring Stability
Check the bed’s stability before use. Make sure it does not wobble or shake. Secure the bed to the wall if needed. Use non-slip pads under the bed legs. A steady bed prevents accidents and keeps your dog safe.
Personalizing The Space
Add your dog’s favorite blanket or pillow. This makes the bed cozy and inviting. Place a small toy or chew near the bed. Personal touches help your dog feel at home. Keep the area clean and free of clutter.
Credit: www.missistem.co.rs
Frequently Asked Questions
What Materials Do I Need To Build A Small Dog Bunk Bed?
You need wood planks, screws, sandpaper, wood glue, paint, and fabric for cushions. Choose pet-safe, durable materials for safety and comfort. Tools include a saw, drill, measuring tape, and screwdriver.
How Do I Ensure The Bed Is Safe For My Dog?
Use smooth, splinter-free wood and secure all joints tightly. Avoid sharp edges and toxic paints. Ensure the bed height suits your dog’s size to prevent falls.
What Are The Ideal Dimensions For A Small Dog Bunk Bed?
Measure your dog’s length and width while lying down. Add 4-6 inches for comfort. Typically, small dog beds range from 18 to 24 inches long and 12 to 18 inches wide.
Can I Customize The Dog Bunk Bed To Match My Bedroom?
Yes, you can paint or stain the bed to match your decor. Add fabric cushions or blankets in your preferred colors. Personalizing adds style and comfort for your pet.
Conclusion
Building a small bedside dog bunk bed brings comfort to your pet. It saves space and keeps your dog close at night. You only need basic tools and simple steps to start. Personalizing the bed can make it feel special for your dog.
This project is fun and rewarding for pet owners. Give your dog a cozy place to rest right beside you. Try making one and enjoy peaceful nights together.