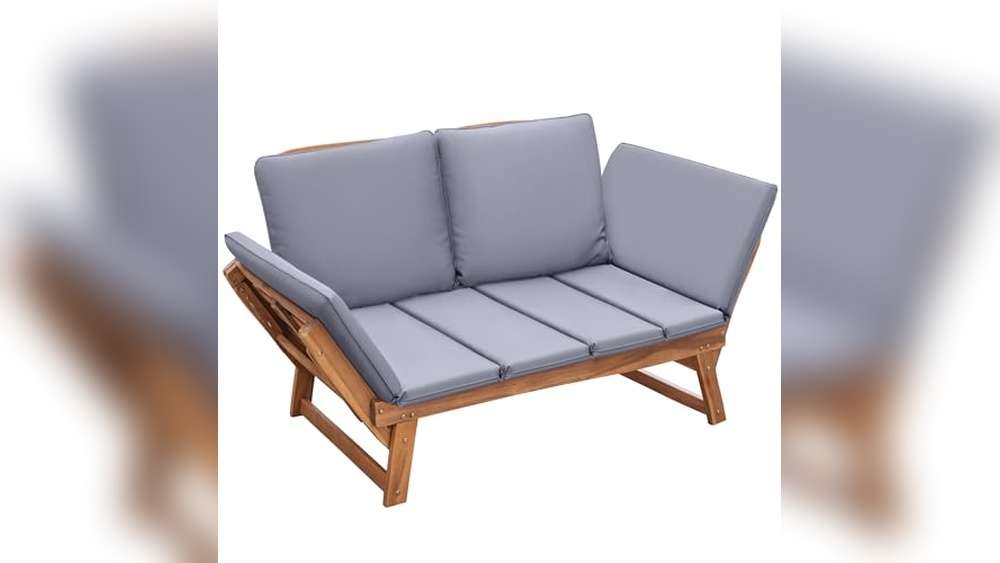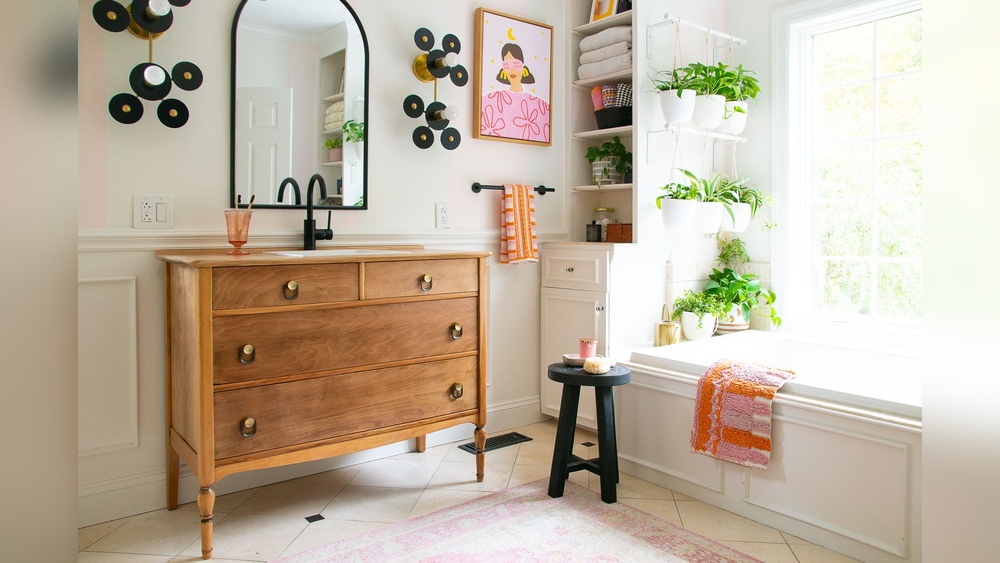
Are you ready to transform your plain furniture into charming vintage pieces that tell a story? Giving your furniture a vintage look doesn’t require buying expensive antiques or hiring professionals.
With a few simple steps, you can create that timeless, rustic charm right in your own home. Whether it’s a worn-in dresser, a classic chair, or a sturdy table, you’ll learn how to bring out character and warmth through easy techniques like sanding, painting, and distressing.
Stick with me, and I’ll guide you through the process so your furniture becomes the unique vintage treasure you’ve always wanted. Let’s get started on turning your everyday furniture into stunning vintage art!

Credit: capturingwonderland.com
Materials And Tools Needed
Converting furniture to a vintage look requires specific materials and tools. These help achieve an authentic, aged appearance. Using the right supplies makes the process easier and the results better.
Prepare all items before starting. This preparation saves time and avoids interruptions. Below is a list of essential materials and tools for this project.
Paints And Finishes
Choose chalk paint or milk paint for a matte, old-fashioned look. Wax or matte varnish protects the surface and adds depth. Dark wax enhances the aged effect by highlighting crevices.
Sandpaper And Sanding Tools
Use fine to medium grit sandpaper to distress edges and surfaces. Sanding blocks or electric sanders speed up the process. Sanding reveals layers and creates worn spots naturally.
Brushes And Applicators
Soft-bristle brushes apply paint smoothly without streaks. Stiff brushes help with texture and distressing paint. Foam rollers and cloths assist in applying wax or stain evenly.
Distressing Tools
Tools like wire brushes, chains, and metal scrapers create dents and scratches. These marks add character and simulate natural wear. Use them carefully to avoid damage.
Cleaning Supplies
Clean the furniture with mild soap and water before starting. Rags and tack cloths remove dust after sanding. Proper cleaning ensures better paint adhesion and finish.
Protective Gear
Wear gloves and a dust mask for safety. Eye protection prevents irritation from dust and particles. Use a well-ventilated workspace to avoid fumes.
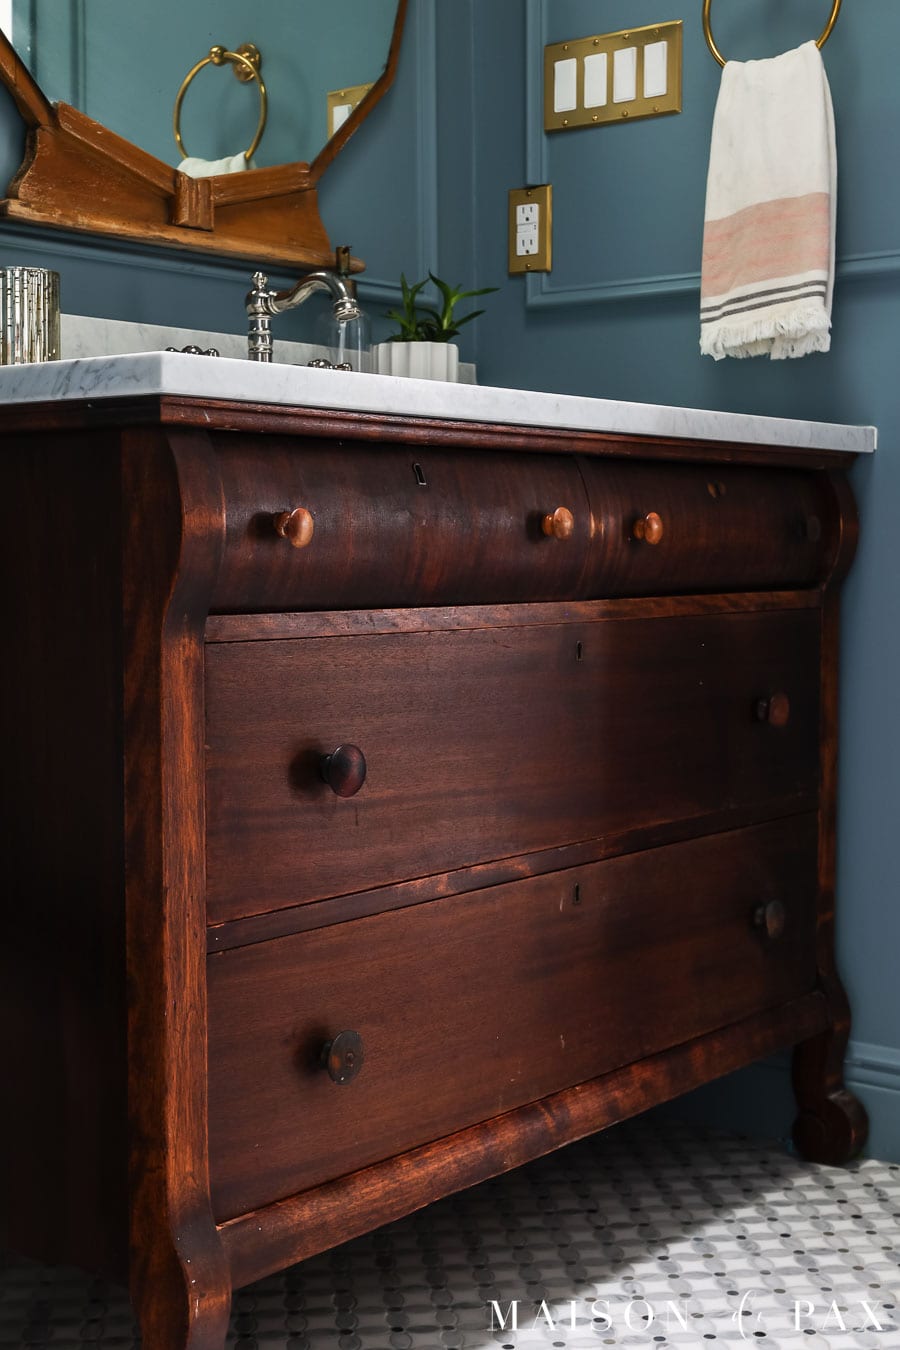
Credit: www.maisondepax.com
Preparing The Furniture
Preparing the furniture is the first step to achieve a vintage look. It sets the base for all the work that follows. A clean, smooth surface helps paint and stains stick better. Proper preparation also reveals any damage or imperfections. Fixing these early ensures a polished finish.
Cleaning And Sanding
Start by cleaning the furniture thoroughly. Use mild soap and water to remove dust and dirt. Avoid soaking the wood; use a damp cloth instead. Let the piece dry completely before sanding.
Next, sand the surface gently using medium-grit sandpaper. This removes any rough spots and old paint flakes. Sand along the wood grain to avoid scratches. Wipe away dust with a clean cloth after sanding.
Removing Old Finish
Old finishes can block new paint or stain from penetrating the wood. Use a chemical stripper or sandpaper to remove varnish or lacquer. Apply the stripper carefully following safety instructions.
After the finish softens, scrape it off with a plastic scraper. Avoid metal tools that can damage the wood. Sand the surface again lightly to smooth it out. Clean the furniture to remove residue before moving on.
Choosing Paint And Stain
Choosing the right paint and stain is key to converting furniture to a vintage look. The colors and finishes you select set the tone for the aged appearance. A good choice brings out the character of the piece. It also helps the furniture blend into a vintage or rustic space.
Understanding how base colors and top coats work together guides the process. Base colors create the foundation. Top coats and stains add depth and an aged effect. Both layers work to give the furniture a unique vintage charm.
Selecting Base Colors
Start with a base color that matches the vintage style you want. Soft pastels like cream, pale blue, or mint green work well. Earthy tones such as warm browns and muted grays also create a classic look.
Matte or chalk paint finishes suit vintage furniture best. They provide a smooth surface that shows wear easily. Avoid glossy paints because they look too new and shiny.
Pick a color that will show distressing clearly. Lighter colors reveal sanding marks and cracks nicely. Darker bases give a richer, deeper aged effect but may hide some details.
Picking Top Coats And Stains
Top coats protect the paint and add the vintage finish. Use wax or matte varnish for a soft, old-fashioned shine. These finishes keep the worn look without adding gloss.
Stains add warmth and age to the wood. Apply a dark stain over paint to highlight cracks and edges. This technique makes the furniture appear naturally aged.
Distress the top coat lightly by sanding edges and corners. Then apply wax or stain to these spots. The contrast creates an authentic vintage effect.
Choose stains that match the wood tone and base color. Warm walnut or dark oak stains work well on most painted furniture. Test stains on a hidden spot first to get the right shade.
Painting Techniques For Vintage Look
Painting techniques shape the vintage look of your furniture. They add character and charm with layers and texture. These methods mimic the aged, worn appearance of old pieces. Patience and care create the authentic vintage style that stands out.
Applying Base And Top Coats
Start with a smooth base coat for good paint adhesion. Choose soft, muted colors like cream, pastel blue, or pale green. Apply one or two even coats and let each dry fully. After distressing or decorating, seal the piece with a clear top coat. Use matte or satin finishes to keep the vintage feel. This protects paint and adds subtle shine.
Wet Distressing For Chippy Finish
Wet distressing creates natural-looking paint chips and cracks. Lightly dampen the painted surface with a spray bottle. Use sandpaper or a scraper to remove paint in spots. Focus on edges, corners, and raised details. The wet paint peels off easier, revealing the base or wood beneath. This technique gives a worn, weathered effect common in vintage furniture.
Layering Colors For Depth
Layering paints builds rich depth and interest. Start with a dark base color. Add lighter or contrasting shades on top. Apply thin coats, then sand some areas to show lower layers. Use dry brushing to highlight details gently. This technique mimics years of wear and repainting. The result is a multi-dimensional, authentic vintage look.
Creating Distressed Effects
Creating distressed effects is key to giving furniture a vintage look. This technique mimics years of wear and tear. It adds charm and character to any piece. Distressing involves carefully removing paint or finish in certain spots. It also means making the surface look naturally aged and worn. The goal is a soft, lived-in appearance that feels authentic.
Sanding Edges And High-wear Areas
Start by sanding edges and spots that get the most use. These areas naturally wear down first. Use fine or medium-grit sandpaper to gently rub off paint or finish. Focus on corners, drawer handles, and armrests. Sand until you see the wood or base layer peeking through. This step creates a realistic worn effect without overdoing it.
Using Tools To Add Wear
Use simple tools to add signs of wear and age. Chains, wire brushes, or steel wool work well. Lightly drag or tap these tools on the wood surface. This roughens the texture and raises the wood grain. Small scratches and marks make the piece look naturally aged. Be careful not to damage the furniture too much. Aim for subtle, random wear patterns.
Adding Dents And Dings
Dents and dings add authentic character to vintage furniture. Use a hammer, screwdriver, or small mallet to create tiny marks. Tap lightly to avoid deep damage. Place dents where natural knocks would occur, like edges or legs. These imperfections tell a story of years gone by. They make new furniture feel old and full of history.
Enhancing With Stains And Waxes
Enhancing furniture with stains and waxes gives it rich character. These finishes add warmth and depth to the wood. They also protect the surface and highlight details.
Using stains and waxes carefully transforms plain furniture into vintage treasures. The right technique brings out the natural beauty and age of the piece.
Applying Dark Stain For Depth
Dark stain adds richness and shadows to wood surfaces. It deepens color and brings out wood grain beautifully. Apply stain with a brush or cloth evenly across the surface.
Wipe off excess quickly to avoid blotches. Focus on edges and crevices to simulate natural aging. Let the stain dry fully before moving on.
Using Clear And Dark Wax Finishes
Clear wax seals and protects the stained wood. It gives a soft, smooth finish without changing color. Apply a thin layer with a cloth and buff to shine.
Dark wax adds an antique look by settling into crevices. Use it sparingly to highlight details and create depth. Blend dark wax well for a natural effect.
Combining clear and dark wax creates a balanced vintage finish. The clear wax protects while dark wax ages the look. This method enhances texture and character.
Working With New Wood
Working with new wood is the first step in creating a vintage look for furniture. New wood feels smooth and fresh, lacking the character that age and use bring. To change this, apply techniques that add color, texture, and signs of wear. These steps help new wood look like it has a history. The goal is to make the wood appear warm and aged, not brand new.
Staining New Wood
Staining new wood adds rich color and highlights the grain. Choose a stain that matches the vintage style you want. Apply the stain evenly with a brush or cloth. Wipe off extra stain quickly to avoid dark spots. Let the stain dry completely before the next step. Multiple coats can deepen the color and give a richer look.
Simulating Wear And Aging
Create signs of wear by gently sanding edges and corners. Use coarse sandpaper or a sanding block for natural wear spots. Add small dents or scratches with tools like a hammer or screwdriver. These marks make the wood look used over time. Raise the wood grain by wetting the surface, then sanding lightly once dry. This simulates the rough texture of old wood.
Adding Washes For Weathered Look
A wash is a thin layer of diluted paint or stain. It softens the color and adds depth. Mix paint with water or stain with mineral spirits to create a wash. Brush the wash over the wood and wipe it off while still wet. This technique highlights the grain and imperfections. Use light colors for a sun-bleached effect or darker tones for a moody, aged feel.
Sealing And Protecting
Sealing and protecting vintage furniture is key to keeping its beauty and charm. This step safeguards your work from damage and wear. Proper sealing also enhances the aged look by adding depth and richness. Choose the right topcoat based on the furniture type and your desired finish. Apply it carefully for a smooth, lasting result.
Choosing Protective Topcoats
Select a topcoat that fits your furniture’s use and style. Polyurethane offers strong protection for tables and chairs. Wax gives a soft, matte finish ideal for decorative pieces. Water-based sealers dry fast and keep colors true. Oil-based sealers add warmth but take longer to dry. Consider durability, finish, and ease of application before buying.
Applying Polyurethane Or Wax
Start with clean, dry furniture before applying any topcoat. For polyurethane, use a quality brush or foam applicator. Apply thin, even coats and let each dry fully. Lightly sand between coats for smoothness. Wax needs a soft cloth or brush for application. Rub wax in circular motions, then buff to a gentle shine. Wax may need reapplying over time to maintain protection.
Tips For Adding Character
Adding character to your furniture transforms plain pieces into vintage treasures. Small details bring charm and a sense of history. Focus on areas like hardware and paint to create an authentic look. Use techniques that mimic natural wear and age. These tips help you achieve a genuine vintage style easily.
Detailing Around Hardware
Hardware is a focal point on vintage furniture. Sand edges gently around knobs and handles to show natural wear. Use a small brush to add dark paint or glaze near the hardware. This creates shadows and depth, simulating years of use. Slightly roughen metal parts with fine sandpaper for a worn look. Avoid overdoing it; subtle touches work best.
Blending Colors For Rust Effects
Rust effects add warmth and an aged feel. Start with a base of reddish-brown paint on metal or wood. Layer orange, dark brown, and a little black to mimic rust patches. Use a sponge or dry brush to blend colors softly. Dab irregular spots and streaks for natural variation. Seal with a clear matte finish to protect the look without shine.
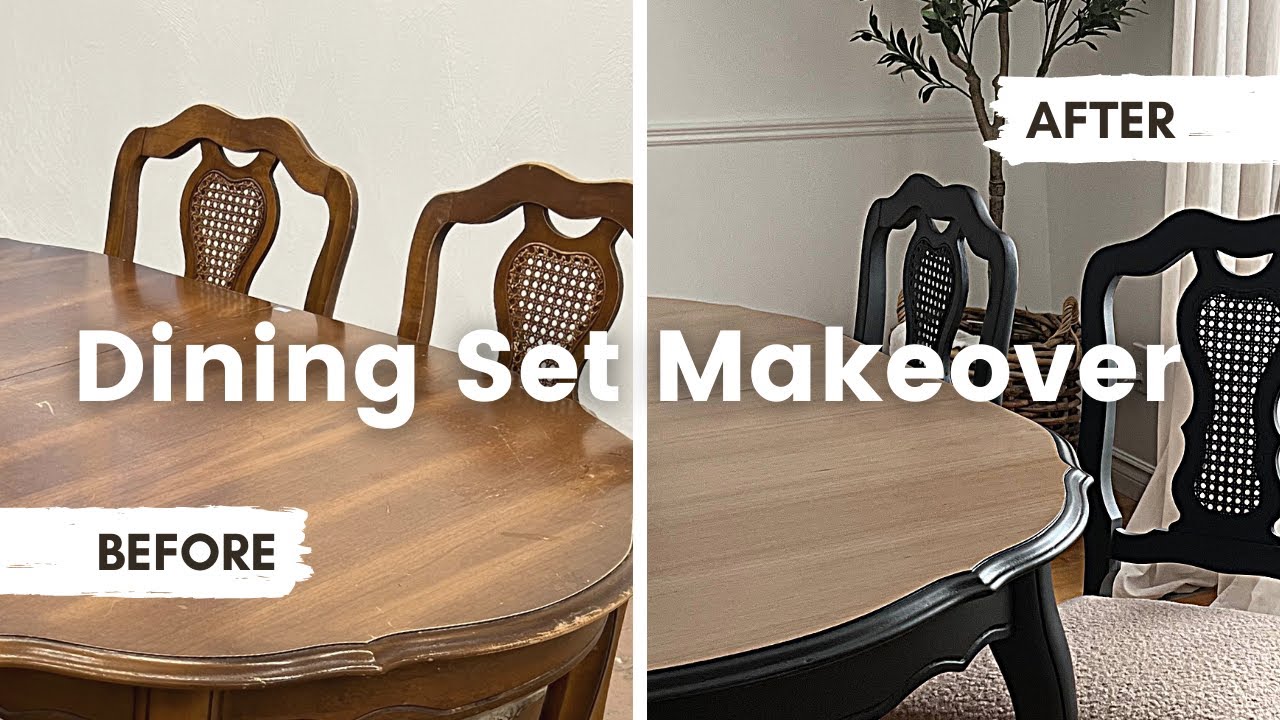
Credit: www.youtube.com
Common Mistakes To Avoid
Converting furniture to a vintage look brings charm and character to any room. Many beginners try this project but make common mistakes. Avoiding these errors saves time and improves the final result. Here are the most frequent mistakes to watch out for.
Not Preparing The Surface Properly
Skipping sanding or cleaning leads to poor paint adhesion. Old dirt and grease stop paint from sticking well. Always sand rough or glossy surfaces and clean the furniture before painting.
Using The Wrong Paint Type
Regular paint often cracks or peels on furniture. Chalk paint or milk paint works best for vintage styles. They dry with a matte finish and allow easy distressing.
Over-distressing The Furniture
Too much sanding or scraping can ruin the piece. Focus on natural wear spots like edges and corners. Less distressing looks more authentic and keeps the structure strong.
Neglecting To Seal The Finish
Not applying a protective wax or topcoat causes paint to wear off quickly. Use clear wax or a water-based sealant to protect your work. This also adds depth to the vintage look.
Choosing Incompatible Colors
Bright or modern colors clash with vintage style. Soft, muted shades or layered colors create a classic aged look. Test paint colors on a small area before starting.
Frequently Asked Questions
How To Make A Piece Of Furniture Look Older?
Sand edges and high-use areas to distress. Apply paint, then sand again for wear. Use stain to deepen color and finish with a protective topcoat. For wood, create dents with tools, raise the grain, stain, and seal to achieve an aged look.
How To Create A Vintage Look On Wood?
Create a vintage wood look by sanding, painting a base coat, then distressing edges. Add stain for depth and finish with a protective sealant. Use tools like wire brushes to add texture on new wood.
What Makes A Piece Of Furniture Vintage?
Vintage furniture is typically 20-100 years old, reflecting styles from past eras. Its value comes from age, design, and craftsmanship.
Is It Better To Brush Or Roll Paint On Furniture?
Brushing offers precise control and smooth coverage on furniture details. Rolling covers large flat areas quickly but may leave texture. Combine both for best results: roll broad surfaces, brush edges and intricate parts for a flawless finish.
Conclusion
Transforming furniture to a vintage look adds charm and character to any space. Use sanding and painting to create natural wear and texture. Apply layers of paint and distress edges for an aged effect. Seal your work with wax or varnish to protect and enhance the finish.
Small details like hardware and color blending make a big difference. Enjoy the process and the unique look it brings to your furniture. Vintage style can refresh old pieces and give them new life. Try these simple steps and watch your furniture transform beautifully.