Are you looking to add a stylish and sturdy bookshelf to your space without spending a fortune? Making a bookshelf out of melamine might be the perfect solution for you.
It’s a smart choice because melamine is durable, easy to clean, and gives your shelves a smooth, polished look. In this guide, you’ll discover simple steps to create your own custom bookshelf that fits your style and needs. By the end, you’ll have the confidence to build a piece that not only organizes your books but also elevates your room’s design.
Ready to turn a plain board into something amazing? Let’s get started!
Choosing Melamine For Your Bookshelf
Choosing the right material is key to building a sturdy bookshelf. Melamine stands out as a popular choice. It offers strength, style, and ease of use. This section explains why melamine boards are ideal for your project and what options exist.
Benefits Of Melamine Boards
Melamine boards are strong and durable. They resist scratches and stains well. This makes them perfect for everyday use. The smooth surface is easy to clean with a damp cloth. Melamine also resists moisture better than plain wood.
These boards are lighter than solid wood, so handling is easier. They cost less but still look good. The uniform surface means no knots or rough spots. Melamine is ideal for precise cutting and assembly.
Types And Finishes Available
Melamine boards come in many colors and patterns. You can find finishes that mimic wood grain or solid colors. Glossy, matte, and textured surfaces are all options. Each finish suits different styles and room decors.
Edges of melamine boards often come pre-coated. This saves time and gives a neat look. Some finishes resist fingerprints and dust better. Choose the type that fits your room and personal taste.
Gathering Tools And Materials
Building a bookshelf from melamine is a fun and useful project. The first step is to gather all tools and materials. Having everything ready makes the work smooth and faster. No need to stop in the middle to find missing items.
This section helps you list what you need. It also explains why each tool and material is important. Prepare well to create a strong and neat bookshelf.
Essential Tools Required
A saw is necessary to cut melamine boards to size. A circular saw or a jigsaw works well for straight and curved cuts.
Use a drill to make holes for screws and fittings. It saves time and prevents wood from splitting.
Screwdrivers help to fix screws tightly. Choose both flathead and Phillips types for different screws.
A tape measure ensures accurate board measurements. Accuracy is key for a balanced bookshelf.
Sandpaper or a sanding block smooths rough edges after cutting. This step prevents splinters and improves finish.
A clamp holds boards in place while you work. Clamps give stability and make assembly easier.
List Of Materials Needed
Start with melamine boards in the size and thickness you want. Melamine is strong and has a smooth surface.
Use wood screws designed for melamine to join boards firmly. These screws have special threads to grip well.
Choose wood glue for extra strength at joints. It helps hold pieces together permanently.
Edge banding covers raw edges of melamine boards. It gives a clean and professional look.
Optional: shelf pins or brackets support the shelves inside. These allow adjustable shelf height.
Measuring And Planning
Measuring and planning are the first steps in making a bookshelf out of melamine. Accurate measurements save time and material. A clear plan helps avoid mistakes during construction.
Determining Bookshelf Dimensions
Decide the height, width, and depth of your bookshelf. Think about the space where it will stand. Measure the wall or corner carefully. Consider the size of your books and items. Leave some extra space for larger books or decorations. Write down all these numbers clearly.
Sketching Your Design
Draw a simple sketch of the bookshelf on paper. Include the outside shape and inner shelves. Mark the measurements on the sketch. Plan the number of shelves you want. Space the shelves evenly or by size needs. This sketch guides you during cutting and assembly.

Credit: www.youtube.com
Cutting Melamine Panels
Cutting melamine panels is a key step in making a sturdy bookshelf. These panels have a smooth, hard surface that can chip or crack if cut incorrectly. Careful cutting helps keep the edges clean and the panels strong. Using the right tools and methods makes the work easier and safer. Follow simple steps to get neat cuts for your bookshelf project.
Safe Cutting Techniques
Wear safety glasses to protect your eyes from dust and chips. Use a sharp blade on your saw to reduce splintering. Clamp the panel firmly to prevent it from moving during cutting. Cut slowly and steadily to avoid cracking the melamine surface. Score the cut line first with a utility knife for a cleaner edge. Keep hands clear of the blade at all times. Work in a well-ventilated area to avoid breathing dust.
Tips For Smooth Edges
Use painter’s tape along the cut line to reduce chipping. Cut with the finished side facing down to protect the surface. Sand the edges gently with fine-grit sandpaper to smooth rough spots. Use a file to clean up corners and tight areas. Wipe the edges with a damp cloth to remove dust after sanding. Take your time to ensure each edge looks neat and professional. Smooth edges make assembly easier and improve the bookshelf’s look.
Assembling The Bookshelf Frame
Assembling the bookshelf frame is the key step in building a sturdy shelf. It sets the shape and strength of your bookshelf. Proper assembly ensures the shelf holds your books safely and lasts long.
Start by arranging the melamine panels on a flat surface. Check each panel’s size and position before joining them. Accuracy here makes the final shelf stable and neat.
Joining Panels With Screws
Use screws to fasten the panels together securely. Pre-drill holes to avoid splitting the melamine surface. Choose screws that are the right length for the panel thickness.
Drive screws slowly and straight into the edges. This creates a tight hold between panels. Space screws evenly for balanced strength across the frame.
Using Wood Glue For Strength
Apply wood glue along the edges before screwing panels. Glue adds extra bonding power for lasting durability. Spread glue evenly with a small brush or stick.
Press panels firmly after applying glue. Clamp them if possible to keep tight contact. Allow glue to dry fully before moving the frame.
Credit: jennakateathome.com
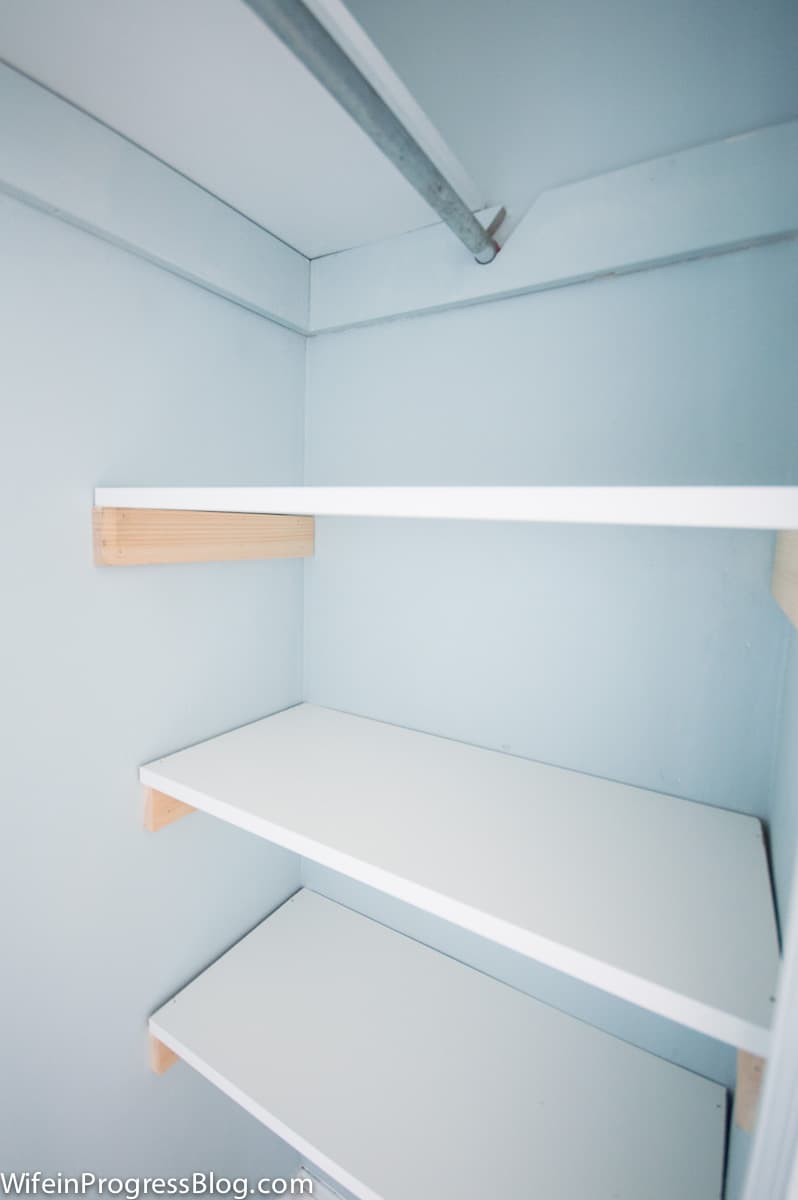
Adding Shelves And Supports
Adding shelves and supports is a key step in making a sturdy bookshelf from melamine. Shelves hold your books, so they must be strong and well placed. Supports keep the shelves steady and prevent sagging. This section guides you through positioning shelves correctly and installing the right brackets for support.
Positioning Shelves Correctly
Measure the height of your melamine panels carefully. Mark the spots where each shelf will go. Keep equal space between shelves for a neat look. Consider the size of your books to decide shelf height. Use a level to make sure marks are even. Incorrect placement can cause shelves to lean or books to fall.
Installing Shelf Brackets
Choose brackets that match the size and weight of your shelves. Attach brackets to the side panels at your marked points. Use screws that fit well into melamine without cracking it. Check each bracket with a level before fixing screws tightly. Brackets provide strong support, so install them firmly. Proper installation keeps shelves stable and safe for heavy books.
Finishing Touches
Finishing touches give your melamine bookshelf a clean and polished look. These small steps protect the wood and improve its durability. Taking time to finish your project well makes a big difference in the final result.
Sealing Edges With Edge Banding
Melamine edges can feel rough and look unfinished. Edge banding covers these edges with a thin strip of material. It matches the color of your bookshelf for a smooth, neat finish.
Cut the edge banding to the right length. Use an iron to heat and stick it firmly on the edges. Press it down to remove any air bubbles. Trim extra banding with a sharp blade for clean lines.
Sanding And Cleaning
Sanding smooths out any rough spots on your shelf. Use fine-grit sandpaper and move gently along the surface. This step helps paint or varnish stick better if you plan to add a coat.
Clean dust and dirt with a soft cloth. Make sure the surface is dry and free of debris. A clean shelf looks better and lasts longer.
Maintaining Your Melamine Bookshelf
Maintaining your melamine bookshelf keeps it looking fresh and new for years. Regular care prevents damage and extends its life. Simple habits help preserve the smooth surface and bright finish. This section shares easy ways to keep your bookshelf in great shape.
Cleaning Tips
Use a soft cloth to wipe dust often. Avoid rough materials that can scratch the surface. For sticky spots, dampen the cloth with mild soap and water. Wipe gently and dry immediately with a clean cloth. Do not use harsh chemicals or abrasive cleaners. They can damage the melamine coating.
Preventing Damage Over Time
Keep your bookshelf away from direct sunlight to stop fading. Avoid placing very heavy items on it to prevent warping. Use coasters or pads under objects to protect the surface. Check screws and joints regularly and tighten if loose. Handle the bookshelf gently when moving it to avoid cracks and chips.

Credit: www.reddit.com
Frequently Asked Questions
What Tools Do I Need To Make A Melamine Bookshelf?
You need a saw, drill, screws, measuring tape, clamps, and wood glue. Safety gear like goggles is essential. These tools help cut, assemble, and secure melamine boards precisely and safely.
How Do I Prevent Chipping When Cutting Melamine Boards?
Use a fine-toothed blade and cut slowly to reduce chipping. Scoring the cut line with a utility knife before cutting also helps. Clamping the board firmly minimizes movement and damage.
Can I Assemble A Bookshelf Without Professional Skills?
Yes, basic woodworking skills are enough. Follow clear instructions, measure carefully, and take your time. Using pre-drilled melamine boards or a simple design makes assembly easier for beginners.
How Do I Protect Melamine Edges On My Bookshelf?
Apply edge banding or veneer tape to cover raw edges. Use a hot iron to secure the tape neatly. This prevents peeling and gives a professional finish to your bookshelf.
Conclusion
Building a bookshelf from melamine is simple and rewarding. You need basic tools and clear steps. Measure and cut carefully to fit your space. Use screws and glue for strong joints. Sand edges for a smooth finish. This project adds useful storage and style to your room.
Try it yourself and enjoy a custom bookshelf made by your hands. Simple materials, easy steps, and a great result. Why buy when you can build?
