Looking for a simple way to organize your space and keep your coats, bags, and hats within easy reach? You’re in the right place.
Making a coat rack on your wall is easier than you think, and it can add style and function to any room. Imagine walking into your home and instantly knowing where everything belongs—no more clutter, no more lost items. In this guide, you’ll discover step-by-step tips to create a sturdy, attractive coat rack that fits your space and style perfectly.
Ready to transform your wall and simplify your life? Let’s get started!
Choosing The Right Spot
Choosing the right spot for your wall coat rack is important. It affects how useful and neat your space looks. A good spot makes hanging and grabbing coats easy. It also keeps your room tidy and organized. Think about the wall area, the room setup, and the rack size before starting.
Assessing Wall Space
Look for a free wall area without furniture in front. The wall should be strong enough to hold the rack and coats. Avoid walls with outlets or switches in the way. A clear, open space works best for easy reach. Check for any marks or holes that might affect mounting.
Considering Room Layout
Think about where people enter the room. Place the rack near the door for quick access. Avoid spots that block walking paths or doors. The rack should not make the room feel crowded. Keep enough space around it for coats to hang freely.
Measuring For Fit
Measure the wall width and height where you want the rack. Compare these with the coat rack size to ensure a good fit. Leave some space around the rack for comfort. Double-check measurements to avoid mistakes. A well-sized rack fits perfectly and looks balanced.
Selecting Materials
Choosing the right materials is key to making a strong and stylish coat rack on the wall. The materials affect how the rack looks and how long it lasts. Picking good wood, sturdy hooks, and the right tools helps build a rack that holds coats well. This section covers the best options for wood, hooks, and tools.
Types Of Wood
Wood is the main part of your coat rack. Pine is soft and easy to cut. Oak is strong and lasts a long time. Cedar smells nice and resists moisture. Choose wood that fits your style and budget. Smooth wood looks better and stops splinters. You can paint or stain wood to match your room.
Hooks And Hangers
Hooks hold your coats. Metal hooks are strong and come in many shapes. Wooden hooks match wood racks and look natural. Double hooks let you hang more items. Pick hooks that screw tightly into wood. Check the hook size to fit your coats and bags.
Tools Needed
Good tools make building easier. You need a drill for screws. A saw cuts wood to size. Sandpaper smooths rough edges. A level keeps the rack straight on the wall. A screwdriver helps tighten hooks. Have a tape measure to check wood length.
Preparing The Wall
Preparing the wall is an important step before installing a coat rack. It helps the rack stay secure and last longer. Taking time to prepare the wall makes the process easier and safer. Follow these simple steps to get your wall ready for the coat rack.
Cleaning The Surface
Start by cleaning the wall area where the coat rack will go. Use a damp cloth to remove dust and dirt. A clean surface helps the rack stick better. Avoid any grease or sticky residue. Let the wall dry completely before moving on.
Marking Drill Points
Next, mark the exact spots to drill holes. Measure the coat rack’s mounting holes first. Use a pencil to mark these spots on the wall. Double-check the marks to keep them level and even. This step prevents mistakes during drilling.
Finding Studs
Locate the wall studs to ensure strong support. Use a stud finder tool or tap the wall softly. Studs feel solid compared to hollow areas. Mark the stud locations near your drill points. Anchoring the rack into studs keeps it stable and safe.
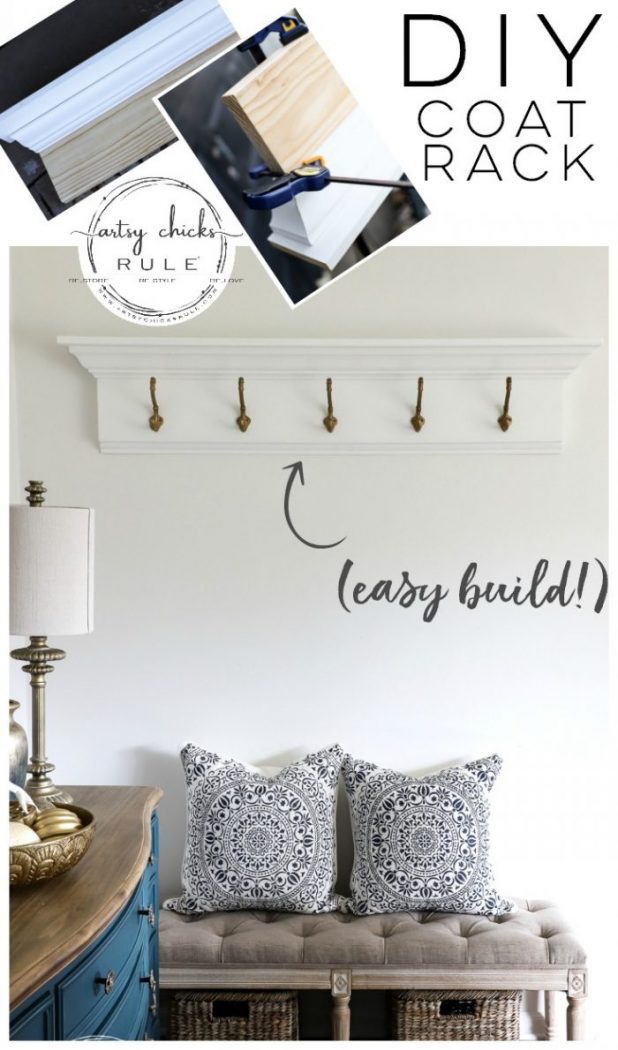
Credit: www.artsychicksrule.com
Cutting And Finishing Wood
Cutting and finishing wood are key steps in making a coat rack on the wall. These steps shape your wood pieces and prepare them for a smooth, polished look. Taking time to do them well makes your coat rack strong and attractive.
Measuring And Cutting
Measure the wood pieces carefully. Use a tape measure to get exact lengths. Mark the spots clearly with a pencil. Cut the wood straight using a saw. Take your time to avoid mistakes. Straight cuts make the coat rack fit well on the wall.
Sanding Edges
Sand the edges of each wood piece. Use sandpaper or a sanding block. Smooth edges prevent splinters and give a neat look. Sand all surfaces lightly to remove rough spots. A smooth finish feels good to touch and looks clean.
Applying Paint Or Stain
Choose paint or stain to protect the wood. Paint adds color and covers flaws. Stain enhances the wood’s natural grain. Apply evenly with a brush or cloth. Let the first coat dry well. Add a second coat for better coverage and durability.
Installing Hooks
Installing hooks is a key step in making a coat rack on the wall. Proper hook placement and secure attachment ensure your rack works well and lasts long. Hooks must hold the weight of coats and bags without coming loose.
Choosing Hook Placement
Space hooks evenly along the board. Leave enough room for each coat to hang freely. Consider the height of all users. Hooks placed too high or low can be hard to reach. Mark spots with a pencil before drilling. Measure carefully to keep a straight line. Proper spacing keeps the rack neat and useful.
Attaching Hooks Securely
Use screws that fit your hooks. Drill small pilot holes to prevent wood from splitting. Align hooks with your marks and screw them firmly into place. Check that each hook is stable before moving to the next. Tight hooks hold weight better and last longer. Test the rack by hanging a coat on each hook.
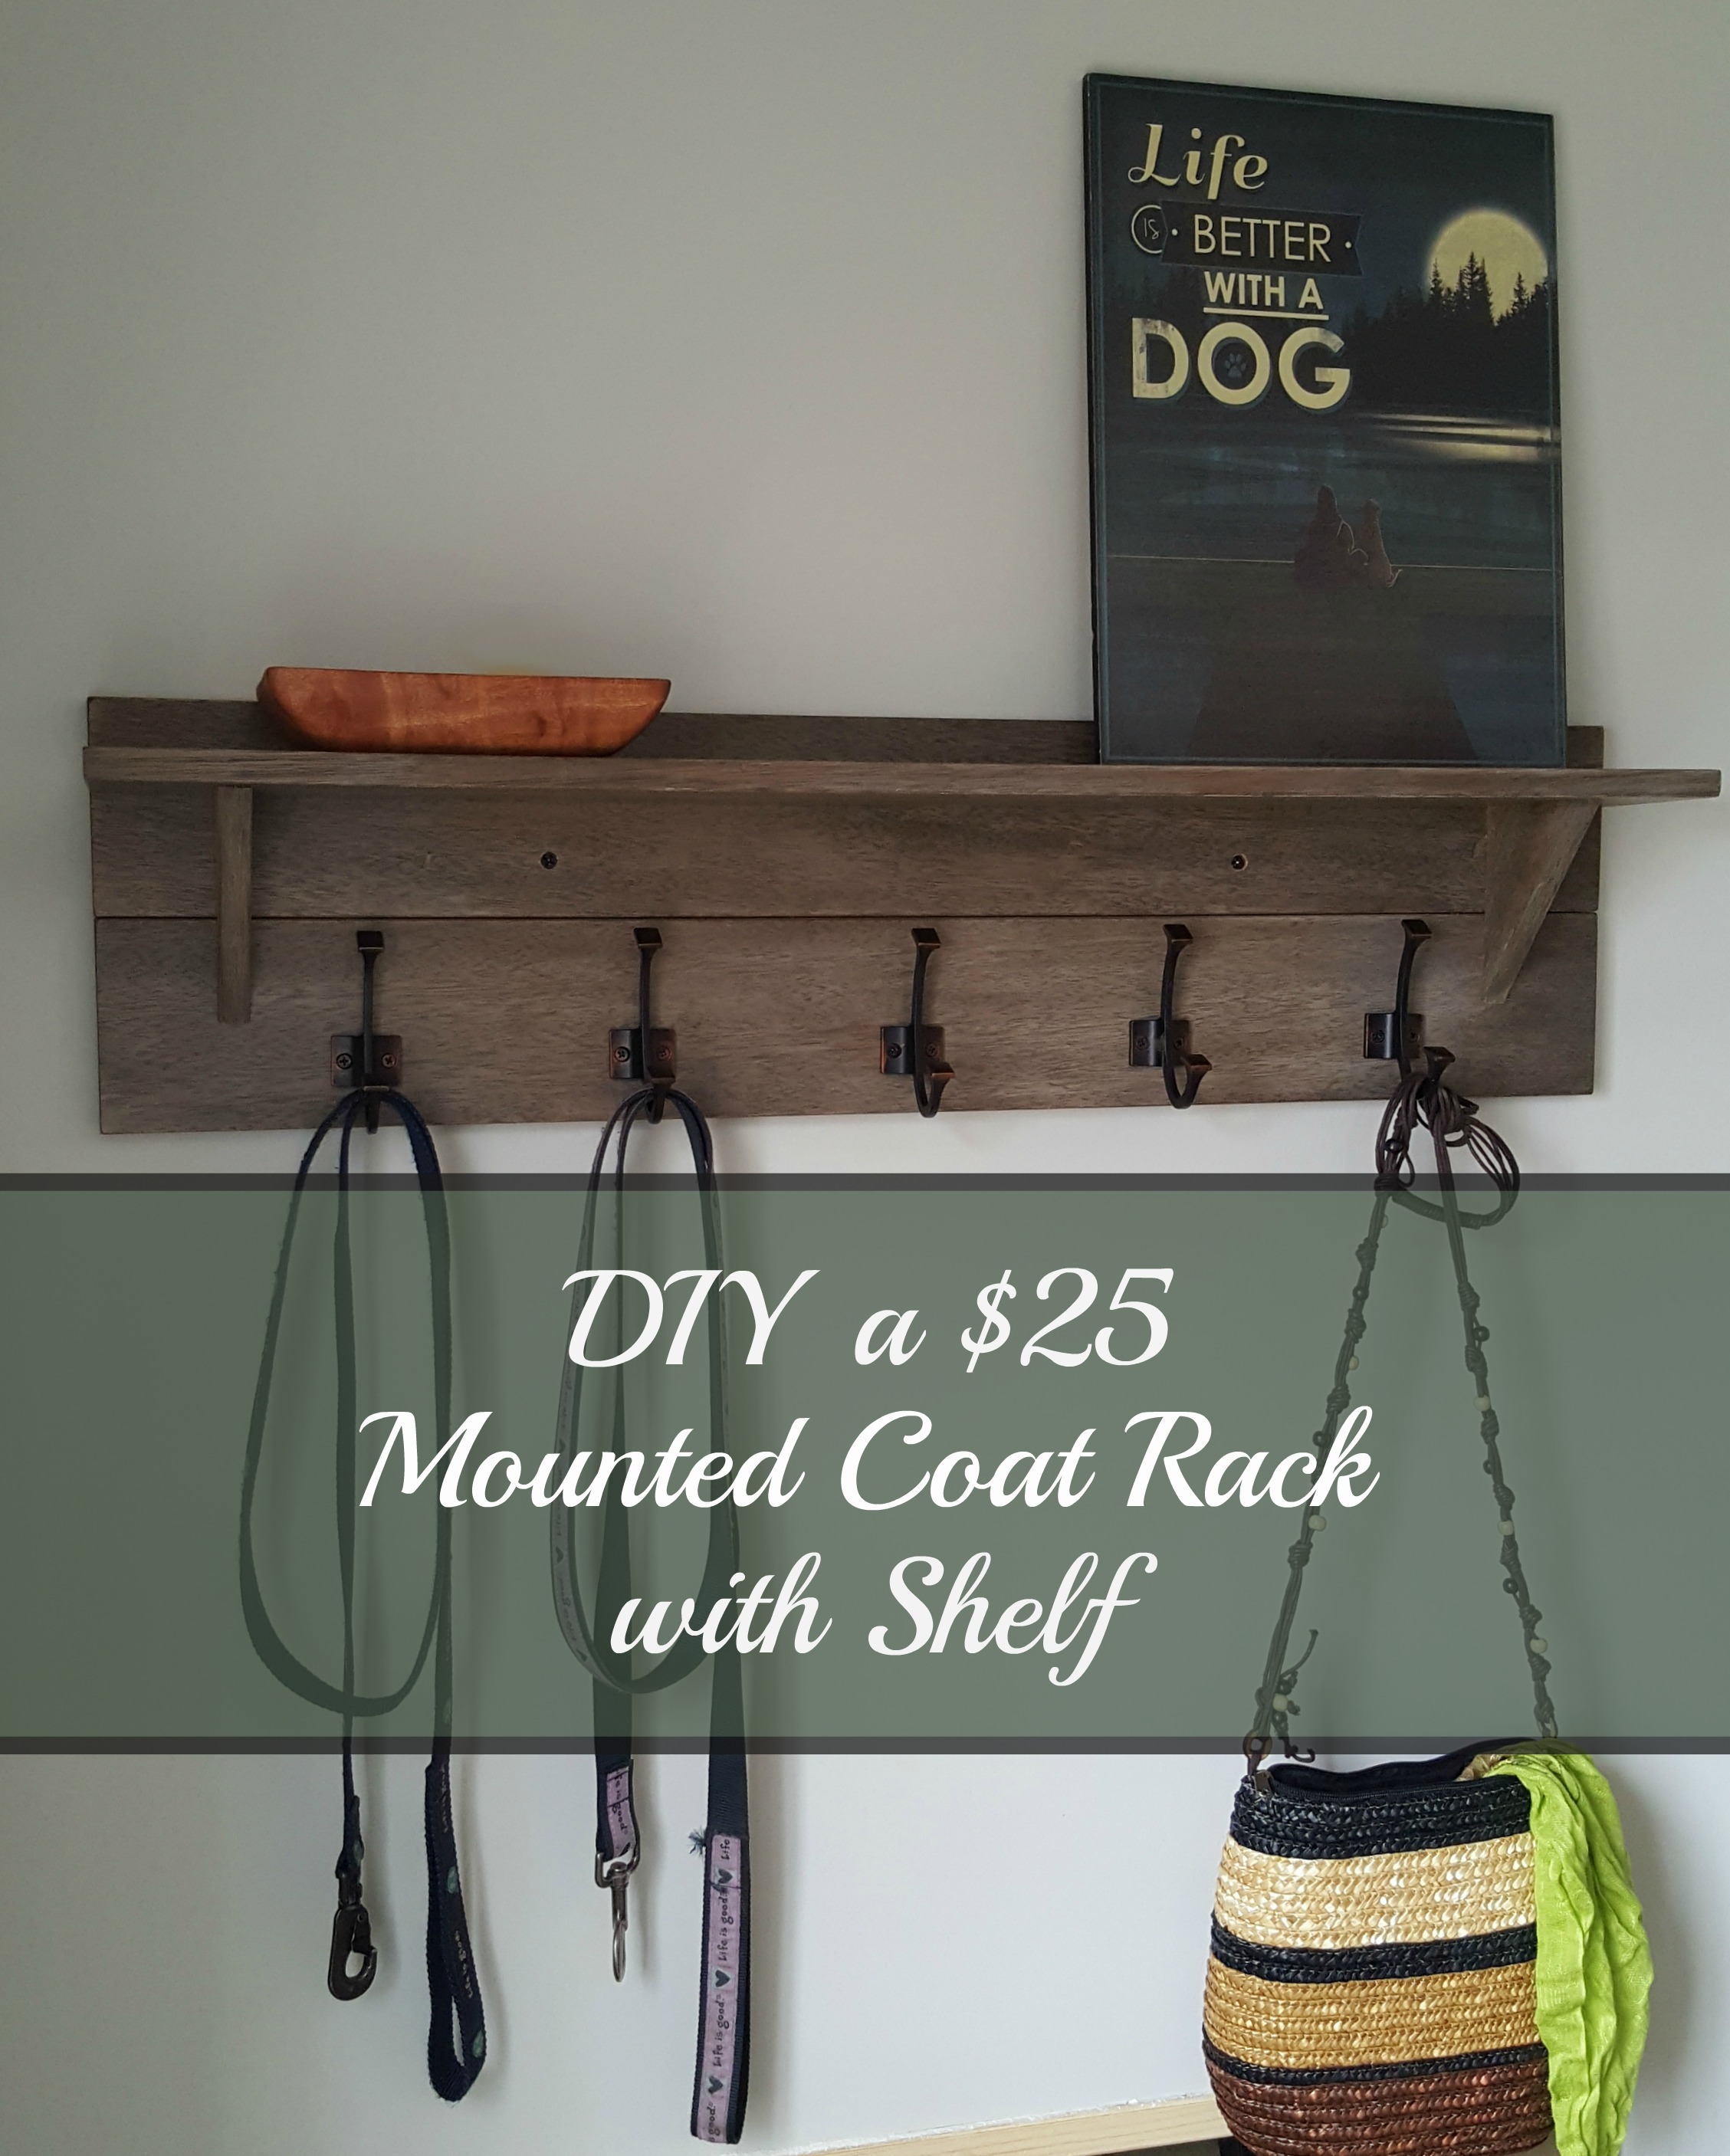
Credit: turtlesandtails.blogspot.com
Mounting The Coat Rack
Mounting the coat rack on the wall is a key step. It ensures your rack stays secure and can hold weight. Take your time to do it right. Follow these simple steps for a strong and neat installation.
Drilling Pilot Holes
Start by marking where the screws will go. Use a pencil and a level to mark evenly. Drill small pilot holes at each mark. These holes guide the screws and prevent the wood from splitting. Choose a drill bit slightly smaller than your screws.
Using Anchors Or Screws
Choose anchors if your wall is drywall. Anchors hold better and stop screws from pulling out. Push or tap the anchors into the pilot holes. For studs or wooden walls, use screws directly. Tighten screws firmly but avoid over-tightening to prevent damage.
Ensuring Level Installation
Use a level tool to check the rack’s position. Adjust before fully tightening the screws. A level coat rack looks better and works well. Double-check after mounting to avoid crooked racks.
Styling Tips
Styling your wall coat rack can turn a simple piece into a beautiful feature. A well-styled rack adds charm and function to any room. Consider how to blend it with your space and make it stand out.
Adding Decorative Elements
Decorative elements make your coat rack unique. Add small plants or fairy lights around the rack. Use colorful hooks or knobs for a playful look. Hang a small mirror or art piece nearby to enhance appeal. These touches bring personality and warmth to the space.
Coordinating With Room Decor
Match your coat rack style with the room’s decor. Choose wood tones that blend with furniture. Pick metal finishes that echo door handles or light fixtures. Keep colors consistent to create harmony. This approach helps the rack look like part of the room, not an afterthought.
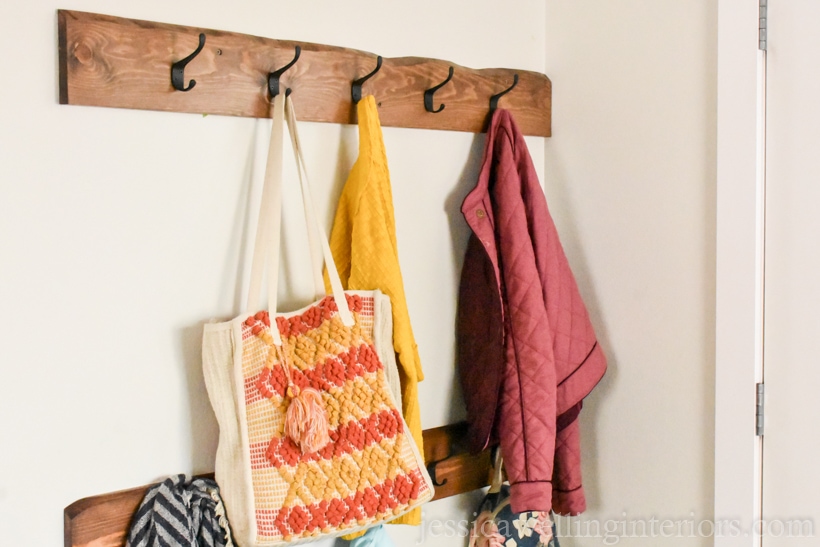
Credit: jessicawellinginteriors.com
Frequently Asked Questions
What Materials Do I Need For A Wall Coat Rack?
You need wood planks, screws, wall anchors, hooks, a drill, a level, and sandpaper. Choose sturdy wood for durability. Hooks vary by style and weight capacity. Wall anchors ensure the rack holds heavy coats securely.
How Do I Find Studs For Mounting The Coat Rack?
Use a stud finder to locate studs behind the drywall. Mark stud positions with a pencil. Mounting directly into studs ensures maximum stability for your coat rack. If no studs align, use strong wall anchors.
Can I Install A Coat Rack Without Drilling Holes?
Yes, use adhesive hooks or mounting strips designed for walls. These hold light coats and avoid wall damage. For heavier coats, drilling is recommended for secure support. Adhesive solutions are best for renters or temporary setups.
How High Should I Mount A Wall Coat Rack?
Mount the rack 5 to 6 feet from the floor for easy reach. Adjust height depending on user height and coat length. Proper height prevents coats from touching the floor and keeps hooks accessible.
Conclusion
Creating a wall coat rack adds both style and function to your space. You save room and keep things tidy. The steps are simple and use basic tools anyone can find. Choose the right spot and materials for best results.
Your homemade rack will hold coats, hats, and bags easily. Enjoy the satisfaction of making something useful yourself. Try this project to add charm and order to your home today.
