Are you looking to add extra storage and style to your console table? Building a drawer for your console table is easier than you might think, and it can completely transform the way you organize your space.
Whether you want to keep keys, mail, or small essentials within reach, a custom drawer gives you that perfect hidden spot. In this guide, you’ll discover simple steps and smart tips to create a drawer that fits your console table perfectly.
Ready to take your DIY skills up a notch and make your furniture work harder for you? Let’s dive in!
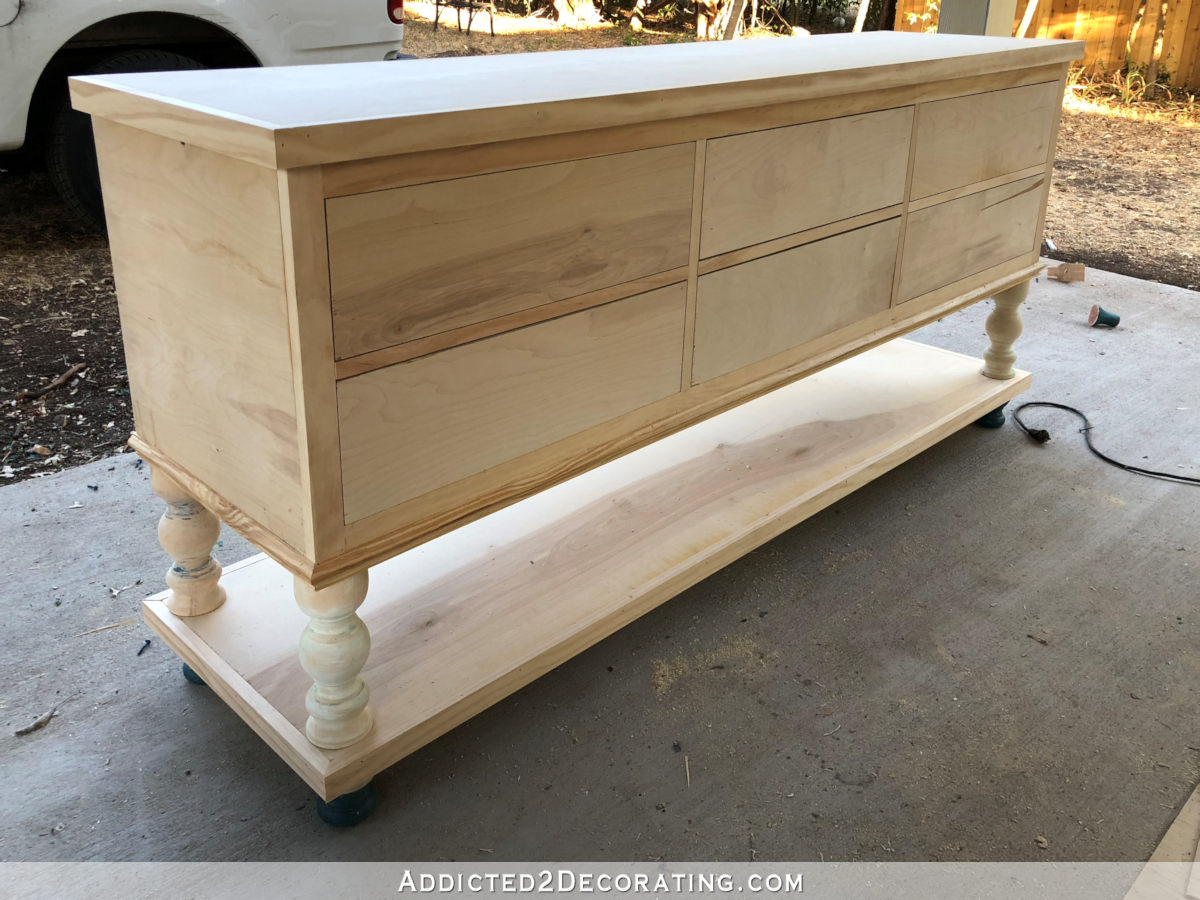
Credit: www.addicted2decorating.com
Choosing Materials
Choosing the right materials is key to building a strong console table drawer. The materials affect the drawer’s look, strength, and how smoothly it works. This section helps you pick the best wood, hardware, and tools for your project.
Selecting Wood Types
Choose wood that fits your style and budget. Pine is soft, easy to cut, and affordable. Oak is hard and lasts long, but costs more. Birch offers a smooth finish and is good for painting. Avoid very soft woods; they may dent or wear out fast. Think about the drawer’s weight and use when picking wood.
Picking Hardware
Hardware includes handles, slides, and screws. Use metal slides for smooth opening and closing. Wooden runners are cheaper but need more care. Pick handles that match your table’s design. Make sure screws and nails are strong enough to hold the drawer parts together. Quality hardware improves drawer function and lifespan.
Tools You’ll Need
Gather basic tools before starting. A saw cuts wood to size. A drill makes holes for screws and hardware. Sandpaper smooths rough edges. A screwdriver fits screws tightly. Clamps hold pieces in place while glue dries. Having the right tools saves time and ensures good results.
Designing The Drawer
Designing the drawer is a key step in making a console table drawer. It shapes how the drawer fits and works. The drawer must fit snugly but slide smoothly. Careful planning helps avoid mistakes and saves time.
Good design ensures the drawer looks good and is useful. It should match the style of the console table. Let’s break down the design process into simple steps.
Measuring The Console Table
Start by measuring the inside space of your console table. Use a tape measure for accuracy. Measure the width, height, and depth where the drawer will go. Write down the numbers clearly. Check for any obstacles inside, like support beams. These can affect drawer size.
Planning Drawer Dimensions
Plan the drawer size based on your measurements. Leave space on the sides for smooth movement. Usually, leave about 1/4 inch on each side. Decide the drawer height by the available space. Make sure the drawer will not block any table parts.
Sketching The Layout
Draw a simple sketch of your drawer design. Include the outer dimensions and inner drawer parts. Mark where the drawer front, sides, and bottom will be. This sketch will guide your cutting and assembly. Keep the drawing clear and easy to follow.
Cutting And Preparing Pieces
Cutting and preparing pieces is the first step in making a console table drawer. This step ensures that all parts fit perfectly and look neat. Proper preparation saves time and avoids mistakes during assembly.
Careful measuring and cutting of wood panels create the drawer’s basic structure. After cutting, sanding smooths the edges for a clean finish. Drilling holes in the right places helps with easy assembly later.
Cutting Wood Panels
Start by measuring the wood panels accurately. Use a pencil and ruler to mark the cutting lines clearly. Cut along the lines using a saw designed for wood. Take your time to make straight, clean cuts. Proper cuts make assembly easier and the drawer stronger.
Sanding Edges
Use sandpaper or a sanding block to smooth the edges of each piece. Sand all sides gently to remove splinters and rough spots. Smooth edges prevent injuries and give the drawer a neat look. Wipe away dust after sanding before moving to the next step.
Drilling Holes
Mark the spots where screws or nails will go. Use a drill with the right size bit for the holes. Drill slowly to avoid splitting the wood. Clean any wood dust from the holes. Correct hole placement keeps the drawer sturdy and easy to assemble.
Assembling The Drawer
Assembling the drawer is a key step in making a console table drawer. It gives shape and function to your project. This part requires care and patience. Follow each step to build a strong, smooth drawer.
Joining Sides And Bottom
Start by attaching the drawer sides to the bottom panel. Use wood glue along the edges for extra strength. Then, clamp the pieces tightly. Let the glue dry for a firm hold. Secure the joints with small nails or screws. This keeps the drawer solid and stable.
Attaching Drawer Front
Next, fix the drawer front to the assembled sides and bottom. Align it carefully so the edges match well. Use wood glue on the contact surfaces. Clamp the drawer front and let the glue set. Add screws or nails to keep it in place. This step shapes the drawer’s face.
Installing Drawer Slides
Finally, install the drawer slides to make the drawer easy to open. Attach the slide parts to the drawer sides first. Use screws and check alignment often. Mount the matching slide parts inside the console table. Test the drawer for smooth movement. Adjust the slides if needed for perfect fit.
Finishing Touches
Finishing touches make your console table drawer look complete and polished. These final steps give the drawer style and function. They protect the wood and make the drawer easy to use. Take your time to make these details right. They will improve the overall quality and appearance.
Painting Or Staining
Choose paint or stain to match your room decor. Paint adds color and covers imperfections. Stain shows the wood grain and gives a natural look. Apply thin, even coats for best results. Let each coat dry fully before adding the next. Sand lightly between coats for a smooth finish.
Adding Handles Or Knobs
Handles or knobs make the drawer easy to open. Pick a style that fits your table’s design. Measure and mark the spots before drilling holes. Attach the handles with screws, tightening them firmly. Check the alignment to keep the drawer balanced and neat.
Final Adjustments
Test the drawer for smooth opening and closing. Fix any sticking or uneven movement with light sanding. Tighten all screws and hardware securely. Clean the drawer surface to remove dust and fingerprints. These last steps ensure your drawer works well and looks great.

Credit: www.amazon.com
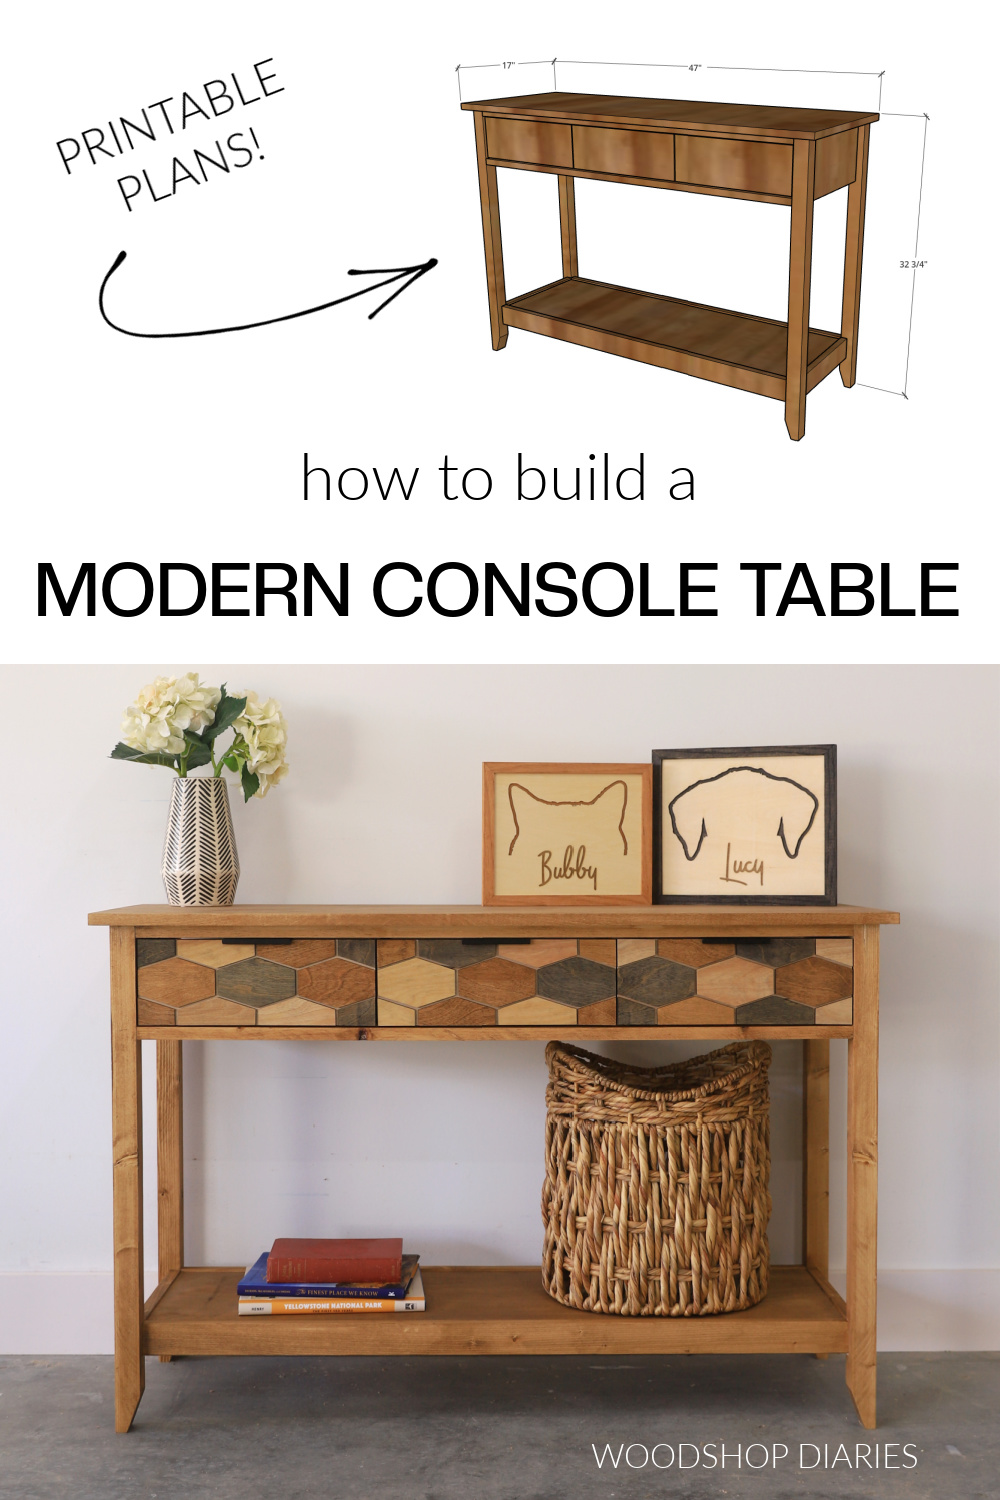
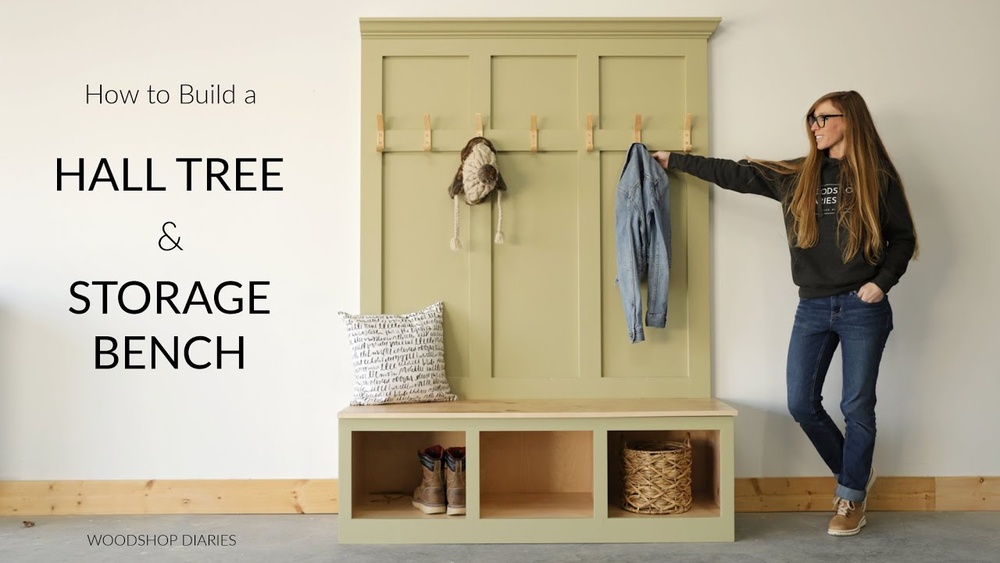
Credit: www.woodshopdiaries.com
Frequently Asked Questions
What Materials Are Needed For A Console Table Drawer?
You need wood panels, drawer slides, screws, a handle, wood glue, and sandpaper. Choose sturdy wood like pine or oak for durability. Also, have measuring tools and a drill ready for assembly.
How Do You Measure For A Console Table Drawer?
Measure the drawer opening width, height, and depth carefully. Subtract about 1/4 inch from each dimension for smooth slide movement. Accurate measurements ensure the drawer fits perfectly without gaps or friction.
What Tools Are Essential To Build A Drawer?
You need a saw, drill, screwdriver, measuring tape, clamps, and a sander. These tools help you cut, assemble, and smooth the drawer parts efficiently. Proper tools make the process easier and precise.
How Do You Install Drawer Slides On A Console Table?
Attach slides inside the table frame and on the drawer sides. Align them evenly and secure with screws. Test the drawer movement for smoothness before final tightening.
Conclusion
Making a console table drawer can be a fun and useful project. It adds extra storage to your space. You only need simple tools and materials to start. Follow the steps carefully to get the best result. Take your time and enjoy the process.
Soon, you will have a unique drawer to fit your style. This small addition can make your home more organized and neat. Try building one and see how it improves your room. Simple projects like this bring great satisfaction.