Are you looking for a unique way to organize your books and add charm to your room? Making a dollhouse bookshelf might be the perfect project for you.
It’s not just a shelf—it’s a mini masterpiece that can show off your style and creativity. Imagine having a tiny house filled with your favorite books, right where you can see and reach them easily. In this guide, you’ll discover simple steps to build your own dollhouse bookshelf, even if you’re new to DIY projects.
Ready to turn your space into something special? Keep reading and let’s get started!
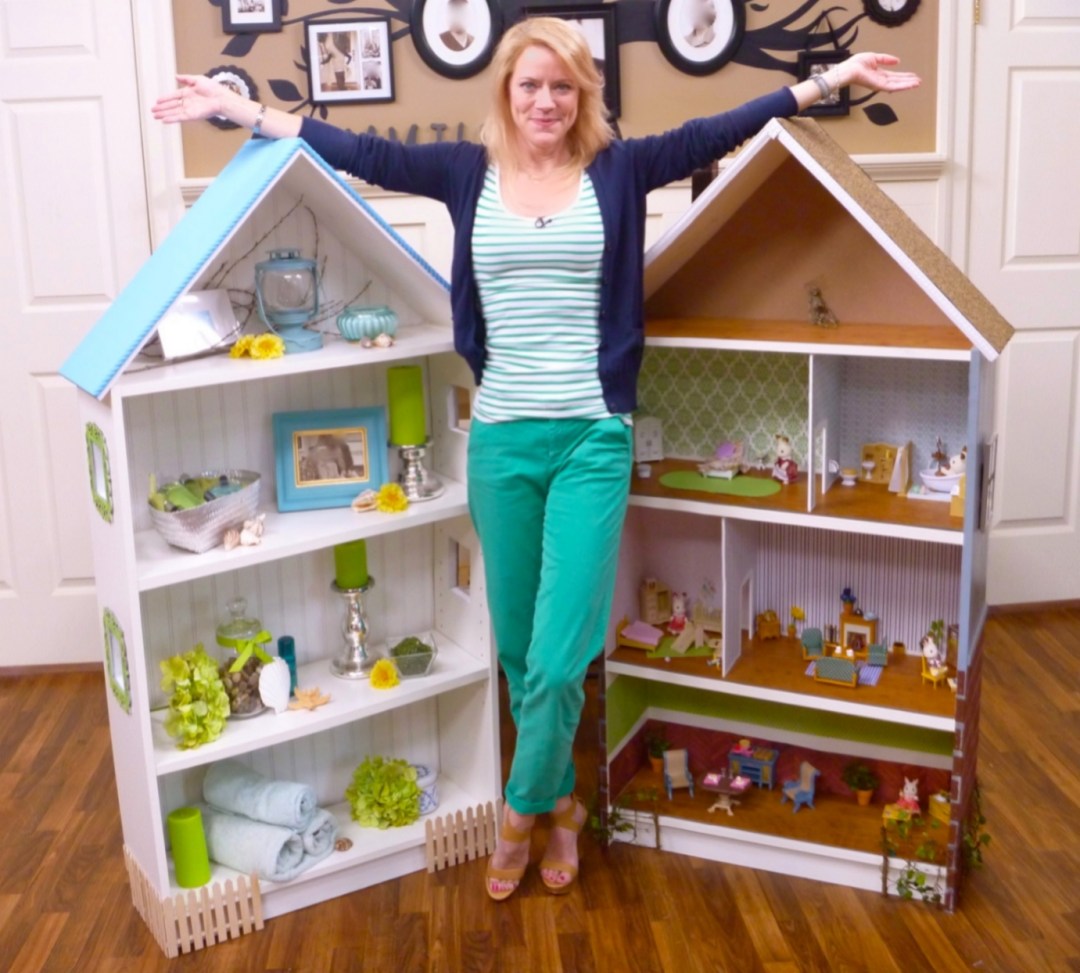
Credit: tamaracentral.com
Materials Needed
Gathering the right materials makes building a dollhouse bookshelf easier. Choosing good supplies helps create a sturdy and pretty shelf. This section lists everything you need before starting the project.
Wood Types And Sizes
Use softwoods like pine or cedar for easy cutting and sanding. Plywood is a good choice for shelves and backing. Cut wood pieces to 1/2 inch or 3/4 inch thickness for strength. Common sizes include 1×6 or 1×8 boards. Make sure the wood is smooth and free of cracks.
Tools Required
A small saw or jigsaw works best for cutting wood parts. Sandpaper or a sanding block helps smooth rough edges. Use a drill with small bits for making holes. A screwdriver or electric driver is needed for screws. A measuring tape and pencil help mark cutting lines.
Additional Supplies
Wood glue adds extra hold to joints and corners. Small wood screws keep pieces tightly together. Paint or wood stain finishes the shelf with color. Brushes or sponges apply paint evenly. Optional: clamps hold wood parts while glue dries.
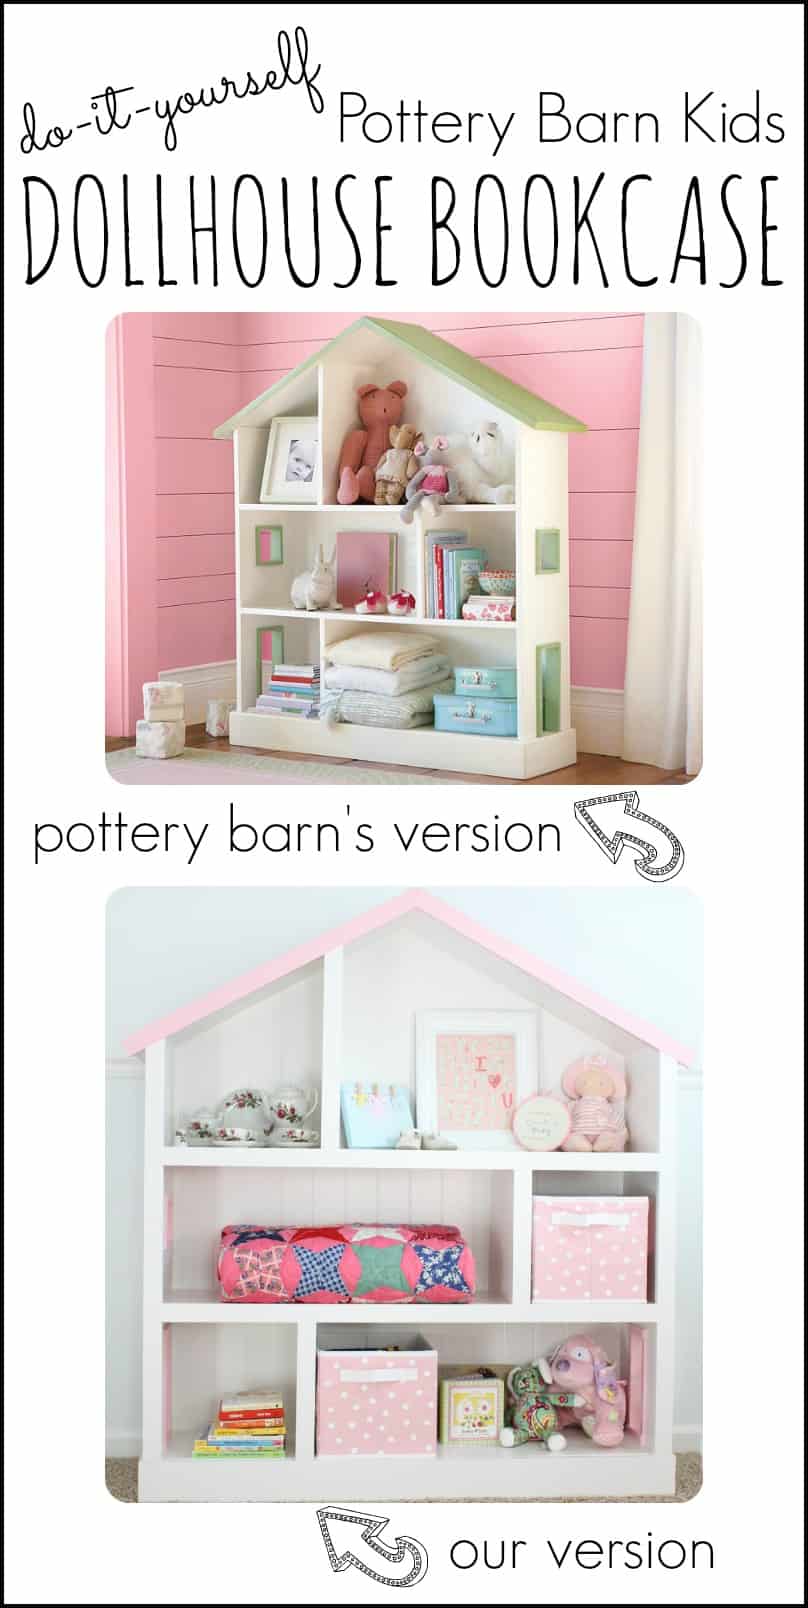
Credit: www.icanteachmychild.com
Designing Your Bookshelf
Designing your dollhouse bookshelf is the first step to create a perfect miniature piece. A good design helps you build a sturdy and attractive bookshelf. Take time to plan carefully. Think about size, shape, and how many shelves you want.
Clear plans make building easier. You avoid mistakes and waste less material. Let’s explore how to design your bookshelf step by step.
Choosing Dimensions
Start by measuring the space where the bookshelf will go. Decide how tall and wide it should be. Keep the dollhouse scale in mind. Use a ruler or tape measure for accuracy. Write down the numbers clearly. Make sure the size fits the dolls and books you plan to display.
Sketching The Layout
Draw a simple sketch of your bookshelf on paper. Show the front and side views. Mark the total height and width. Indicate where each shelf will be placed. Use a pencil to make changes easily. A clear sketch guides you during building. It also helps you check if the design looks balanced.
Planning Shelf Spacing
Think about how tall each shelf should be. The shelves must fit the size of the books and dolls. Leave enough space so items are easy to place and remove. Measure your mini books and toys first. Then plan shelf gaps a little bigger than these measurements. This step keeps your bookshelf neat and functional.
Cutting The Wood
Cutting the wood is a key step in making a dollhouse bookshelf. It shapes the parts that will fit together. Precise cuts help the bookshelf look neat and strong. Careful cutting saves time and avoids mistakes. Using the right tools and methods makes the process safe and easy.
Measuring Accurately
Measure each piece twice before cutting. Use a ruler or tape measure for exact lengths. Mark the wood clearly with a pencil. Double-check the measurements for all sides. Accurate measuring prevents gaps and uneven edges. Take your time to avoid errors.
Safe Cutting Techniques
Wear safety glasses to protect your eyes. Use a sharp saw for clean cuts. Hold the wood firmly to stop slipping. Cut slowly and steadily along the mark. Keep fingers away from the blade path. Work in a well-lit, clean space for safety.
Preparing Pieces For Assembly
After cutting, sand the edges smooth. Remove splinters and rough spots gently. Check each piece against your plan. Organize the parts by size and shape. This makes assembling faster and easier. Proper preparation ensures a strong bookshelf.
Assembling The Frame
Assembling the frame is the key step in building your dollhouse bookshelf. This part shapes the basic structure that holds everything together. A strong frame keeps your shelves steady and safe.
Focus on fitting each piece carefully. Take your time with each step for the best results. Use the right tools and materials to ensure a solid frame.
Joining Side Panels
Start by positioning the two side panels upright. Make sure their edges line up evenly. Use wood glue along the edges for a tight fit. Clamp the panels together to hold them firm while drying. Reinforce the joint with small nails or screws for extra strength. Check that the panels stand straight before moving on.
Attaching Shelves
Measure the space between side panels for each shelf slot. Mark these spots clearly for accuracy. Apply glue to the shelf edges. Insert the shelves into the marked slots carefully. Press firmly to secure the glue bond. Use finishing nails or screws to fix shelves in place. Confirm all shelves are level and stable.
Securing The Back Panel
Place the back panel flat against the rear edges of the frame. Align it so all sides match perfectly. Apply glue along the back frame edges. Press the panel against the glue for a tight seal. Nail or screw the panel to the frame to prevent movement. This step adds strength and keeps the bookshelf square.
Sanding And Finishing
Sanding and finishing are key steps in making your dollhouse bookshelf look great and last long. These steps make the wood smooth and ready for paint or stain. They also protect the wood from damage and wear.
Taking time with sanding and finishing will give your bookshelf a neat, polished look. It helps avoid rough edges and splinters. Finishing adds color and shine, making the bookshelf more attractive.
Smoothing Edges
Start by sanding all the wood pieces with fine-grit sandpaper. Sand corners and edges carefully to remove rough spots. Use gentle, even strokes to avoid scratching the surface. Smooth edges keep the bookshelf safe to handle. Check for any splinters and sand them down.
Applying Paint Or Stain
Choose paint or stain that matches your dollhouse style. Use a small brush to apply thin, even coats. Let each coat dry fully before adding another. Paint adds color and hides wood grain. Stain shows the natural wood pattern and adds warmth. Light coats prevent drips and uneven color.
Sealing For Durability
Seal the paint or stain with a clear finish like polyurethane. Apply a thin layer with a clean brush. Sealing protects the wood from scratches and moisture. It also keeps colors bright and fresh. Allow the sealer to dry completely for best results. A sealed bookshelf will last longer and look better.
Credit: woodbin.com
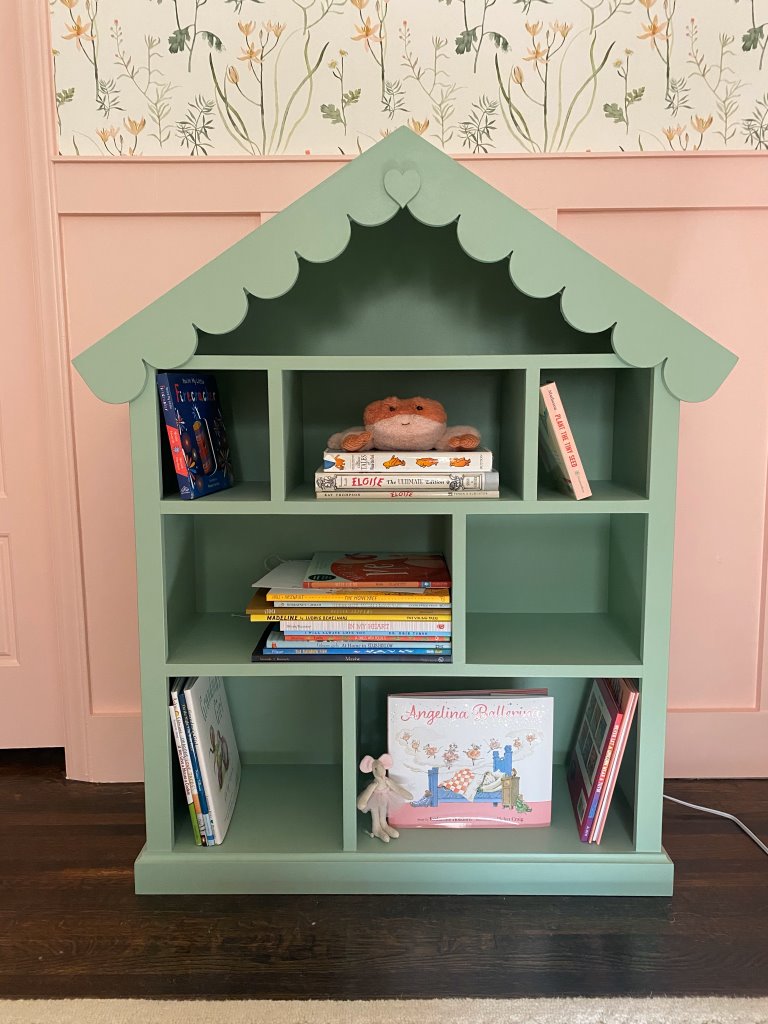
Adding Decorative Touches
Adding decorative touches brings life to your dollhouse bookshelf. These details make it unique and charming. Small elements create a cozy feel that draws attention.
Miniature Accessories
Miniature accessories give character to your bookshelf. Tiny books, plants, or figurines work well. Choose items that match your dollhouse theme. Arrange them thoughtfully for a natural look.
Personalized Details
Personalized details add a special touch. Paint initials or names on the shelves. Use small framed photos or custom signs. These details make your project one of a kind.
Lighting Options
Lighting highlights your decorative touches. Use small LED lights or fairy lights. Soft lighting creates warmth and depth. Place lights inside shelves for a subtle glow.
Maintaining Your Bookshelf
Maintaining your dollhouse bookshelf keeps it looking great and lasting longer. Small efforts can protect your bookshelf from dust, damage, and wear. Regular care also helps your bookshelf stay a lovely part of your room.
Cleaning Tips
Use a soft cloth to wipe dust off your bookshelf often. Avoid harsh cleaners that can harm the paint or wood. A dry or slightly damp cloth works best. Clean corners and small spaces gently with a soft brush. Keep the bookshelf dry to stop wood from swelling or cracking.
Repairing Minor Damage
Fix small scratches or chips quickly to prevent bigger problems. Use wood filler or putty for small holes. Sand the area lightly after it dries, then repaint if needed. Tighten loose screws or nails to keep shelves sturdy. Replace broken parts with similar materials for a neat look.
Updating Design Over Time
Change your bookshelf’s look by adding new paint or wallpaper inside. Switch handles or knobs for a fresh style. Add small decorations like stickers or decals to personalize it. Rearrange shelves or add dividers to organize books better. These updates keep your bookshelf fun and useful.
Frequently Asked Questions
What Materials Are Needed To Make A Dollhouse Bookshelf?
You need wood panels, nails, wood glue, sandpaper, paint, and a screwdriver. These materials ensure sturdy construction and a smooth finish for your dollhouse bookshelf.
How Do I Design A Dollhouse Bookshelf Layout?
Start by measuring your dollhouse space. Sketch shelves according to doll size. Keep proportions balanced for aesthetic appeal and functionality.
Can I Customize The Dollhouse Bookshelf Colors?
Yes, you can paint the bookshelf any color. Use non-toxic paint for safety. Customize to match your dollhouse theme perfectly.
How Long Does It Take To Build A Dollhouse Bookshelf?
Building usually takes 2-4 hours depending on skill level. Allow extra time for drying paint and assembling parts carefully.
Conclusion
Making a dollhouse bookshelf is fun and rewarding. You can create a unique piece for your home. Use simple tools and materials you already have. Take your time and follow each step carefully. Enjoy the process of building and decorating.
This project adds charm and personality to any room. Try it yourself and see how easy it can be. Small projects like this bring big smiles. Keep practicing to improve your skills. Happy building!
