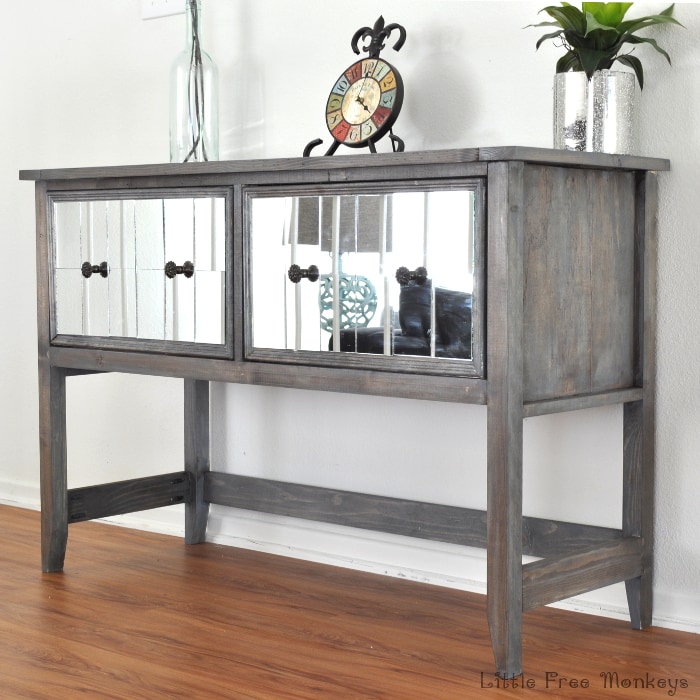
Are you looking to add a touch of elegance and style to your home? A mirrored console table can do just that, reflecting light and making any space feel bigger and brighter.
But buying one can be expensive, and finding the perfect design isn’t always easy. What if you could create your own? In this guide, you’ll learn simple steps to make a stunning mirrored console table that fits your style and space perfectly.
Ready to transform your room and impress your guests? Let’s get started!

Credit: www.youtube.com
Materials And Tools
Gathering the right materials and tools is the first step to building a mirrored console table. Using quality supplies helps create a strong and beautiful piece. The tools make the process easier and safer. Prepare everything before starting to save time and avoid mistakes.
Choosing The Right Mirror Panels
Pick mirror panels with smooth, even surfaces. Thick glass mirrors last longer and resist breakage. Check the edges for any sharp or chipped parts. Square or rectangular panels fit best for console tables. Consider the mirror’s thickness; 1/4 inch is a good standard. Avoid mirrors with heavy backing that adds weight.
Essential Tools For The Project
Gather these tools before building your table. A measuring tape helps get exact dimensions. Use a glass cutter to trim mirror panels if needed. A strong adhesive or mirror glue is necessary for fixing mirrors. A drill and screws hold the structure firmly. Sandpaper smooths wood edges. A level ensures your table is straight.
Safety Gear To Use
Protect yourself while working with glass and tools. Wear safety goggles to shield your eyes from shards. Use gloves to avoid cuts and splinters. A dust mask keeps you safe from fine particles. Wear long sleeves and sturdy shoes. Keep your workspace clean and well-lit to prevent accidents.
Credit: www.anikasdiylife.com
Design Planning
Design planning is the first step in making a mirrored console table. It helps you create a clear vision. Careful planning saves time and avoids mistakes. Think about size, shape, and style before building. This way, your table fits your space and looks great.
Selecting The Table Dimensions
Choose the right size for your console table. Measure the wall or area where you want it. Make sure it fits well without crowding the space. Consider the table height too. A comfortable height is usually between 28 to 32 inches. Width and depth depend on your room size and purpose.
Sketching Your Console Table
Draw a simple sketch of your table design. Use pencil and paper or a digital tool. Include the top, legs, and mirror panels in your sketch. This helps you see the shape and balance. Mark the dimensions clearly. A sketch guides you during construction and avoids confusion.
Deciding On Frame Style
Pick a frame style that matches your room decor. Frames can be modern, classic, or rustic. Think about the material too, such as wood or metal. The frame holds the mirror panels, so it must be strong. A sleek frame gives a clean look. A detailed frame adds character and charm.
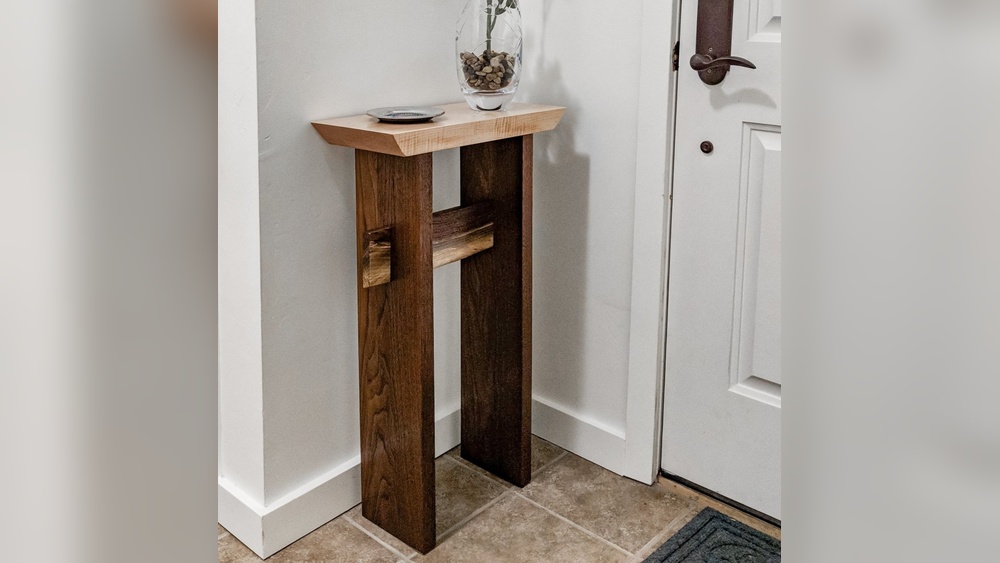
Preparing The Base
Preparing the base is a key step in making a mirrored console table. A strong and smooth base supports the mirrors well. It also helps the table look neat and last longer.
Building The Wooden Frame
Start by cutting wood pieces to size. Use sturdy wood like pine or oak. Connect the pieces with wood glue and screws. Make sure the frame is square and tight. This frame will hold the mirrors securely.
Sanding And Smoothing Surfaces
Sand all wooden surfaces with medium-grit sandpaper. Smooth edges and corners to avoid splinters. Wipe dust off with a damp cloth. Smooth surfaces help the primer and mirrors stick better.
Priming For Better Adhesion
Apply a coat of wood primer to the frame. Primer seals the wood and improves paint grip. Let the primer dry completely before adding mirrors. This step protects the wood and ensures a clean finish.
Attaching Mirror Panels
Attaching mirror panels is a key step in making a mirrored console table. It requires care and precision to ensure the mirrors fit well and stay in place. Proper attachment also protects the mirrors from damage and gives your table a sleek, polished look.
Cutting Mirrors To Size
Measure each panel carefully to match your console table frame. Use a glass cutter to score the mirror along the measured lines. Apply gentle pressure to snap the mirror cleanly. Always wear safety gloves and glasses. Smooth edges with sandpaper to avoid sharp cuts.
Applying Adhesive Correctly
Choose a strong, clear adhesive made for glass and wood. Apply a thin, even layer on the back of each mirror panel. Avoid using too much glue to prevent spills. Work in small sections for better control. Let the adhesive become tacky before placing the mirror.
Securing Mirrors To The Frame
Press each mirror firmly onto the frame. Hold it in place for a few minutes to set. Use clamps or masking tape to keep panels steady while drying. Check that mirrors align perfectly with the edges. Allow adhesive to cure fully before moving the table.
Adding Finishing Touches
Adding finishing touches to your mirrored console table brings the project to life. These steps protect the table and enhance its look. Small details make a big difference in the final piece.
Sealing Edges For Durability
Seal the edges of the mirror with clear silicone or edge sealant. This step stops moisture from damaging the mirror or wood. Apply a thin, even layer along all edges. Let it dry completely before moving on. Sealing edges keeps your table strong and lasting.
Installing Legs Or Supports
Choose sturdy legs or supports that match your table’s style. Attach them securely using screws or brackets. Check that all legs stand evenly to prevent wobbling. Tighten all fasteners for safety. Proper support makes your table stable and safe to use.
Cleaning And Polishing
Clean the mirror surface with glass cleaner and a soft cloth. Avoid harsh chemicals that can damage the mirror. Polish gently to remove fingerprints and smudges. A clean, shiny surface highlights the table’s elegant look. Regular cleaning keeps it looking new and bright.

Credit: us.amazon.com
Frequently Asked Questions
What Materials Are Needed To Make A Mirrored Console Table?
You need mirrored glass panels, a wooden frame, strong adhesive, screws, and a drill. Sandpaper and paint enhance the finish.
How Long Does It Take To Build A Mirrored Console Table?
Building usually takes 4 to 6 hours, depending on experience and drying time. Patience ensures a quality finish.
Can I Customize The Size Of My Mirrored Console Table?
Yes, you can adjust the frame size and mirror panels. Custom sizes fit your space perfectly.
How Do I Safely Attach Mirrored Glass To The Table Frame?
Use strong mirror adhesive and allow proper drying time. Handle glass carefully with gloves to avoid injury.
Conclusion
Making a mirrored console table can add style to any room. The steps are clear and easy to follow. You can personalize it with your choice of mirrors and paint. This project saves money compared to buying new furniture. Enjoy the satisfaction of creating something with your own hands.
Try this simple DIY to brighten your space today. A beautiful table made by you feels special. Give it a go and see the difference!